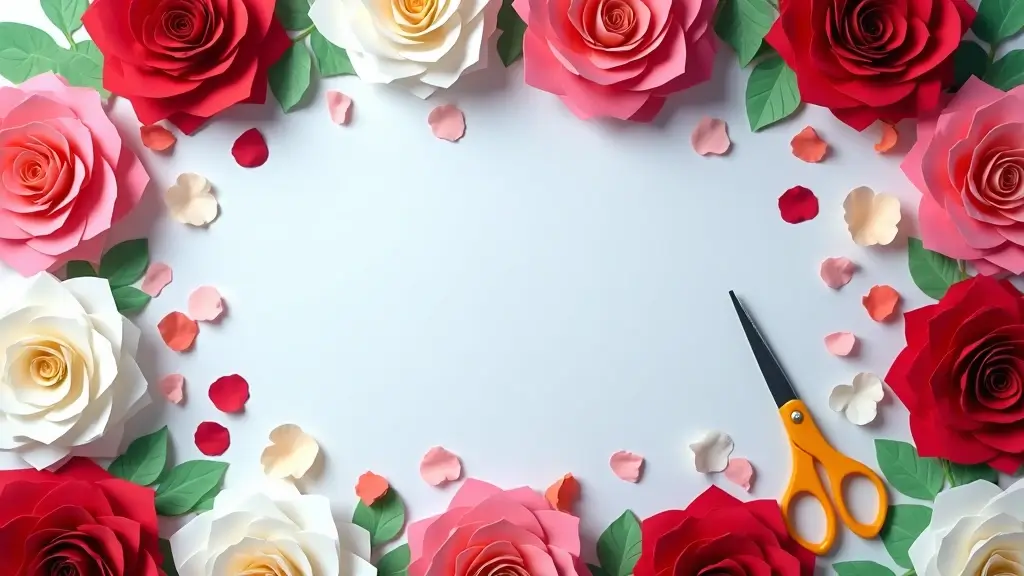
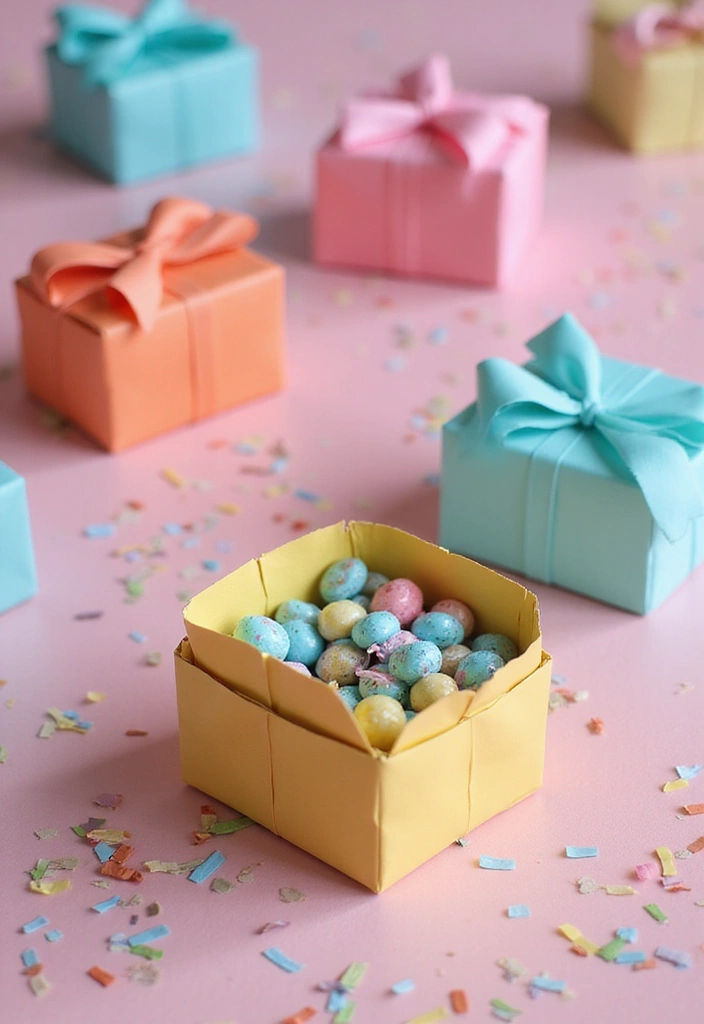
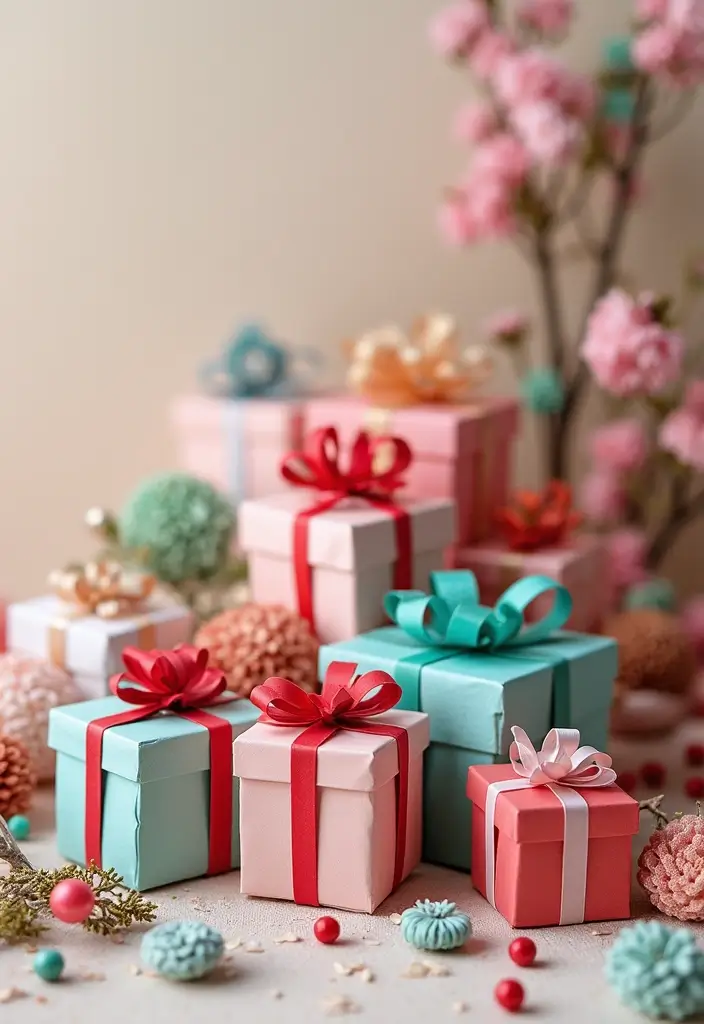
Tiny gifts deserve neat little boxes. Lately I keep spotting mini surprises that look cute but take longer than I want. I made this post to show you how to whip up 28 mini paper gift box ideas fast, with simple materials and quick steps.
If you love small crafts, party favors, or handmade gifts, this is for you. Teachers planning end‑of‑year treats, hosts prepping welcome boxes, and anyone who wants a personal touch without a big project will find ideas here. Use scraps of paper, plain cardstock, or gift wrap and turn them into little treasures.
With this guide you’ll get 28 designs for mini gift boxes. Each idea lists the basic materials and the simple steps, plus tweaks to fit your color theme or occasion. Box sizes cover small treats, jewelry, tea bags, or tiny notes, so you can mix and match across events.
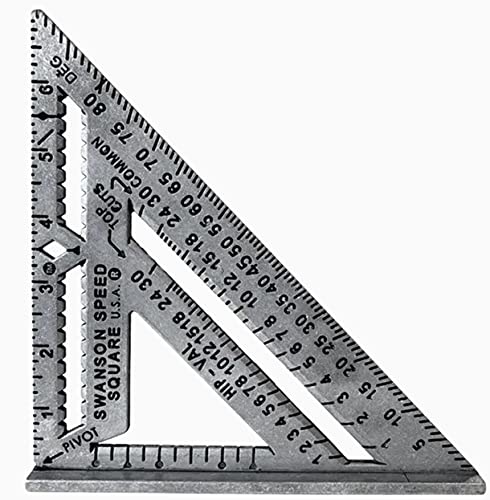
Most boxes are quick. Many come together in under 20 minutes. You only need scissors, glue or tape, a ruler, and paper. Some ideas use scoring lines or a bone folder to get crisp folds. If you have a punch or a corner rounder, you can add extra finish.
These mini boxes save money and cut clutter. They let you reuse scrap paper and add a personal touch. Choose a color palette this week and stick to it across all designs for a coordinated look. You can add a ribbon, a stamp, or a tiny note with a warm message.
Ready to start? Pick a design, gather your papers, and go small. These ideas spark smiles at birthdays, weddings, classroom parties, or any time you want a thoughtful, handmade surprise. If you try one, tell how you changed it to fit your style and share a photo of your finished box.
1. Origami Delight
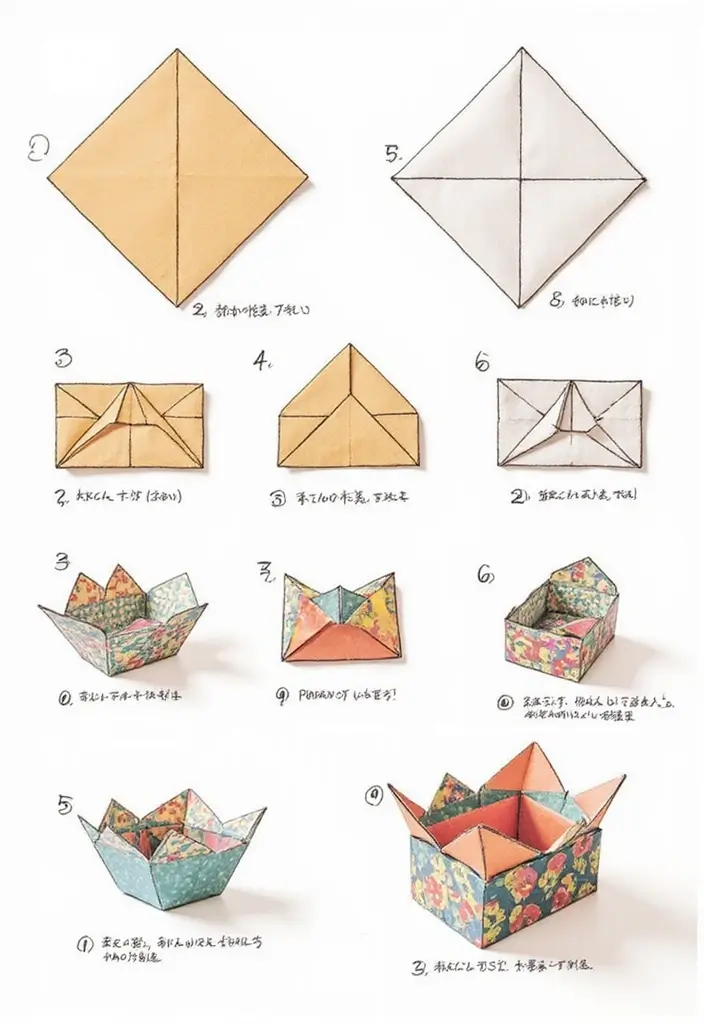
You want tiny gift boxes that feel special but don’t take forever to make. Origami isn’t only for paper cranes. With a few folds, you can craft mini gift boxes that look intricate yet are easy. Pick pretty patterned paper or solid colors to fit the occasion.
Materials
– Square sheets of paper (preferably recycled)
– Scissors (if you need to adjust size)
– Ribbons, stickers, or small charms
How to make it
– Lay the paper flat. Fold it in half diagonally to crease a big X, then unfold.
– Fold along the other diagonal. Crease well. This gives you four triangles.
– Bring two opposite corners toward the center and press flat. You now have a square base that can pop into a small box shape.
– Use the folds to lift the sides and shape a shallow box. Press the edges firmly so the box holds its form.
– Add a lid if you like by tucking a second piece of paper with the same size on top, or keep it lidless for tiny gifts.
Decorate as you wish: wrap a ribbon around, add a sticker, or slip a tiny note inside.
Bonus: Origami calms your hands and mind. It’s a simple way to slow down while you craft.
Next steps: Try different color combos, recycled paper textures, and a personal message inside.
Origami Delight
Editor’s Choice

MEEDEE Rainbow Ribbon Solid Color Assortment 10 Colors Double Face Satin…


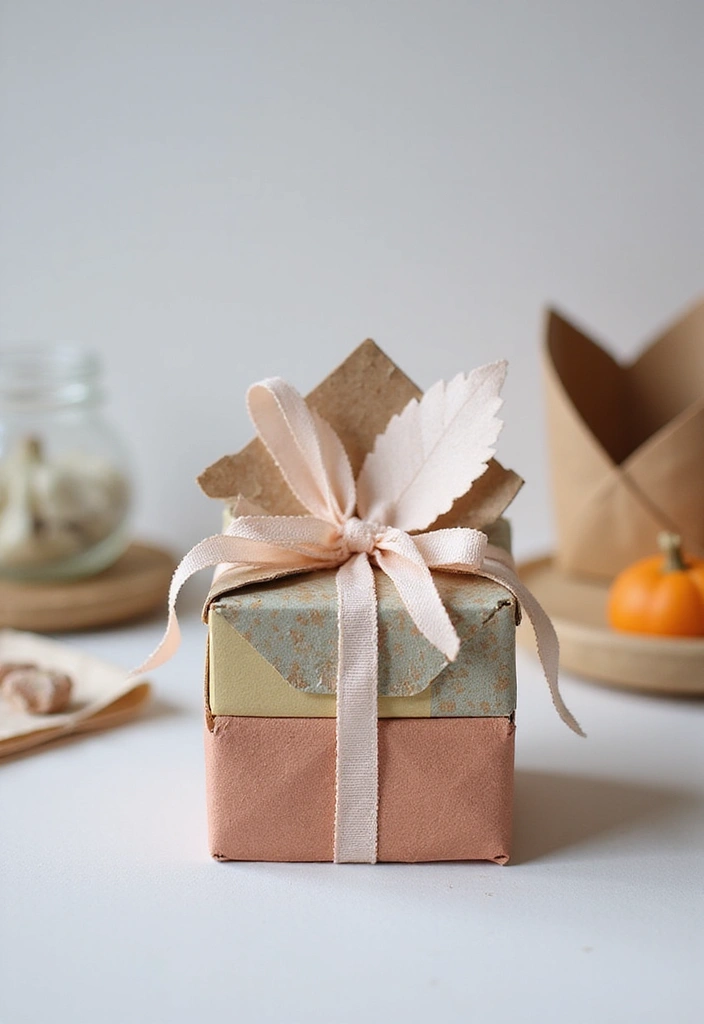
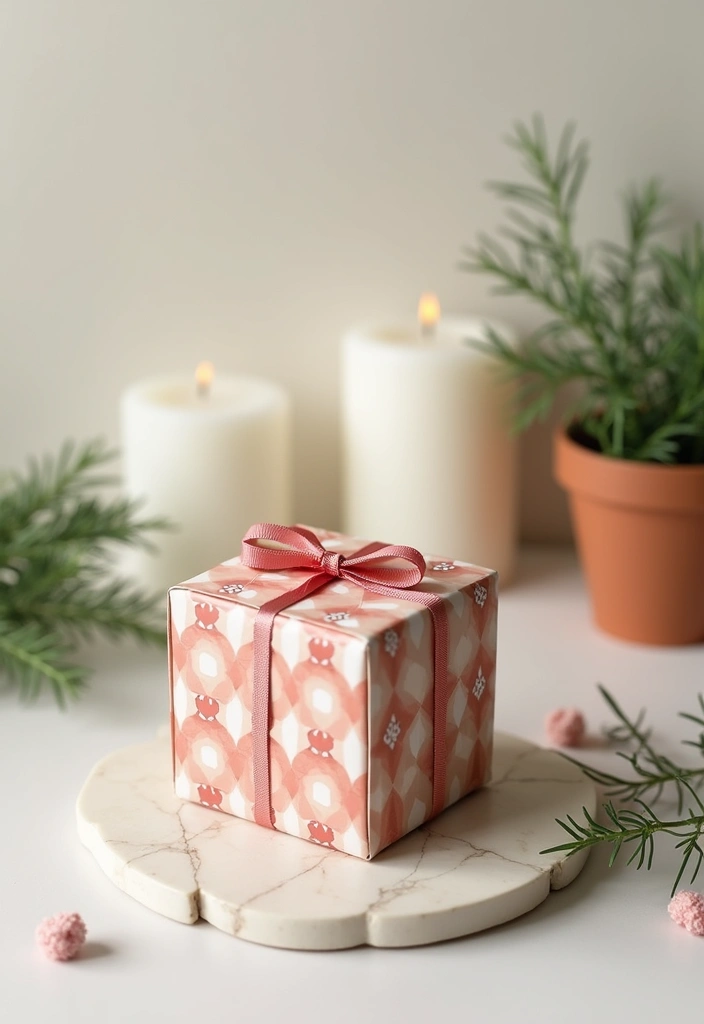
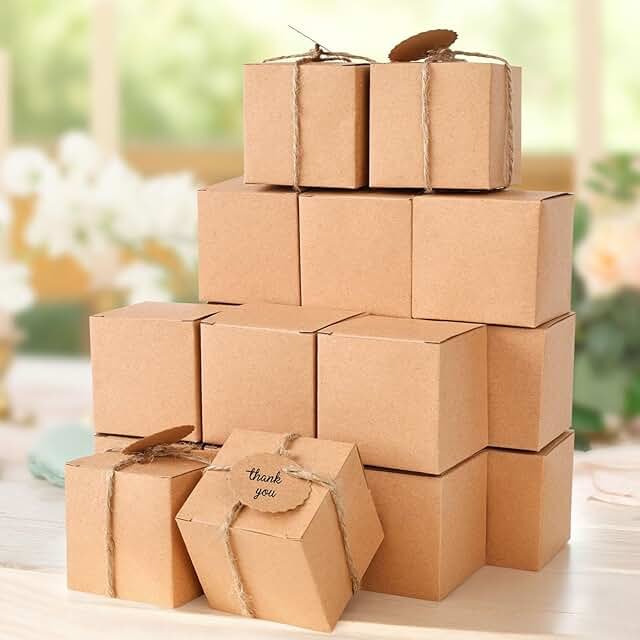
2. Nature-Inspired Boxes
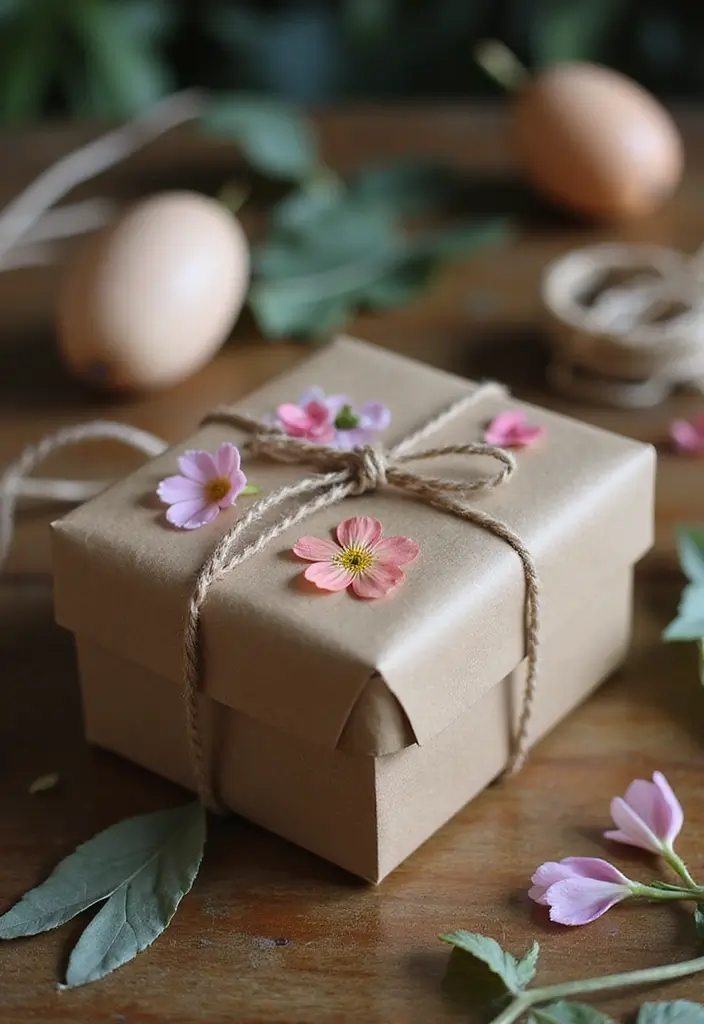
Here is why you should try nature-inspired mini gift boxes. They feel earthy and personal. They use simple materials and add a rustic vibe to small gifts.
What you’ll need
– Kraft paper
– Pressed flowers or leaves
– Glue or double-sided tape
– Twine or jute string
Steps
– Cut the kraft paper to the size you want and fold it into a box.
– Place pressed flowers or leaves on the outside and glue them gently so they stay flat.
– If you want more depth, add a slim strip of kraft behind the embellishment.
– Wrap twine around the box and tie a small bow for a handmade finish.
– Add a word or name tag if you like.
What fits inside
These tiny boxes hold candles, homemade snacks, or a tiny plant. They work well for wedding favors or a thoughtful friend gift.
Tips for lasting charm
– Press flowers well in advance so they stay flat when glued.
– Use glue sparingly to avoid bulk.
– If moisture is a concern, add a thin sheet of tissue inside the box first.
Next steps: Choose seasonal blooms, pick a box size that fits your gift, and make a few to compare results.


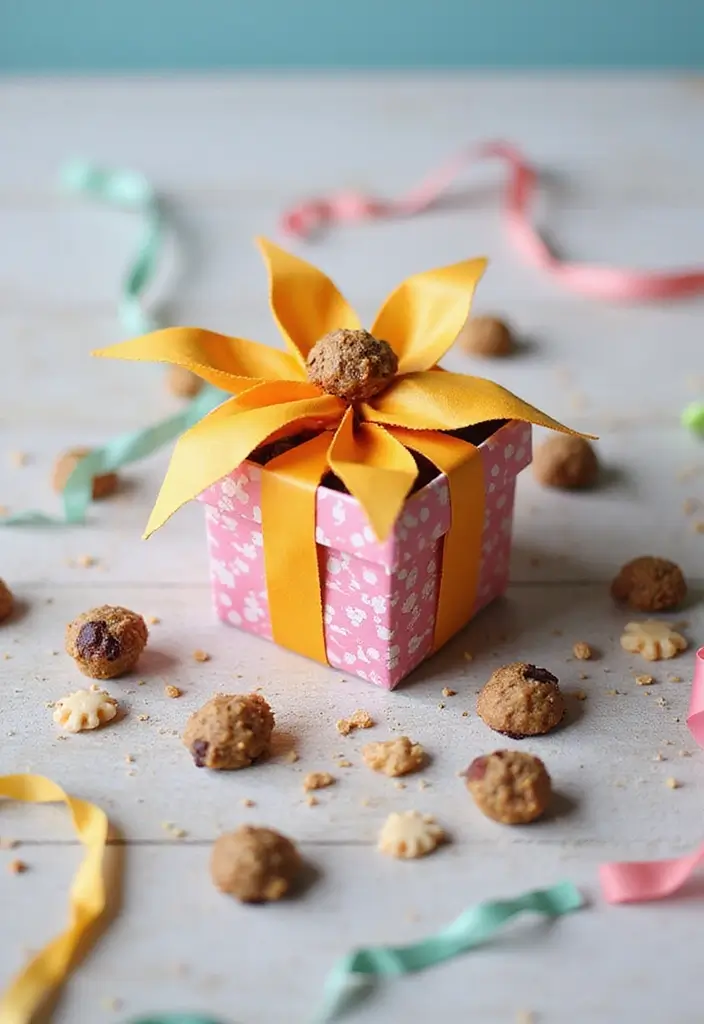
3. Playful Polka Dots
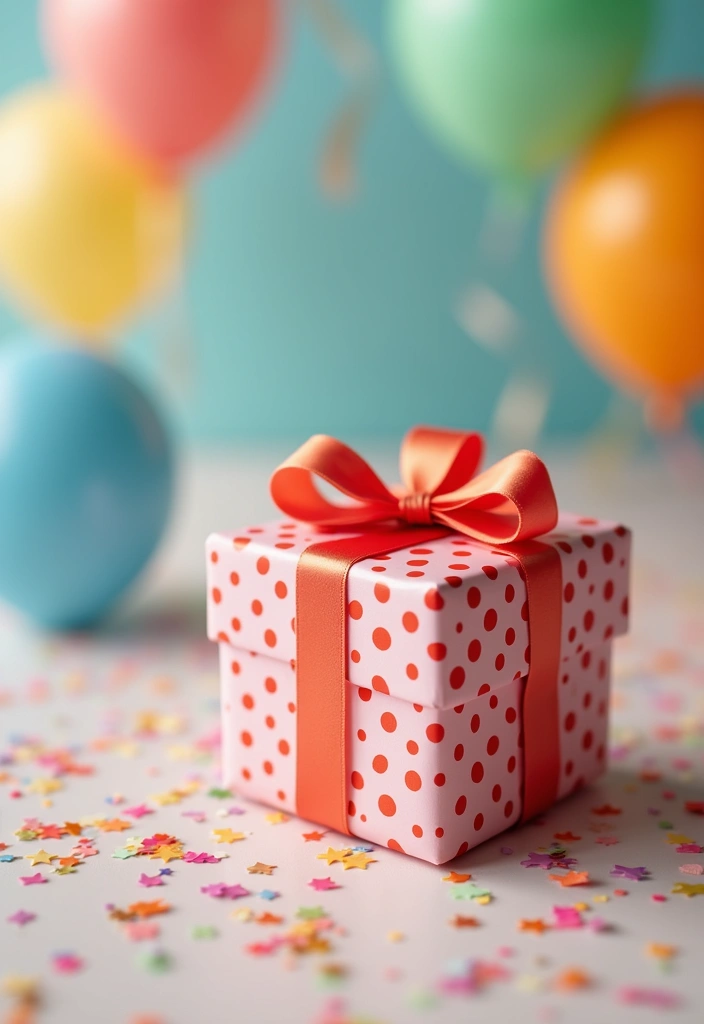
Polka dot boxes you can make now
You want a small gift box that pops. Polka dots add a fun feel with little effort. You can draw them, stamp them, or stick round stickers. Here is why this style works for many gifts.
Materials you need
– Colored cardstock or plain paper
– Circular stickers or a circle punch
– Glue
– Ribbon
How to make them
Cut your paper to the size you want. Fold to form a sturdy box. Press firm to crease the edges. Plan dot placement on a faint guideline. Stick or stamp circles. Space them evenly for a neat look. Make dots near the top and sides for balance. Let the glue dry before closing the box. Finish with a bright ribbon.
Tips and quick ideas
– Use stamps or DIY dots with a circle punch to change sizes.
– Try two or three colors for a spring look.
– For a birthday vibe, use bold, glossy dots.
Where to use
Polka dot boxes suit kids’ parties, classroom gifts, or small thank-you treats. They feel personal without much cost.
Playful Polka Dots
Editor’s Choice
Astrobrights Mega Collection, Colored Cardstock,”Classic” 5-Color Assort…


4. Vintage Newspaper Wrap

Here is why you should try a vintage newspaper wrap. It adds character and keeps packaging cheap. You reuse paper and it feels timeless. This method is quick, cheap, and makes your gift feel special.
– Materials needed: Old newspapers; clear tape or glue; decorative string or washi tape.
– Step by step: Cut the newspaper into a square. Fold it into a box. Secure edges with tape. Add a pop of color with washi tape or wrap a string around the box. For a clean finish, tuck in any loose edges.
– Quick tips: Pick pages with big headlines or photos. The print shows through the tape for a one-of-a-kind look. Think bold black and white with a splash of color.
– Eco note: Reusing saves trees and reduces waste. It starts a small, thoughtful moment when gifting.
– Variations: Use two papers for a two-tone box. Mix in kraft paper scraps for a rustic feel. Adjust size for tiny treats or larger gifts.
– Next steps: Try braided twine, metallic tape, or a chalk label for a personal touch. Share a photo of your finished wrap.


5. Metallic Magic
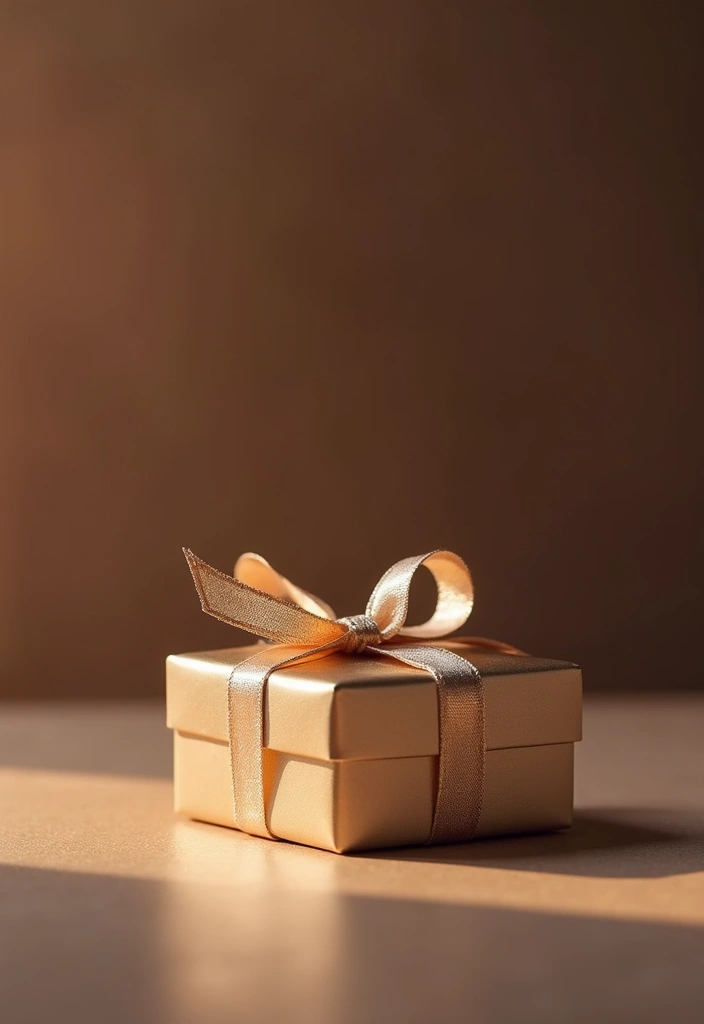
You want a smart gift box that shines without lots of work. Metallic paper boxes do that. They catch the light and stay clean. It’s a solid pick for weddings, anniversaries, or any gift that deserves a classy finish. You don’t need glitter to get the right look.
What you need
– Metallic paper in gold, silver, or bronze
– Scissors
– Double-sided tape
– A ruler (optional)
– Ribbon or a small tag (optional)
How to make it
1) Cut a rectangle for your box.
2) Score the fold lines with a ruler.
3) Fold up the sides to form the box.
4) Tape the seams with the double-sided tape.
5) Close the top and add a ribbon or tag if you want.
Why this works
Metallic paper adds texture and shine. The look stays elegant with little decoration. The finish remains neat and fast to put together.
Tips for a polished look
– Pick sturdy metallic paper for a durable box
– Use one color for a refined feel, or two tones for contrast
– Keep the size compact so the box looks premium
FAQ
Will it hold small gifts? Yes, if you use thick paper and a snug fold.
Can I reuse it? Yes, if you handle the edges gently.
Is it wedding-ready? Yes, with a clean finish and a slim ribbon.


6. Hand-Painted Charm
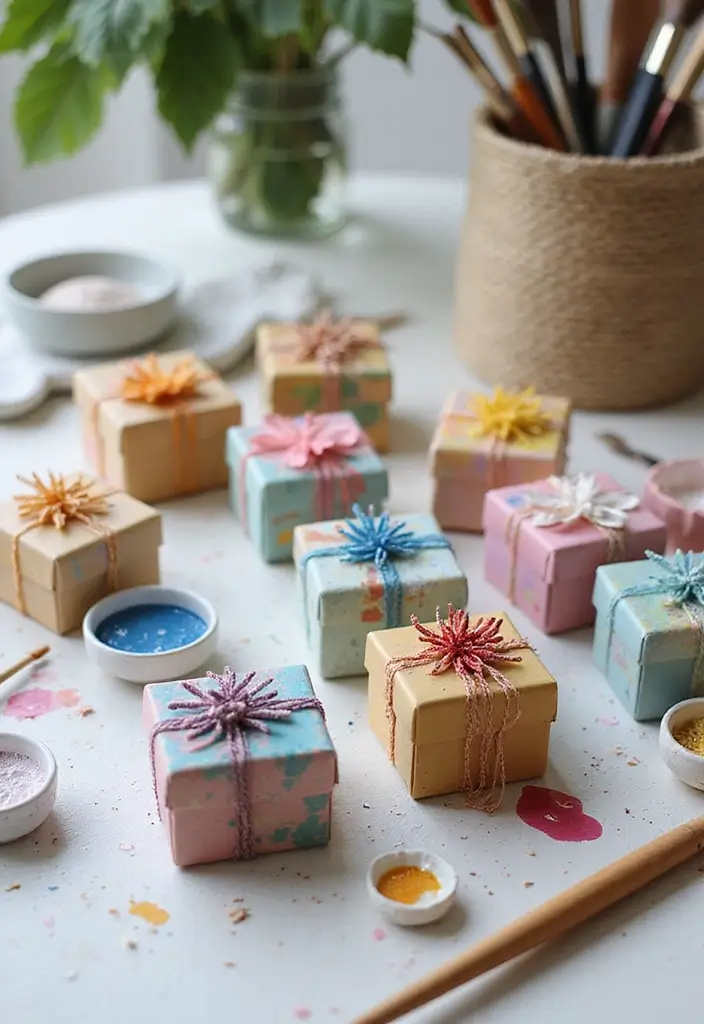
If you want a gift that feels truly yours, try hand-painting a mini box. A plain cardboard lid can become a small piece of art that adds a warm, personal touch to any surprise.
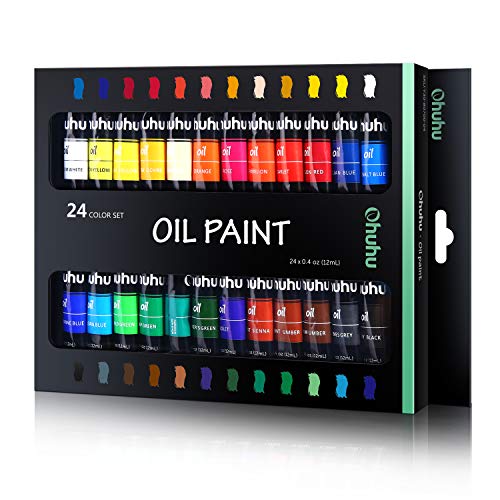
Materials Needed
– Cardboard boxes or thick cardstock
– Acrylic paints or watercolor
– Paintbrushes
– Finishing spray for durability
DIY Process
– Pick a theme. Go for simple florals, clean stripes, dots, or a short message.
– Lightly sketch your design with a pencil first.
– Paint a base color, then add details in a darker shade.
– Let each layer dry before you add more.
– Finish with a clear spray to guard the design from smudges.
Tips for Great Results
– Use smooth, steady strokes; small brushes help with neat lines.
– Practice on a spare scrap box before you touch the gift box.
– If you don’t have fine brushes, try a cotton swab for tiny dots or lines.
– Store finished boxes in a dry spot to keep colors bright.
Why it Works
A painted box shows you spent time on the gift. It makes the moment feel special without breaking the budget. It’s easy to customize for birthdays, anniversaries, or little thank-you treats. You can paint for one gift or a whole dozen, and each box stays sturdy with the spray seal.


7. Clear Plastic Elegance
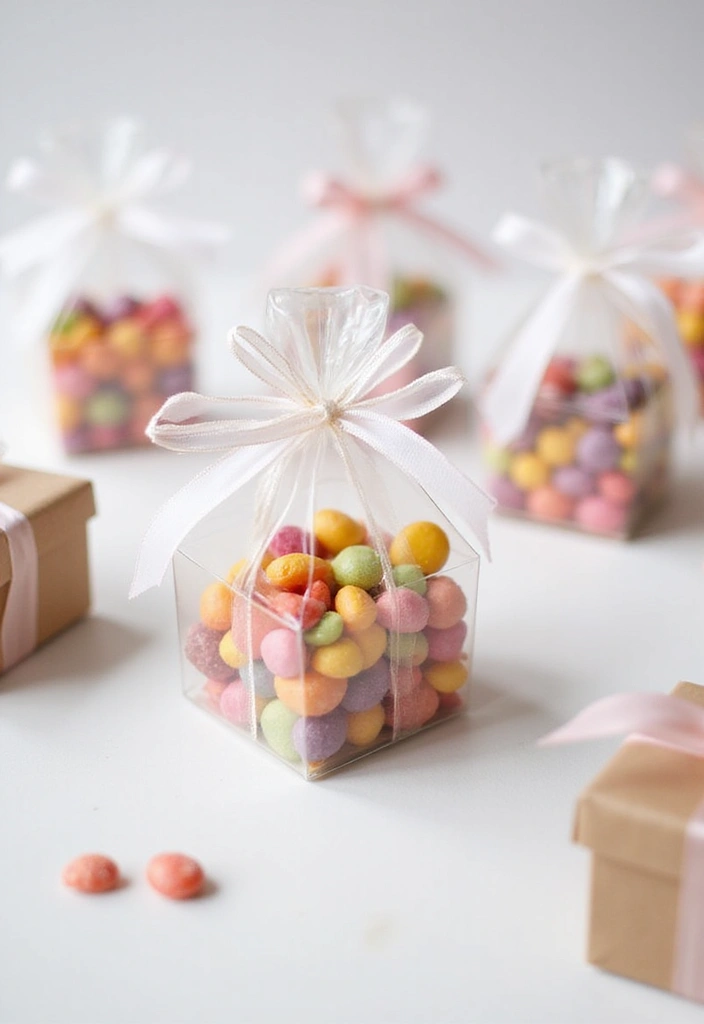
Looking for a modern way to wrap small gifts that shows off what’s inside? Clear plastic gift boxes do the job. They let your treats or trinkets shine with a clean, chic look. This style fits teachers, coworkers, and family who love a neat package. They are lightweight and stack well for easy storage.
Here is why it works: you show the gift, not hide it. The box protects the items and adds a glossy finish. A ribbon or small tag finishes the look. Keep in mind, see-through packaging shows every detail, so pick items that look good together and stay tidy. They are easy to reuse for future gifts if you tidy them up.
What you need
– Clear plastic gift boxes
– Ribbons or decorative elements
– Optional: small gift tags
How to assemble
– Fill the box with goodies such as homemade treats, bath bombs, or small gifts.
– Close the lid securely.
– Tie with ribbon and add a tag for a personal touch.
– If you want a snug fit, tuck a bit of tissue paper inside before closing.
Next steps: experiment with ribbon colors, bow styles, and a tiny sticker or label to mark the occasion. Try different clear box sizes to fit different gifts. This approach is simple, fast, and makes your gift feel premium without extra fuss.


8. Emoji Fun
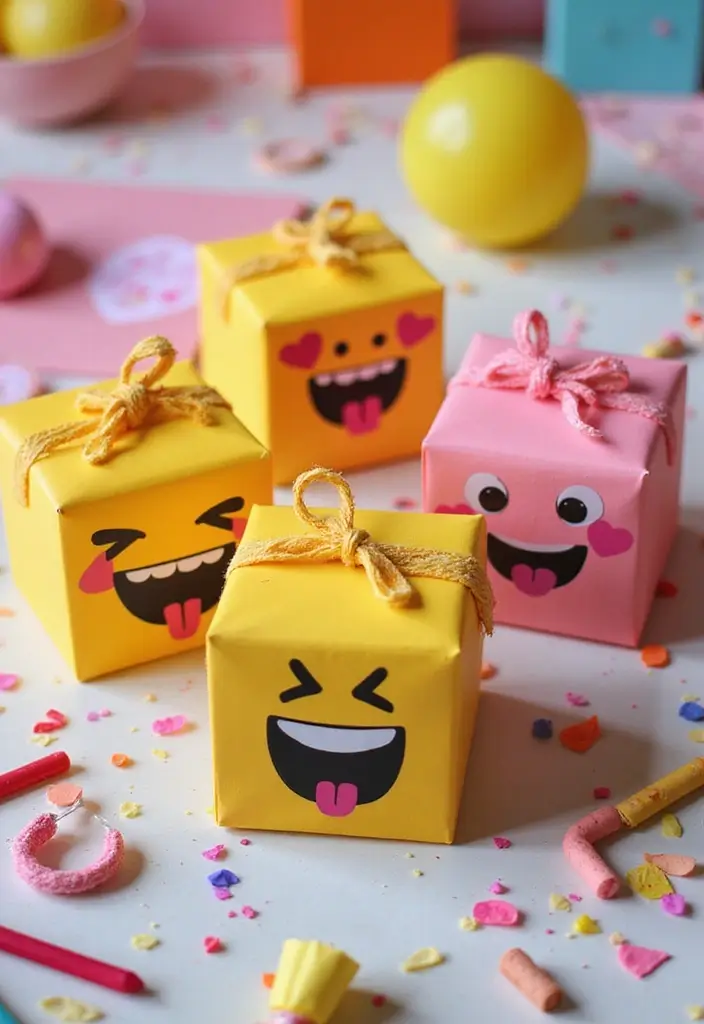
You want a cute, quick way to gift something small. Emoji mini boxes do it well. They add a personal, playful touch to any present.
Why this works
It makes your small gifts feel personal and fun. The boxes fold flat for storage. You can print extra templates to swap emoji faces for any mood. They travel well in a bag or lunchbox.
Materials
– Bright colored cardstock
– Emoji stickers or printable templates
– Glue or double-sided tape
How to make
– Cut cardstock into small box shapes.
– Score the fold lines with a ruler for clean edges.
– Fold and glue to form a sturdy box.
– Decorate with emoji stickers or drawn faces.
– Add a tiny treat or note inside before sealing.
Where to use
These boxes work great for kids, party favors, lunchbox surprises, or tiny gifts. Try colors that match the gift or the party theme.
Tips
– Plan box sizes to fit your item
– Use printable emoji templates to save time
– Add a small ribbon or string if you want a finishing touch
Emoji ideas
– Grinning face
– Winking face
– Heart eyes
Practice a few boxes and keep the template handy for last minute gifting. With practice, you can make dozens in a single afternoon. Next steps: pick a size, print a template, and start with a small batch.
Emoji Fun
Editor’s Choice
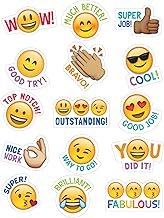
Creative Teaching Press Emoji Rewards Stickers, Pack of 75


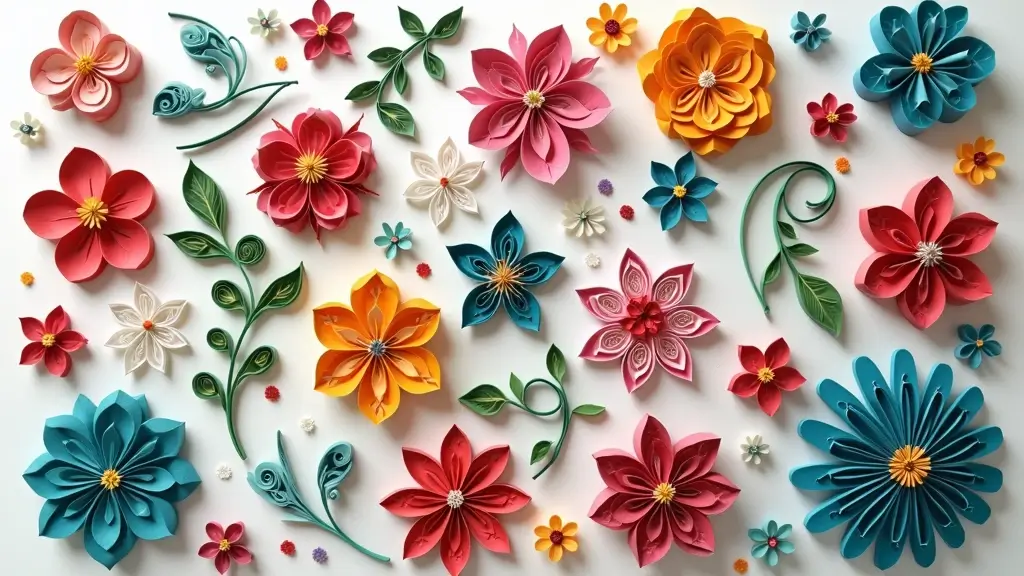
9. Floral Fantasy
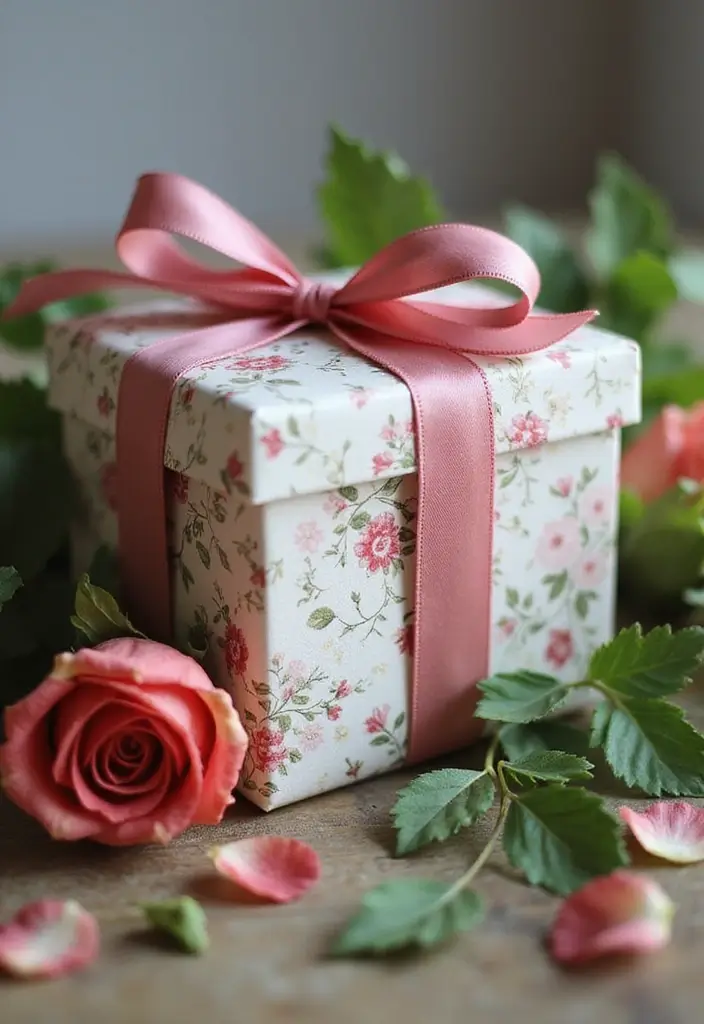
You want a tiny gift box that looks delicate and thoughtful. Floral patterns give that charm with almost no effort. These mini boxes suit spring parties and romantic moments alike.
Materials
– Floral patterned paper (recycled if possible)
– Scissors
– Decorative ribbon
– Optional: tissue paper or a small seed packet for extra surprises
How to make it
1) Cut the paper to create a flat box net.
2) Fold along the score lines and press the edges crisp.
3) Fold the sides to form the box and secure with a little tape or glue.
4) Tie a ribbon around the top for a finished look.
Practical ideas
Fill the box with homemade treats, flower seeds, or a short letter. The patterned surface shines on its own, so keep the ribbon simple to let the design stand out. If you want a pop of color, choose a solid ribbon that matches one hue in the print.
Why it works
The design is easy, eco-friendly, and versatile. It fits a birthday, a wedding, or a just-because gift. You get beauty with a quick, neat finish.
Next steps
Pick a floral paper you love, gather a pair of scissors, and start. You’ll have a charming handmade touch in minutes.
Floral Fantasy
Editor’s Choice

JarThenaAMCS 12 Sheets William Morris Floral Wrapping Paper -Not Roll- G…


10. Chalkboard Chic
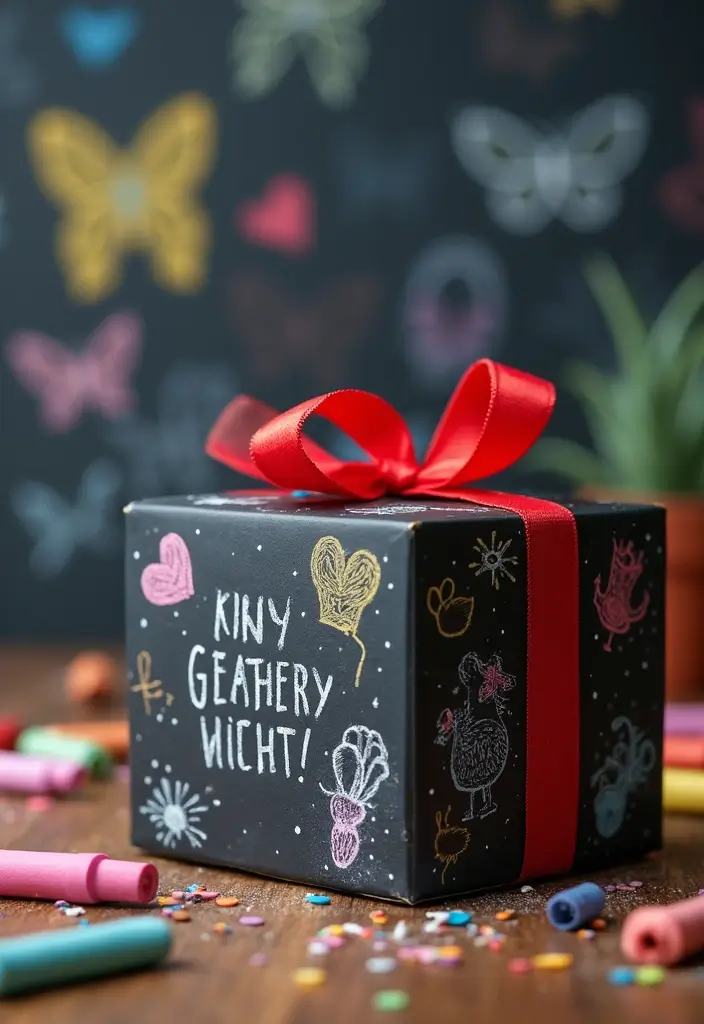
Want a gift box that feels personal and lasts? Chalkboard paint turns a small box into a writable canvas. It works with wood or cardboard boxes and fits many occasions.
– Materials you need
– Small boxes (wood or cardboard)
– Chalkboard paint
– Chalk or chalk markers
– How to do it
– Clean the box and let it dry fully.
– Paint a thin first coat of chalkboard paint. Let it dry.
– Add a second coat if you want a solid color. Let it dry completely.
– Write a message, a name, or a doodle on the surface.
– Let the paint cure, then use the box. To reuse, erase with a dry cloth.
– Why it helps
– You get a unique gift box you can customize now and later.
– The surface invites a new note for each occasion.
– It stays useful for storage after the present is gone.
– Care and tips
– Wipe chalk away with a dry cloth. For stubborn marks, use a dry tissue lightly.
– To cut wear, spray a light matte seal. Test first so erasing stays easy.
– Use chalk markers for bright, long-lasting lines.
Next steps: pick a box, add a message for a birthday or wedding, and reuse it for future gifts. This simple trick makes small gifts feel extra thoughtful without extra clutter.


11. Boxed Up Candles
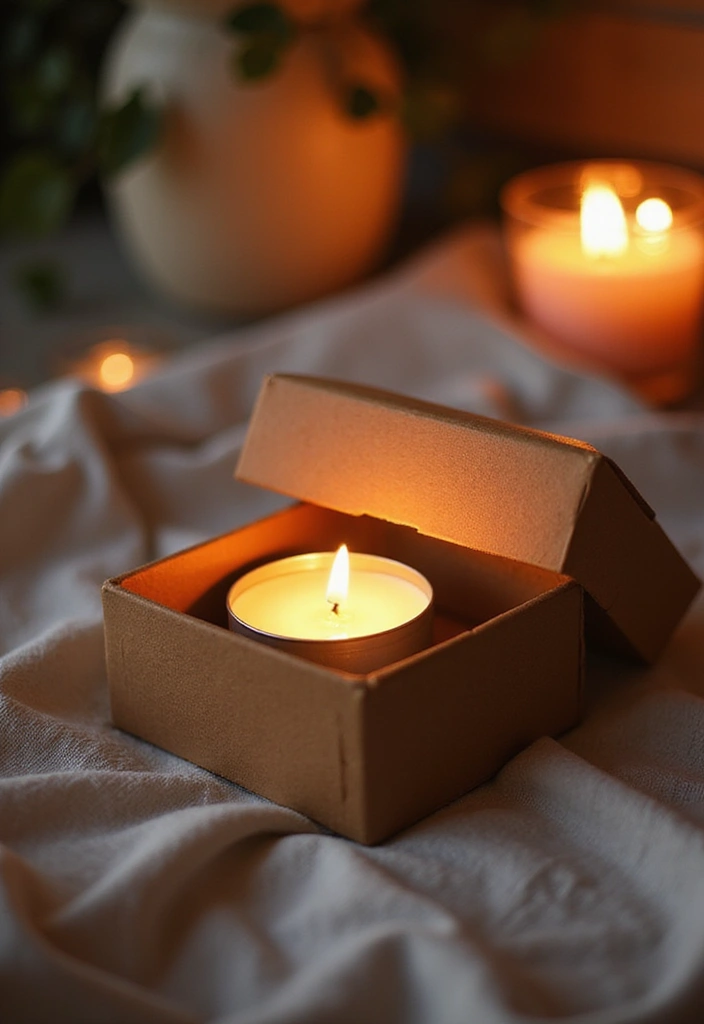
If you want a gift that looks simple yet special, try a box that doubles as a candle holder. A mini box with a tiny candle inside adds warmth and charm. You can make it with easy supplies and quick steps.
– Cardstock or thick paper
– Scissors
– Glue or double-sided tape
– Tea light or small votive
Here is how to do it:
– Size the box to fit the candle. Leave a little room for heat and movement.
– Cut the paper, score the folds, and shape the walls. Fold cleanly and press to set.
– Add adhesive on the edges and seal the box. Create a shallow bottom so the candle sits flat.
– Place the candle inside. Check that it sits evenly and won’t tip.
If you plan to gift a larger votive, add a deeper tray or a tucked insert so the flame sits safely. Then decorate to match the occasion.
Next, decorate to fit the mood. You can use paint, stamps, washi tape, or a simple ribbon. A soft color scheme or metallic accents make it feel nice without a lot of work.
Why this works: it gives you a unique gift that is practical too. The box becomes a tiny holder, so the receiver can reuse the container. It’s perfect as a party favor or a cozy night gift.
Safety notes: never leave a lit candle unattended. Keep the box away from flammable surfaces.
Next steps: gather pieces, cut, glue, and enjoy gifting.


12. Puzzle Box
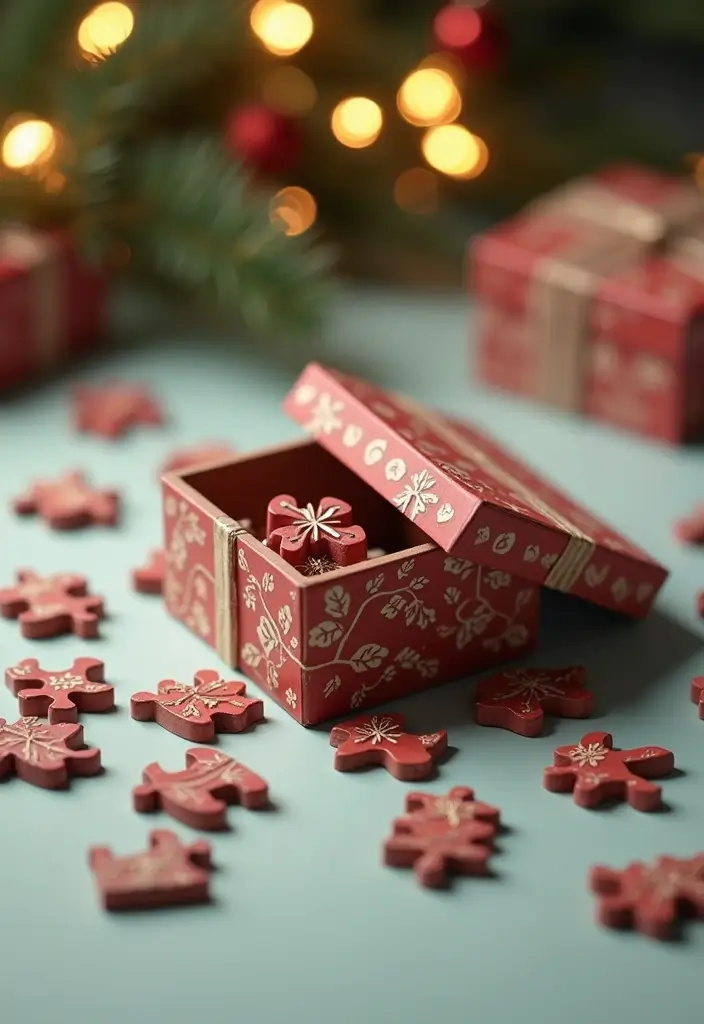
You want a gift that feels playful. A mini puzzle box does the trick. It makes opening the present a tiny challenge. Here is how to do it in a simple way.
– Materials: Cardboard or thick paper; Scissors; Glue; Small items to hide inside.
– Make the pieces: Cut the board into several puzzle shapes that can fit together. Keep the shapes simple so they form a small box.
– Build and seal: Fit the pieces like a puzzle. Glue the edges to hold the box together. Let it dry before you move it.
– Add the surprise: Hide a treat, a note, or a tiny trinket inside. You can slip a clue under a flap for extra suspense.
– Finish: Close the puzzle. Add a lid or a bit of tape to keep it shut. Wrap the box with a thin layer of tissue or clear wrap to make the reveal special.
– Tips for success: Use sturdy cardboard so the box lasts. Keep the puzzle easy enough for your friend or family to enjoy. For flair, make two puzzle layers—an outer layer to remove, and an inner box to open.
– Customization ideas: Use a theme like animals, space, or food. Pick colors that match the recipient. Add a small magnet to the lid so it snaps shut.
– Why it works: The box builds anticipation. The act of solving makes the gift feel thoughtful.
– Next steps: Gather supplies, cut your pieces, and test a few layouts before you commit.
Puzzle Box
Editor’s Choice
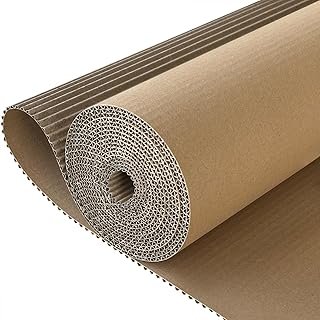
Corrugated Cardboard Roll, 17 x 197 Inches Thicker Wider Corrugated Pape…
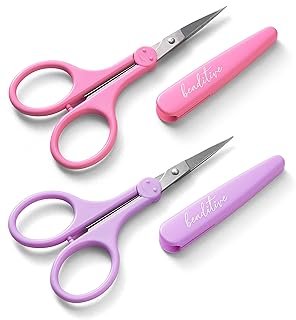
Beaditive High Precision Detail Scissors Set (2-Pc) Sharp, Fine Tips | P…
Aleene’s Clear Gel Tacky Glue for Crafts, Nontoxic, Applies and Dries Cl…


13. Twisted Ribbon Boxes
Here is why you need a quick way to make mini gift boxes that wow. Twisted Ribbon Boxes turn plain cardstock into textured art with almost no extra effort.
Materials
– Cardstock or thick paper
– Twisted ribbons in 2–3 colors
– Glue or tape
Steps
1) Make a small box from cardstock. Cut, fold, and glue to form a neat cube.
2) Create texture by wrapping the twisted ribbon around the box. Start at the center and wind out in spirals or a lattice. Let the ribbon twist as you go to add depth.
3) Secure the ribbon ends with a dab of glue at the back. Press firmly so it stays.
4) Add a lid or leave it open. For a finishing touch, cross two ribbons on top or tie a simple bow.
Why this helps
These boxes feel special without a long craft session. They work for anniversaries, weddings, or any small surprise you want to gift with care.
Tips
– Pick satin or velvet ribbons for a soft shine; metallics give a fancy look.
– Use sturdy cardstock so the box holds its shape.
– Try a single color or a bold combo for impact.
Next steps
– Practice on a few scraps to get the wrap even.
– Keep a small pile of colors ready for quick gifts and last-minute surprises.


14. Metallic Foil Accents
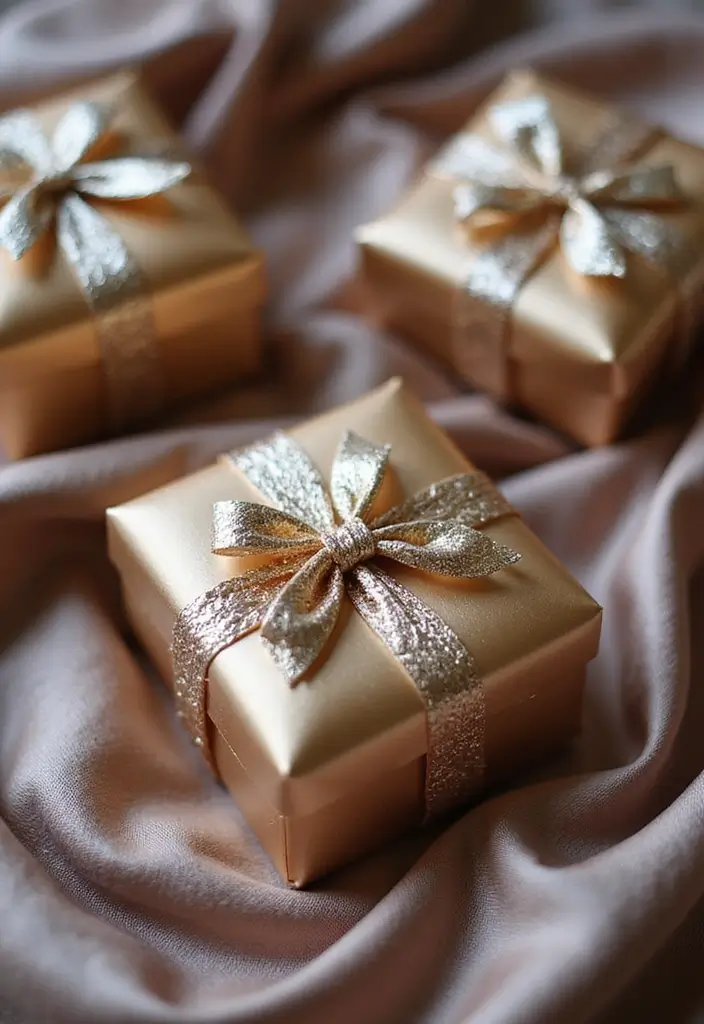
Here is a way to make tiny gift boxes shine. Metallic foil accents add glam without a lot of work.
Materials
– Cardboard boxes or heavy paper
– Adhesive foil sheets
– Scissors
Steps
Cut your boxes to size and assemble them. Pick a simple pattern. Dots, stripes, or a small chevron work well with foil. Peel the backing and place the foil on the box. Press gently to stick it. Smooth the edges with a finger or a soft cloth. Trim any excess foil with scissors. The foil catches the light and makes a plain box look classy.
Tips
– Start with one feature panel if you are new to foil work.
– Try two colors for contrast, like gold on white or silver on kraft.
– Keep lines clean by guiding your hand with a ruler.
Why it helps
This small detail lifts the whole gift. It fits weddings, parties, and holiday moments. People notice the shine, not the price tag.
Next steps
If you plan to handle many boxes, finish with a thin clear sealant to guard the foil. Store finished boxes flat to avoid wrinkles.
With practice, you will add shine fast and keep boxes neat from start to finish.


15. String Art Boxes
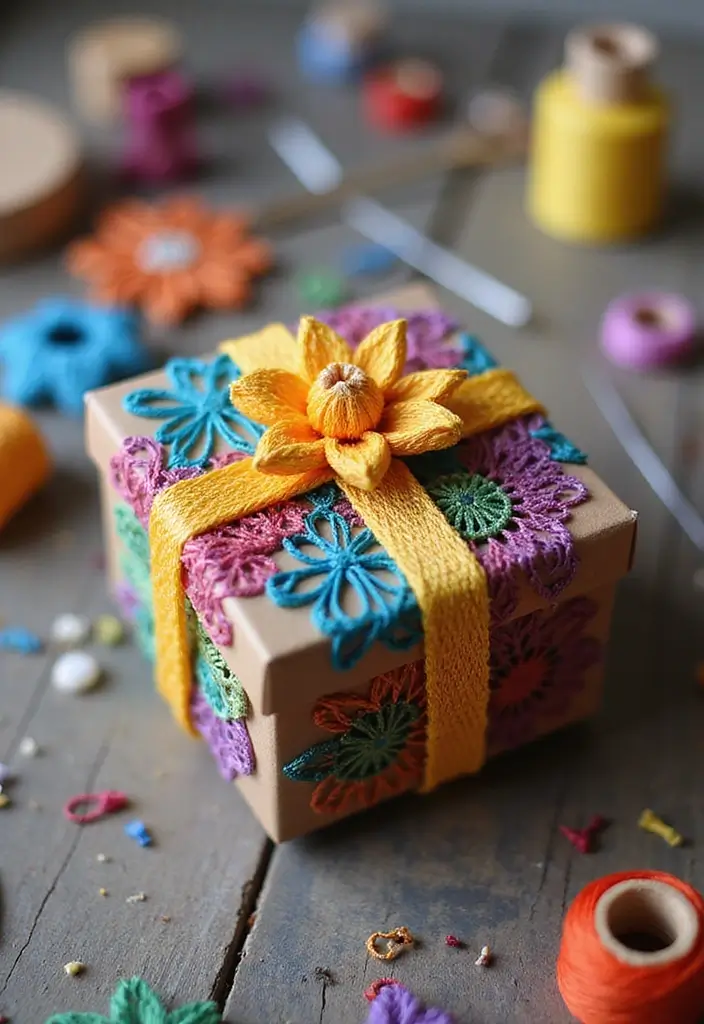
Here is a fun way to add a personal touch to small gifts. String art boxes take a plain box and turn it into a tiny piece of art. They look fresh and feel thoughtful.
Here is why you should try this project:
– It uses simple supplies.
– It works for many occasions.
– It lets you show your style with color and shape.
– It fits small gifts like jewelry, notes, or tiny treats.
Materials needed:
– Cardboard boxes
– Colorful strings or embroidery floss
– Scissors
– Glue
How to make it:
1. Pick a box and decide on a simple shape like a heart, star, or smile.
2. Lightly sketch the shape on the outside of the box.
3. Glue a few short strings along the sketch to hold the pattern.
4. Weave more string around the first layer to fill in gaps. Keep lines taut so the image reads clearly.
5. When you like the look, seal the ends with a tiny dab of glue to keep the strings in place.
Design tips:
– Use 2–3 colors for contrast.
– Try a diagonal crosshatch for a bold look.
– Keep the pattern small so the box stays sturdy.
Made perfect for gifts:
– A birthday box with a red heart
– A wedding favor with a soft gold star
– A baby shower keepsake box with pastel strings
Here are some quick ideas to try next:
– Use a string lattice for a modern feel.
– Mix a metallic thread with a bright color for celebration boxes.
– Add a tiny tag on the side with the recipient’s name.
Next steps:
Try a new shape each time. You’ll have a mini collection of cute gift boxes that feel handmade.


16. Layered Texture
Layered Texture for Mini Gift Boxes
You want a mini gift box that looks and feels special. Layered texture does that. It adds depth you can see and touch.
Here is why layering works: different surfaces catch light in small ways. You notice the contrast. The box feels sturdier yet delicate.
– Materials Needed:
– Various papers: fabric scraps, wrapping paper, or cardstock
– Scissors
– Glue
– Step-by-step:
– Choose a solid base. Pick a sturdy paper in a color that fits your gift.
– Add a top layer. Use lighter or textured paper. Think linen, shimmer, or soft craft paper.
– Cut for interest. Try a strip, a small square, or a corner shape.
– Layer with care. Place the top pieces so they sit slightly off the base. Glue only the edges to avoid bumps.
– Press and dry. Let it rest flat so it stays neat.
– Tips:
– Keep colors in harmony.
– Add a hint of shine for a chic touch.
– This works well for jewelry or small handmade items.
Here is what you gain: a box that feels thoughtful, not plain. Next steps: pull together a few color combos and try a two-layer look on a test box before you do a batch.


17. Pinwheel Style
Want a gift box that feels like a tiny celebration? A pinwheel style box adds a playful shape and a sweet surprise.
Materials
– Decorative paper
– Scissors
– Glue
Here is why this works: the pinwheel turns a simple box into a cheerful moment.
How to make it
1) Cut a square from your paper. A 6×6 inch size is common, but go bigger or smaller to fit your gift.
2) Fold toward the center to form four pinwheel blades. Create four neat folds, each aimed at the middle.
3) Secure the corners with a dab of glue so the wheel stays flat. Hold a moment and let it dry.
4) Slip in your treats or a small toy. Press the corners together to trap the goodies.
Tips
– Use double-sided paper for bold colors on both sides.
– Try glossy or matte paper to change the look without changing the box.
– Add a ribbon or sticker to seal the lid and add charm.
Next steps: store in a cool, dry place until you are ready to gift it.
Benefits: quick to make, kid-friendly, and fun to open.
You can make a batch in an afternoon. Kids love to help.
Pinwheel Style
Editor’s Choice

Mr. Pen Craft Scissors – Decorative Edge, 6 Pack, Zig Zag, Scrapbooking,…
18. Simple Fold-Over Box
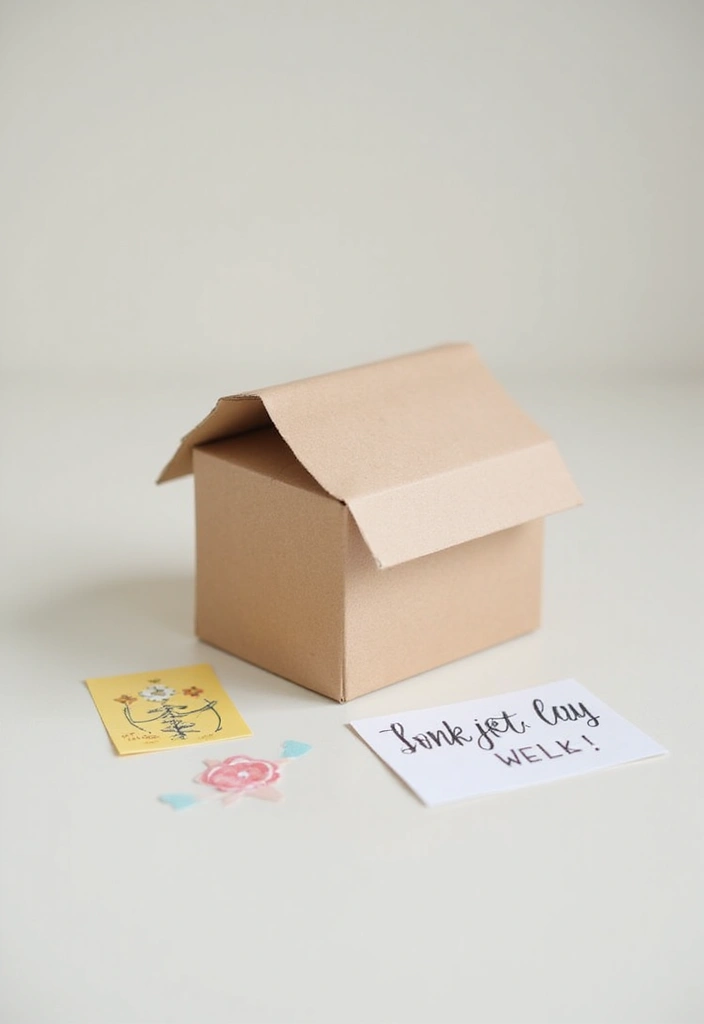
Stuck on a fast way to wrap a small gift? The simple fold-over box is your answer. It stays neat with almost no effort and looks chic with plain or patterned paper.
What you need
– Thick paper or cardstock
– Scissors
– Decorative tape or stickers
How to make it
1) Cut the paper to the size you want for the gift.
2) Make light creases along the edges so the sides fold up cleanly.
3) Fold the sides to form a box.
4) Fold the top flap over to close.
5) Seal with tape or a sticker. You can add a tiny ribbon, a tag, or a handwritten note for a personal touch.
Why this works
Here is why.
– It is quick.
– It feels special with minimal effort.
– You can personalize with color and texture.
Pro tips
– Use sturdy, double-sided paper for a tidy look.
– Try kraft paper for a warm, natural vibe or bright patterns for a playful gift.
– This box fits small items like jewelry, a sachet of tea, or a set of candies.
What to know
– It is great for light, compact gifts.
– It may not suit bulky items.
– Choose a size that leaves a small space so the item sits neatly.
Next steps
– Make a few at once, then pick the best.
– Leave a note inside to surprise the receiver.
19. Quilted Design
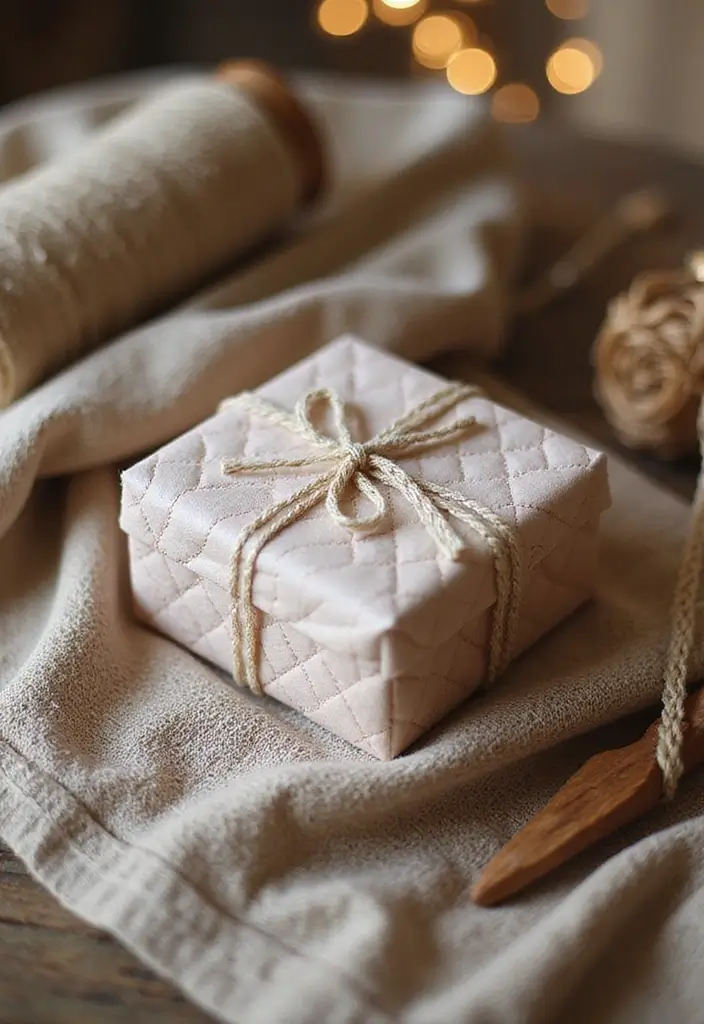
You want a warm, handmade feel for a mini gift box. A quilted look adds texture without sewing. Here’s a simple way to pull it off.
Materials you need
– Choose fabric paper or thick cardstock for the box.
– Have scissors ready.
– Keep glue handy.
Step by step
1. Cut your paper into neat rectangles.
2. Fold the edges to create small quilt patches.
3. Layer patches on the lid and sides to form a quilt pattern.
4. Glue each patch in place and press until it sticks.
5. Optional: line the inside with tissue or a thin fabric strip for a cozy finish.
Why this works
– The raised patches give a touch you can feel when you open the box.
– The patch colors can match the gift, like warm jam jars or a soft scarf.
– The look stays sturdy enough for light gifts and sparks a handmade vibe.
Tips to try
– Use two or three colors for contrast.
– Vary patch sizes for a real patchwork feel.
– Seal edges with a light glue bead to prevent peeling.
Variations and sizing
– You can scale this up or down for different gifts.
– A small box can have a single large patch on the lid for a bold look.
– A larger box can carry a full grid of patches on the sides.
– Bright colors make the design pop for kids or celebratory gifts.
– Always let the glue dry before stacking or adding ribbon.
Quilted Design
Editor’s Choice
Gorilla Original Gorilla Glue, Brown, Waterproof Polyurethane Glue, Four…


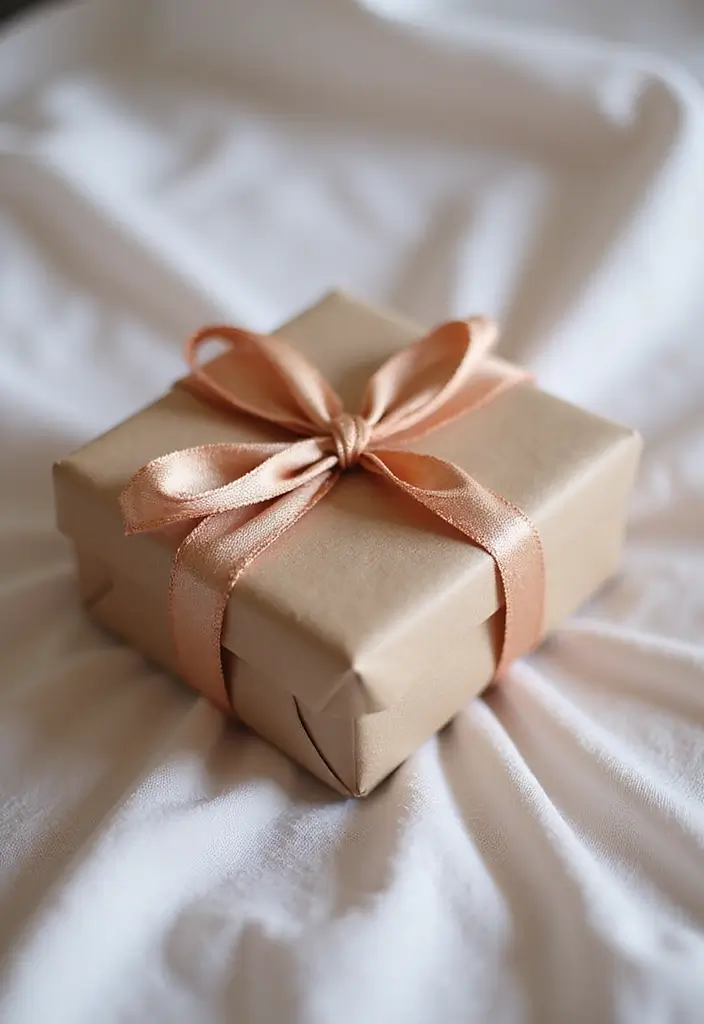
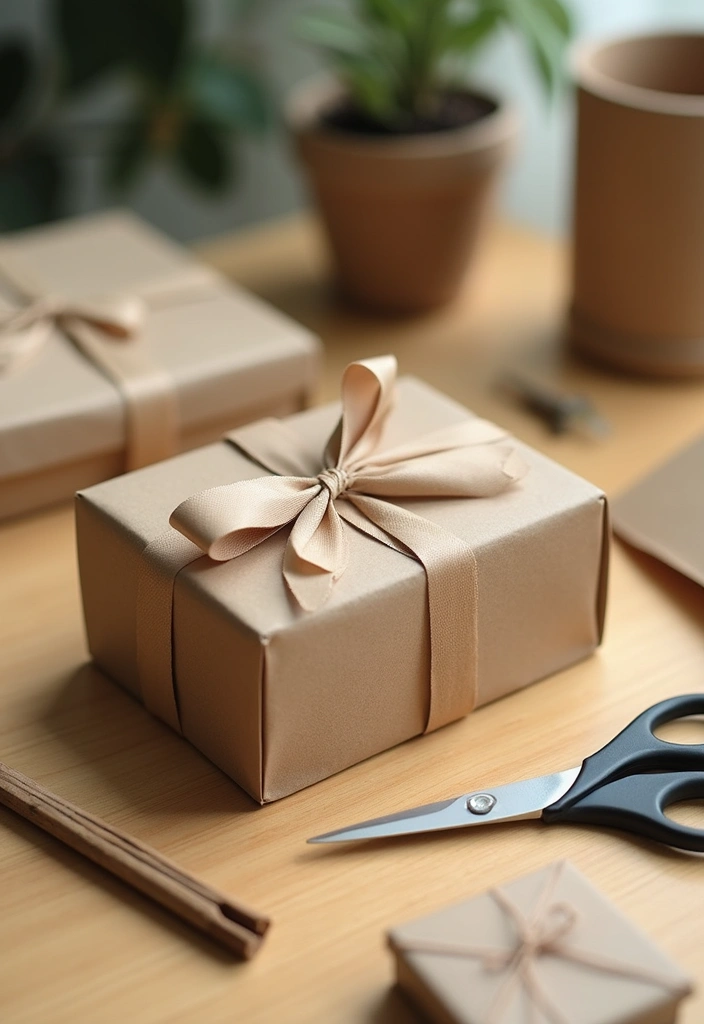
20. Rustic Wrap With Twine
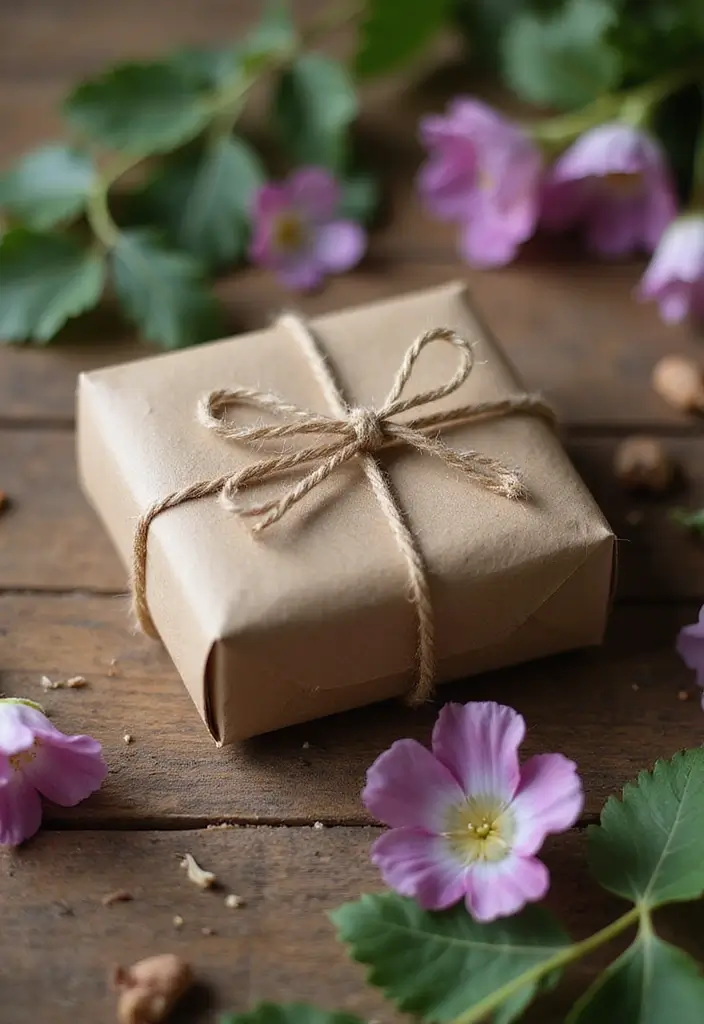
Rustic Wrap With Twine
If you want a gift wrap that looks warm and simple, this is your method. It uses plain brown paper and a single touch of twine. The result feels earthy and charming, not fussy.
Materials you need:
– Brown kraft paper
– Twine or string
– Scissors
Here is how to do it:
1) Cut the kraft paper a bit bigger than your gift.
2) Place the gift in the center and pull the sides up to cover it.
3) Flip the paper over and tie a sturdy knot with the twine. You can tighten firmly or add a small bow for a nicer touch.
4) Trim the ends of the paper and the twine. If you want a worn, handmade look, crease the paper lightly with your fingers.
Next steps to dial it in:
– For heavier items, use a wider strip of paper and a thicker twine.
– Try different twines, like rough jute or smooth cotton, to change the feel.
– Add a tiny greenery sprig or a dried flower for a garden party vibe.
Why this works for you:
– It’s quick and low cost.
– It’s easy to customize for weddings, outdoor showers, or casual gifts.
– It stays eco-friendly while still looking polished on any table.
Rustic Wrap With Twine
Editor’s Choice
SMART&CASUAL 328Ft Jute Twine String Thin Natural Hemp Twine for Gift Wr…


21. Animal Faces

You want a cute, easy way to hand out party favors that kids will love. Mini boxes with animal faces do the job. They look fun and they’re simple to make.
Materials
– Colored paper
– Scissors
– Markers
Here is why these basics work. Colorful paper makes big faces pop. Scissors cut clean shapes fast. Markers add tiny details that bring the animals to life.
Steps
– Start with a ready-made mini box or a simple box pattern. Fold and glue it so the box holds its shape.
– Cut out small animal face pieces. Think ears, mouths, eyes, and noses.
– Glue the face onto the lid or the front of the box. Make sure it sits flat and centered.
– Use markers to add details. A quick line for a smile, tiny white dots for eyes, and little whiskers or freckles finish the look.
– Let the glue dry. Then fill the box with small toys or candy. Close it tight so the surprise stays inside.
Tips
– Try bold color combos. A pink cat with black whiskers or a blue bear with white eyes catches the eye.
– Add extra texture. Cut tiny ears from a second color and glue them on for more depth.
– Keep a few ready-made faces on hand. It speeds up party prep if you’re making several boxes at once.
Next steps: experiment with different animals to match your party theme. These animal-face mini boxes make easy, affordable party favors that feel thoughtful and fun.
Animal Faces
Editor’s Choice
Astrobrights Color Paper, 8.5” x 11”, 24 lb/89 gsm, Spectrum 25-Color As…

LOVESTOWN Kids Safety Scissors, 4 PCS Blunt Tip Scissor Preschool Traini…
Crayola Ultra Clean Washable Markers (40ct), Colored Markers for Kids, C…


22. Washi Tape Wonders
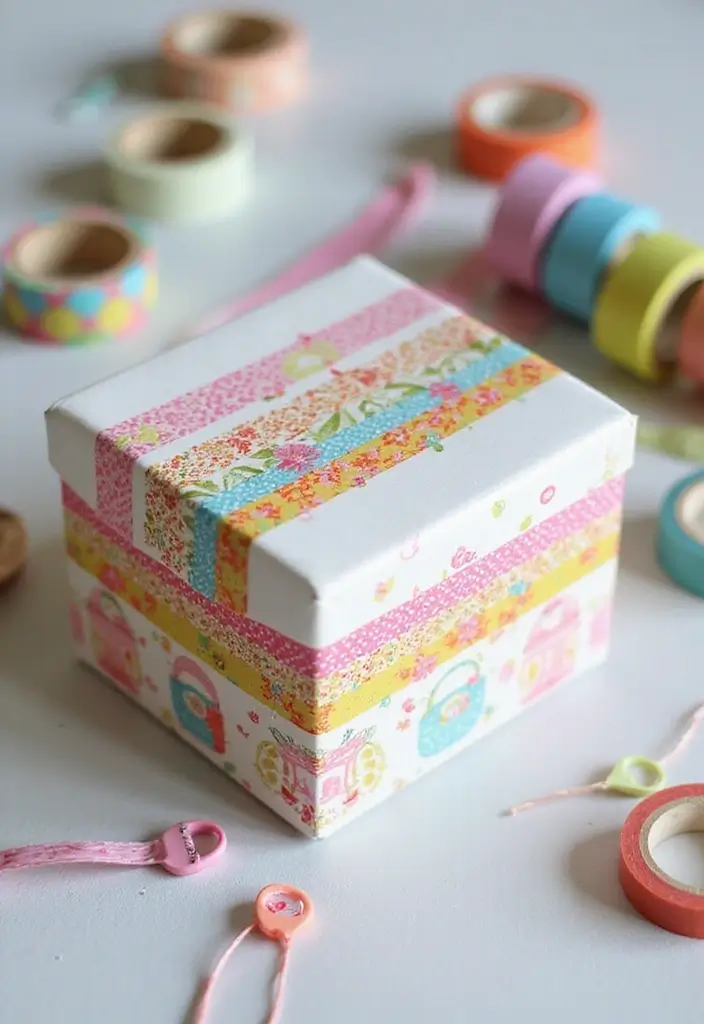
Washi Tape Wonders
You want quick, neat gift boxes that still feel special. Washi tape can pull this off. It sticks easily, adds color, and you can mix patterns for a unique look.
– What you need:
– Plain boxes (cardboard or wood)
– Assorted washi tape
– Scissors
Here is how you do it.
Start with a box and one tape. You can cover the whole box in a single color for a clean vibe, or layer tapes to add stripes and shapes. Press as you go to keep edges smooth and flat.
Try these simple designs:
– Stripes: lay long strips across the top and down the sides.
– Checkerboard: run tapes in two directions and trim where they meet.
– Accent edge: wrap a thin line around the lid for a pop of color.
Tips to make it easy:
– Cut longer pieces than you need; you can trim them later.
– Press along the corners to match the box shape.
– Mix two or three patterns for a bold but balanced look.
Notes: Cardboard boxes hug tape well. Wooden boxes may need extra pressing to keep seams hidden.
Next steps: grab a box, pick your tapes, and create a mini gift that feels handmade.
Washi Tape Wonders
Editor’s Choice

(2-Pack Unfinished Unpainted Wooden Box with Hinged Lid for Crafts DIY S…


23. Geometric Print
Geometric prints give mini gift boxes a bold, modern look. You can use them for many occasions, from birthdays to small thank-you gifts. Here is a simple way to get a striking result that’s easy to recreate.
Materials
– Cardstock or decorative paper that holds its shape
– Scissors and a clean cutting surface
– Ruler and pencil for straight lines
– Glue or double-sided tape
– Optional: metallic pen for a subtle highlight
Steps
1) Make a base box from sturdy cardstock by scoring and folding along the edges. A precise crease helps the box keep its shape.
2) Plan your pattern. Lightly draw a grid or a few bold shapes on plain paper with a ruler.
3) Cut out geometric pieces. Snug, clean cuts make the pattern look sharp when you glue them on.
4) Arrange the shapes on the sides of the box. Try two or three colors for a clean, modern feel.
5) Glue everything in place and seal the edges. Let it dry before assembling or gifting.
Design tips
– Pick a simple 2-3 color palette to keep things crisp.
– Align shapes with the box edges for a tidy look.
– Use double-sided paper to add depth without extra glue.
– Outline shapes with a thin metallic line for a touch of shine.
– Keep shapes proportional to the box size to avoid crowding.
Where to use
– Birthday favors with a small treat inside
– Wedding day boxes for thank-you notes
– Corporate gifts with a clean, on-trend vibe
Next steps
Try a few patterns on test sheets first. Then apply your favorite design to a real mini box and share the result.


24. Transparent Window Box
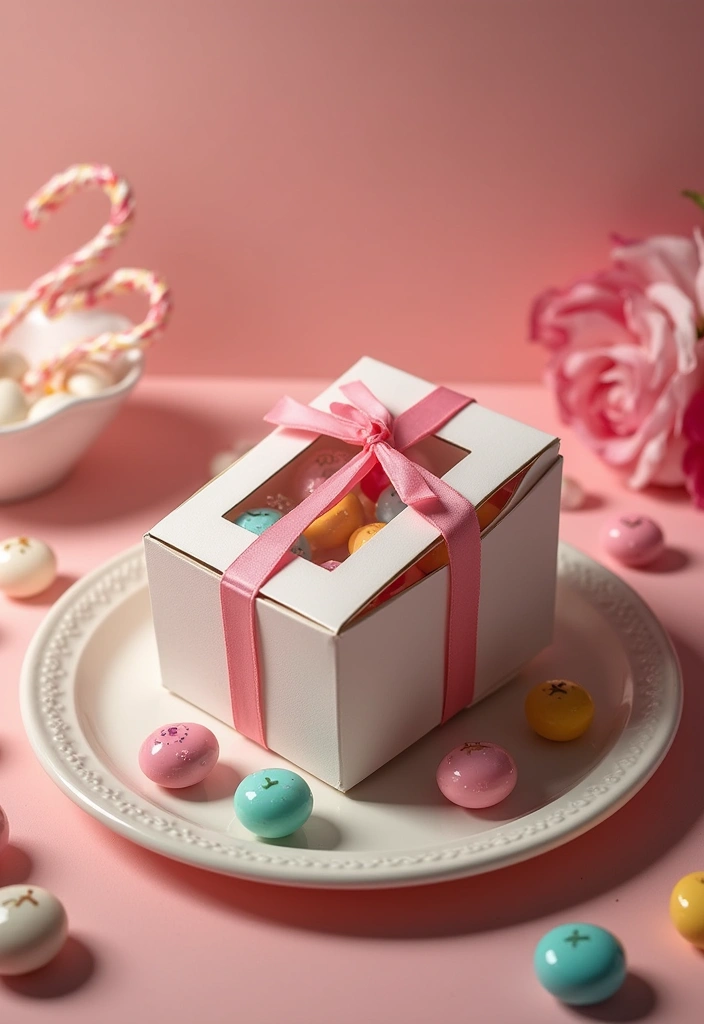
You want a mini gift box that shows the surprise inside. A see-through window does that. It makes the gift feel special before it’s opened.
A transparent window on a small box lets the eye catch a hint of what lies inside. The peek adds charm and curiosity for the person receiving it.
Materials
– Cardboard mini box
– Clear acetate or plastic sheet
– Glue or double-sided tape
– Scissors or a craft knife
How to build it
1. Choose a side to become the window and mark a small opening.
2. Cut out the panel cleanly with a sharp blade or scissors.
3. Turn the box over and press the clear sheet inside to cover the opening.
4. Glue along the edges to seal the sheet flat. Let it dry before you fill the box.
Tips and uses
– This setup works well for cookies, candy, tiny toys, or a small necklace.
– Keep the window small so the contents stand out.
– Finish with a simple sticker or a small string tie.
– If you pack cookies, wrap them first or keep the box dry to avoid sogginess.
Notes and limits: it can be tricky with very curved boxes or very wet foods. Adjust the window size to fit your gift.
Next steps: try different window shapes or place two tiny items inside for a double surprise.
Transparent Window Box
Editor’s Choice
VGOODALL 50PCS Small Gift Boxes, 2 x 2 x 2 inches Mini Party Favor Boxes…
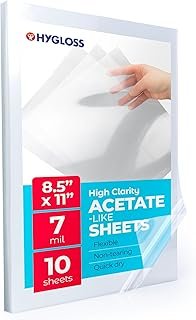
Hygloss 8.5″ x 11″ Acetate Paper – 7 Mil Clear Acetate Sheets for Crafts…
Art3d Double-Sided Mounting Tape (10FT), Multipurpose Removable Adhesive…


25. Mixed Media Box
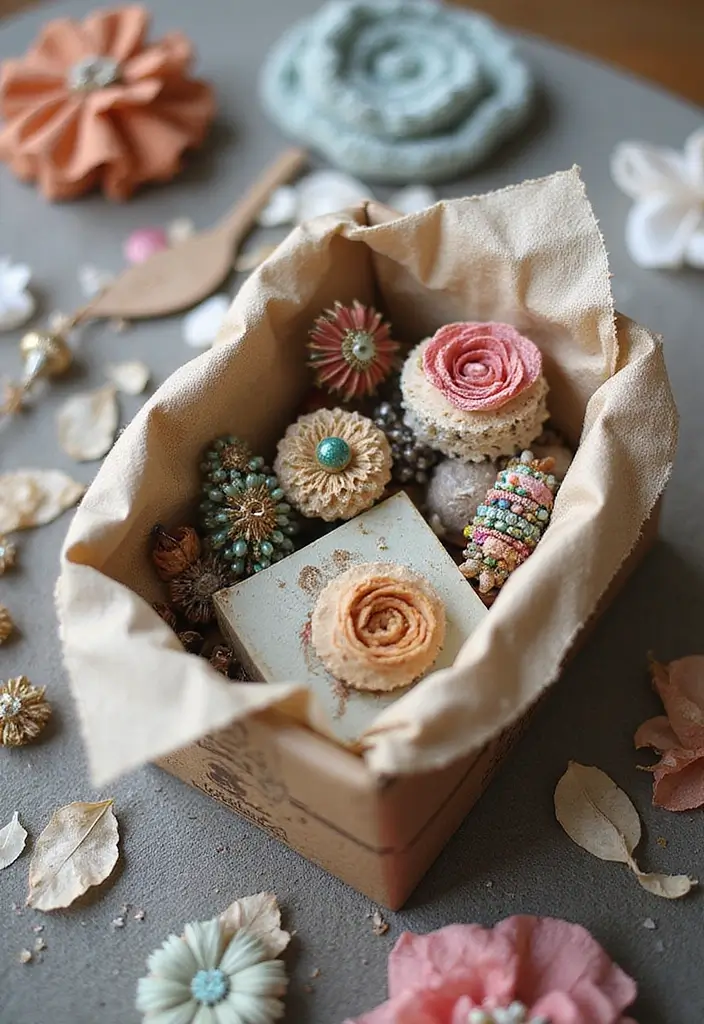
If you want a gift box that feels special, a mixed media mini box is your best move. It blends texture and color to surprise the eyes and the hands.
Here is why it works. You can use items you already have. Fabric scraps, patterned paper, and string bring depth. The mix creates a tactile moment when someone holds the box.
Materials Needed
– Fabric scraps
– Patterned paper
– String or twine
– Scissors
– Craft glue
Next, How to make it:
– Pick a small box and cover it with one material first. Keep edges neat.
– Add a second material on top to build texture and interest. Glue it in place.
– Tuck in a tiny surprise inside, like a fabric tag or a tiny bead, for a final flair.
Tips to nail it:
– Let glue dry fully before you handle the box.
– Use cloth glue for fabric and a lighter glue for paper.
– Test color and texture combos on scrap paper before you commit.
Smart variations:
– Try a single color with mixed textures, such as cream paper and linen.
– Add a simple ribbon or string loop for a gift card.
Next steps: describe your theme first, pick three main materials, and layer them in small steps.


26. Pompom Accents
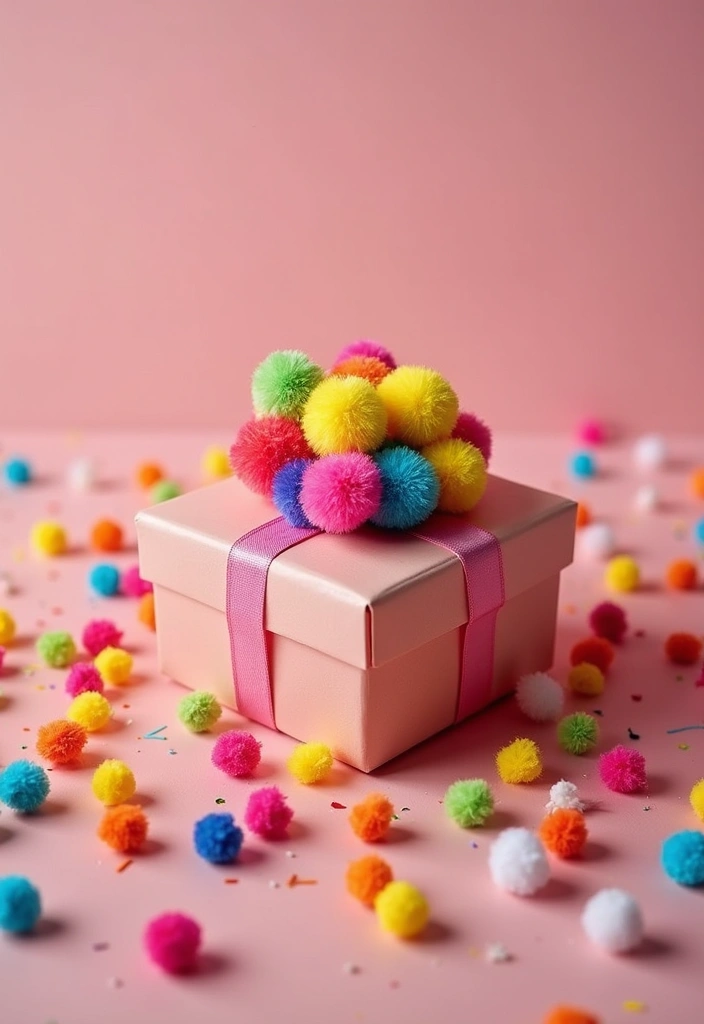
Looking for a cute finish that adds soft charm to tiny gift boxes without a lot of work? Pompoms are the easiest way to do it. They feel fluffy in your hand and catch the eye as soon as you wrap the box.
Materials
– Plain mini gift boxes
– Small pompoms in your chosen colors
– Glue
How to do it
– Decide where to place the pompoms. Put one on a corner or create a small cluster on the lid.
– Apply a dab of glue and press the pompom in place. Hold for 15–20 seconds to set.
– Let the glue dry fully before you move the box.
Why it works
– Color ideas: match the pompoms to the ribbon for a neat look, or mix bright colors for a playful pop.
– Size options: tiny pompoms look tidy on small boxes; bigger ones make a bold statement.
– Arrangement ideas: one per corner gives calm charm; a short row along an edge adds whimsy.
Tips for best results
– Use a toothpick to place glue with precision and keep the box clean.
– If you want less mess, try double‑sided tape under the pompoms.
– Add a small tag or a slim ribbon to finish the gift nicely.
Care and quick fixes
– Let everything dry completely before handling.
– Store boxes flat so pompoms hold their shape.
Common questions
– Do pompoms stay on well? Use good glue and press firmly.
– How long do they last? They hold up well with normal storage.
Next steps
– Try pastel pompoms for kids’ gifts or metallic shades for adult occasions.


27. DIY Party Favor Boxes
Need a simple way to thank guests. DIY party favor boxes are cute, cheap, and easy to make. They work for weddings, birthdays, or any party where you want to say thanks.
Materials
– Thick paper or cardstock
– Decorative items like stickers, stamps, or ribbons
How to make
– Cut and fold your paper into mini boxes.
– Choose colors and patterns that fit your theme.
– Decorate with stickers, stamps, or ribbons to add personality.
– Fill the boxes with small treats or a note of thanks.
– Add a tiny tag or label to say your guests are appreciated.
– Close the box with a ribbon, tuck the flap, or a simple adhesive dot.
Here is why this works. Small gift boxes feel thoughtful and show you care. They are easy to mass-produce, so you can prep them in batches before the big day. If you have little helpers, they can tape, decorate, and fill while you guide them.
Next steps: try a few styles. For weddings, use metallic paper and a soft ribbon. For kids’ parties, go bright with stickers. Keep the boxes flat until use for easy transport.
DIY Party Favor Boxes
Editor’s Choice
White Cardstock 8.5 x 11, 230gsm Cover Cardstock Paper, 85 Lb Heavy Card…
2774pcs Gem Stickers Jewels for Crafts – Self Adhesive Rhinestone Jewel …
Ribbons for Crafts -30 Yd Pack Ribbon for Hair Ribbons for Girls Spring …


28. Recycled Paper Masterpieces
Want tiny gifts that feel special and eco-friendly? Recycled paper gift boxes do the job. They turn old scraps into something new and useful. This quick project shows you how to make cute mini gift boxes that tell a neat story of reuse. Here is why you should try it today.
Materials
– Old envelopes or scrap paper
– Scissors
– Adhesive
– Optional: ribbon, markers, stamps
Steps
– Tear or cut scraps to flat sheets.
– Cut pieces into square or rectangle shapes.
– Fold up the sides to form a box.
– Glue the edges so the box holds tight.
– Make a lid from a slightly larger scrap, if you want a snug fit.
– Decorate with stamps, drawings, or string.
– Reinforce the bottom with a second layer for strength.
– For extra flair, tie a small string bow around the box.
Tips
– Choose envelopes with colors or patterns for instant style.
– Layer plain paper under printed scraps for contrast.
– Test a few sizes to find what fits your gifts.
– Press edges flat to stop bulges.
– Add a simple ribbon or tag to finish.
Why it works
– It cuts waste and gives you a one-of-a-kind package.
– Each box carries a story of reuse you can share.
– It stays budget-friendly and simple to repeat.
Recycled Paper Masterpieces
Editor’s Choice
Westcott 15179 8-Inch KleenEarth Recycled Scissors For Office and Home, …
Weldbond All Purpose Glue, Bonds Most Anything! Non-Toxic Glue, Use as W…
1 Inch Champaign Gold Solid Satin Ribbon, 50 Yards Craft Fabric Ribbon f…
Conclusion
With these 28 mini paper gift box DIY ideas, you’re sure to find the perfect way to package your next handmade surprise!
Each box tells a story, from whimsical and fun to chic and elegant. By going the extra mile with your packaging, you’re not just gifting an item, but also a memorable experience wrapped in creativity. Embrace these eco-friendly projects and let your imagination soar while crafting. Happy gifting!
Note: We aim to provide accurate product links, but some may occasionally expire or become unavailable. If this happens, please search directly on Amazon for the product or a suitable alternative.
This post contains Amazon affiliate links, meaning I may earn a small commission if you purchase through my links, at no extra cost to you.
Related Topics
mini paper gift box
DIY packaging
handmade gifts
eco-friendly crafts
quick DIY
easy paper projects
party favor ideas
recycled materials
creative wrapping
vintage style
nature-inspired
beginner friendly