I made this post because I want affordable, stylish ways to refresh a room without a lot of drama. Lately, blank walls in small spaces have me craving something light, playful, and easy to swap with the mood or season. Paper wall hangings fit that need. They catch the eye without weighing down the room. And you can make them with simple supplies like scissors, glue, string, and a few sheets of sturdy paper. I pulled together 25 paper wall hanging DIY ideas for chic home décor to get you started.
If you love a fresh look but hate big projects, this post is for you. If you’re a renter, a student, or anyone short on time and space, you’ll find something here you can actually finish. You care about budget, color, texture, and a room that feels personal. These paper wall hangings are light, removable, and easy to store away when you move. You can hang them with simple tricks like painter’s tape or lightweight string, and you can switch them out with the seasons or mood. That makes decorating flexible, not permanent.
Here’s what you’ll get. A curated collection of 25 ideas that cover styles from clean geometric lines to soft botanical looks and playful collage scenes. Each idea explains how to adapt it to a real room, with quick tips on color, scale, and finishing touches. You’ll learn which papers hold up best, how to cut them cleanly, and the best ways to mount them so they stay flat against the wall. You’ll also find ideas that work in different spaces—hallways, living rooms, and entryways—and tips to mix textures to keep the display lively.
Picture the feel of light paper catching the light as you move past. Think of a grid of tiny circles that glows softly or a trail of leaves that dances with a light breeze. The mood shifts with your color choices, from crisp white for a modern vibe to warm jewel tones for coziness. Supplies stay simple: sturdy craft paper, scissors, glue, tape, and a bit of string. You can swap in washi tape for a decorative edge. The result is handmade, personal, and completely you.
I am honest about limits too. Some walls are rough, and certain adhesives don’t last in heat or humidity. Start with a single piece, then grow to a wall collage as you learn what sticks best. Use removable tape so you can test layouts without damage. If a piece doesn’t fit, you can unpaste and redo. The plan is to give you options that fit your space, not a rigid blueprint.
Ready to give your walls a light, chic upgrade? Start small. Pick a color you love and the mood you want to set. Gather a few sheets, scissors, tape, and string. Try one idea first, then add more as you like. The beauty of these DIY ideas lies in how easy they are to adjust. You’ll see your space shift from plain to polished in hours, not weeks. If you want, share your creations and show how you styled your home with these 25 paper wall hangings.
1. Whimsical Paper Banners

You want decor that adds joy to a wall without a big project. Whimsical paper banners are the answer. They bring color, texture, and a playful rhythm to any room.
Here is why this works: it takes minutes, costs little, and you can swap colors anytime.
Materials
– Scrapbook paper in a mix of florals, geometrics, and solids
– Twine or baker’s string
– Scissors or a craft knife
– Hole punch or tiny staples
– A hot glue gun for sturdy connections
How to make it
– Pick a theme. Try a friendly mix of patterns that match your space.
– Cut shapes. Triangles, circles, and squares make a lively garland.
– Assemble. Punch holes at the top and slide pieces onto the twine. Space them a few inches apart.
– Secure. Use hot glue for extra hold if you want each piece to stay put.
– Hang. Drape the banner across a wall, above a doorway, or on a gallery rail.
Tips and ideas
– Layer sizes for depth. Put large pieces behind smaller ones.
– Change colors with the season. Pastels for spring, bolds for summer, warm tones for fall, cool tones for winter.
– It’s not just party decor. This garland suits kitchens, living rooms, or bedrooms all year.
Next steps
– Start with a simple two-color combo to test the look, then expand.
@media(max-width:480px){
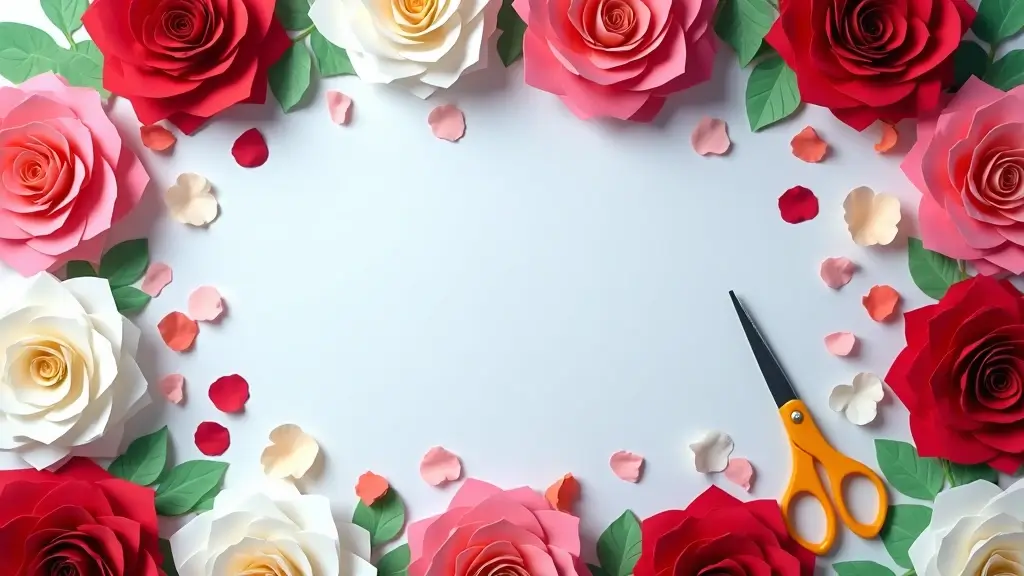
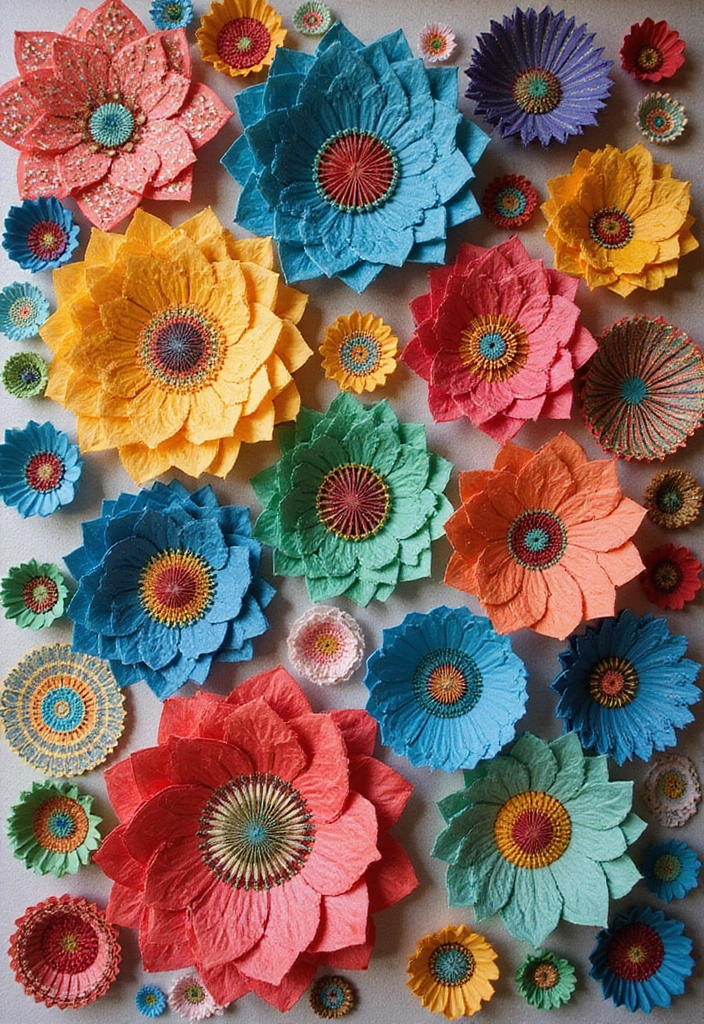
2. 3D Paper Flowers
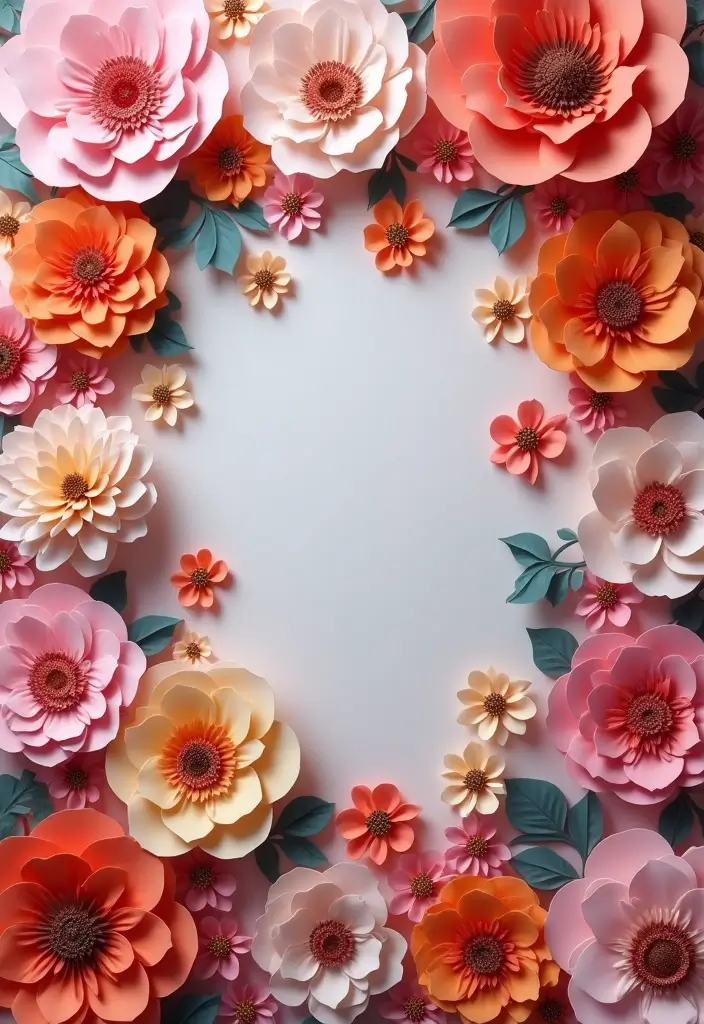
Here is why you should try 3D paper flowers. They add depth to a wall without heavy frames. They catch light and cast soft shadows that change as you pass.
– Materials: colored construction paper for quick blooms, or sturdy cardstock for richer color. You can mix tissue or origami paper for delicate petals. Gather scissors, glue, and a few foam mounting dots to lift petals off the wall. Try metallic or pearl paper for a glamorous touch.
– How to make them: start with a template found online, or sketch your own. Cut several petal shapes. Create multiple layers for each flower, using different sizes. Glue the layers together, with foam dots between for lift. Attach a small piece of tape or a back tab so you can mount it. Let each layer dry a bit before adding the next.
– Design ideas: group blooms in a single frame or across a wall for a statement display. Use shades from the same color family for a subtle, sophisticated look. Mix sizes for an organic, garden-like feel. Arrange blooms in a loose grid or a curved line for a dynamic look.
– Displays and gifts: place the cluster on a plain wall or above furniture. They work as a focal point or as part of a larger wall art set. Color blooms to suit a friend or family member for a personal gift. You can attach a string so blooms hang in a gentle arc.
– Care: dust gently with a soft brush to keep colors bright. Keep them out of direct sunlight to prevent fading.
@media(max-width:480px){
3. Origami Wall Art
You want wall art that is simple and easy to make. Origami lets you turn plain paper into a story on the wall. A few sheets can become cranes, butterflies, or clean abstract shapes. It is art you can fold with calm focus. As you fold, you slow down and stay present. When a piece is done, place it on a background that contrasts with its color, or frame it for a neat finish.
Materials you’ll need
Choose patterned or metallic origami paper. Have double-sided tape or tiny mounting squares ready.
Display ideas
Hang pieces at different heights. Group them in a cluster for impact. A shadow box adds depth and a professional feel.
Step by step
Choose a theme. Fold 3 to 6 pieces. Plan your layout. Attach with tape or pins. Adjust spacing after you step back.
Practical ideas
Cranes can symbolize luck. Butterflies suggest movement. Geometric folds give a modern look. Pick colors that match your room.
Care and trends
Dust lightly with a soft brush. If a piece bends, re-fold it and remount.
Display options include clustering on one frame, lining up in a row, or filling a shadow box.
Origami wall art gives a hands-on touch that stays interesting.
Try mixing sizes for a lively wall story today.
@media(max-width:480px){
🛠️ Craft Your Space Beautifully
Unlock your creativity with woodworking skills that elevate your DIY projects to new heights and sustainability.
4. Geometric Wall Hangings
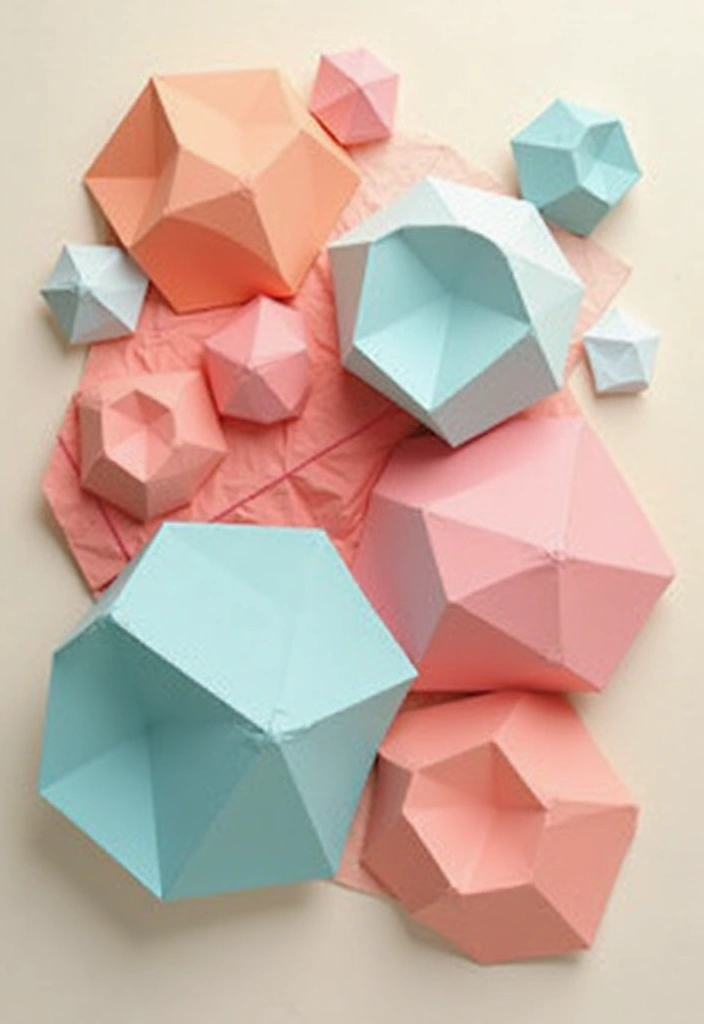
Geometric wall hangings give a clean, modern look. You can make them with cut paper in a few colors. Here is a simple method.
– Materials: thick paper in 2–4 colors, a ruler, a craft knife or scissors, a pencil, a cutting mat, removable mounting squares, and a backing board or a small frame. Mix matte and glossy papers for texture.
– Plan your colors and shapes: pick colors that suit your room. Try soft pairings for calm feel, or high contrast for punch. Layout on the table first.
– Cut and shape: choose triangles, diamonds, hexagons, or circles. Cut clean lines with a straight edge. Keep shapes the same size for a tight grid, or mix sizes for a lively cluster.
– Put together and hang: frame each piece or mount them on a backing board as one art piece. You can also hang shapes directly with removable tape for a floating look.
– Texture and finish: mix finishes, leave gaps so light can sweep across.
– Seasonal swap: swap colors or shapes to reflect seasons. It stays fresh with little work.
– Quick tips: use a cutting mat, a sharp blade, and a level to align. Keep a spare shape for future updates.
Try a few layouts first.
@media(max-width:480px){
5. Paper Mache Wall Sculpture

Paper Mache Wall Sculpture
You want wall art that adds texture and uses recycled materials. Paper mache from old newspapers or cardboard is a smart choice. It’s affordable and entirely unique.
Here is how to make one:
– Base shape: start with a balloon or a simple wireframe.
– Paste and layers: mix flour and water into a smooth glue, or use diluted glue. Tear strips of paper and press them onto the form. Brush paste over each strip. Add several layers for strength.
– Drying: let each layer dry fully before adding the next. This keeps the piece smooth.
– Finish: when dry, you can color it. Paint with acrylics for bold color, or tint with tea for a vintage look.
What to make:
– Animal silhouettes with soft curves.
– Abstract shapes that flow through space.
– 3D letters for a favorite word.
Care and protection:
– Seal with a clear varnish to guard against humidity.
– Mount with a sturdy hook or backer so it sits flat.
Next steps:
– Place it where light hits the texture to see the shadows.
– Try two pieces together for a mini wall gallery.
This wall sculpture brings warmth, texture, and a real talking point to your decor.
@media(max-width:480px){
6. Paper Collage Art
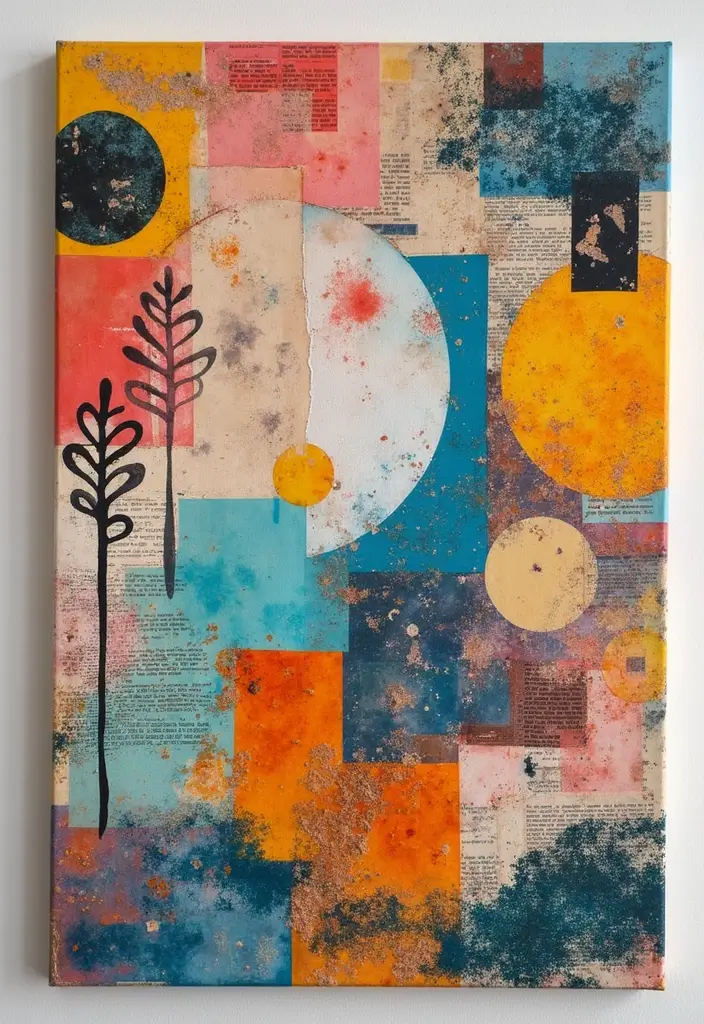
Here is why this works: paper collage art on your wall pulls a room together with color, texture, and a story you control. This quick DIY wall art project helps you reuse old paper scraps and make a one of a kind piece.
– Theme Pick a theme you love. It guides every cut.
– Gather scraps Collect magazines, cards, receipts, photos. Only keep pieces that catch your eye.
– Sturdy base Choose thick paper or a small canvas. A firm base keeps layers flat.
– Cut shapes Cut varied shapes—rounds, squares, curves. Mix bold images for texture.
– Plan layout Lay pieces first. See how colors peek and edges meet.
– Layer with care Stack pieces to add depth. Let some edges show.
– Glue and seal Use Mod Podge or craft glue. A gloss finish adds shine and protects.
– Finishing touches Add a thin border or small center image. It pulls the piece together.
Next steps: mount it on the wall or frame it. This project recycles scraps and adds a personal touch.
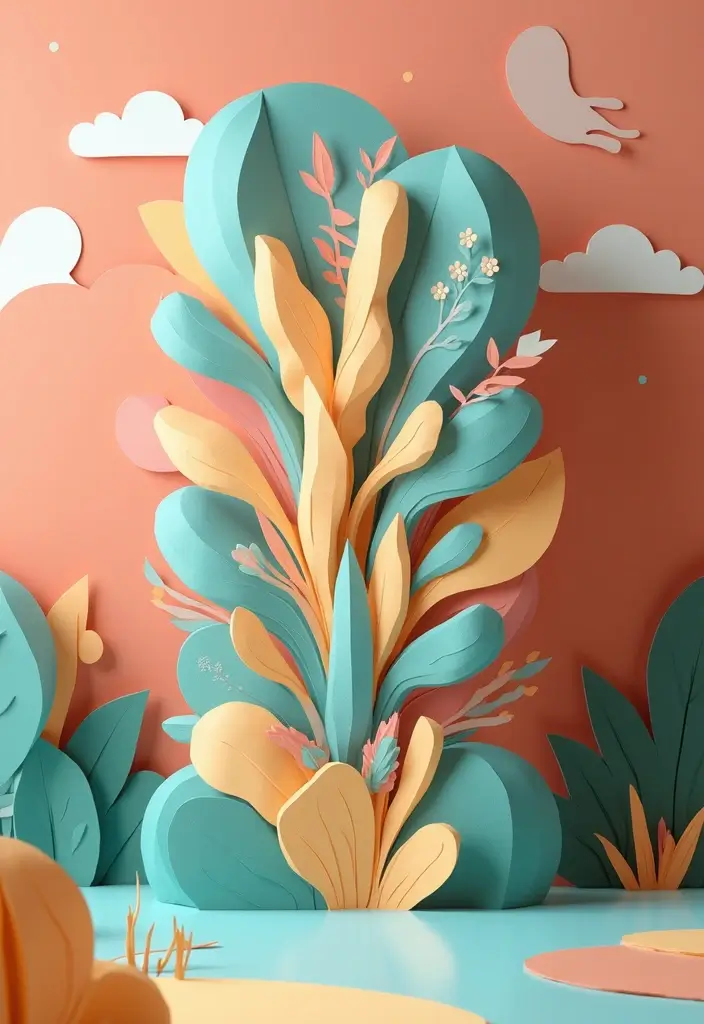
7. Nature-Inspired Paper Art

Want a nature vibe on your walls without spending much? Nature-Inspired Paper Art lets you turn leaves, flowers, and tiny natural shapes into calm, eye-catching wall pieces.
– Gather items: pressed leaves, petals, seed pods, and small dried bits from your garden or a walk. Keep colors soft for a natural look.
– Press and dry: place each item between parchment or tissue. Stack heavy books on top. Leave for 7 to 14 days. When flat and dry, they are ready.
– Plan your layout: lay items on a thick backing like cardboard or a small canvas. Try a loose grid or an organic, overlapping arrangement. Vary sizes to add depth.
– Attach gently: use clear craft glue or double-sided tape. Put tiny dots at the edges to avoid bending. Let the glue set.
– Frame for depth: place the piece in a transparent shadowbox or simple glass frame. A shadowbox makes leaves seem to float and adds space between layers.
– Protect and display: dust lightly and keep away from direct sun and humidity. A light spray sealant can help colors stay vivid.
– Why it helps: you make a one-of-a-kind piece, stay connected to nature, and add a soft, calm touch to any room.
Next steps: collect, press, plan, glue, frame, and hang.
@media(max-width:480px){
8. Paper Doily Wall Art
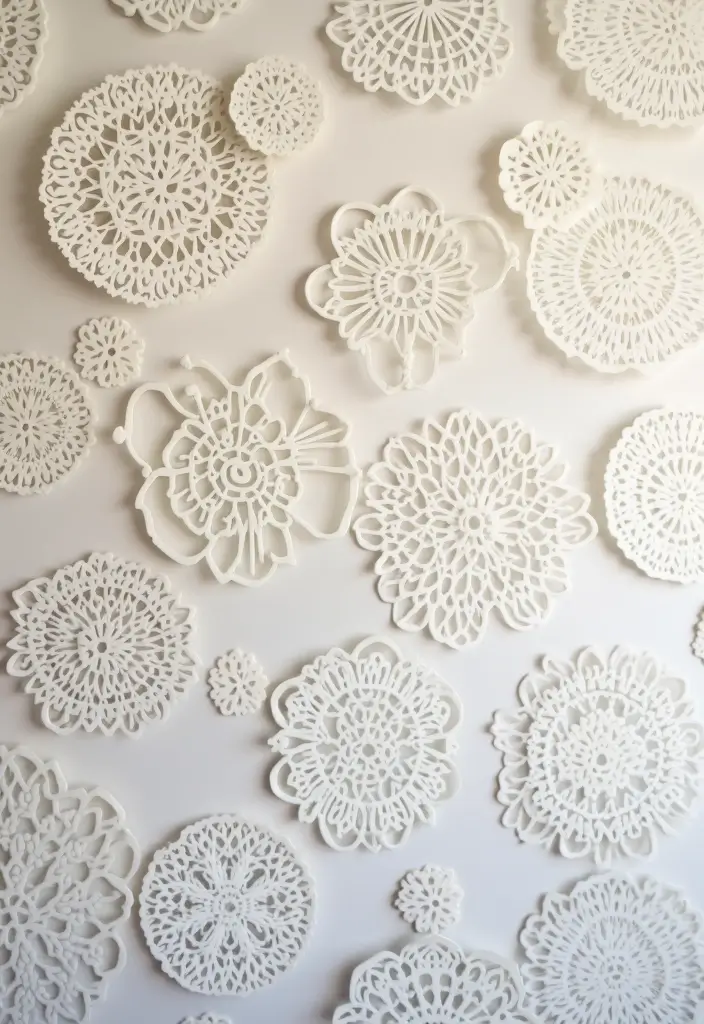
You want a chic wall look without spending a lot. Paper doilies give you lacey charm in minutes. Keep a small stash of leftovers from other crafts. You can turn them into paper doily wall art that feels light and fresh. Here is why it works: the delicate patterns catch light and add texture without heavy frames.
Let’s break it down.
– What you need
Paper doilies in different sizes, adhesive putty or removable tape, a clean wall, and scissors if you want to trim. Optional: acrylic paint or dye for color. A plain spine to plan your layout helps too.
– Layout ideas
Try a neat circle, a loose cluster, or a grid. Layer large doilies under smaller ones for depth. Leave white space for calm vibes. For a playful twist, mix patterns and sizes in a random arrangement.
– Color and finish
Leave some pieces white for a classic look. Dye doilies in soft colors or paint the edges with light tint. Use gentle brushes or a quick spray and let each layer dry before you move on.
– Mounting tips
Use adhesive putty so you can shift pieces without damage. Start at the center and add pieces outward for balance. A simple, clean mount makes the wall art feel intentional.
– Care and limits
Keep away from humidity and direct sun. Dust lightly with a soft cloth. If a doily gets bent, press it flat before rehanging.
Next steps: test a small arrangement on a white wall, then expand. Your DIY paper doily wall art can become a signature doily wall decor that fits your space.
9. Quote Wall Hangings

Want a quick, affordable way to add personality to a room? Quote wall hangings cut from paper give you a splash of motivation without a big price tag. You pick the words, you choose the look, and you set how bold or soft the message feels.
Here is why they work: they move with your space, and you can swap them anytime.
You can print quotes on decorative paper or hand-letter them for a personal touch.
Framing adds polish; strings or pins keep the vibe casual.
Materials matter. Use textured or metallic papers for depth. Try black, white, and soft colors. Mix fonts for emphasis.
Display ideas. Frame two or four small pieces for a mini gallery. Hang a single piece on a string along a hallway, or above a desk.
Step-by-step:
1) Choose a quote you love.
2) Pick paper or print method.
3) Size the art to fit your space.
4) Add a frame, string, or pin.
5) Tweak colors and fonts until the layout feels right.
Gift idea: personalized wall quotes make a thoughtful present.
Next steps: gather quotes and start creating.
@media(max-width:480px){
@media (max-width: 600px) {
.normal-quiz-iframe { min-height: 570px !important; height: 570px !important; }
}
10. Hanging Paper Art Mobile

You want a light, moving art piece for your space. A hanging paper mobile fits. It adds life and soft shadows without heavy frames.
– Materials Gather lightweight paper, string or thread, scissors, glue or tape, and a hanger or ceiling hook.
– Shapes Cut stars, moons, circles, and abstract forms. Make a mix of large and small pieces.
– Assembly Punch tiny holes or knot the string to each shape. Tie the strands to a ring or slim dowel at different lengths.
– Hang Secure the hook in the ceiling or on a wall bracket, and leave space for the shapes to drift with a breeze.
– Color ideas Pick three colors or a soft gradient. Pair patterns like dots with stripes for charm.
– Safety Use sturdy knots and double check that every piece is tied well.
– Variations For a nursery, choose gentle pastels and bigger shapes; for a modern look, keep lines clean and use a single tone with contrasts.
– Care Dust occasionally with a soft brush and replace torn pieces promptly.
Next steps: Step back and adjust the lengths for balance. Hang away from fans and doors. Enjoy the gentle sway of your paper art mobile.
@media(max-width:480px){
11. Recycled Paper Tapestries
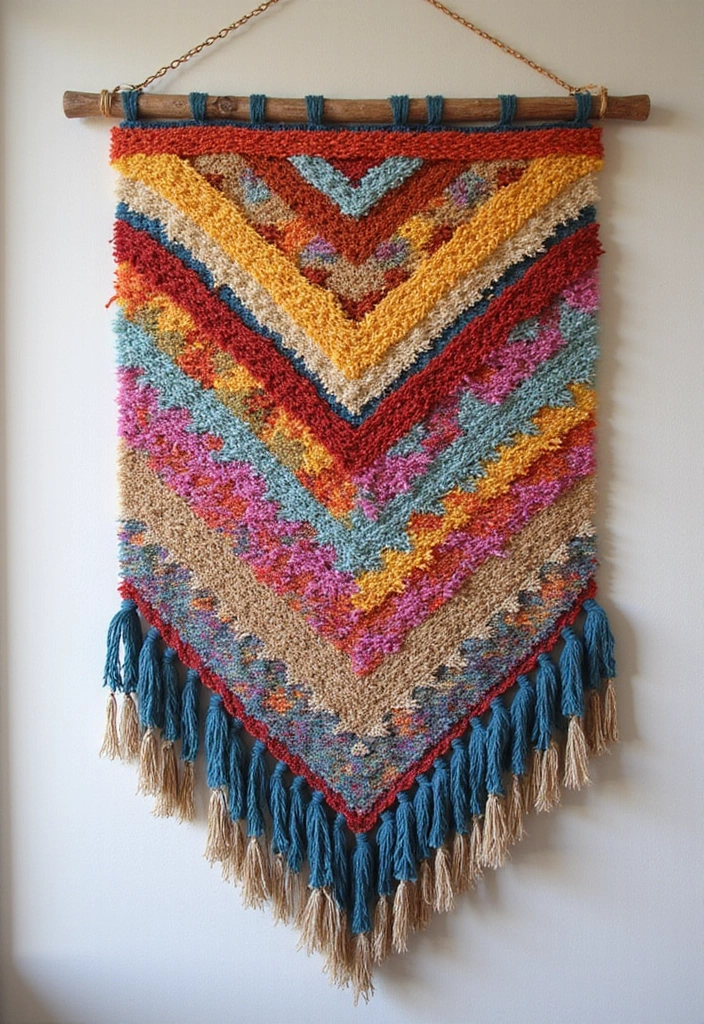
Need a wall piece that feels fresh and friendly to the planet? Recycled paper tapestries fit. You shred old newspapers or magazines, then weave them into a wall hanging. You add color with the scraps you choose.
What you need
– A simple loom or a DIY frame to hold the weaving. You can make a frame from a wooden strip and nails.
– Paper strips from magazines and newspapers in many shades.
– White glue or paste and a bowl of water.
– Scissors, a ruler, and a light press or a heavy book.
Next steps
– Tear and shred the paper into thin strips.
– Mix light and dark shades to form a pattern or a soft gradient.
– Weave the strips on the loom by going over and under, keeping the rows tight.
– Try different weaving tricks for texture. A plain weave gives a flat look; a simple twill adds ribbed depth.
– Leave some scraps loose on purpose for a rustic touch.
Finish and care
– Press the work under a heavy book and let it dry fully.
– If you want extra hold, seal with a light clear finish to keep color bright.
Display ideas
– Mount on a wooden frame or frame dowel and hang where light shows off the colors.
– Keep away from direct sun and high humidity.
@media(max-width:480px){
12. Paper Silhouettes
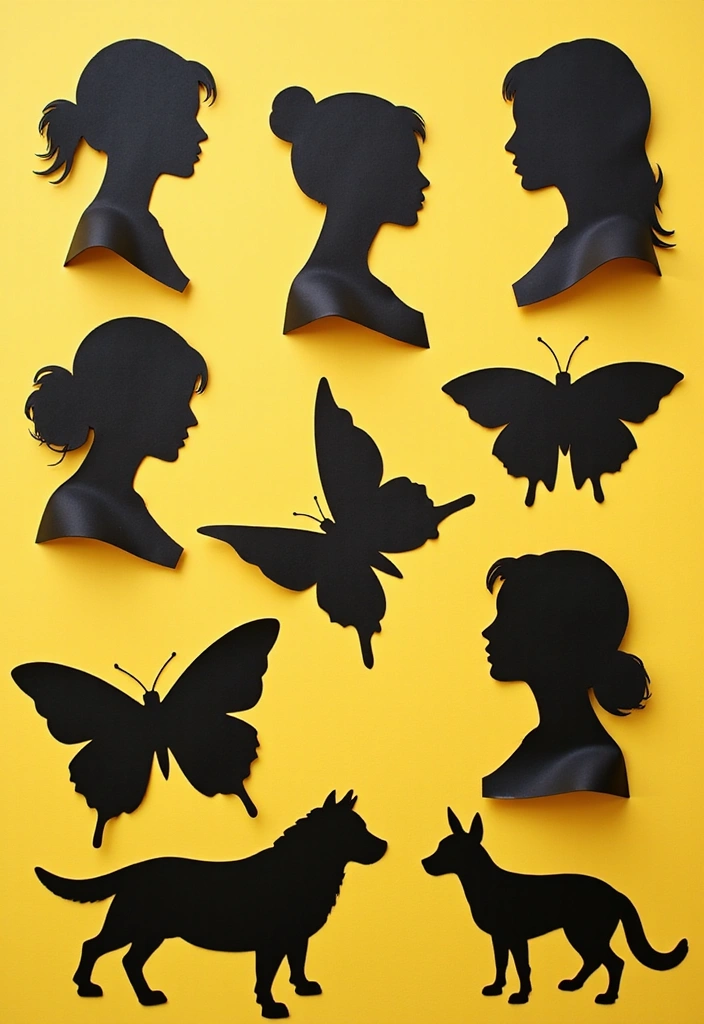
Want a calm yet bold wall look? Paper silhouettes give you clean shapes on a bright background. Black paper cuts stand out and stay simple, yet they make a big visual statement. Shadow art like this adds texture and mood without loud colors.
What you need
– Black paper or sturdy cardstock
– A sharp craft knife or hobby blade
– A self-healing mat or thick cutting surface
– A light background, canvas, or sturdy backing
– Frame, mounting tape, or double‑sided adhesive
– Optional backgrounds such as patterned paper or a textured fabric
Here is why this works
The contrast between dark shapes and a light backdrop catches the eye fast. Simple forms feel modern and timeless. You can tell a story with silhouettes of trees, animals, or abstract figures. It’s easy to swap shapes later if you want a fresh look.
Steps to create your silhouette wall art
1) Pick a theme you want to tell with your shapes. Keep it simple for the most impact.
2) Draw or print basic outlines. Use templates if you’re new to cutting.
3) Cut your shapes with a sharp blade on a cutting mat. Take your time for clean edges.
4) Arrange the pieces on the backing. Leave small gaps to let light show through.
5) Glue or tape the silhouettes in place. Then frame or mount the piece.
Display ideas
– Frame a single large silhouette for a clean, gallery‑like look.
– Create a mini set by grouping three or five smaller shapes.
– Vary backgrounds with patterned paper or smooth textured fabric.
– Place the arrangement near a window or lamp to cast soft shadows.
Tips
– Test a few background colors to find the strongest contrast.
– Keep edges crisp with a fresh blade and a slow hand.
– Mix sizes for depth without crowding the wall.
@media(max-width:480px){
@media (max-width: 600px) {
.visual-quiz-iframe { min-height: 995px !important; height: 1100px !important; }
}
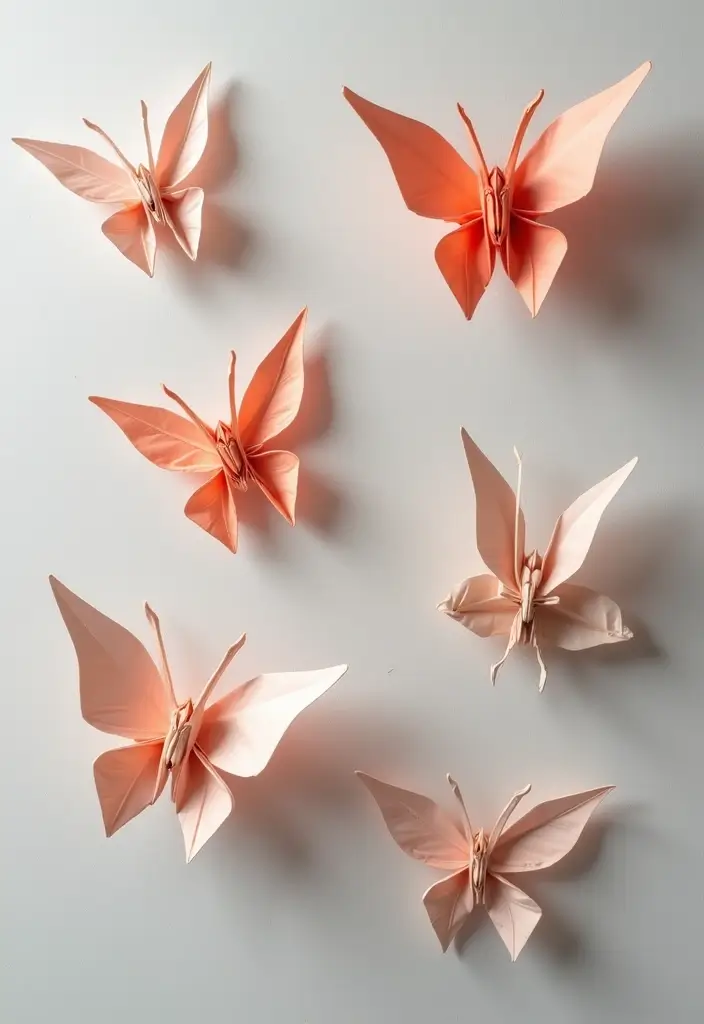
13. Whimsical Paper Butterflies
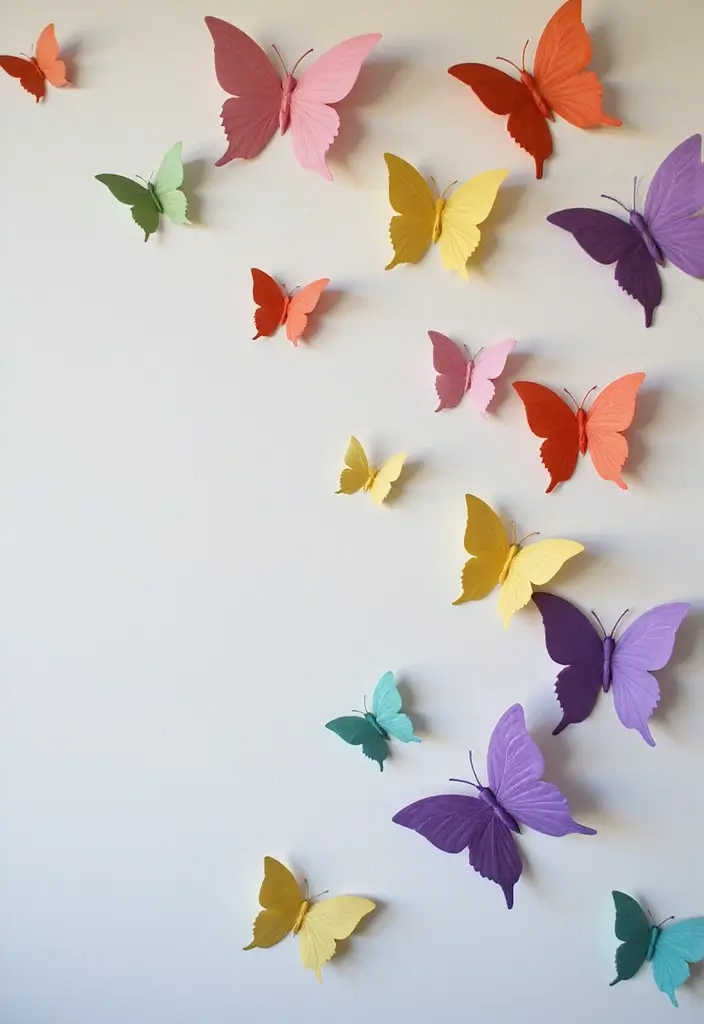
You want a quick, affordable way to brighten a wall. Paper butterflies give that light, playful touch. They flutter with color and catch the eye as you walk by. Here is how to make a butterfly wall that feels alive.
What you need
– Choose colored or patterned paper in several shades.
– Gather scissors, craft glue or tape.
– Get thin craft wire or clear fishing line.
– Have small foam dots or double-sided tape for lift.
– Keep a pencil for marking.
Step-by-step
– Cut butterfly shapes in at least three sizes.
– Fold the body or wings slightly to add dimension.
– Attach a short wire or line to the back of each butterfly.
– Use tape with a foam dot to lift the wing.
– Plan a loose flight path across a wall.
– Curve the lines or stagger angles to make a natural look.
Quick layout ideas
– Create a cluster near a sunny corner for a focal splash.
– Arrange them in a sweeping arc that mimics real flight.
– Mix light and dark colors for depth.
Placement and care
– Use low-tack tape so you can move them later.
– In a kid’s room or craft space, position butterflies at child height for interaction.
– Gently dust with a soft brush from time to time.
Why it helps
– A butterfly wall signals growth and change.
– It adds whimsy and color without heavy frames.
– This DIY project doubles as 3D butterfly wall art.
14. Vintage Book Page Art

Want a wall piece that tells a story without shouting? Vintage book page art does just that. You use old pages to build a picture or a simple design. Tear or cut passages or whole pages. Arrange them into a collage or place them in a frame. It feels warm and lived in.
Here is why it works: pages carry color and texture. They catch light differently from plain paper. This piece invites a closer look and a quiet chat about where the book came from.
What you’ll need:
– An old book with pages you don’t mind losing
– Scissors or a craft knife
– Matte glue or spray adhesive
– Backing board and frame
How to make it:
– Pick a theme or color and cut out pages that fit
– Layer pages with fabric or colored sheets for depth
– Glue pieces in place, then seal with a thin coat of matte medium or clear spray
– Keep the pages intact for a rustic feel, or paint over parts for a modern twist
Ways to display:
– Frame a single strong piece, or create a mini-gallery
– Run a long strip along a hallway or above a shelf
Done well, it keeps literature alive at home and starts good chats.
@media(max-width:480px){
15. Seasonal Paper Decor
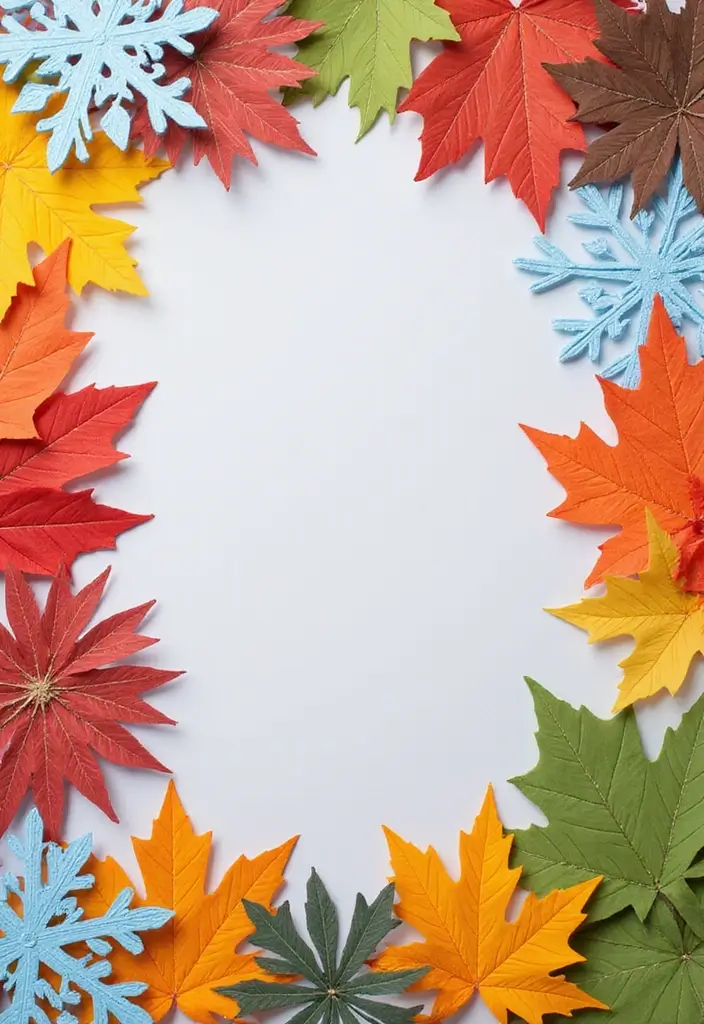
You want a cozy look that changes with the seasons. Seasonal paper decor gives you that with little work. You swap pieces as the year turns, and your space feels new.
– Color plans: Pick a simple palette for each season. Winter: white, silver, pale blue. Spring: pink, mint, soft yellow. Summer: bold coral or teal. Autumn: warm orange, red, gold. Use three colors per season.
– Shapes to cut: Snowflakes, blossoms, leaves, suns. Cut from plain white paper or colored sheets. Layer two pieces for depth. You can punch small holes to hang or thread through a needle to create tiny garlands.
– Display ideas: Hang a string across a wall with mini clips, pin shapes on a cork board, or drape a garland along a mantel or shelf. Mix shapes and sizes to keep it lively. Space them evenly or cluster for a bold look.
– Family involvement: Let everyone pick a color or shape. A quick 20-minute craft day becomes a small ritual you repeat each season.
Next steps: Grab craft paper, scissors, thread, tape, and glue. Start with one simple piece this weekend, then switch to the next season.
@media(max-width:480px){
16. Paper Mosaic Art

You want a bright wall but don’t want a big project. This DIY paper mosaic makes a bold statement with tiny pieces. It’s a great way to turn scraps into paper mosaic wall art that pops on any room.
Here is how to begin. Pick a sturdy base like thick poster board, a wooden panel, or a canvas. Choose 2–3 base colors to add depth. Cut colored paper into small squares, circles, triangles, or other simple shapes. Sketch a plan or lay pieces out loosely before glueing.
Next steps you can try:
– Start with a simple design. A neat grid or a soft silhouette helps you learn the feel of mosaic art without frustration.
– Build in sections. This keeps your work clean and lets you adjust colors as you go.
– Add dimension by layering some pieces. A single base color background helps the design stand out.
– Seal lightly if you want extra durability. A thin coat of craft glue or a matte sealant works well.
Tips to make it pop:
– Use strong color contrast between pieces.
– Mix textures by combining matte and gloss papers.
– Let the theme come from a favorite image or mood. Your wall piece becomes personal.
Each piece adds to a larger picture, showing that many small parts can create something beautiful for your home.
@media(max-width:480px){
17. Paper Weaving Art
Want a DIY wall piece that feels fresh and calm? Paper weaving art turns simple paper strips into striking wall decor. It looks like fabric, yet you control color, pattern, and mood.
Here is why you will love it: quick to learn, you set the pace, and scraps become art. You finish with a unique piece you can frame.
What you need:
– colored paper or craft stock
– scissors and a ruler
– white glue
– a small frame or board to mount on
Next steps:
1) Cut even strips, about 1/4 to 1/2 inch wide.
2) Lay out a simple grid. Weave over and under each strip.
3) Weave. Slide strips through the grid, then press ends with glue.
4) Seal the edges. A light press keeps the weave tight.
Tips for strong art:
– vary width and color for depth.
– mix warm and cool tones.
– frame the piece to display as a focal point.
– tuck the ends with glue to avoid loose edges.
Display ideas:
– hang solo or in a small gallery of weaves.
– place where light can catch the color.
Care:
dust lightly with a soft brush to keep it clean.
@media(max-width:480px){
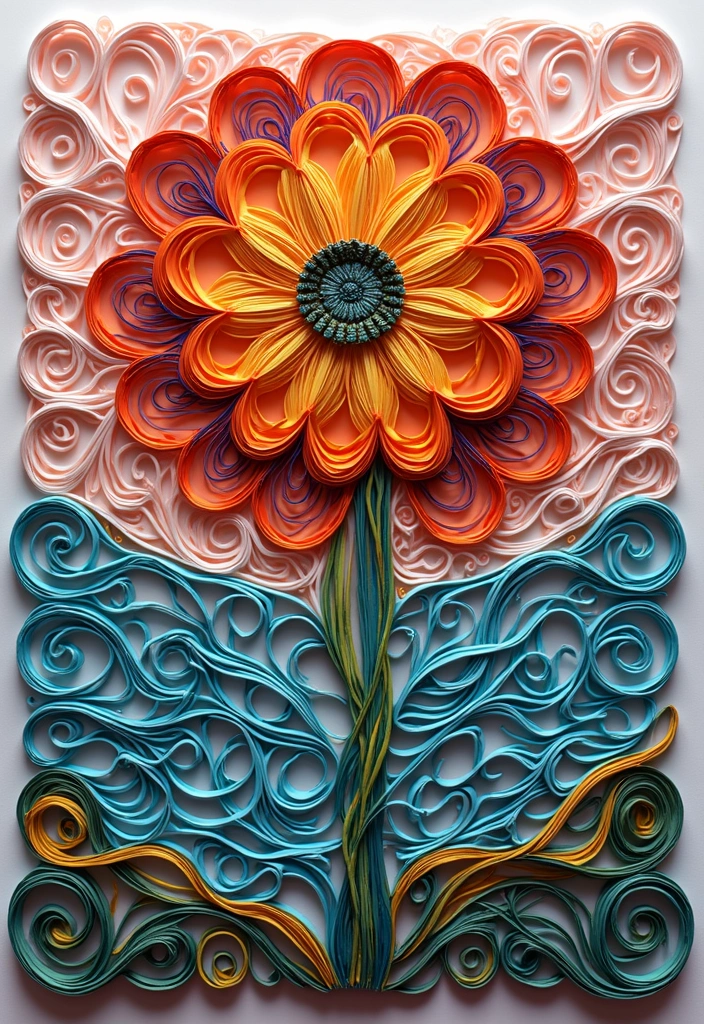
18. Paper Quilled Wall Art
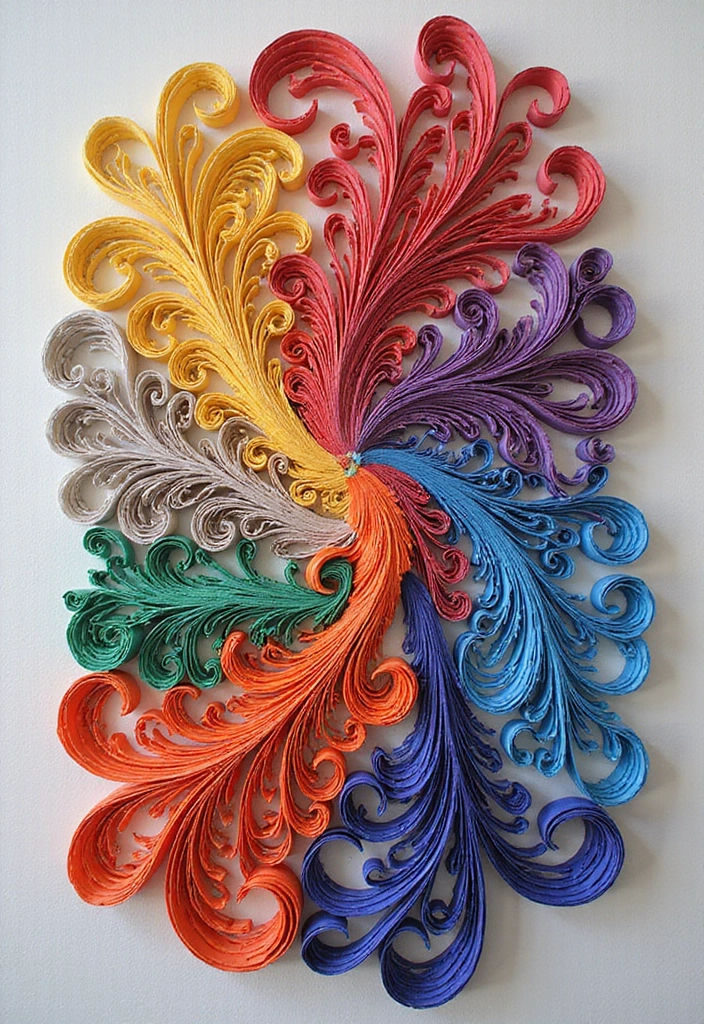
Paper Quilled Wall Art
You want a soft, chic piece that fits your space. Quilling uses thin paper strips to make curved lines and petals. It looks delicate and calm on a wall.
Materials
Gather these: quilling paper strips, a quilling tool, white glue, a small tweezers or stylus, scissors, and a sturdy backing board or cardstock. A needle helps place tiny pieces. You can add a clear frame later for a polished finish.
Steps to craft a simple design
– Start with two or three basic shapes, like tight coils and teardrops.
– Roll the strips with the tool, then loosen the coil for different sizes.
– Glue pieces onto the backing in a loose plan. A simple flower or sunburst works well.
– Add a few colors for contrast; use 2–4 shades to keep it calm.
– Let glue dry fully before framing.
Tips for texture and depth
Use varying strip widths to create layers. Mix shiny metallics with matte colors for a subtle sparkle. Place larger shapes toward the center and smaller ones around the edge for balance.
Display ideas
Group several tiny quilled pieces for a gallery wall. Or position one focal design above a console. A thin, clean frame adds a finished look.
Why it works
Quilling trains patience. It produces a serene art piece you can be proud of.
Next steps
Give it a try.
@media(max-width:480px){
19. Colorful Paper Fans
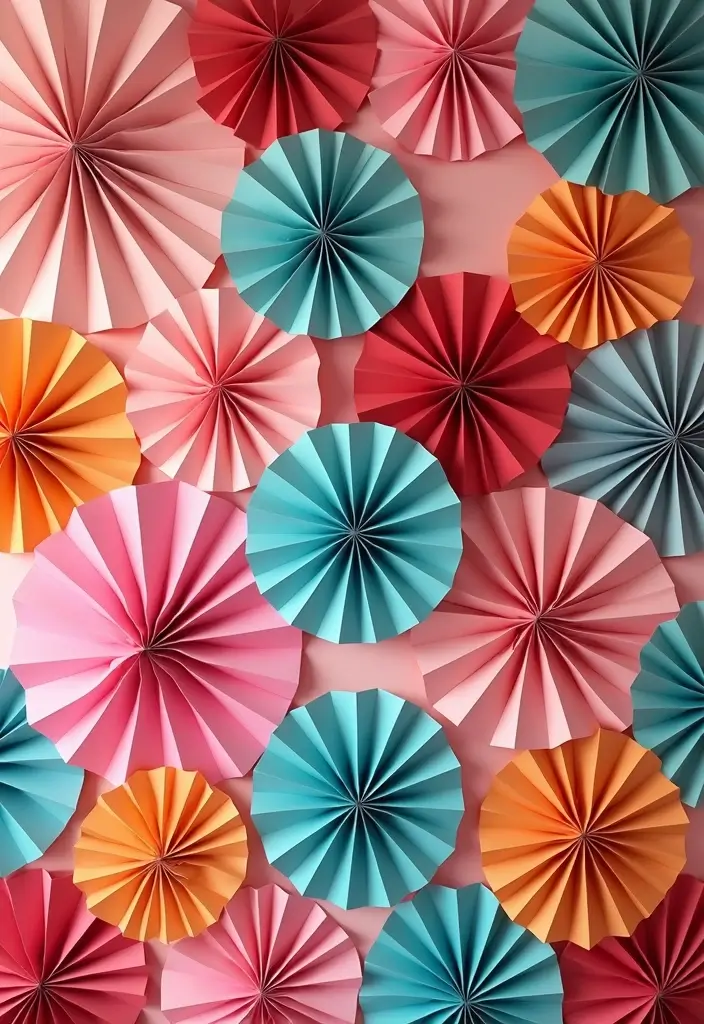
Colorful Paper Fans
You want wall art that’s simple, affordable, and fun. Colorful paper fans fit that need. They brighten a room and move a little when you walk by. You can make them from patterned scrapbook paper or old book pages. Start by folding the sheet into even pleats, pinch the center, and press flat to hold the shape. When you open it, you get a crisp little fan ready to display.
What you’ll need
– colored or patterned paper
– scissors
– glue, tape, or a small staple
– a bamboo stick or wooden dowel for hanging
– string for extra hanging options
Next steps
Pick two to four colors. Then follow the steps to make several fans and mount them.
How to make
1) Choose papers with different colors and sizes for a lively mix.
2) Fold each sheet into equal pleats from edge to edge.
3) Secure the center with a dab of glue or a staple.
4) Open the fan and smooth the pleats to keep a neat look.
5) Attach the back of the fan to a stick with glue or tape. Add string if you want to hang multiple fans in a row.
Display ideas
Group several fans on a wall for a bold statement, or hang them individually for a softer touch. Mix orientations to create movement. Place them in a hallway, above a console, or on a kid’s room wall.
Care and tips
– Store flat in a labeled box when not in use.
– Use light glue so you can refold if needed.
– Avoid damp areas to keep paper from wrinkling.
@media(max-width:480px){
20. Paper String Art
You want a wall piece that looks chic and is easy to make. Paper string art fits the bill. It pairs a simple paper shape with lines of string to add texture.
What you need
– Materials: sturdy paper or cardstock, color string or yarn, white glue or glue dots, scissors, a pencil
– Tips: pick a bright string for contrast. place a few glue dots at anchor points so the lines stay put
How to make it
– Cut a simple base shape from thick paper. Hearts, stars, or circles work well.
– Lightly trace the edge with a pencil.
– Glue the string at one anchor and pull it around to outline the shape. Keep the line snug and flat.
– Fill the space with more lines. Try a basic crisscross or a single outline pattern.
– Let the glue dry, then mount in a frame or on a wall with tape
Why this works
– It looks stylish yet quick to finish.
– It teaches patience and planning in a friendly way.
– It scales up for a big piece or scales down for a small accent
Next ideas
– Use two colors for a layered look
– Try geometric shapes or a circle with a spoke pattern
Variations you can try
– Layer two shapes: cut a second shape in a lighter shade and glue it on top
– Add a border by tracing the outline with string in a second color
– Create a small trio for a mini gallery wall
Care and maintenance
– Keep away from moisture to avoid wrinkling
– Clean with a dry cloth
– If glue shows, refresh with a tiny bead of glue
This quick project fits any room and grows with your skills
@media(max-width:480px){
21. Paper Snowflakes
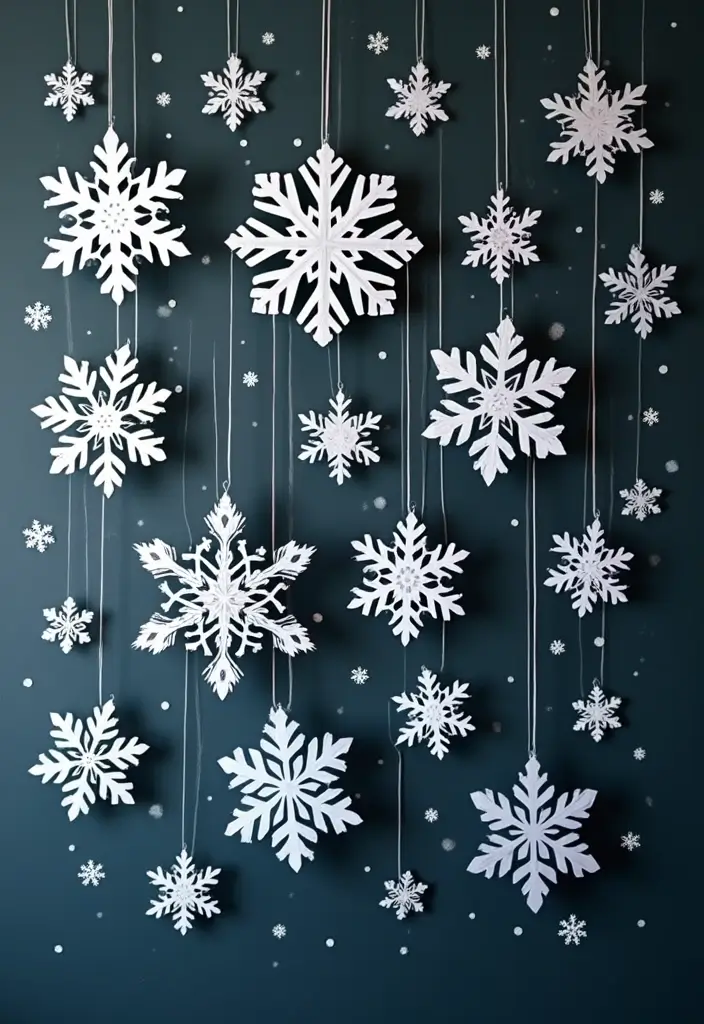
You want a winter vibe that lasts all year. Paper snowflakes do this with ease. Start with simple white paper and cut patterns that reveal the design.
Here is why they work: they are cheap, light, and easy to change. You can reuse them season after season.
What you need
– White craft or printer paper
– Scissors
– Thread or fishing line
– Tape or hooks
– Optional colored paper or glitter
How to make them
– Fold a square once or twice
– Cut small shapes from the folds
– Open slowly to reveal the snowflake
– Make a few sizes: small, medium, large
Display ideas
– Hang from the ceiling in a graceful row
– Put them on the wall in a cluster
– Layer different sizes for depth
Care and storage
– Keep flat in a labeled box
– Dust gently with a soft brush
– Store for reuse
Tips and variations
– Try colored paper or sparkle with a little glitter
– Use clear thread to make them look like they float
– Mix in metallic sheets for shine
Common questions
– What paper works best? Thicker paper holds up, but regular printer paper works too
– How do I hang them? Tape or a tiny hook works well
– How do I store them? Place flat in a box to stay crisp
Next steps
– Gather supplies this weekend
– Make a batch of snowflakes and test several layouts
@media(max-width:480px){
22. Color Block Paper Art

What color block paper art is
Color block paper art brings a clean, modern feel to any room. Here is why this works: you cut paper into shapes and colors, then group them into bold blocks on a canvas or on the wall. This look stays tidy and easy to refresh.
What you need
– Cutting mat
– Sharp scissors or a craft knife
– Glue or double tape
– A plain canvas or a clean wall
– A ruler for straight edges
Next steps
– Pick a color plan. Monochrome gives calm, while bright shades add energy.
– Cut shapes in a few sizes. Keep edges crisp for a sharp finish.
– Lay pieces out first. Try a grid or a staggered pattern and adjust until balanced.
– Glue or tape each piece in place. Press gently to avoid wrinkles.
Tips you can use
– A cutting mat helps you stay precise and protect surfaces.
– Use even spacing around blocks for a modern vibe.
– Change colors with the seasons by swapping out a few pieces.
– Experiment with alignment: straight rows, diagonal lines, or a loose cluster.
Common questions
– Can I do this on a wall? Yes. Lightweight pieces and removable tape work well.
– Is removal tough later? Not if you use removable adhesive and gentle peeling.
Next steps
Start small with a mini panel, then scale up to a larger wall piece. This quick project works for busy days too.
@media(max-width:480px){
23. Minimalist Paper Art

– Your wall feels loud and busy, and you want calm, clean decor.
– Minimalist paper art offers quiet beauty you can build yourself.
– Start with simple shapes and clean edges cut from sturdy paper.
– Keep your color palette small to heighten the minimalist feel.
– Two to three colors work best for balance and focus.
– Choose shapes like lines, circles, and rectangles for easy variety.
– Draft a light layout on paper before you cut.
– Hold up your shapes with painter’s tape to test balance on the wall.
– Cut clean lines with a sharp blade and a straight edge.
– Mount the pieces with double sided squares or low-profile mounting tape.
– Layer some pieces slightly to create gentle depth without crowding the design.
– Leave lots of negative space so the eye can rest.
– Minimal art can symbolize growth and new focus in your home.
– Protect colors with neutral frames or mount directly for a streamlined look.
– Try a three-piece strip that travels across a wall for quick impact.
– This is cost friendly paper wall art you can tailor to any room.
– If you use a single color, repeat the shape to tie the room together.
– Keep a small test area before you commit to a full wall.
@media(max-width:480px){
24. Interactive Paper Art
You want wall art that invites a closer look. Interactive paper art does this job well. It uses movable parts, pull tabs, and pop-up elements. When you pull a tab, another layer or message appears. Your wall becomes a tiny story you and guests can explore together.
Here is why it helps your space: it adds texture, sparks curiosity, and starts conversations. You control the mood with color and style. Go bright and playful or keep it calm with a monochrome look. Use sturdy cardstock and a light backing so the moving pieces feel solid.
Steps to create:
– Start with a simple idea. A tab that reveals a hidden scene or word is enough to begin.
– Plan the layers. Sketch a quick plan and note what moves.
– Pick materials. Cardstock, scissors, a scoring tool, glue, and a small fastener or string for movement.
– Build a base. Mount your layers on a firm panel or board.
– Add color or texture. Try matte paper, colored ink, or small foil accents.
– Test the mechanism. Make sure tabs slide smoothly and parts don’t snag.
– Mount it gently. Use picture hangers or removable putty on a clean wall.
Design ideas:
– Splash bright colors for a playful vibe.
– Use a black and white scheme for a chic feel.
– Create a tiny scene with a changing message on the back layer.
Care and limits:
– Handle with care. Paper can bend or tear if you pull too hard.
– Store it flat if you remove it for a while.
– Keep it away from humidity and direct sun.
Next steps: start with a small pull-tab piece and grow from there. Your wall will feel alive when you add interactive paper art.
@media(max-width:480px){
25. Paper Circle Art
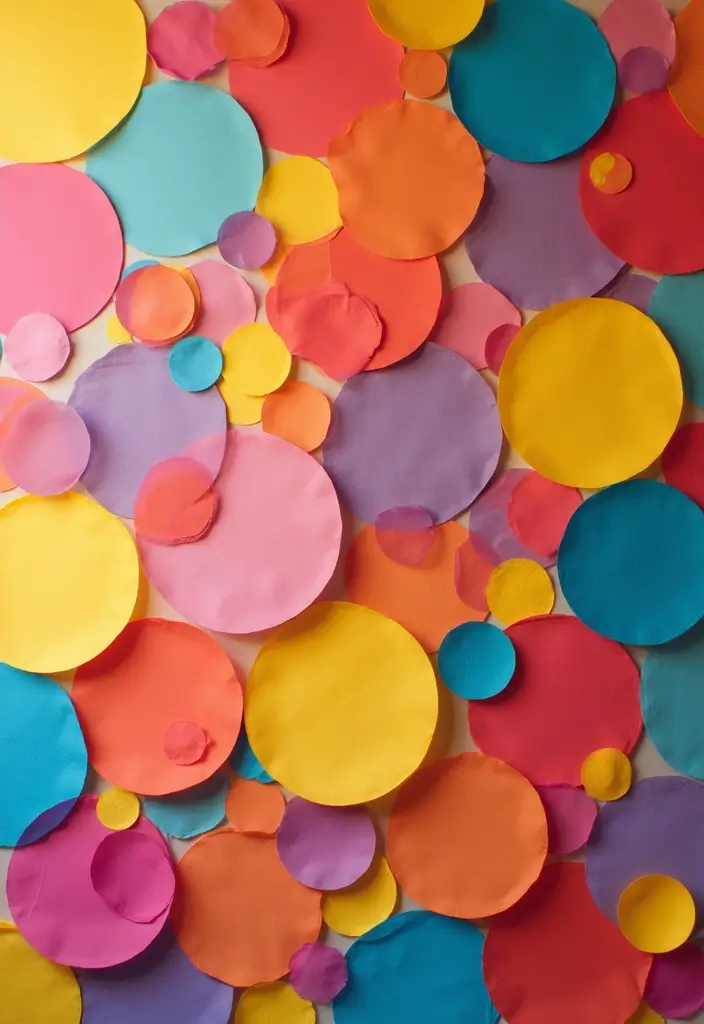
Paper circle art gives your wall a playful, modern vibe. You control color, size, and layout, so it fits any room. This DIY is cheap and quick. You can switch it out later if you want a new look.
Materials
– Colored paper in a few shades
– Scissors or a craft punch
– Glue or double-sided tape
– Adhesive foam dots for a 3D feel
– Pencil and a ruler
– Optional: a foam board backing
Steps
1. Plan your layout on the wall with a light pencil sketch.
2. Cut circles in different sizes. Mix big and small for motion.
3. Pick a color plan. A gradient from light to dark reads calm, a rainbow adds energy.
4. Attach the circles. Use glue for a flat look or foam dots for depth. Check spacing as you go.
Design ideas
– Start with a spiral from the center.
– Cluster circles into a soft cloud shape.
– Use a tidy grid for a formal feel.
Tips and care
– Handle paper gently to avoid bends.
– On rented walls, use removable adhesive.
– Dust with a soft brush to keep colors bright.
– This wall art can symbolize unity when placed with care.
Want depth? Layer extra circles in a staggered layout. Keep tweaking spacing until you love the balance.
@media(max-width:480px){
Conclusion

Crafting beautiful paper wall hangings isn’t just about decorating; it’s about expressing creativity and sustainability.
Each of these DIY ideas offers a unique way to transform your space while being kind to the planet.
Whether you’re looking to brighten your craft room or add a touch of whimsy to your living area, these projects provide endless possibilities.
Which paper wall hanging will you try first? Get crafting and let your personality shine through your home décor!
Note: We aim to provide accurate product links, but some may occasionally expire or become unavailable. If this happens, please search directly on Amazon for the product or a suitable alternative.
This post contains Amazon affiliate links, meaning I may earn a small commission if you purchase through my links, at no extra cost to you.