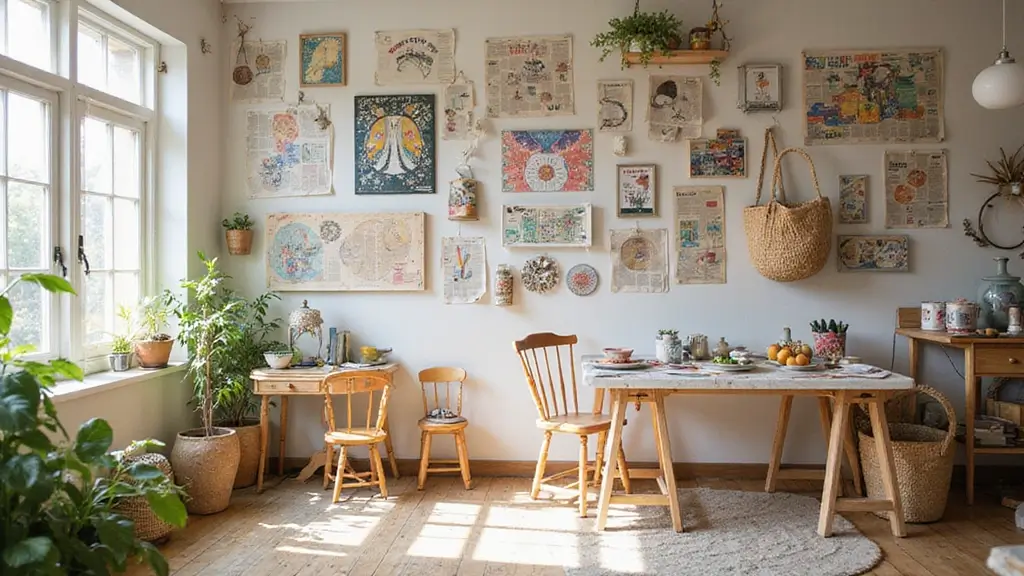
I put this post together because small piles of scrap paper add up fast, and I want you to see how easy it is to turn waste into useful things. Recycled paper crafts can be simple, fun, and good for the planet. You only need a few scraps, some patience, and a little imagination.
If you love hands on projects, want to save money, or teach kids about waste, this is for you. If you care about the planet and want your home to feel brighter without adding clutter, you’ll feel at home here.
Inside you will find 30 DIY ideas that use paper scraps to make cards, gift tags, bookmarks, coasters, envelopes, and even seed paper gifts.
These ideas lean on common scraps such as old magazines, junk mail, cereal boxes, and wrapping paper. You will see simple steps and tips that rely on everyday tools like scissors, brushes, and safe glue.
Start with one project that fits what you have on hand. Set up a small station for scraps and glue. Learn to cut neat shapes, mix textures, and finish with a light seal so things last.
Trying these crafts will save you money, keep paper out of the trash, and add a splash of color to your space. The plan is doable and friendly for busy days. So grab a cup of tea, scan the ideas, and pick one to try this week.
1. Colorful Paper Mache Bowls
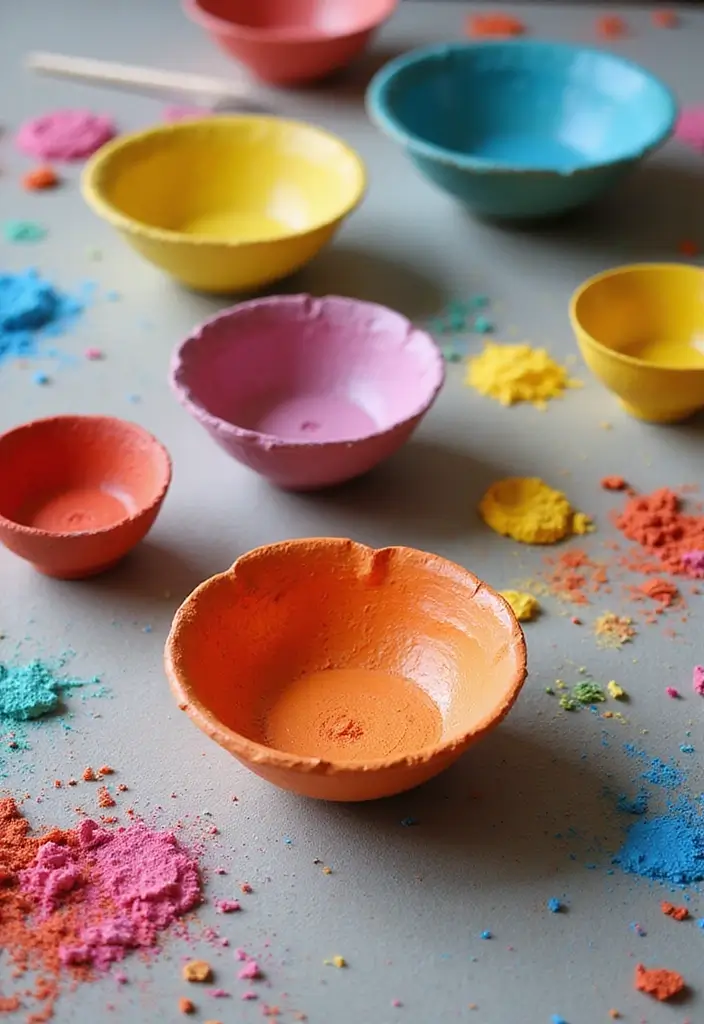
If you want a simple, planet-friendly craft, try Colorful Paper Mache Bowls. It turns old newsprint into useful bowls. The project is quick, safe, and fun for kids who love color.
Here is why this works. You use a balloon as a mold, so no special tools are needed. Layering paper strips makes a light but sturdy shell. You can mix and match colors to spark creativity.
Next steps. Tear the newspaper into small pieces. Make a paste with flour and water until it has the consistency of thin glue. Dip a strip in the paste, wipe off the excess, and lay it on the balloon. Add several layers until the bowl is about a quarter inch thick.
Let it dry completely, then pop the balloon and peel away the shell. Paint with bright colors and bold patterns. For extra strength, seal with a clear top coat after the paint dries.
Tips: Use a balloon as your mold. Choose a balloon size to fit your bowl needs. If you don’t want a paste mix, you can use a ready-made glue instead.
What you’ll need: Newspaper, flour, water, balloons, paint, brushes.
This recycled paper craft shows waste can become art. It ties into other recycled paper crafts you might try.
@media(max-width:480px){
2. Recycled Paper Beads
Want a quick craft that uses scrap paper and still looks great? Recycled paper beads fit the bill. You can turn old magazines into bright little beads you can wear or share. Here is why this craft works: paper strips bend easily, glue seals well, and color comes alive.
Here is how to make them.
1) Cut strips. Cut strips about 1 cm wide and 6 cm long. Use lots of colors and patterns for a lively mix.
2) Roll and seal. Put a thin line of glue on the edge of a strip. Start at one end and roll it tightly around a toothpick. Press the end to seal. Leave the bead on the toothpick while it dries.
3) Dry and remove. Let the bead dry fully on the toothpick. Gently slide it off when it is firm.
4) String and style. Thread beads onto string or thin cord. Leave space between beads, and knot the ends to finish. You can make a necklace, a bracelet, or a keychain.
Tips: Use many colors and patterns for a bold look. Kids can paint or seal the beads for extra shine.
Unique Insights: This upcycling project shows how simple scraps can become thoughtful gifts. It teaches sharing and gives you eco-friendly jewelry options.
Suggested Materials: Old magazines, scissors, glue, toothpicks, string.
3. Handmade Greeting Cards

You want to waste less and give a friendly card at the same time. Old greeting cards and scrap paper can be renewed into handmade cards for any occasion. Kids get to cut, fold, and decorate. They can add colors and shapes and write a kind message inside. Use these cards for birthdays, holidays, or thank-you notes.
Here is how you do it
– Gather materials: scrap paper, old cards, colored markers, scissors, glue sticks, and stickers.
– Prep a card base: cut a piece of scrap paper to size and fold it neatly.
– Create the design: pick a theme, like balloons for a birthday or a sun for summer. Add color with markers and stickers. Try bits of fabric for texture.
– Add a message: inside, write a short, heartfelt note.
– Finish and store: let glue dry flat. Keep scraps for future cards.
Tips: Use bright colors and friendly stickers. Let kids sign the card with their own name. Teach them to write a personal note for the recipient.
Unique Insights: This craft gives a sense of care and gratitude. It saves paper and teaches kids the joy of letter writing.
Suggested Materials: Scrap paper, old cards, colored markers, scissors, stickers, glue sticks.
@media(max-width:480px){
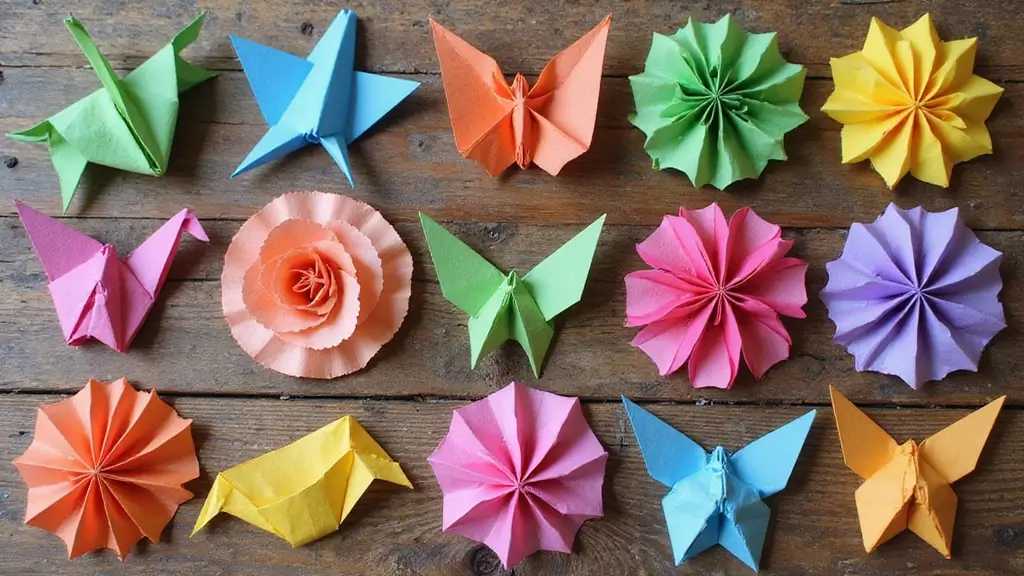
4. Origami Animals
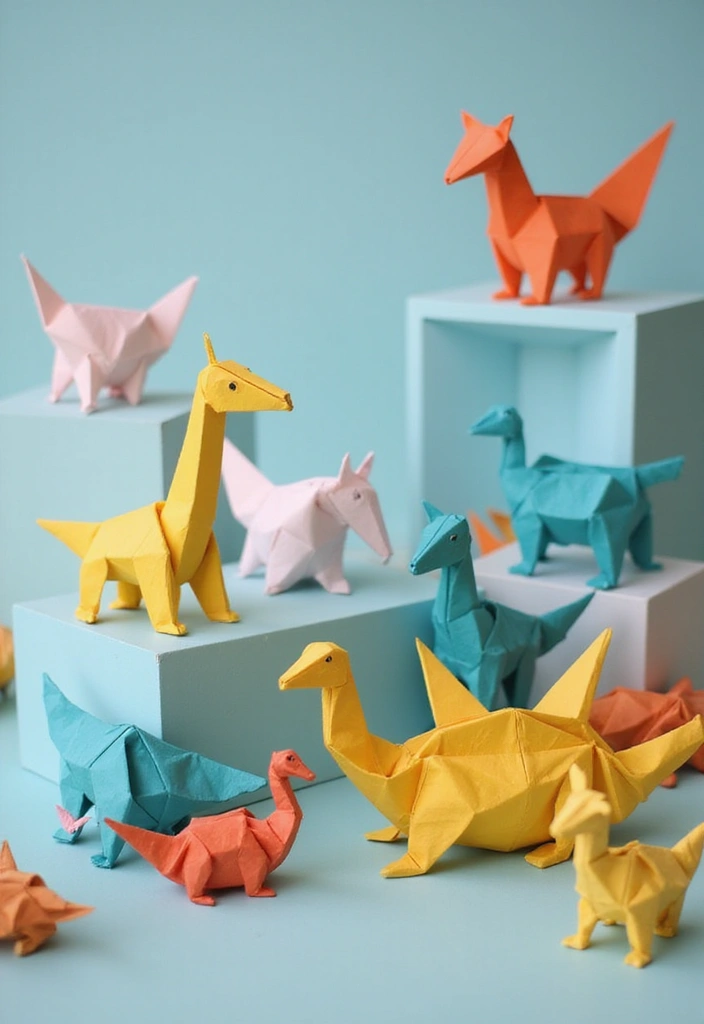
You’re looking for a simple, satisfying way to reuse scrap paper and keep kids engaged. Origami with recycled paper fits that goal. Choose old wrapping paper, bright magazines, or plain origami sheets. A few careful folds turn scraps into friendly animals, from a tiny dog to a graceful crane.
Tips: Start with easy designs to build confidence. Let kids master one fold before moving on. Keep a tidy workspace to help folds stay crisp. Use a single sheet per animal to avoid confusion. Have a small stack of clean paper ready for quick practice.
Unique Insights: Add a quick animal fact as you fold. Cranes symbolize luck in many cultures. Dogs have a keen sense of smell that helps them track things. These notes spark curiosity about wildlife and caring for the planet.
Suggested Materials: Wrapping paper, magazines, or origami sheets. Choose thinner paper when you can, as it folds more neatly. Avoid very glossy pages that don’t crease well.
Here is why this works: recycled papers crease easily and teach steady hands. The craft also shows that careful, repeatable moves add up to a completed figure.
Let’s break it down into steps:
– Pick an animal and one sheet of paper.
– Fold corners to the center to make a base.
– Follow simple creases to shape the figure.
– Adjust edges for a cleaner look.
Next steps: gather scraps, pick two easy animals, and try a new color next time. Share your finished creations with a friend or family member to spread the planet-friendly fun.
@media(max-width:480px){
5. Scrap Paper Collage Art
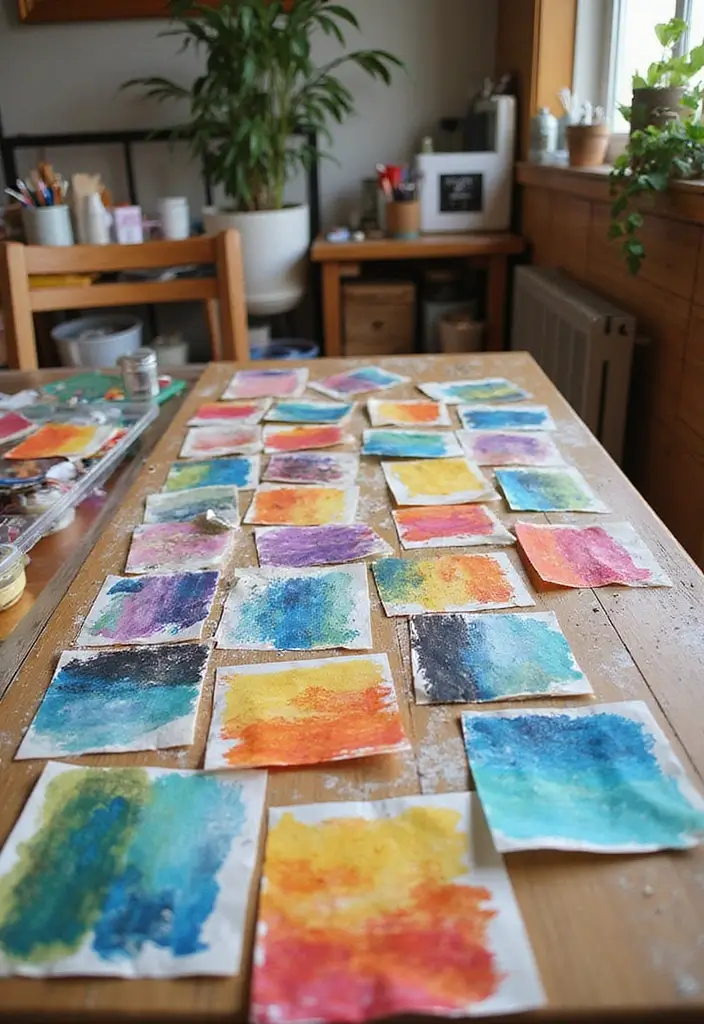
Want a fun, earth-friendly craft that fits busy days? Scrap paper collage art is perfect. You use scraps from newspapers, magazines, or old drawings. You layer pieces to mix textures and bright colors. The result is a one-of-a-kind artwork and a quick lesson in reuse.
Here is how to do it in kid-friendly steps.
– Step 1: Pick a theme: choose nature, family, or dreams to guide what you cut and place.
– Step 2: Gather materials: varied scraps of paper, glue, scissors, and a sturdy base sheet.
– Step 3: Plan the layout: lay pieces on the base first to see how they fit before gluing.
– Step 4: Glue and layer: apply glue to the back of papers, press them down, and build from big shapes to small details.
– Step 5: Add finishing touches: outline with a marker or keep it bold and colorful.
Tips: Set a theme to focus choices. Let kids say why they picked each piece. This helps them connect colors to memories.
Unique Insights: Ask which piece feels most special and why. The talk helps build language and memory.
Suggested Materials: varied scraps of paper, glue, scissors, and a base sheet.
Next steps: this project is quick to start, low cost, and big on imagination. It teaches reuse every time you create.
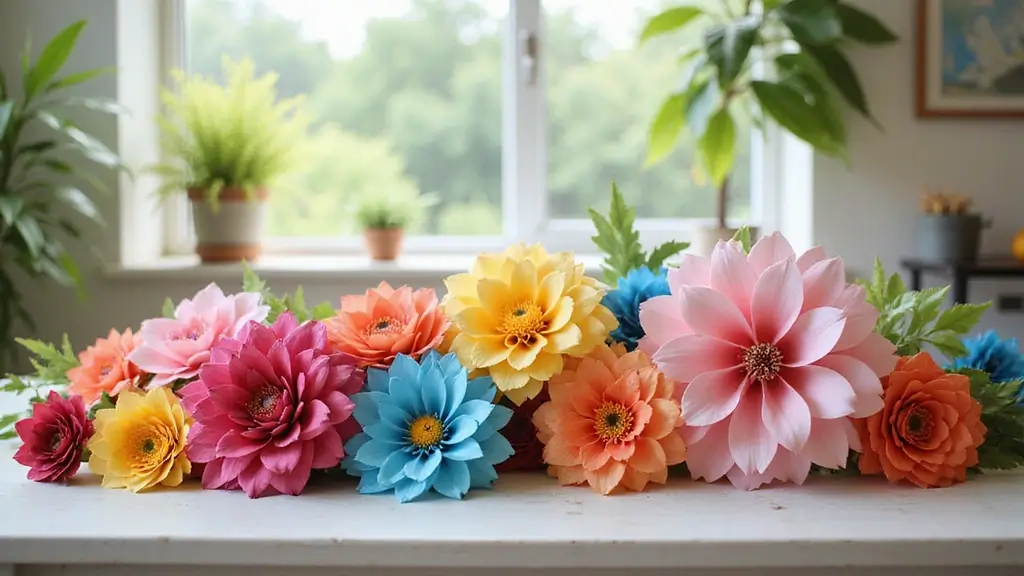
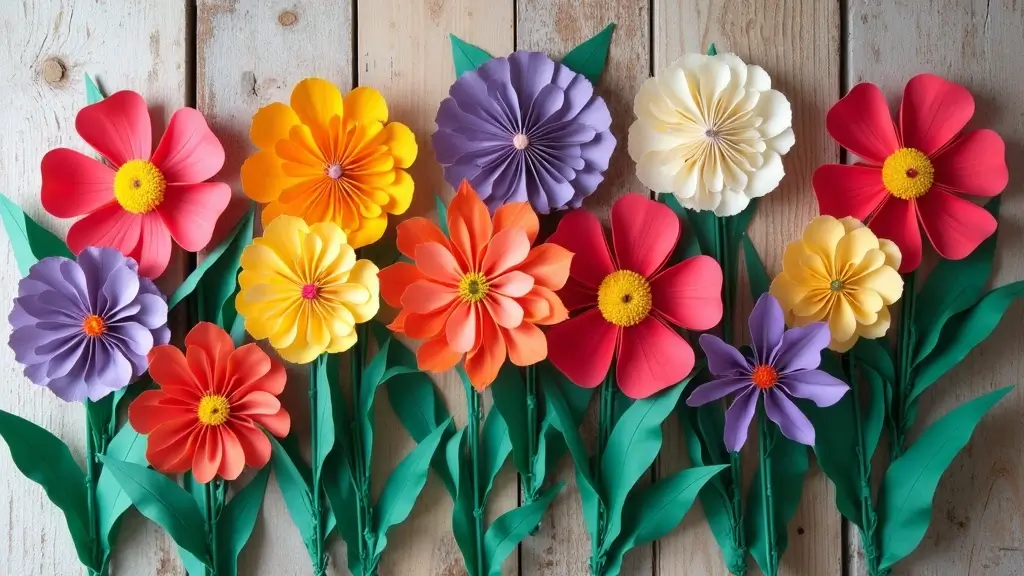
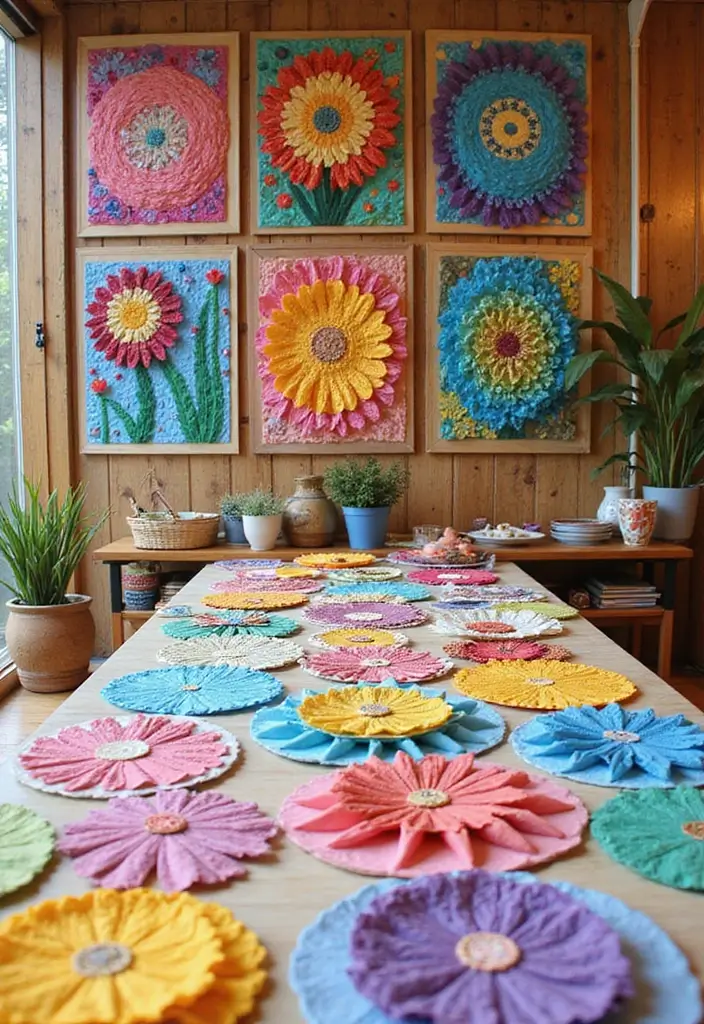
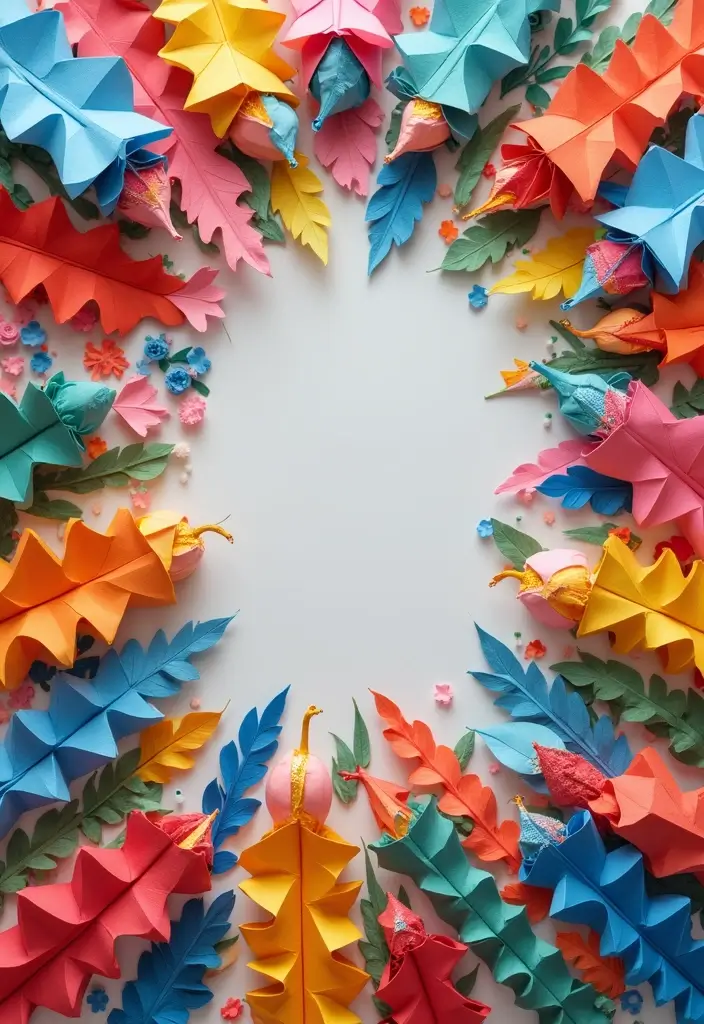
6. Paper Flowers
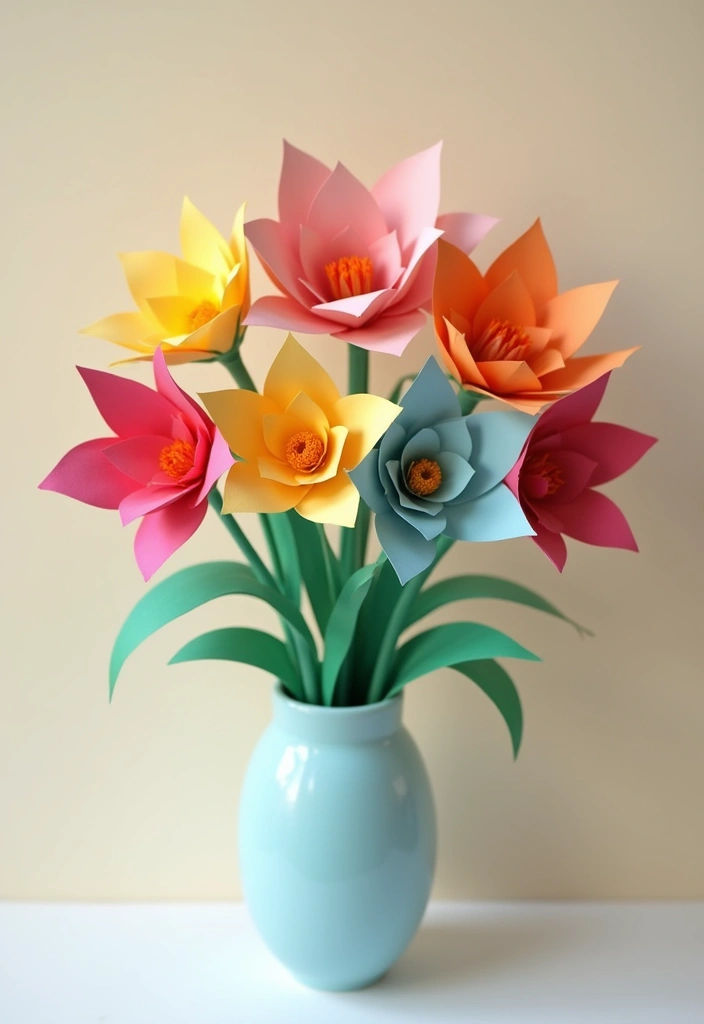
Want a colorful project that uses old paper and brightens your space? Paper flowers are easy to make and never wilt. They let you turn scraps into something cheerful you can display or gift.
Here is why this works: it keeps leftovers out of the trash and teaches you color and layer work. You can mix bold hues with soft tones to match a room or a gift wrap.
Suggested Materials:
– Old magazines or wrapping paper
– Glue and scissors
– Buttons or beads for centers
– Pipe cleaners or sticks for stems
How to make it:
– Step 1: Cut petal shapes in different sizes from your papers.
– Step 2: Glue petals in a loose circle, stacking small petals inside bigger ones.
– Step 3: Add a small center using a button or bead.
– Step 4: Attach a pipe cleaner stem or a wooden dowel. Let the glue dry a bit so petals stay put.
Step 5: Adjust the petals to look full. Bend a few petals outward for a natural shape.
Tips:
– Use two colors on each petal for depth.
– Try round, oval, and teardrop shapes for variety.
– Cover the stem with green paper or tape to hide the core.
Unique Insights: Talk about flower meanings as you work. A red rose can stand for love, a yellow daisy for happiness, a pink peony for friendship. It makes the craft feel meaningful.
Next steps: make a small bouquet for a table, or string several flowers into a bright garland for a party or gift wrap.
@media(max-width:480px){
7. Customized Bookmarks
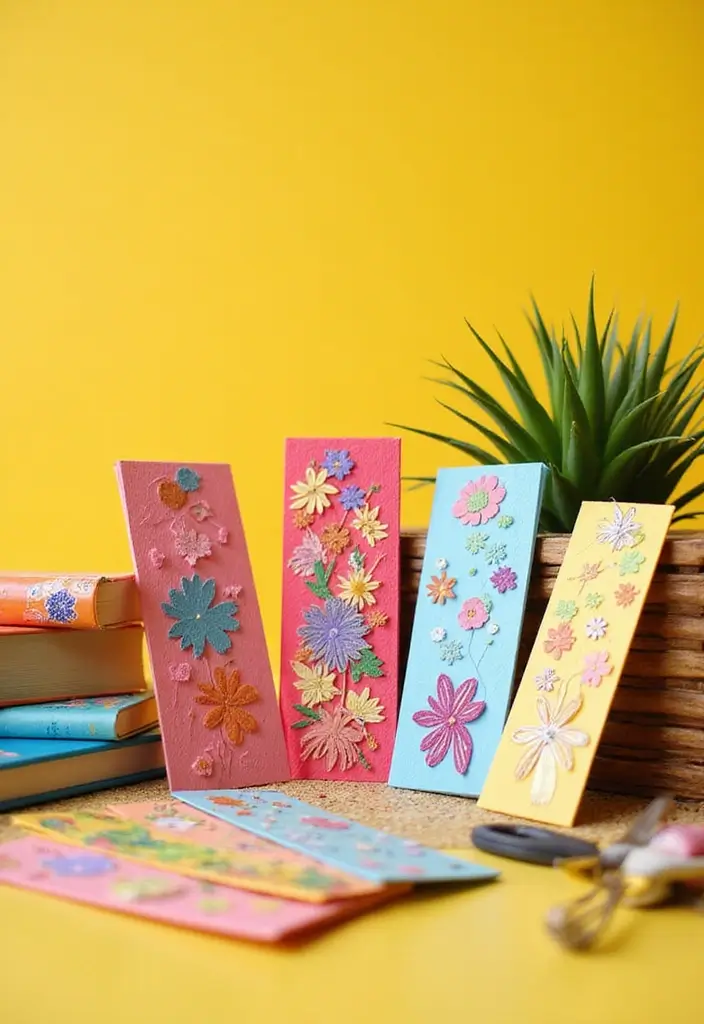
Want a small craft that cuts waste and sparks a love of reading? Try customized bookmarks made from scrap paper. This project is easy, quick, and gives you a personal touch you can share.
Materials
– Scrap paper in colors or patterns you have.
– Scissors, glue, and a ruler.
– Ribbon, string, or a small hole punch and a string for the top.
– Optional: clear tape or laminating sheets for extra durability.
Steps
1. Cut a strip about 2 by 6 inches. You can adjust the size to fit your books.
2. Decorate with markers, stamps, stickers, or doodles. Let your style show.
3. Add a short quote or a quick drawing on the back.
4. Attach a ribbon or thread through a small hole at the top. Tie it loosely.
Tips
– Laminate if you want them to last in a backpack or library bag.
– Punch a hole near the top and thread double ribbon for strength.
– Use clear tape on the back to keep decorations from peeling.
– Put your name or a small message on the back for friends to read.
Here is why this works
– It uses scraps, so you recycle and save money.
– You get a hands-on project that fits busy days.
– It makes reading feel personal and fun.
Next steps
– Try a batch for gifts or a classroom swap.
– Experiment with bold colors, soft pastels, or themes like animals or space.
8. DIY Paper Dolls
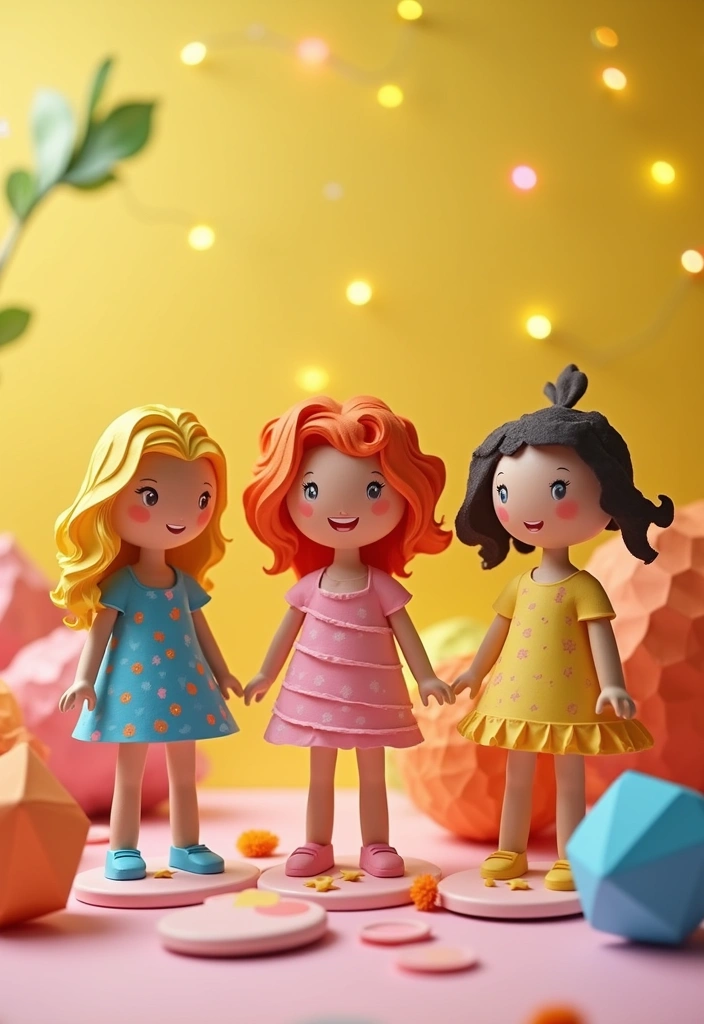
You want a craft that’s fun and kind to the planet. DIY paper dolls fit that need. They reuse scraps and spark new stories.
Why this works: old paper becomes new characters. Kids learn cutting, gluing, and dressing. It’s a calm, creative activity for any room.
Suggested Materials: Old wrapping paper, cereal box cardboard, fabric scraps, scissors, glue, markers, crayons, yarn, string, and tape.
How to make it:
1) Cut a simple doll shape from sturdy paper or thin cardboard.
2) Dress the doll with scraps. Glue on a shirt, skirt, or coat.
3) Draw a face. Add hair with yarn or paper strips.
4) Make extra outfits and store them in a small box.
Tips: Use markers for bright faces. Try big smiles and wide eyes. Layer torn paper for texture. A glue stick keeps it neat.
Unique Insights: Have your child tell a quick story about their doll. Where do they come from? What adventures do they have? Storytelling builds language and imagination.
Next steps: make a tiny parade of dolls, or turn them into puppets on sticks for a short show. Display the dolls to remind everyone that craft time can be eco friendly.
Give it a try this weekend.
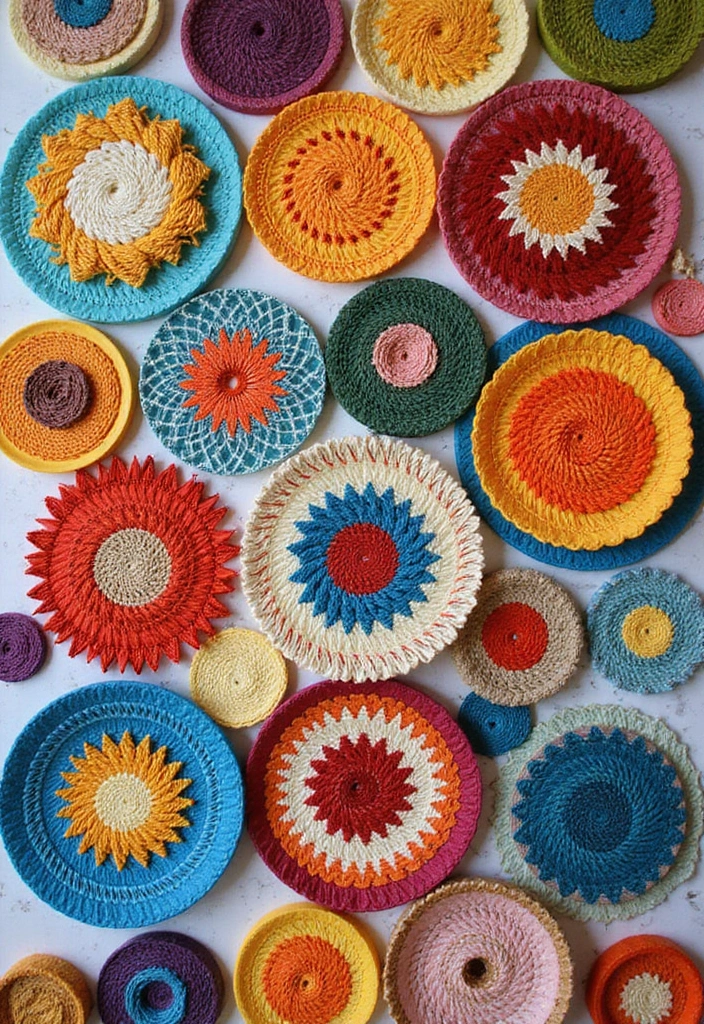
9. Paper Mosaics
You want a kid friendly art project that uses recycled paper and looks bright. Paper mosaics fit the bill. Tiny scraps become a bold map of color when you place them just right.
Here is how to make one:
– Gather recycled paper in many colors.
– Cut the paper into small squares and simple shapes.
– Pick a base sheet and plan a pattern or scene.
– Glue pieces down, one by one, until the image feels complete.
– Let the mosaic dry before you frame or hang it.
Tips: Pick a clear theme, like a smiling sun or a busy forest. This helps you choose colors and shapes faster.
Unique Insights: Talk about how patterns repeat and how color choices change the mood. Warm colors feel sunny, cool colors feel calm. Use contrast to make parts pop.
Suggested Materials: Recycled paper in many colors, kid-safe scissors, glue, and a sturdy base sheet or cardboard.
This activity builds fine motor skills as your hands place tiny pieces. It also sparks planning and color thinking. If you want, you can join several mosaics into a bigger mural.
@media(max-width:480px){
@media (max-width: 600px) {
.normal-quiz-iframe { min-height: 570px !important; height: 570px !important; }
}
10. DIY Paper Notebooks

You want a notebook that helps the planet and fits your style. This DIY uses recycled paper and little money. You can use it for notes, doodles, or a small journal.
Materials
– Scrap paper in any size
– Old notebook covers or sturdy cardboard
– Scissors
– String, yarn, or binder clips
Here is why this works. It cuts waste and makes something you can be proud of. It also teaches you how to reuse everyday junk.
Steps
– Gather your pages to the size you want.
– Align edges and hold with clips.
– Punch two holes along the spine.
– Bind with a simple stitch.
– Add a cover for protection.
– Decorate with markers or stamps.
– If you want no sewing, use binder clips to hold pages.
Tips
– For a stronger bind, punch two holes.
– Let dry, then write.
If you teach kids, have them write about the making. A page about the craft boosts literacy and pride.
Next steps. Use scrap paper from your home or classroom and start a small stack of notebooks. Replace or grow the set as you gather more scraps. Keep a kit ready for the next batch. This makes your next reuse project start quickly too.
11. Recycled Paper Picture Frames
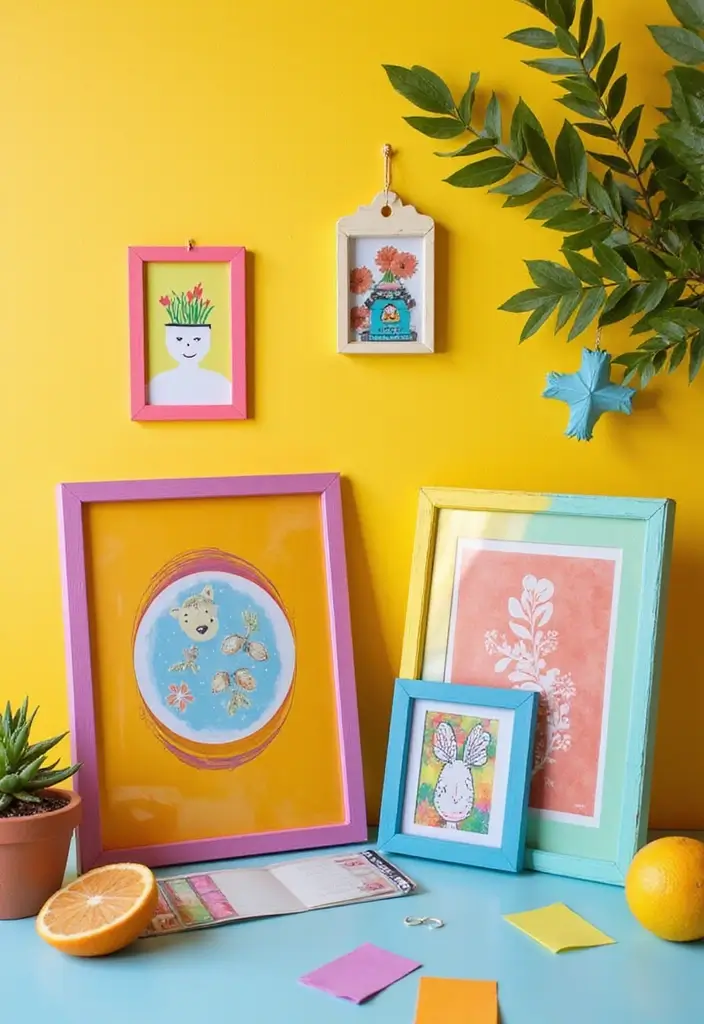
You want a quick, planet-friendly craft. Recycled paper picture frames fit the bill. You turn old cardboard and paper into ready-to-hang frames. Your photos or art get a cozy home. And you learn a bit about upcycling along the way.
Tips: Use thicker cardboard for sturdier frames. Let kids pick their favorite photo or drawing for a personal touch. Keep a bright outline with colored paper or stickers to make the frame pop.
Unique Insights: Talk about why we save memories. A simple frame helps you create a mini gallery at home. You can swap photos as moods change, keeping the wall fresh and easy to update.
Suggested Materials: Old cardboard, glue, scissors, decorative paper, stickers, markers, and a few clear tape pieces.
Next steps:
– Cut out a frame from the cardboard with a window.
– Decorate the border with paper, stickers, or drawings.
– Glue the photo behind the window.
– Hang or display the finished frame.
End note: This is a small, easy way to recycle and add personality to any room.
@media(max-width:480px){
12. Paper Weaving Projects
Need a kid-friendly craft that reuses scrap paper? Paper weaving fits. It is simple, calming, and fun. You make color strips come alive on a sturdy base.
What you can make: Colorful mats, bookmarks, or small wall art. You weave by crossing strips over and under. The colors mix and match, and the texture is soft to the touch. When you finish, you press the piece flat.
Suggested Materials: Colorful strips of paper, scissors, glue.
Tips: Use strips of different widths for more texture. Start on a sturdy loom, like a thick piece of cardboard. Plan a simple color path so the pattern feels clear.
Unique Insights: Weaving is ancient. People in many cultures made baskets, mats, and fabrics by hand. You can learn a history lesson while you craft, and you will end with a usable art piece.
Here is why it helps: It strengthens small hand muscles and focus. Next steps: Cut strips, choose a color plan, set up a loom, and weave until you finish. Let glue dry before you hang your work.
Cleanup tips: Set a tray for scraps, wipe glue from fingers, and store strips in a box. A tidy space helps you start the next weaving faster.
@media(max-width:480px){
13. Paper Maché Pinatas
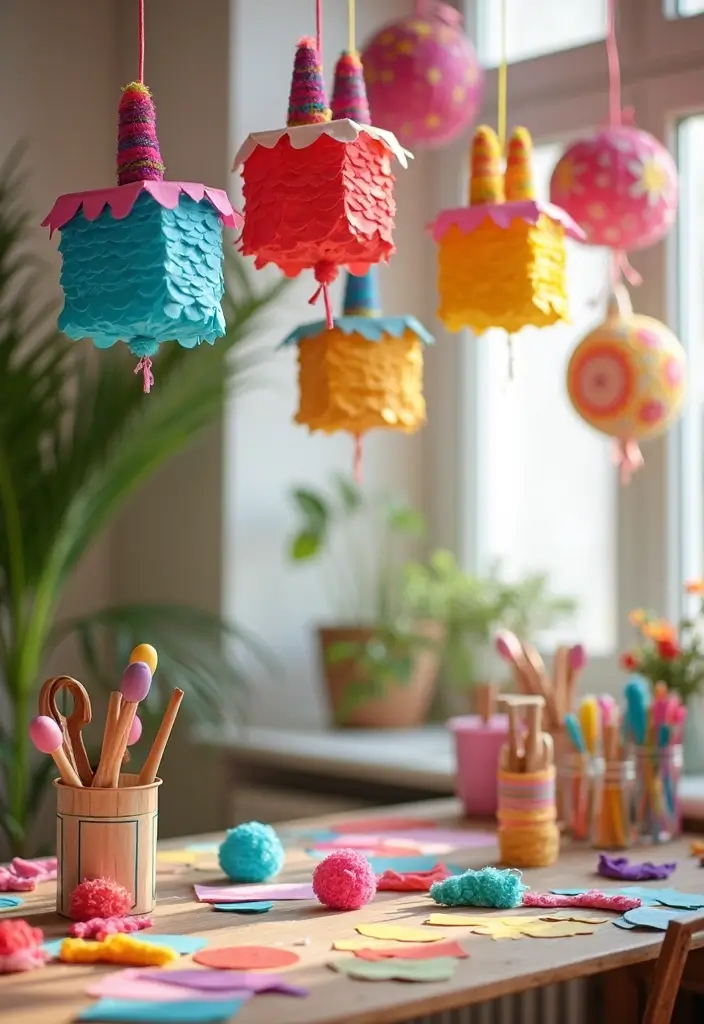
Turn old newspapers into party fun with a DIY paper mache pinata. This eco friendly project uses a balloon base and a simple paste. It yields a sturdy shell you can paint and fill with treats.
Here is how to do it.
1. Blow up a balloon and use it as the base.
2. Mix flour and water to make a smooth paste, or use glue and water.
3. Dip torn strips of newspaper in the paste and lay them over the balloon.
4. Add 3 to 5 light layers for strength, letting each layer dry before the next.
5. When the shell is dry, pop the balloon, remove it, and paint your design.
6. Let the pinata dry overnight for best durability.
Materials: Old newspapers form the shell. Balloons shape the pinata. Glue or flour paste binds layers. Water mixes the paste. Scissors cut strips. Tape keeps pieces in place. String hangs the final piece. Paint and markers add color. Small treats go inside.
Tips: Let each layer dry fully to avoid sag. Hang the pinata somewhere safe so you can test it before the big moment.
Unique Insights: Pinatas began in Mexico as part of festive gatherings. They are now used in many cultures with bright colors, music, and gifts. They are often filled with sweets and used in blindfold games.
Next steps: plan your colors, pick a shape, and test the strength with a soft poke before the big reveal.
@media(max-width:480px){
14. DIY Wall Art from Recycled Paper
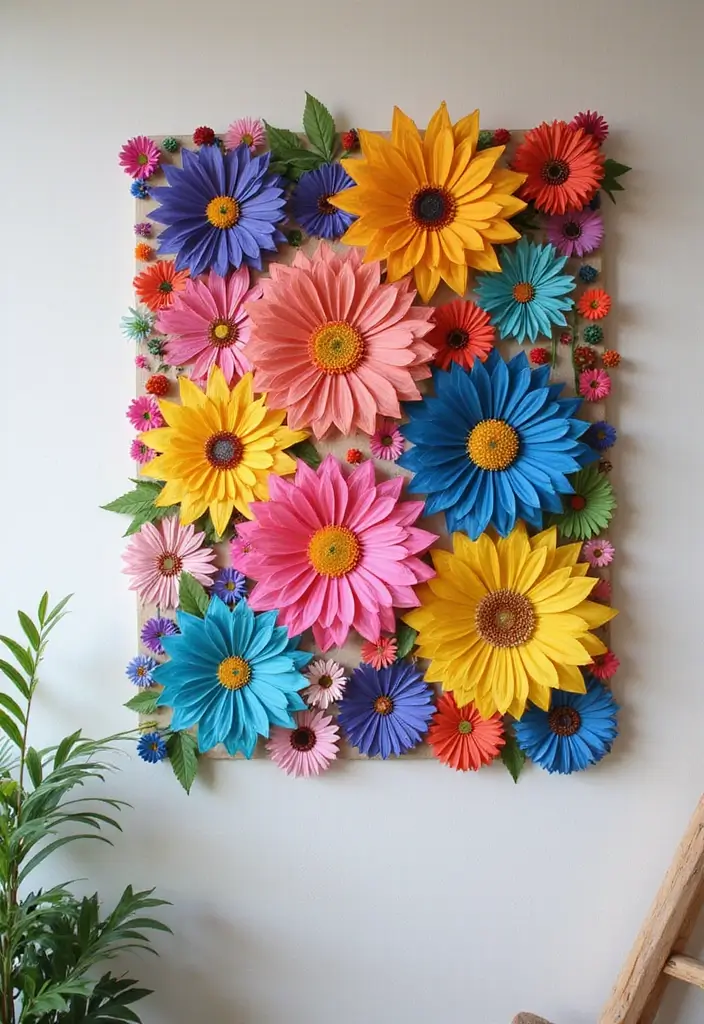
Want a kid-friendly craft that uses scraps and helps the planet? DIY wall art from recycled paper fits. You choose the theme, colors, and shapes, and your child places the pieces on a base.
Here is how to start:
– Gather scraps such as magazine pages, old drawings, wrappers, envelopes, tissue bits, and fabric scraps.
– Suggested Materials: Scrap paper, glue, scissors, and a sturdy base.
– Plan your layout. Pick a simple subject or go abstract. Check balance by placing pieces first.
– Build by layering. Glue large shapes first, then add smaller pieces.
– Add small touches. A strip of patterned paper, a photo cutout, or a tiny sticker can add depth.
– Dry and mount. Press the work under a heavy book until glue sets.
– Display your art by hanging it or framing it.
Tips: Use a sturdy base. Let glue dry completely. Keep scraps sorted by color.
Next steps: Take a photo, share it, and start a small wall art gallery at home.
That keeps kids excited to reuse waste.
@media(max-width:480px){
15. Recycled Paper Puppets
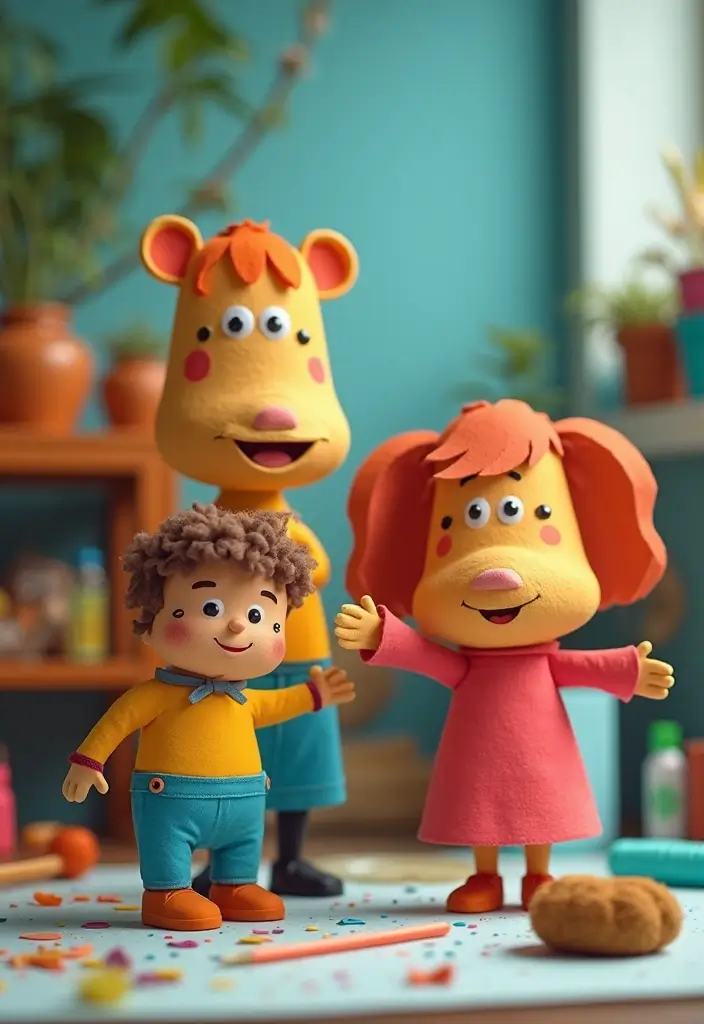
You want a craft that kids love and that helps the planet. Recycled paper puppets fit. They turn scraps into characters and bring a story to life. Here’s how to do it.
– What you’ll need: old paper, scissors, glue, markers or crayons, and a few sticks or straws for handles.
– Make the puppets: cut simple shapes for heads and bodies. Use markers to add eyes, mouths, hair, and clothes. Layer paper for outfits or hats. Glue features in place so they stay on during a show.
– Add a handle: tape or glue a stick to the back. Try different sizes for bigger or smaller puppets. Hold them up and practice the movements.
– Put on a show: line up your puppets and tell a short story. Move them with your hands and let the sticks guide the action. You can even invite a friend to join.
– Tips: Keep scraps in a tray for easy color picks. Use magazines for texture. A glue stick helps keep things neat.
– What kids learn: Story structure, character choices, and how action shifts a scene. Ask questions as you craft: Who is this puppet? What do they want?
– Next steps: Set up a mini stage, pick a short tale, and perform. You’ll recycle more and play more.
@media(max-width:480px){
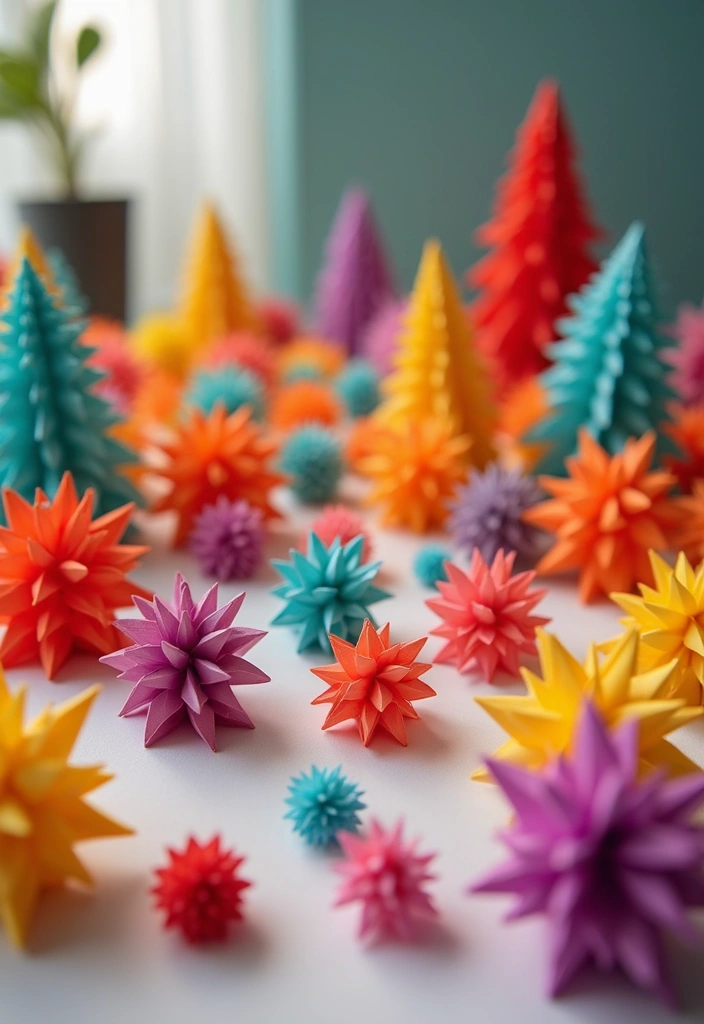
16. Recycled Paper Star Lanterns
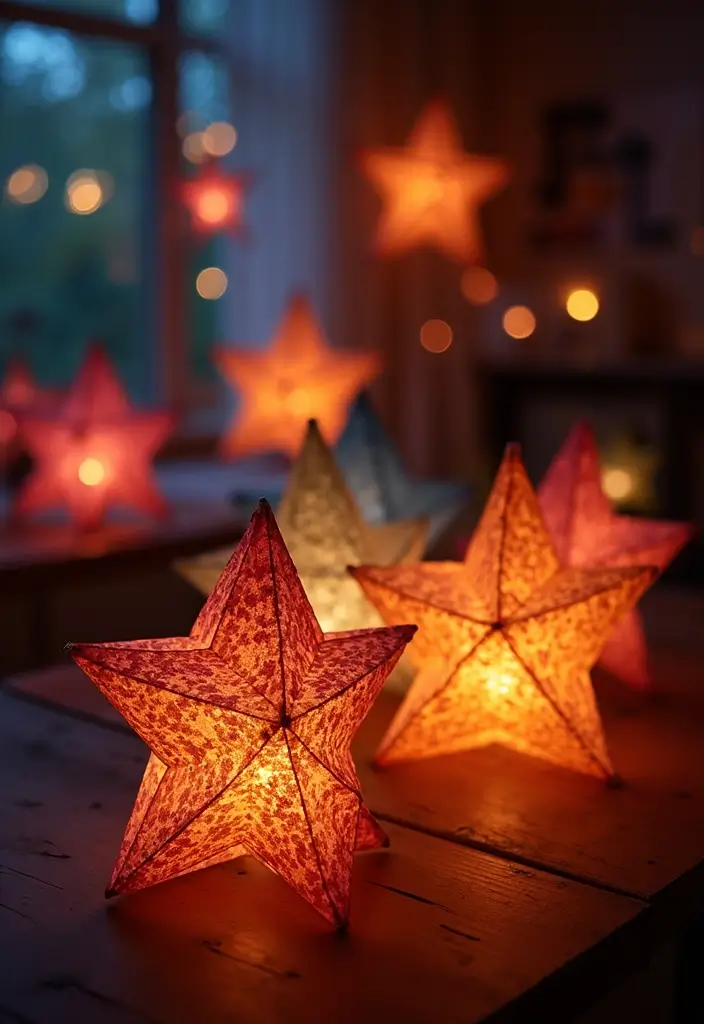
Looking for a simple, planet-friendly craft you can do with kids? Recycled Paper Star Lanterns glow without new waste. They show light and let kids feel proud of a helpful project.
Materials
– Recycled paper
– Scissors
– Glue
– LED tea lights
– Optional: colored scraps and string to hang
Steps you can follow
1) Cut a strip of recycled paper, about 3 by 12 inches.
2) Roll it into a cylinder and tape the edge.
3) Cut several star shapes from scraps.
4) Glue stars on the outside. Leave small gaps so light shines through.
5) Place a LED tea light inside.
6) Tie a string to the top to hang.
Tips
– Use LED lights for a safe glow.
– Layer papers in different colors for a rainbow look.
– Vary sizes to make a small lantern display.
– Try crisscross cuts for fun shadows.
What you learn
– You see how light fills space and color.
– You discuss lantern traditions from around the world.
– You practice planning and teamwork while making.
– These lanterns brighten rooms and show how small, careful steps matter.
Next steps: make a few lanterns in different sizes for a bright star corner.
@media(max-width:480px){
17. Decorative Gift Wrap
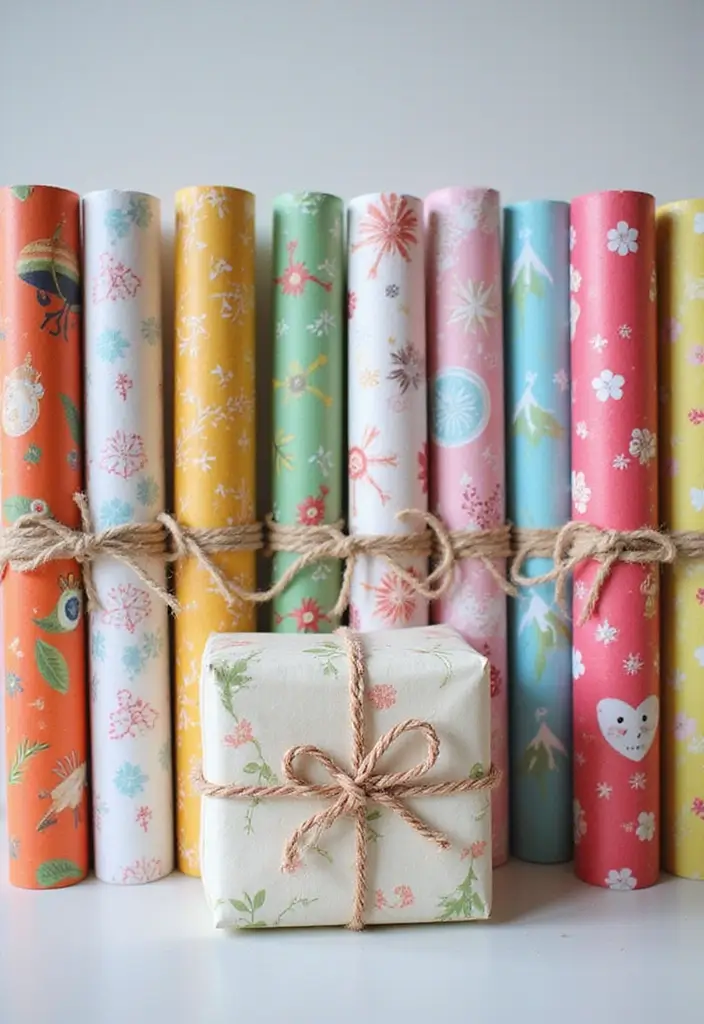
You want gift wrap that feels personal and still helps the planet. You can turn old paper into fresh, one‑of‑a‑kind wrap. Kids love making designs, and you cut waste at the same time.
Here is how to do it:
– Gather pieces: scrap paper, old cards, and magazines. Pick a base color you like.
– Create designs: use stamps, crayons, and paint. Try simple shapes, doodles, and collage bits.
– Put it together: lay out a design on the page. Let the ink or paint dry before you wrap.
– Finish the wrap: fold neatly and tie with string or ribbon. Add a handmade tag for a final touch.
– Reuse or recycle: once the gift is opened, flatten the wrap to save for reuse or place it in the recycling bin.
Tips:
– Think about textures and colors. Mix matte crayons with shiny stamps.
– Add layers with fabric scraps or tissue for depth.
– Use non‑toxic inks and safe paints so kids can help.
Unique Insights:
– A wrap that shows care makes the gift feel more thought out. The wrap becomes part of the memory.
– Personal touches turn a simple present into something special that the recipient remembers.
Suggested Materials:
– Scraps of old paper, crayons, stamps, paint, scissors, glue, ribbon or string.
18. Upcycled Paper Postcards
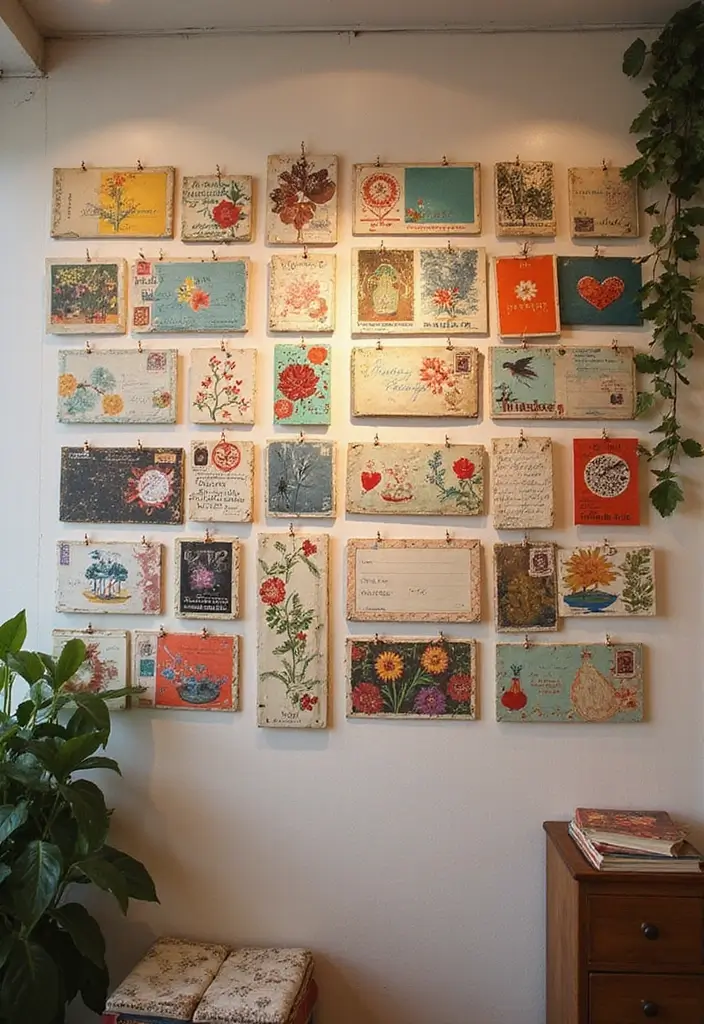
Here is why you should try upcycled paper postcards. They offer a quick, kid-friendly way to cut waste and stay in touch.
– Materials Gather cardboard, scrap paper, glue, scissors, markers, paints, and stamps. Optional: fabric scraps, newspaper clippings, or leaves for texture.
– Steps Let’s break it down. 1) Fold a sturdy scrap sheet to make a postcard base. 2) Layer colorful scraps to create a collage on the front. 3) Write a short message on the back or inside. 4) Add a simple border or doodles. 5) Let glue dry before you mail it.
– Tips Use thicker paper for durability. Write clearly on the back. Use glue sticks for less mess.
– Creative ideas Try nature cards with leaves pressed between layers. Spell a name with cut-out letters. Draw a small scene of a pet, forest, or sun.
– Why it matters It teaches reuse and cuts waste. It shows how small acts help the planet. It gives kids pride when someone smiles at their work.
– Next steps Pick a friend to write to. Gather scraps. Make two cards in one session. Mail or hand deliver them this week.
@media(max-width:480px){
19. Recycled Paper Suncatchers
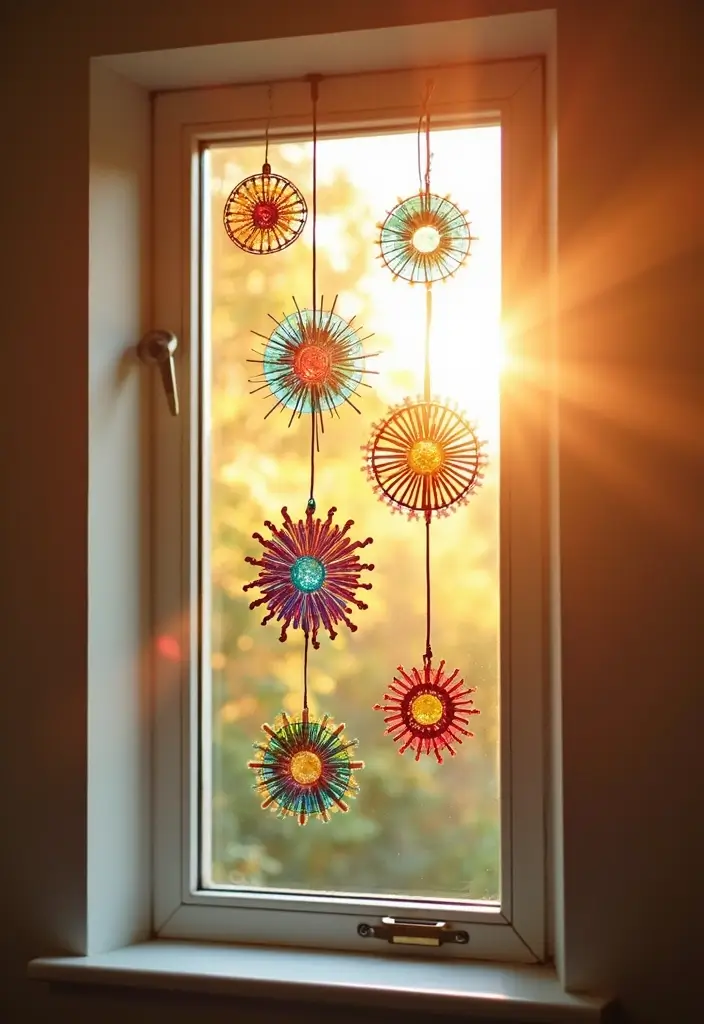
Need a kid friendly project that brightens windows and cuts waste? Try DIY recycled paper suncatchers. They glow when the sun hits them. You cut scraps, layer colors, and watch light dance.
Suggested Materials:
– Recycled paper scraps (magazines, flyers, old drawings)
– Clear plastic sheets or contact paper as a base
– Scissors
– Glue or glue sticks
– String or ribbon for hanging
Here is how to do it.
1. Gather bright color scraps in shades you like.
2. Cut simple shapes or small tiles from the scraps.
3. Layer pieces on the clear base. Let light peek through gaps.
4. Glue pieces in place and set the suncatcher aside to dry.
5. Add string and hang in a sunny window.
Tips:
– Use a clear base so colors pop.
– If you want extra hold, add a second clear sheet on the back.
Unique Insights:
This project shows how light and color work together. Red and orange read warm in sunlight, while blue and green feel cooler. By mixing colors, kids glimpse basic color theory as they craft. It also turns a simple paper waste into something that changes with the day’s light.
Next steps:
Try seasonal shapes or themes—stars for holidays, leaves for autumn, flowers for spring. Display a small set on one window or create a whole display to tell a tiny color story.
@media(max-width:480px){
20. Personalized T-Shirt Transfers
Want to turn old paper into personalized T-shirt transfers? This DIY fits with recycled paper crafts that help the planet. It keeps waste down and adds a personal touch to your clothes. You can take a drawing or a simple painting on special transfer paper and move it to fabric. The result is a one-of-a-kind shirt you made yourself.
Here is how to do it:
– Choose transfer paper that works with your design, either printable or hand-drawn.
– Draw or paint on the transfer sheet. Let it dry completely.
– Cut out your image with clean edges.
– Place the image face down on an old T-shirt. Smooth out any wrinkles.
– Press with an iron or heat press at the recommended heat. Hold for 20–30 seconds.
– Let it cool, then peel off the backing gently.
– Wash the shirt inside out after the first day to keep the design sharp.
Tips: Use fabric paint for bright colors and long wear. Test on a scrap area first to see how it feels after washing.
Unique Insights: Think about how your design shows who you are. A bold shape might say you are confident. A playful motif can show your fun side.
Suggested Materials: Transfer paper, scissors, fabric paint, old T-shirts, iron or heat press, parchment paper.
@media(max-width:480px){
21. Recycled Paper Coasters
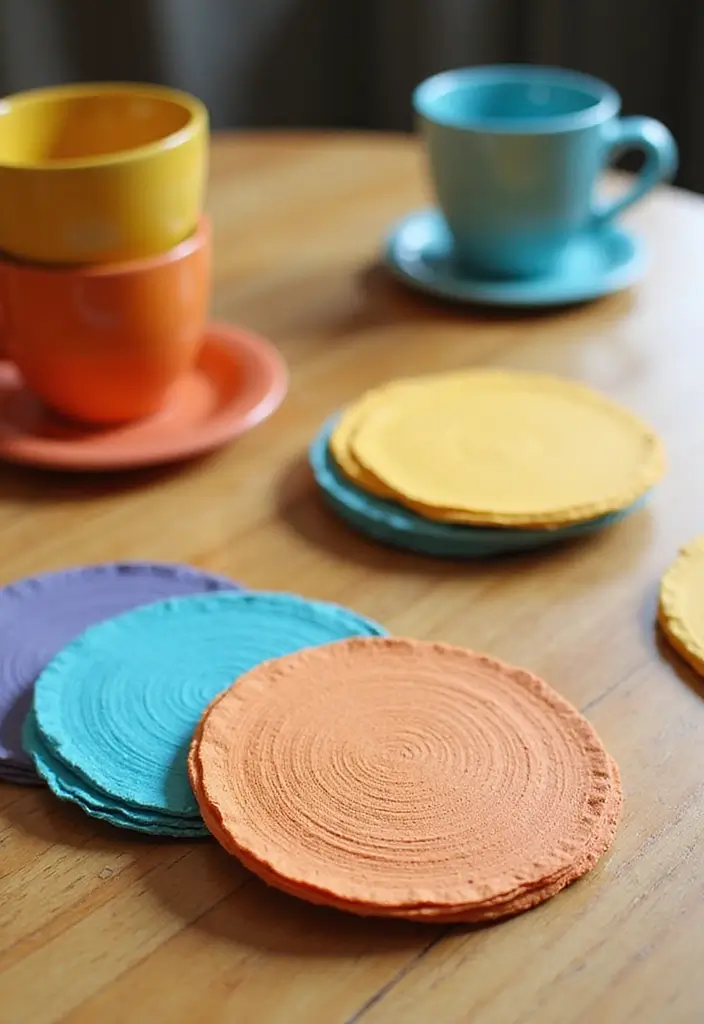
Here is why you want this coaster project. It protects furniture and teaches you to reuse what would be waste. Recycled paper coasters are simple, quick, and fun for kids and grownups alike.
– Materials: scrap paper, scissors, glue, sealant, optional cork or felt for backing.
– Steps:
1) Cut paper into circles or squares.
2) Layer several sheets to add strength.
3) Glue the pieces together and press flat.
4) Let the glue dry completely.
5) Seal with a waterproof finish so drinks won’t soak through.
6) Add a thin backing of cork or felt for grip and table protection.
7) Decorate with markers, stamps, or colored scraps to match your room.
Let’s break it down with style. You can cut rounds in different sizes to fit mugs or small glasses. Use bright scraps for a kid-friendly look, or keep a simple tone for a clean, modern table.
Next, Tips: choose a clear sealant that dries clear. If your area is humid, lay the coasters flat and let them cure for a full day.
– Unique Insights: small acts add up. Using coasters made from scrap paper helps the Earth stay cleaner. When you finish a batch, you show others that care and waste less.
– Suggested Materials: scrap paper, scissors, glue, sealant.
@media(max-width:480px){
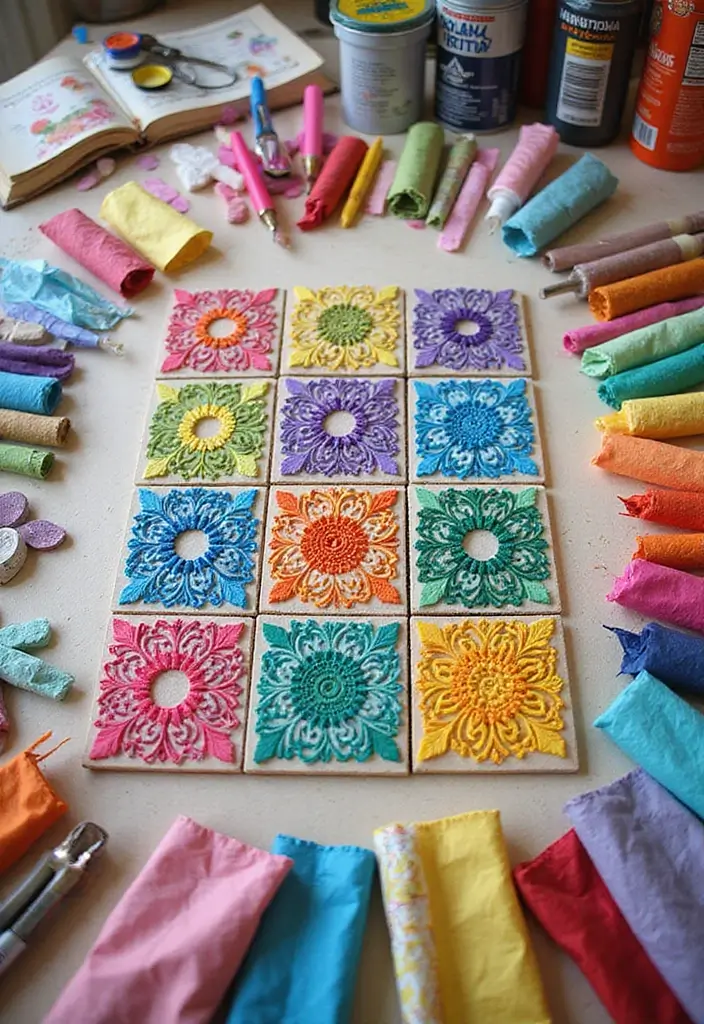
22. Paper Quilting Art
Here is a simple project you can start today. Paper quilting turns small scraps of recycled paper into a quilt-like picture. You see color, pattern, and texture in one neat piece.
Here is why it helps you learn and create. You pick colors first, then place squares in a design you love. The process trains your eye for balance and rhythm. It gives you a keepsake you can share with family.
Materials: Various colors of recycled paper, scissors, glue, and a sturdy backing sheet like poster board.
– Cut tiny squares, about 1/2 inch to 1 inch, from your scrap paper.
– Plan a simple pattern on another sheet.
– Copy the pattern onto your backing.
– Lay out the squares in rows or a grid.
– Glue them down one by one.
– Press gently so the paper stays flat.
– Let it dry completely.
– Mount the finished piece on a board.
– Frame it for display.
Tips: Try colors in groups, like light to dark. Start in the center and work outward for a neat edge. Keep edges clean by trimming stray bits.
Unique Insights: Quilting links the past to the present. A block pattern can tell a story about your family or a place you love.
Next steps: start with a small square project, then stretch to a larger wall piece.
@media(max-width:480px){
23. DIY Paper Fans
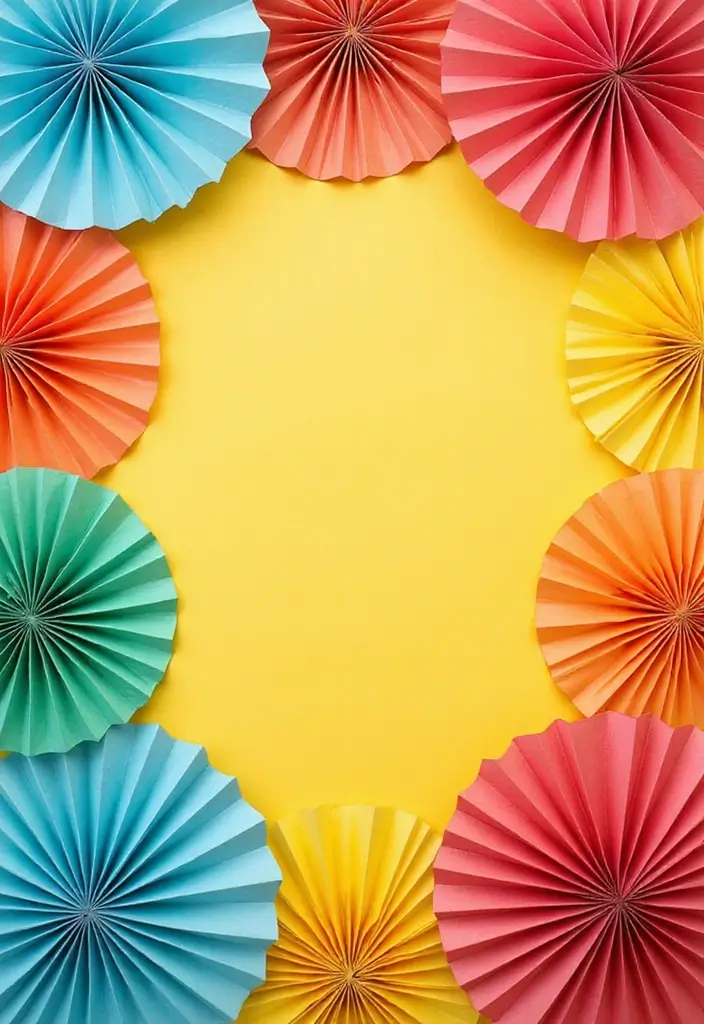
Staying cool this summer can be easy and kind to the planet. Turn scrap paper into playful paper fans you can use at home or outside. A simple fold and a splash of color make a useful, reusable breeze.
– Tips: Pick popsicle sticks for sturdy handles. Let kids decorate with markers, stickers, or paint. Allow time to dry before folding and using.
– Unique Insights: Fans are more than a tool. They carry culture in many lands. In warm climates, fans cool people fast. In dances and theater, fans tell stories. Add a tiny history lesson to your project.
– Suggested Materials: Recycled paper, scissors, glue, and popsicle sticks.
How to make it:
Cut a rectangle of recycled paper about 8 by 12 inches. Fold the rectangle back and forth in 1-inch sections to form an accordion. This creates the fan panels.
Glue the end of the folded paper to the flat side of a popsicle stick or a small cardboard strip to make a handle. Press firmly and let it dry.
Decorate the outside with color, stickers, or drawings. A clear coat of tape over the front can help keep decorations in place.
How to use:
Hold the stick and gently fan the paper with your other hand. The tiny breeze feels nice on hot days.
Next steps:
If folds loosen, add a dab of glue at the base. For a bigger look, make a wider sheet or use two colors on opposite sides.
@media(max-width:480px){
24. Recycled Paper Wall Hangings

You want a wall piece that is colorful and friendly to the planet. Recycled paper wall hangings fit the bill. Here is why: they reuse scraps and cut waste. You can craft a one-of-a-kind design that matches your room. Let’s break it down.
Materials
– Recycled paper in different colors and textures.
– Scissors and glue.
– Twine or string for hanging.
– Optional: light paint, markers, or stickers to add details.
Steps
– Cut shapes from the paper and keep a few scraps for texture.
– Layer pieces on a base sheet to build depth.
– Glue each piece and press softly until it sticks.
– Allow the glue to dry, then attach a loop of twine for hanging.
Tips
– Try circles, triangles, and strips for variety.
– Mix rough and smooth papers for a fun feel.
– Add a simple painted edge to finish the look.
– Hang where you can see natural light to make colors pop.
Display ideas
– Create a mini gallery by grouping two or three hangings.
– Use a hallway, kitchen, or kids’ room to brighten the space.
Next steps: reuse more paper scraps and expand to bigger designs.
25. DIY Paper Tiles Art
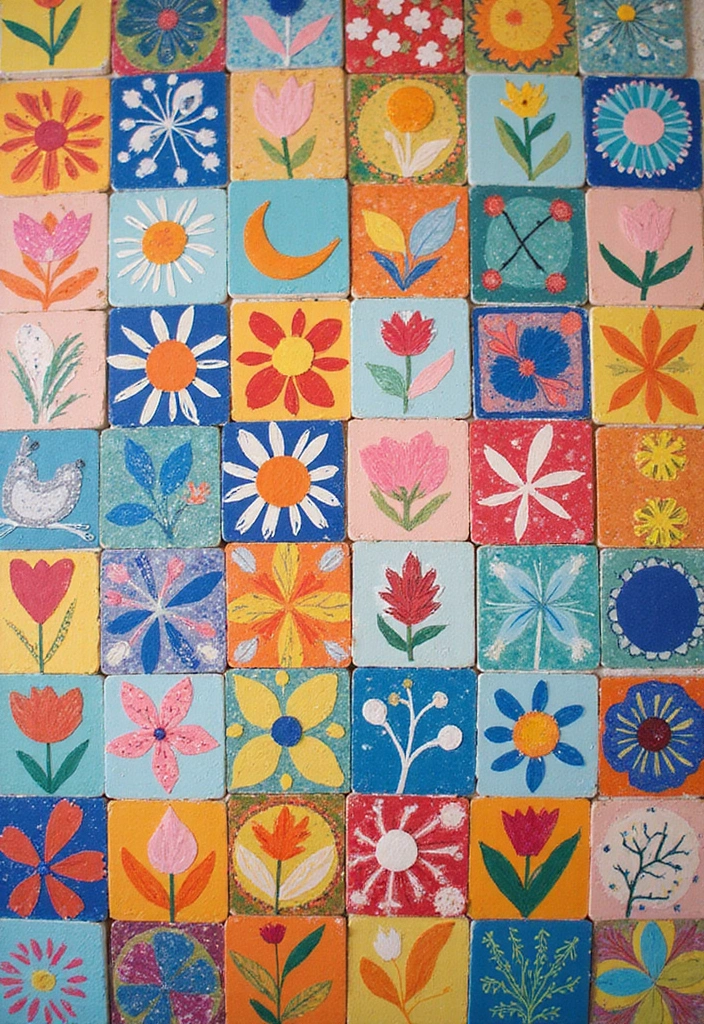
Looking for a fun, eco-friendly art project you can do with kids? Try DIY Paper Tiles Art. It turns scrap paper into many tiny tiles that fit together into one big picture.
What you’ll make
You’ll craft dozens of small tiles and arrange them on a sturdy board to form a mosaic.
Materials
– Scrap paper in different colors and textures
– Scissors
– Glue
– A thick board or poster board
Steps
1) Cut or tear scraps into simple shapes.
2) Pick a theme or color plan.
3) Lay tiles on the board to preview the design.
4) Glue each tile in place and press gently.
5) Let it dry, then hang it up or place it where people can see it.
Tips
– Work with others to share ideas and split tasks.
– Mix shapes for texture, or use only squares for a neat look.
– Keep a few extra scraps for touch-ups after drying.
Why this helps
This project builds focus, planning, and teamwork. It echoes tile art from many cultures, like mosaics in old towns. You learn how tiny tiles cover a big space and how pieces fit together. It uses recycled paper, so you help the planet.
Safety and scope
– Use kid-safe scissors and supervise younger kids.
– Start small and grow to larger boards as confidence grows.
@media(max-width:480px){
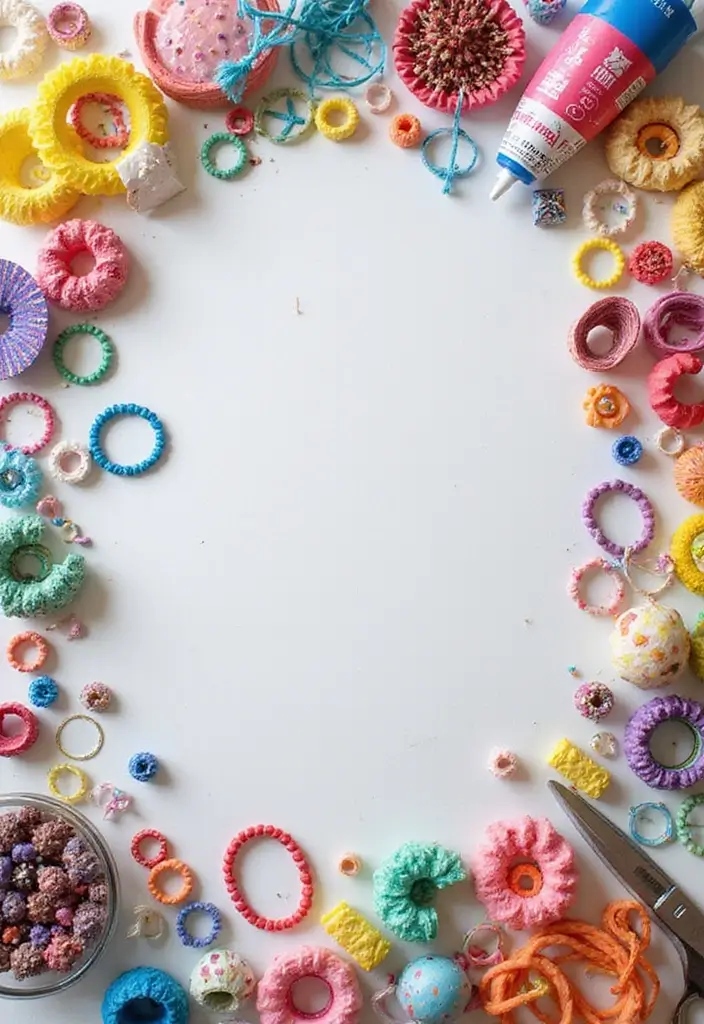
26. Recycled Paper Jewelry
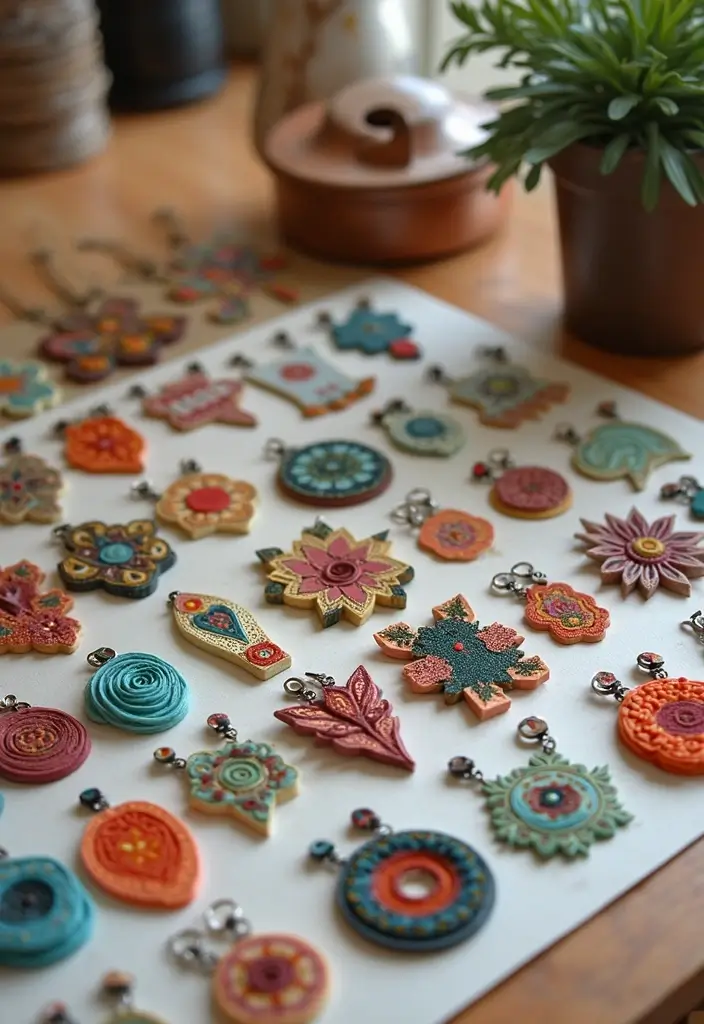
Want a colorful project that helps the planet? Recycled paper jewelry lets you turn scraps into earrings, bracelets, and necklaces. You roll, fold, and glue scraps until tiny beads form. Each piece is bright and totally unique.
Here is why you should try it. It cuts waste, teaches patience, and helps your personal style shine.
Suggested Materials:
– Scrap paper in colors you love, such as reds, blues, and greens
– Glue or a glue stick
– Scissors
– Clear thread, elastic cord, or thin wire for stringing
– Jewelry findings like jump rings or small hooks (optional)
Tips:
– Use clear string or elastic for easy wear
– Let glue dry fully before you string beads
– Seal beads with a light coat of craft varnish for durability
Unique Insights:
Handmade jewelry lets you show who you are. It builds confidence as you pick colors, mix sizes, and finish a piece you can wear.
Next steps are simple. Try different shapes and sizes to build a little paper jewelry set. Give it a go and turn scraps into wearable art.
@media(max-width:480px){
27. Paper Chain Decorations
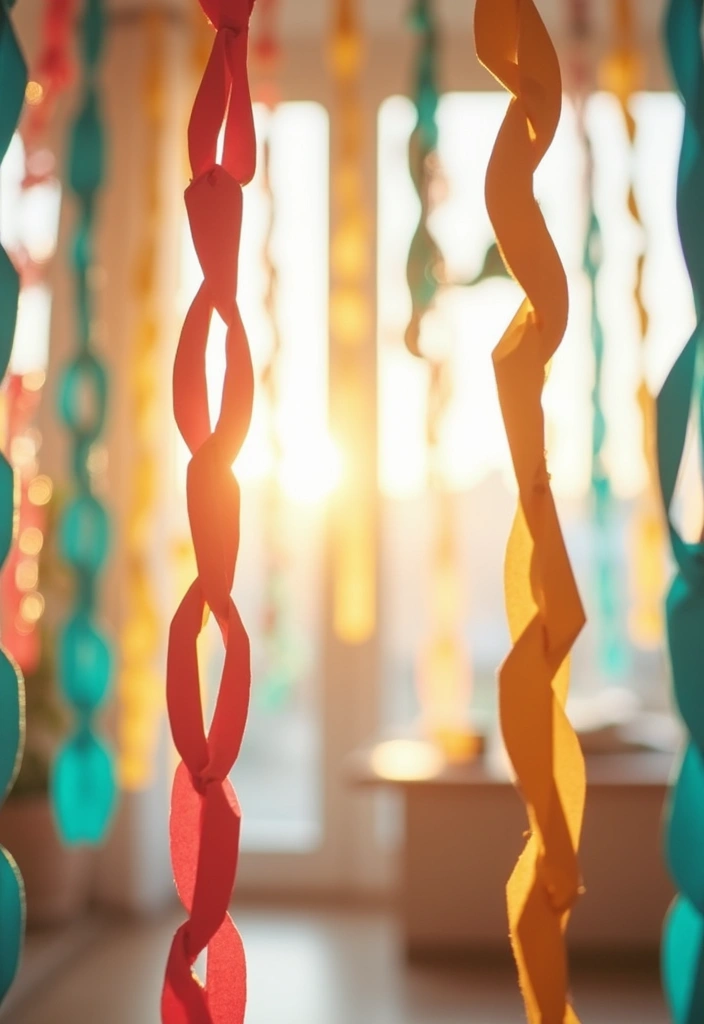
Need quick, kid-friendly decor that uses scraps? Paper chain decorations from recycled paper fit the bill. They’re bright and easy to make, and you can do them alone or with friends.
Suggested Materials: Recycled paper, scissors, and glue.
1) Cut strips. Make them about 1/2 inch wide and 6 to 8 inches long.
2) Form the first loop. Fold a strip into a circle and glue the ends.
3) Add a new loop. Slide the new strip through the previous loop and glue the ends.
4) Build your chain. Repeat steps 2 and 3 until you reach the length you want.
5) Hang your work. Drape it along a wall, over a doorway, or across a table.
Here’s why this works: the simple loop builds fast and needs few tools. It also lets you mix colors for a lively look.
Tips: Mix colors to create eye-catching stripes. Use different strip widths to add texture. Keep the chain light so it hangs without drooping. Work with friends to make longer garlands.
Unique Insights: Simple crafts like this lift spirits. A classroom or living room can feel brighter with a big, shared banner. It also teaches teamwork and planning as you decide on colors and length together.
Next steps: Try a holiday theme by choosing seasonal colors, or make a short garland for a party.
@media(max-width:480px){
28. Paper Pinwheel Toys
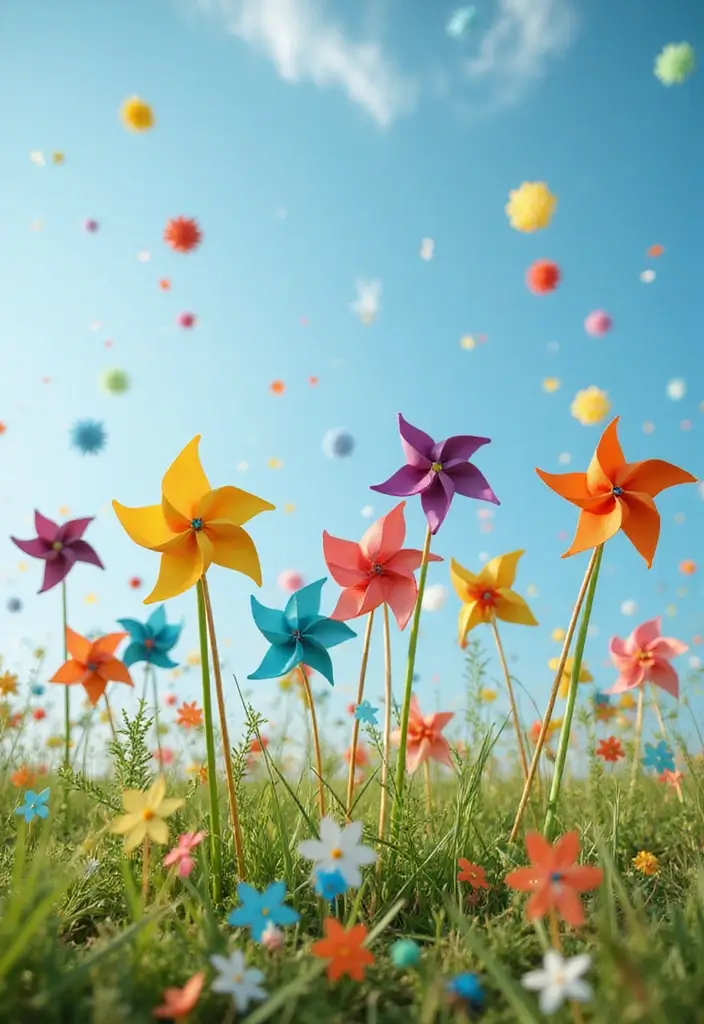
Want a quick, color filled project that doubles as a small science lesson? Build a paper pinwheel from recycled paper and see wind in action. It’s quick to finish and shares a green message.
– What you’ll make: A bright pinwheel that spins when the breeze hits it.
– Materials: Recycled paper, scissors, a straw or wooden dowel, tape or glue, a push pin or brad, markers or paint.
– Step 1: Cut a square from recycled paper.
– Step 2: Cut slits from the edges toward the center, stopping short of the middle.
– Step 3: Punch a hole in the center.
– Step 4: Attach the pin to the center and fix it to the straw.
– Step 5: Decorate with markers or paint and let it dry.
– Play ideas: Take the pinwheel outside on a breezy day and watch it twirl.
– Learning moment: The wind pushes the blades, making them spin and showing wind energy in action.
– Safety tips: Keep fingers away from the center and supervise younger kids.
This simple recycled paper craft is easy to adapt, uses items you already have, and sparks curiosity about wind.
Next steps: try a new color combo on your next pinwheel.
@media(max-width:480px){
29. Recycled Paper Candle Holders

Want a small project that is kind to the planet? Recycled paper candle holders turn scraps into safe, cozy light. These simple crafts teach patience and give you usable decor for any room.
Here is why this works: you reuse what you have, you stay hands-on, and you make something useful.
– Materials: scrap paper, scissors, glue, LED candles, tape.
– Safety: use LED candles only. No real flames.
– Steps:
1) Cut paper into strips or circles, then choose a base shape you like.
2) Layer or wrap the strips to form a bowl, ring, or tube. Make the base steady so it won’t tip.
3) Glue pieces as you build so the shape holds. Press firmly and let the glue dry a moment.
4) Slide in an LED candle and adjust the sides until the glow looks even. Check that the holder stands flat.
– Durability tip: thicker paper lasts longer. If you only have thin paper, glue several sheets together.
– Design ideas: stack a ring, create a flower-like petal lantern, or make a clean folded cylinder. Another idea is a lattice look with small holes to cast pretty shadows.
– Culture note: light shines in many traditions. A simple holder can remind you of celebrations from around the world. These small lamps can become a family ritual during holidays.
Next steps: grab scraps, try different shapes, and recycle what you don’t use.
@media(max-width:480px){
@media (max-width: 600px) {
.visual-quiz-iframe { min-height: 995px !important; height: 1100px !important; }
}
30. Recycled Paper Models
You want a craft that is fun, easy, and kind to the planet. Recycled paper models let kids turn ideas into real 3D shapes. They practice planning, cutting, gluing, and building, then feel proud to display their work.
Here is why this works for learning and play. Kids see how simple paper turns into space and form. It connects art with design and shows how small parts fit together in a bigger plan.
– Suggested materials: Scrap paper, scissors, glue, markers.
– Tips: Sketch designs first on scrap paper, then cut. Start with a simple shape, like a box or cube.
– Steps: 1) Plan your model on paper. 2) Cut shapes. 3) Glue pieces to a base. 4) Add details with markers.
– What to display: A shelf, desk corner, or classroom wall.
Next, safety and setup. Use kid-safe scissors, work on a mat, and clean up after.
Here is what you gain. It stays low cost and fits many ages. You can make tiny cars, towers, or animals to fit a mini city.
Next steps: gather scraps, pick a project, and start. Start with a small model, then grow to bigger designs. It also helps kids notice textures and colors in real life.
@media(max-width:480px){
Conclusion
These 30 recycled paper crafts not only ignite creativity but also instill a sense of responsibility towards our planet. Each project serves as a reminder that art can be both fun and sustainable! Encourage your children to dive into these activities, sharing their creations with friends and family.
Let’s continue promoting eco-friendly practices while fostering their artistic talents!
Note: We aim to provide accurate product links, but some may occasionally expire or become unavailable. If this happens, please search directly on Amazon for the product or a suitable alternative.
This post contains Amazon affiliate links, meaning I may earn a small commission if you purchase through my links, at no extra cost to you.
Related Topics
recycled paper crafts
eco-friendly projects
sustainable DIY
upcycled crafts
kids art activities
creative recycling
easy crafts
paper mache
gift making
seasonal crafts
environmental awareness
DIY art projects