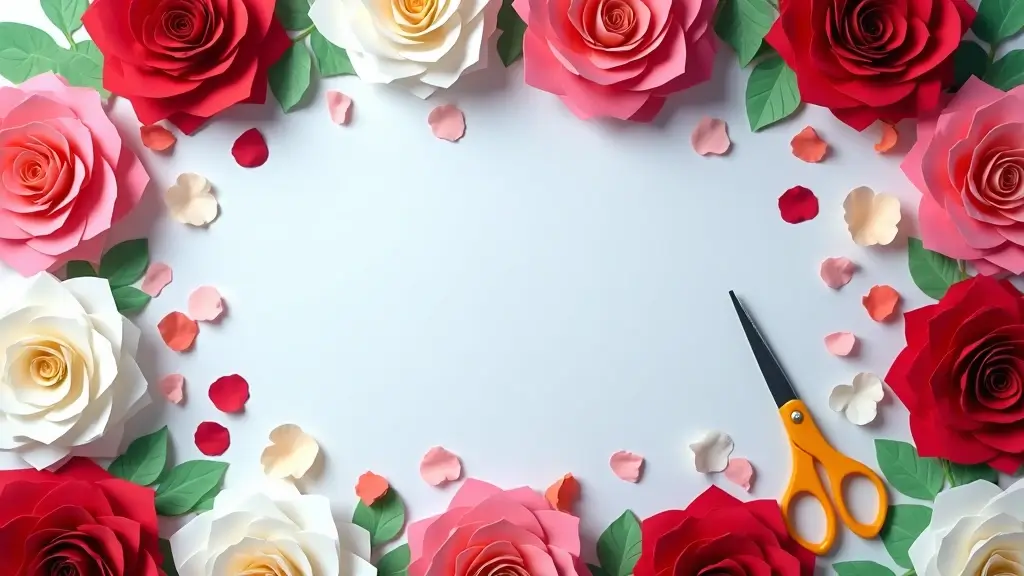
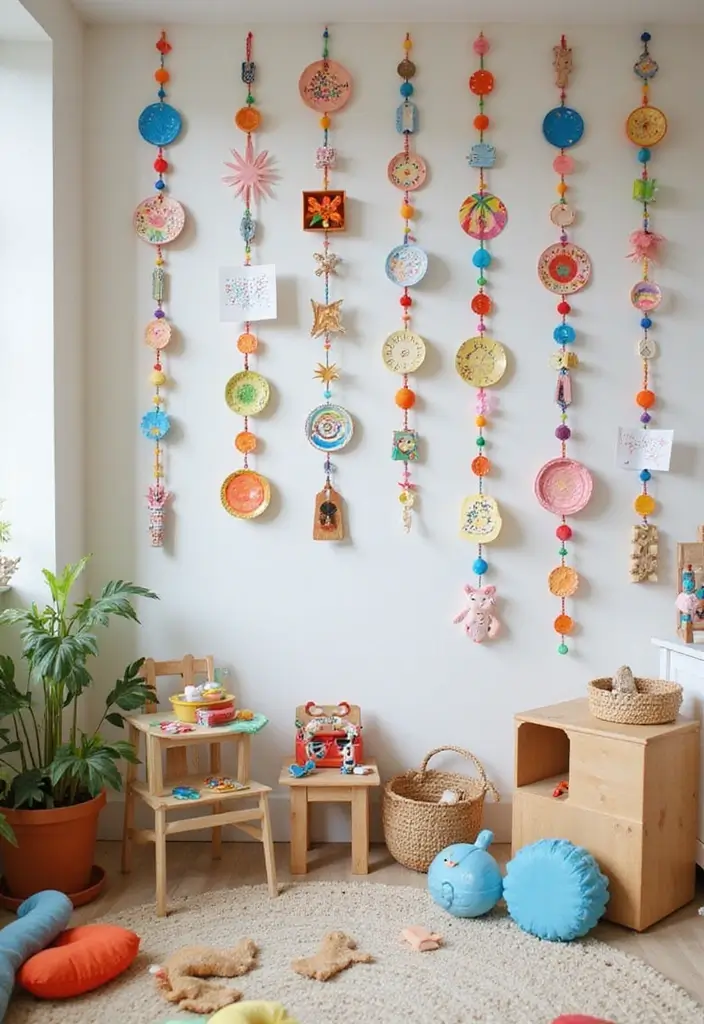
This season of party planning has me craving simple, colorful paper chain decorations. They bring cheer fast and don’t require a big setup. I made this post because I want to help you create joyful spaces without stress. You can hear the scissors snip and feel the smooth paper in your hands as you cut and link.
If you love hosting, school events, kid birthdays, or cozy nights at home, this one is for you. These projects fit busy days and big ideas alike. They work with basic supplies like paper, string, glue, and tape.
I pulled together 25 paper chain decoration ideas that are easy to make, budget friendly, and ready to adapt. From delicate garlands to bold banners, there is something for any space and vibe. Each idea comes with simple tips on color combos, paper choices, and quick hanging tricks.
Here is how to use the ideas in your home or classroom. Start with a palette you love, pick a chain size, and cut in minutes. Link pieces, test different lengths, and hang where people will notice.
These ideas fit many occasions. Birthdays, classroom events, holidays, or quiet evenings all glow with a bright stripe of color. Best of all, you can mix patterns, repeat colors, and tailor each piece to your theme.
Get ready to pick a color, grab your paper, and start linking. With a handful of steps, your space will feel warm and festive. Let’s dive in and turn plain strips into party magic.
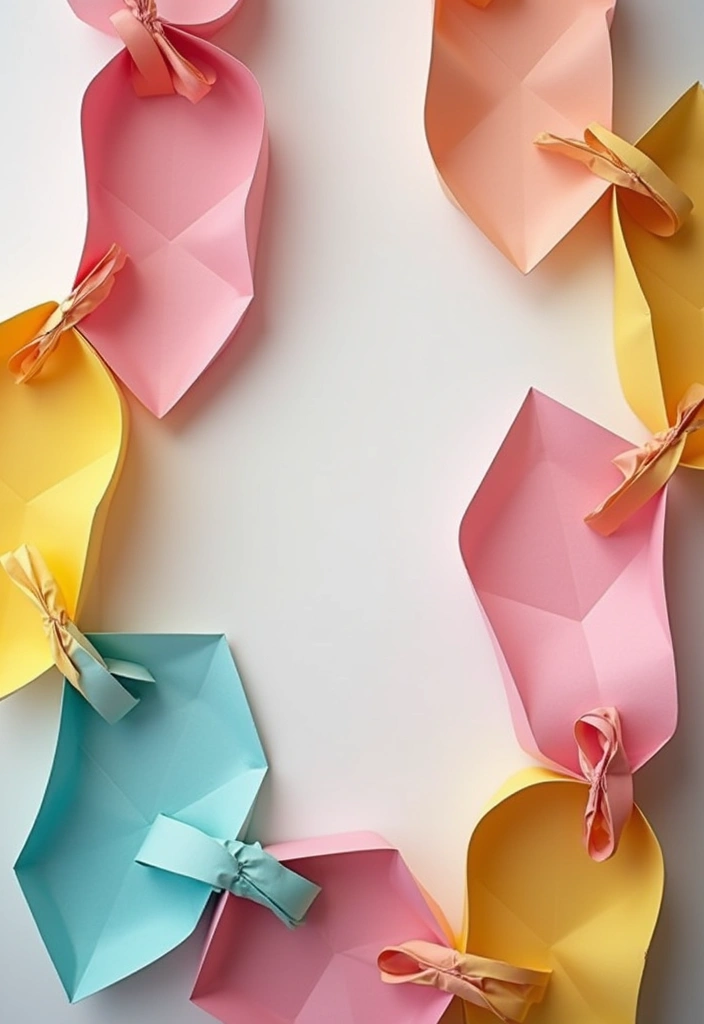
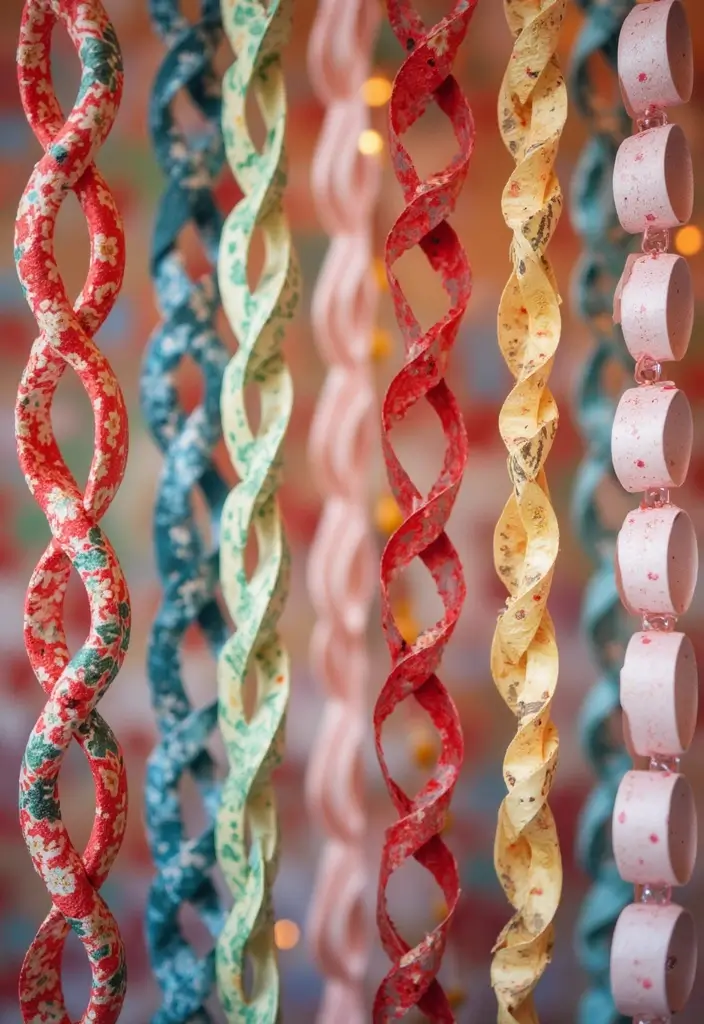
1. Colorful Rainbow Chains
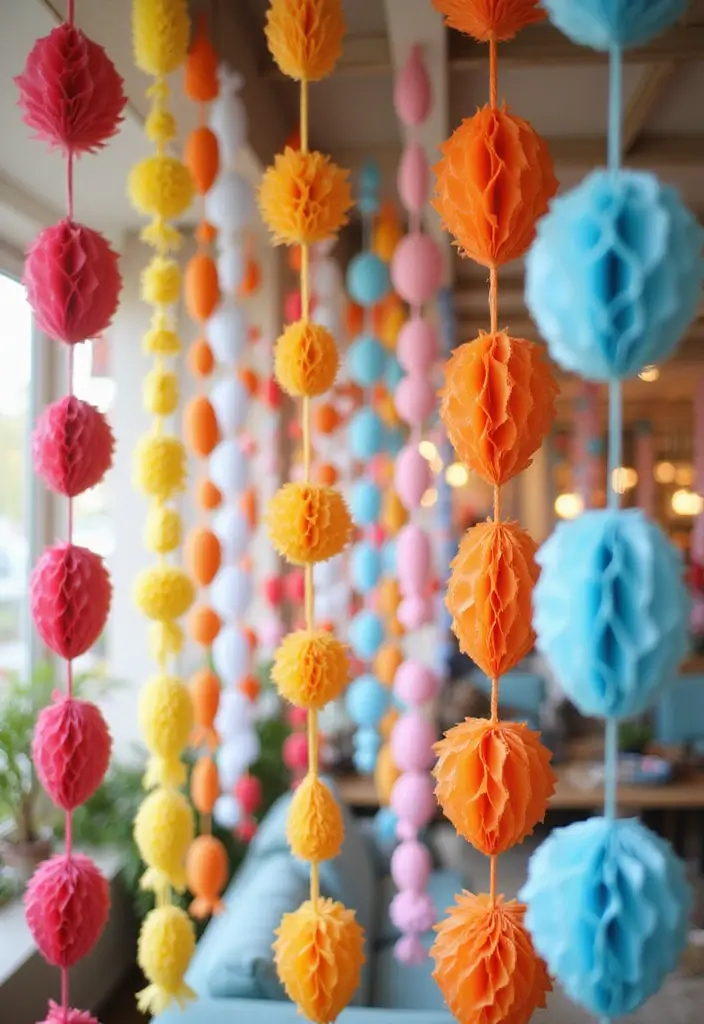
Want fast, kid-friendly decor that lifts a room? Colorful rainbow paper chains add a splash of joy. They fit birthdays, family meals, or just brightening a dull corner. They cost little and use simple supplies.
Here is why you should try them: they are cheap, quick, and easy to make. You can cut from scraps and still get a bright display. The result is a garland that sways in the light.
Materials
– Colorful paper or scrap paper
– Scissors
– Glue or tape
Steps
1) Cut strips about 1 inch wide and 6 inches long.
2) Fold each strip into a small loop and seal it with glue or tape.
3) Link the next strip by threading its ends through the loop of the previous one, then seal the end.
4) Repeat until you reach the length you want. Hang or drape the chain as you like.
Ways to use
– Hang from the ceiling to float above the room.
– Lay it across the table as a bright runner.
– Drape around a patio or garden arch on sunny days.
Tips
– Mix different shades for a lively look.
– Reuse scrap paper and wrapping bits to cut waste.
– Vary strip widths for texture.
@media(max-width:480px){
2. Seasonal Leaf Chains
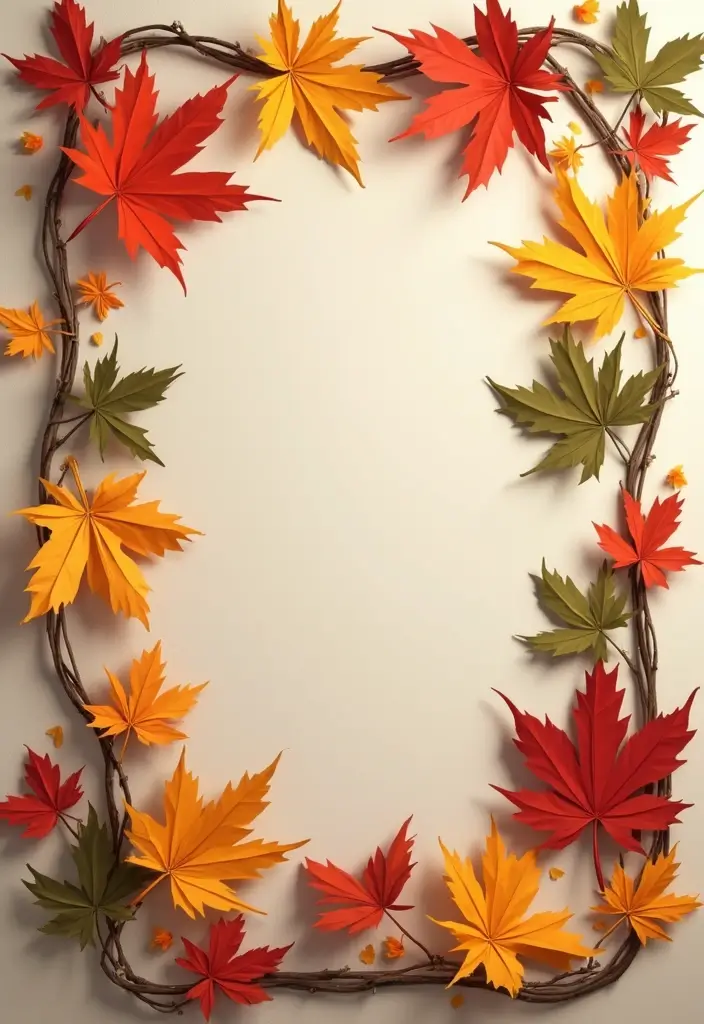
Feeling like your seasonal decor is missing a natural pop? Seasonal leaf chains bring in color, texture, and a cozy vibe. They work great in fall with warm tones, and they also fit spring with bright, floral shapes. You can use paper leaves for a fun, budget-friendly look or real pressed leaves for a softer, rustic feel. Here is why they shine: they’re quick to make, easy to store, and they suit many spaces.
Materials
– Fall-colored paper or real pressed leaves
– String, twine, or thin ribbon
– Scissors
– A needle or a small hole punch
– Optional: small twigs to insert between leaves
Steps
– Cut leaf shapes from paper or collect real leaves you like
– Punch holes or tie each leaf to the string
– Space leaves evenly and leave extra length at each end for hanging
– If using real leaves, press them first between heavy books for a few days to keep shape
Ways to use
– Drape across mantels, windows, or doorways for a soft frame
– Hang as a seasonal photo backdrop at gatherings
– Add a row of twigs between leaves for a rustic touch
Spring twist
– Make flower-shaped leaves and use bright greens, pinks, and yellows
– Mix in pastel string for a fresh, airy feel
Tips
– Plan ahead so you can store the chains flat
– Use light glue on real leaves to secure fragile pieces
– Layer several chains at different heights for depth
@media(max-width:480px){
3. Festive Holiday Chains
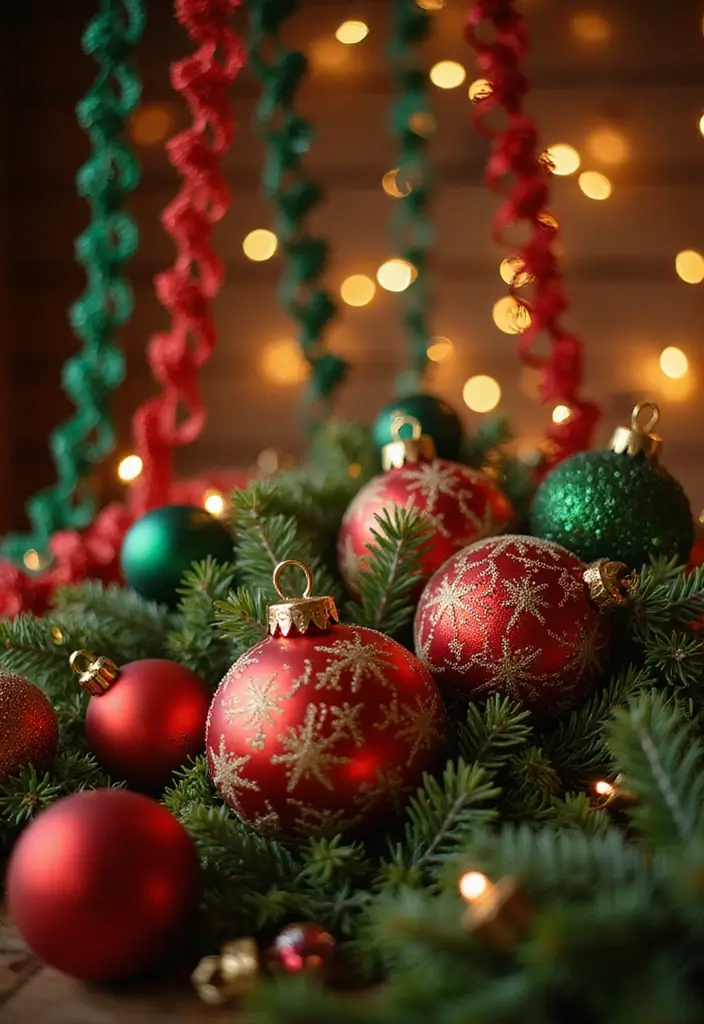
You want a quick, friendly holiday look. Festive paper chain decorations fit the bill. They work for Christmas, Easter, and other celebrations. They’re cheap and easy to make.
What you need
– Construction paper or cardstock in your chosen colors
– Scissors
– Glue or tape
– Optional: glitter, stickers, markers
How to build
– Cut strips about 1 inch wide and 9 inches long
– Link each strip by threading it through the previous loop
– Press ends to seal with glue or tape
– Make several chains for a layered look
Here is why it works: the links stay flat and light, so they’re easy to hang.
Make it your own
– Paint simple designs, stamps, or color blocks on links
– Add glitter or stickers for sparkle
– Alternate colors to match a theme, like red and green for Christmas or pastels for Easter
Where to display
– Drape on the Christmas tree or around the dining table
– Hang across a mantle, doorway, or window
– Create a long chain to stretch along a staircase
Tips
– Choose colors that fit your decor
– Use lighter paper for easy linking
– Let glue dry before hanging
Care and storage
– Flatten the chain and store in a bag so links stay neat
– Label by color or theme for quick reuse later
Next steps: grab supplies, pick a color plan, and start your first holiday chain today.
@media(max-width:480px){
4. Birthday Bash Chains

You want party decor that pops without a lot of mess. Paper chain garlands do the job.
Pick two to four colors from the birthday theme to set the mood. Cut each paper strip to 2×6 inches for a bold look. On every strip, write a short message or doodle a tiny design. Link the strips end to end to form a long chain. Hang the chains across a back wall, above a dessert table, or along a photo backdrop to boost your party vibe.
This approach is affordable. Save scraps to reuse for future parties.
DIY Tips:
– Use metallic paper to create a subtle shine.
– Add cutouts of party hats or cake shapes from extra paper.
– Drape the garlands across a backdrop for photos or suspend them over the dessert table.
– Try a double layer by adding a lighter shade chain behind the main one for depth.
@media(max-width:480px){
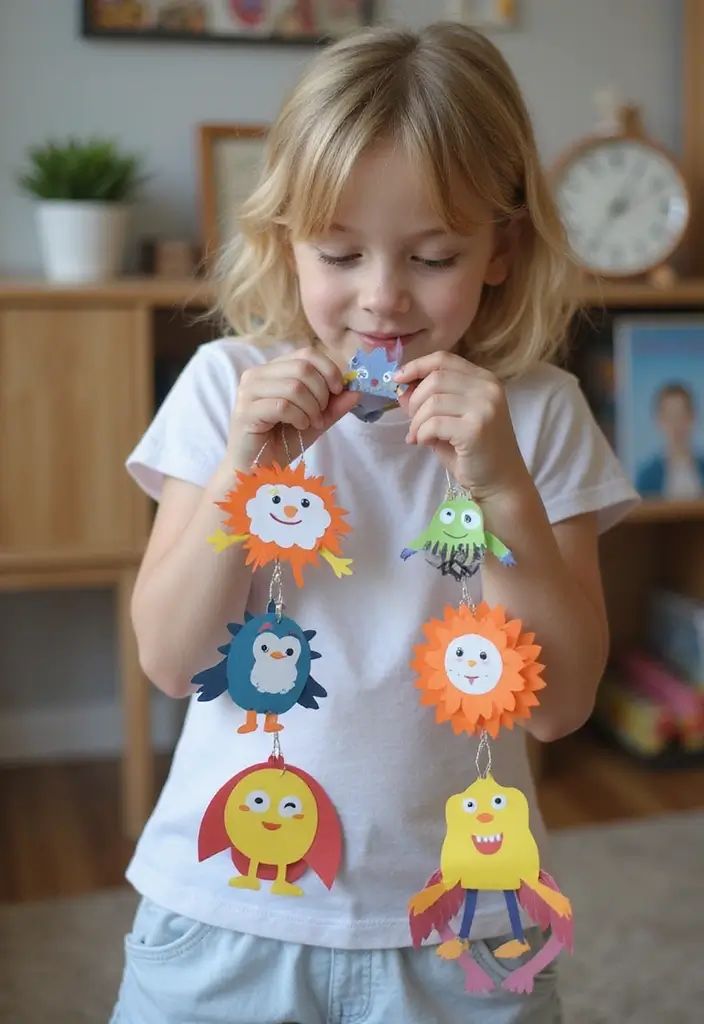
5. Whimsical Fairy Tale Chains
You want to add a touch of magic to your party. Whimsical fairy tale paper chains do the job. They feel light and dreamy with pastels, soft shapes, and a hint of glitter. This idea fits kids’ parties and themed events.
Crafting ideas:
– Gather simple supplies: pastel or colored paper, scissors, glue or tape, string or ribbon, and optional glitter or stickers.
– Cut shapes that fit your theme. Stars, moons, hearts, or tiny crowns work well.
– Link the shapes to form a chain. Glue or punch a small hole and thread the string through.
– Add a little sparkle. A dab of glue with glitter makes shapes glow in the sun or under lights.
Ways to use them:
– Drape a long chain across a table edge or along a wall to create a soft backdrop.
– Hang the garlands in a tree during an outdoor birthday party to feel like a fairy land.
– Pair the chains with warm fairy lights for extra glow.
Tips for best results:
– Keep the shapes light so the chain hangs evenly.
– Vary sizes for depth and interest.
– Try a two-tone color scheme for a calm, dreamy vibe.
Next steps: choose a color palette, cut shapes, and string them together for your party space.
@media(max-width:480px){
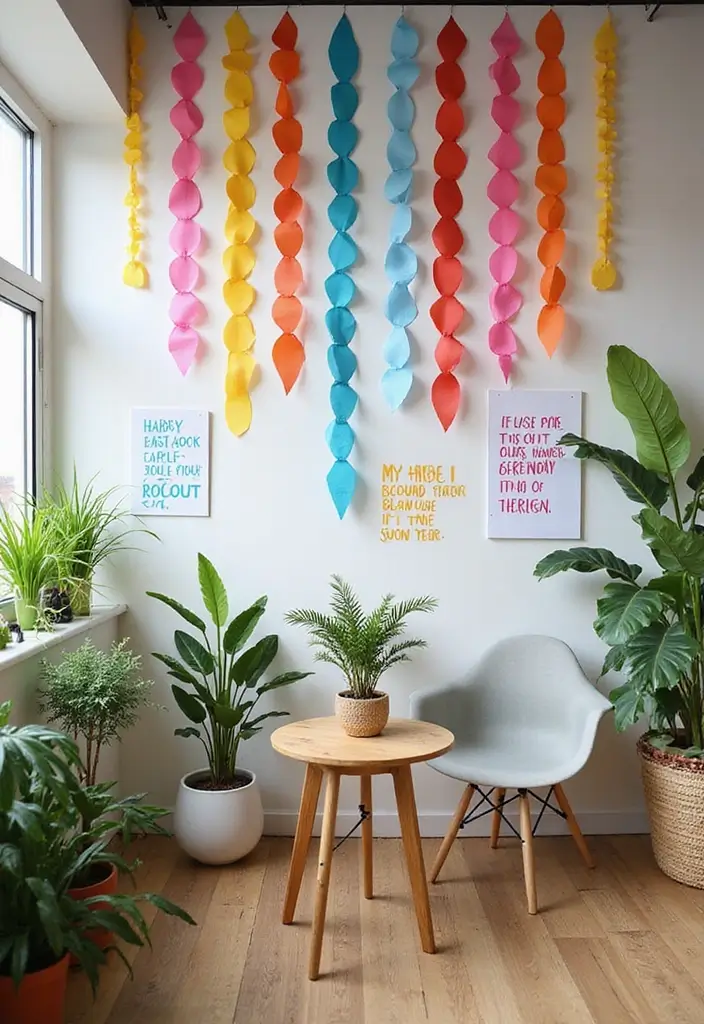
6. Everyday Fun with Patterned Chains
If you want quick decor that looks lively, patterned chains fit. They use scraps and cost little. You can finish them fast.
Materials
– Patterned scrapbook paper or leftover gift wrap
– Scissors and a ruler
– Glue or tape
– String, thread, or ribbon for hanging
Here is how you do it:
– Cut strips about one inch wide. Keep them the same width.
– Form a loop at the end of a strip. Thread the next strip through the loop to link them.
– Make a chain to your desired length. Hang it across a doorway, above a mantel, or along a window frame.
Next steps: these chains fit many spots. A bright line above a kid’s play area can cheer the room. A calm color set works well near a reading nook.
Tips
– Mix patterns for a boho vibe.
– Vary strip widths for texture.
– Use removable tape to hang.
– Create chains of different lengths for a staggered look.
Common questions: Will it stay up indoors? Yes, in well-lit, sheltered spaces. For outdoors, use laminated paper or keep the chain short.
@media(max-width:480px){
7. Nature-Inspired Paper Chains
You want a simple way to bring the outdoors inside without waste. Nature-inspired paper chains do that. Use brown and green paper to mimic bark and leaves. This rustic look fits many events.
Here is how to make them. Cut paper into strips about 1 inch by 8 inches. Loop the ends and thread the next strip through. Keep links the same size for a neat chain. Repeat until you reach the length you need. Let the colors blend from brown to green.
Try these decor ideas. Hang the chain around a plant, frame a doorway, or drape it along a table or bar at an outdoor party. It adds texture without shouting.
Eco-Friendly Insight:
– Recycle old paper bags or cardboard for this project to cut waste.
– Drape these chains around plants or around a barbecue area to add a natural touch.
– For an added twist, decorate the chains with small twigs or pinecones for a forest feel.
Here is why this craft helps your decor. It is quick to finish and easy on the budget. You can mix browns with greens to fit a forest theme. For a real touch, press the strips to create a light wood grain.
@media(max-width:480px){
8. Charming Baby Shower Chains
Are you planning a baby shower and want decor that feels warm and easy? Paper chain garlands fit the bill. They are simple to make and stay soft in the room. You can tailor them to your theme and save money at the same time.
Start with pastel colors. Think pink, blue, yellow, and mint. Add patterns like polka dots or tiny baby icons on the paper. This keeps the room light and inviting without stealing the spotlight from the cake.
Here is why they work. Cut strips of paper. Tie the ends to form a chain. Connect links in alternating colors for a playful look. Slip in small baby shapes between links, such as bottles or blocks, to surprise guests. If you need more length, keep adding links.
Where to hang them? Above the gift table or near the dessert stand works well. Drape them along a wall or over a doorway to guide the eye. They sway with air from a window, adding warmth and motion.
Crafting Tips:
– Place tiny baby icons between links for a cute pop.
– Hang above tables to draw the eye and soften the space.
– Choose biodegradable paper to keep decor eco-friendly.
@media(max-width:480px){
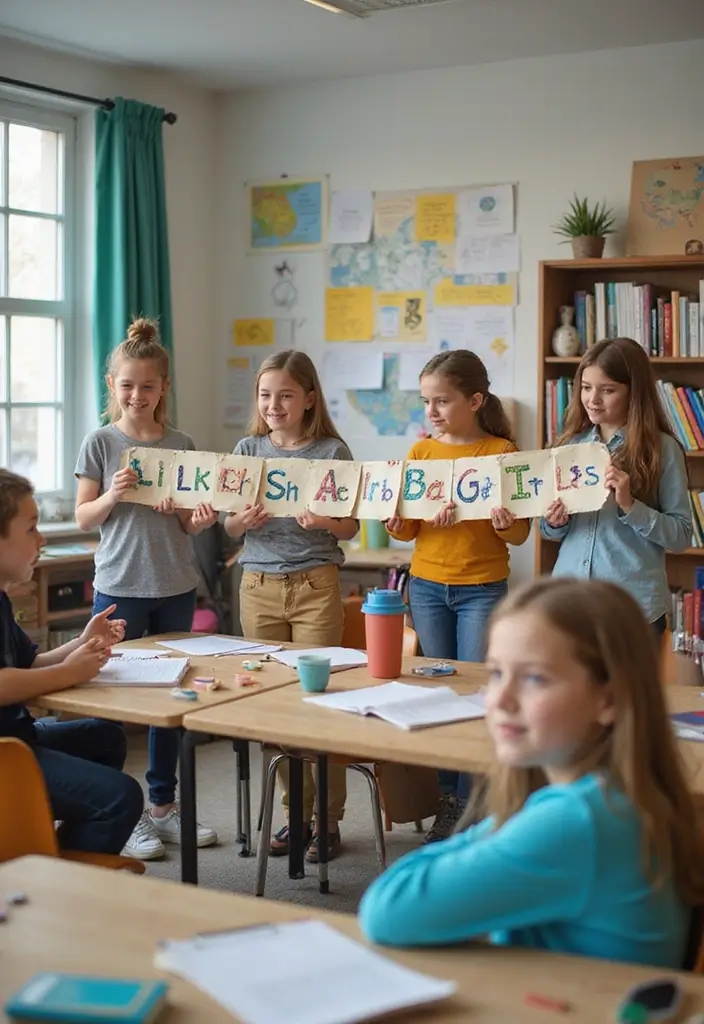
9. Creative School Projects
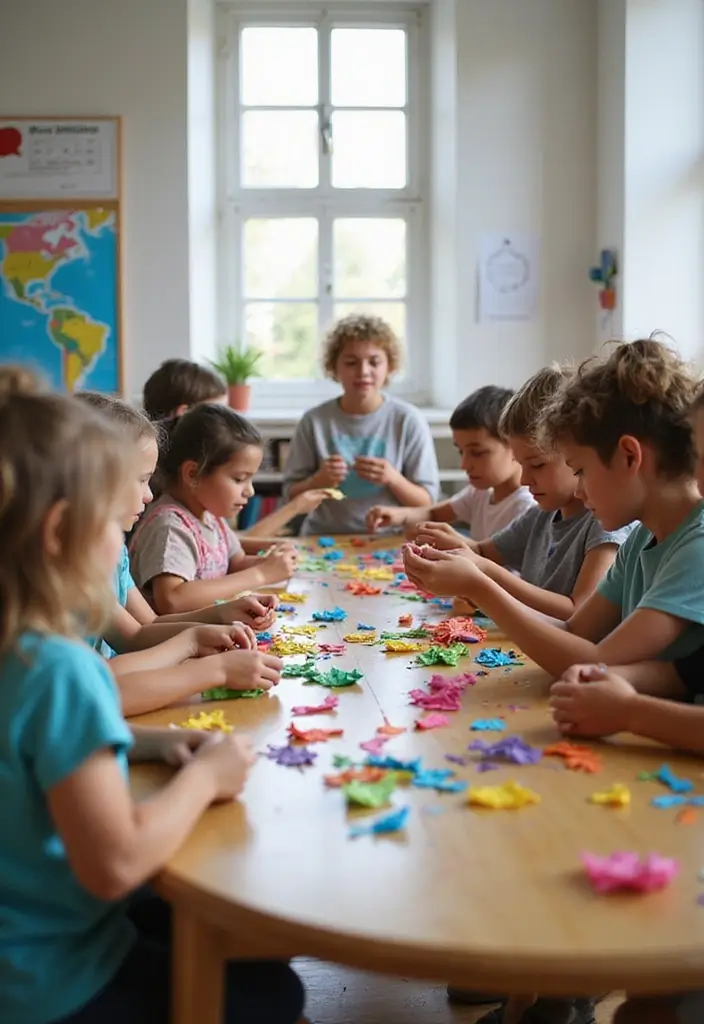
You want a classroom activity that is fun and teaches at the same time. Paper chains can be that tool. You guide students to turn simple strips into a learning chain they can see, touch, and talk about. These chains help you teach patterns, counting, colors, and even order.
Educational Benefits:
– It builds teamwork when kids work in small groups.
– It blends art with math ideas like counting.
– The finished chains brighten the room and hang in the classroom.
How to make this work in class:
– Pick a goal. Try color order, number patterns, or size steps.
– Cut strips evenly. A ruler helps keep links the same size.
– Link the strips. Make a loop, pass the end through, and pull snug.
– Build in stages. Start with a short chain, then add pieces to show progress.
– Display proudly. Arrange the lines into a rainbow or a long border.
Materials and tips:
– Use sturdy colored paper, scissors, and tape if you need extra hold.
– Keep links small for neat chains, or make bold, larger links for a big display.
– Let students explain their chain idea to the class for quick sharing.
Next steps:
– Try a quick 15 minute version first.
– Save a set for a later science or history project.
10. Elegant Wedding Chains
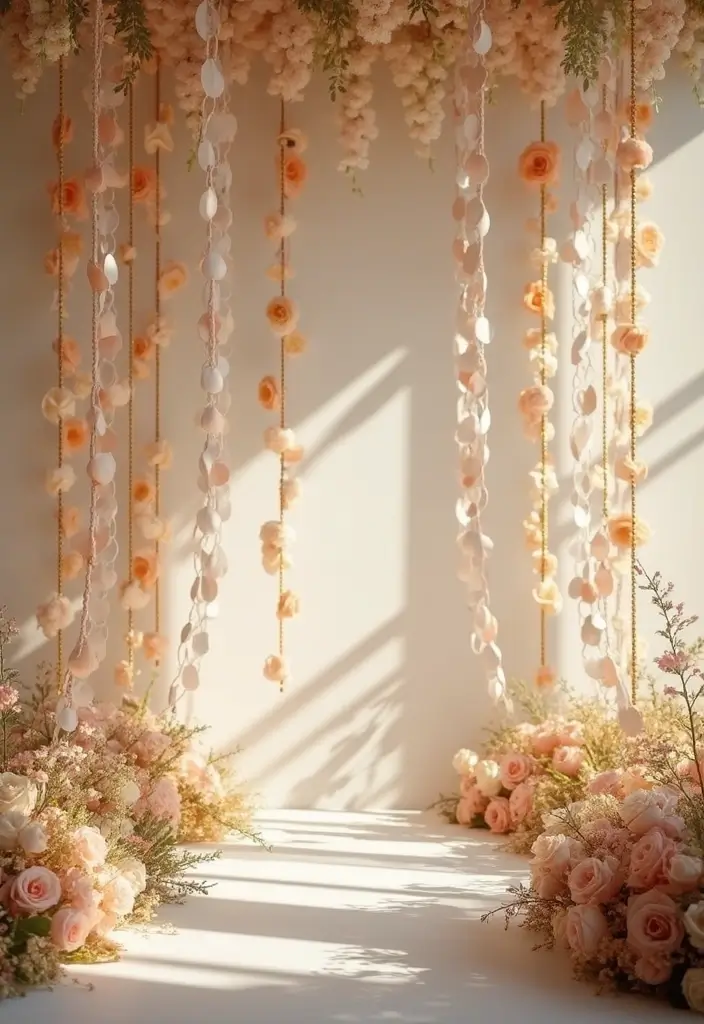
Planning a wedding and want a touch of class without a heavy cost? Elegant paper chains are your answer. They bring soft motion, warm light, and a clean look that fits many styles—from classic white and gold to your own palette.
Why they work: paper chains are easy to customize, quick to assemble, and you can reuse them later for other celebrations. The right colors and finishes add sparkle without loud decor. Choose a texture that feels rich, like a pearlescent white or a subtle metallic. You’ll notice the light reflecting softly as guests walk by.
Materials and color ideas:
– White, ivory, and gold create a timeless feel.
– Metallic or textured paper adds upscale shine.
– Mix florals or lace patterns for a thematic twist.
– Use different widths for depth and interest.
DIY Tips for Weddings:
– Personalize each link with the couple’s initials or wedding date for a warm touch.
– Add floral silhouettes or lace patterns to echo your theme.
– Drape them across archways, along table edges, or as a photo booth backdrop for memories.
Placement and setup ideas:
– Hang in reception zones to draw the eye toward the dance floor.
– Create a long entry fringe to greet guests.
– Switch to a lighter color for daytime, then switch to a bolder tone for after-dark lighting.
Next steps:
– Pick your color and texture.
– Cut uniform strips and link them by threading through each other.
– Measure, hang, and adjust for even spacing. You’re set to wow your guests with simple elegance.
@media(max-width:480px){
11. Fun Halloween Chains
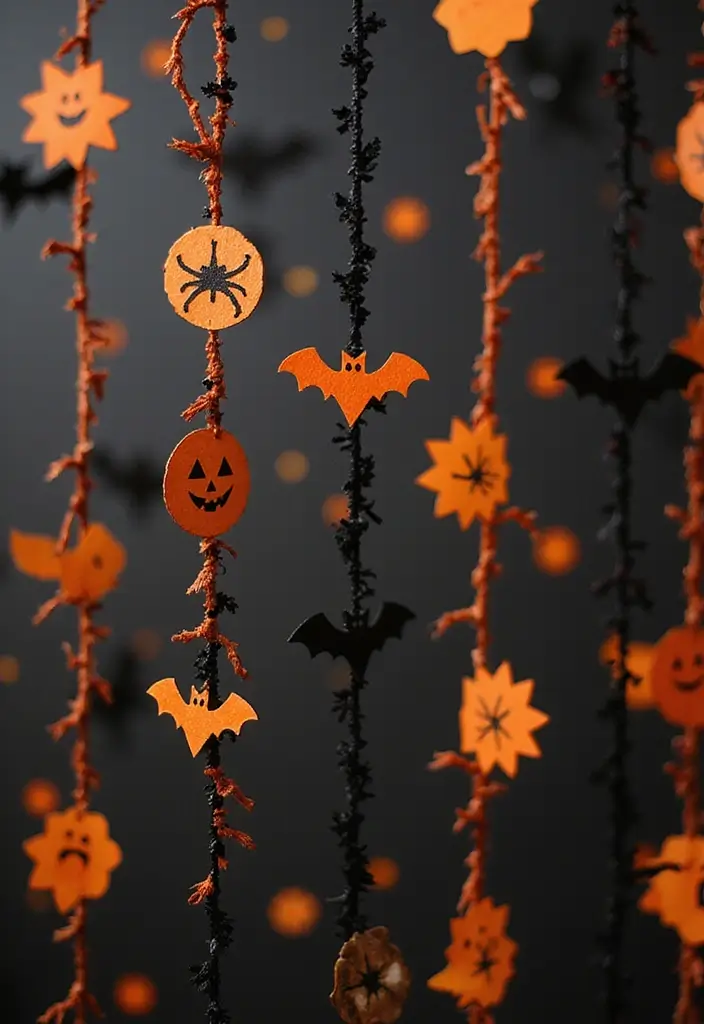
Halloween Chains that pop. You want easy, fun decor that fits any space. Start with three colors: black, orange, and purple. Cut long strips and link them to form a chain. Add shapes like ghosts, pumpkins, and bats to boost the Halloween mood.
What you’ll need
– Black, orange, and purple paper
– Scissors and tape or glue
– String or wall-safe tape
– Optional: glow-in-the-dark paint or white stickers
How to make them
1. Fold strips, then cut links to form a chain. Keep links even so it hangs well.
2. Cut simple shapes: ghosts with rounded heads, pumpkins with triangle mouths, bats with wing tips. Glue or tape shapes onto the links.
3. Connect a few chains for a longer garland. You can mix sizes to fill wide walls.
4. If you have glow paint, brush the shapes or the tips of the links for a night glow.
Where to display
– Hang across doorways, windows, or ceilings.
– Drape along mantels or stair rails.
– Let kids help place chains to build a playful haunted vibe.
Tips for fun and safety
– Use light glue so fingers stay safe.
– Tape ends to keep chains from sagging.
– Keep small shapes away from very young children to prevent choking.
Next steps: start with one section and grow it as you go.
@media(max-width:480px){
@media (max-width: 600px) {
.normal-quiz-iframe { min-height: 570px !important; height: 570px !important; }
}
12. Graduation Celebration Chains

You’re planning graduation decorations and want something simple, affordable, and memorable. Paper chain banners fit that need. They’re bright, easy to make, and easy to adjust for any room. With a few links you can show how far you’ve come or dress up the party space. Here is how to make and use graduation chain decor that works.
Start with a quick plan. Pick colors that match the school or the theme. Measure the space you want to fill. Set a small schedule so you finish in time.
What you need:
– Sturdy paper in your chosen colors
– Scissors and a ruler
– String, thread, or thin ribbon
– A hole punch or needle
– Optional foil, tape, or shine paper for extra glam
– Use school colors. Cut strips and link them in the color set you chose.
– Add shapes. Make links shaped like caps or diplomas to echo the theme.
– Create a countdown. Write a message or year on each link and remove one link each day.
– Decor ideas. Hang them over tables, drape along stairs, or frame a photo wall for a festive backdrop.
DIY Hacks:
– Print short quotes on each link to cheer the grads.
– Mix finishes. Use shiny paper or foil for a chic glow.
– Layer textures. Add vellum or patterned links for depth.
– Build strength. Punch two small holes and thread sturdy string so they last.
Next steps: gather supplies, cut the strips, link them, and hang. It’s a small effort with big payoff. This project travels well to classrooms and clubs.
@media(max-width:480px){
@media (max-width: 600px) {
.visual-quiz-iframe { min-height: 995px !important; height: 1100px !important; }
}
13. Quirky Office Decor Chains
Is your workspace feeling flat? You want a fast, budget-friendly way to brighten it. This DIY project is quick and clean. Quirky paper chain decor fits that need.
You get color and fun without a big mess. Bright colors catch the light and softly rustle when you touch them.
What you need
– Colorful paper or recycled office paper
– Scissors and tape or staples
– A simple ruler for straight links
– A space to hang or drape your chain
How to make it
– Cut long strips from paper, about 2 cm by 25 cm
– Link two strips to form a loop, then add more loops
– Close each link with tape or a staple so the chain holds
– Keep it light; make several chains in different colors
Ways to use it
– Hang a row above your desk to draw the eye
– Wrap a chain around a bulletin board for a playful border
– Drape a loop or two along shelves or a cubicle wall
– Layer chains of different colors for a mini rainbow
Tips for office decor
– Let teammates add a link to turn this into a team activity
– Print short quotes or graphics on paper to spread motivation
– Switch colors or designs with the season to keep the look fresh
Next steps: Start with a simple 10-link chain. Expand as you see fit. This little project costs little but pays in mood and focus.
@media(max-width:480px){
14. DIY Chain Advent Calendar
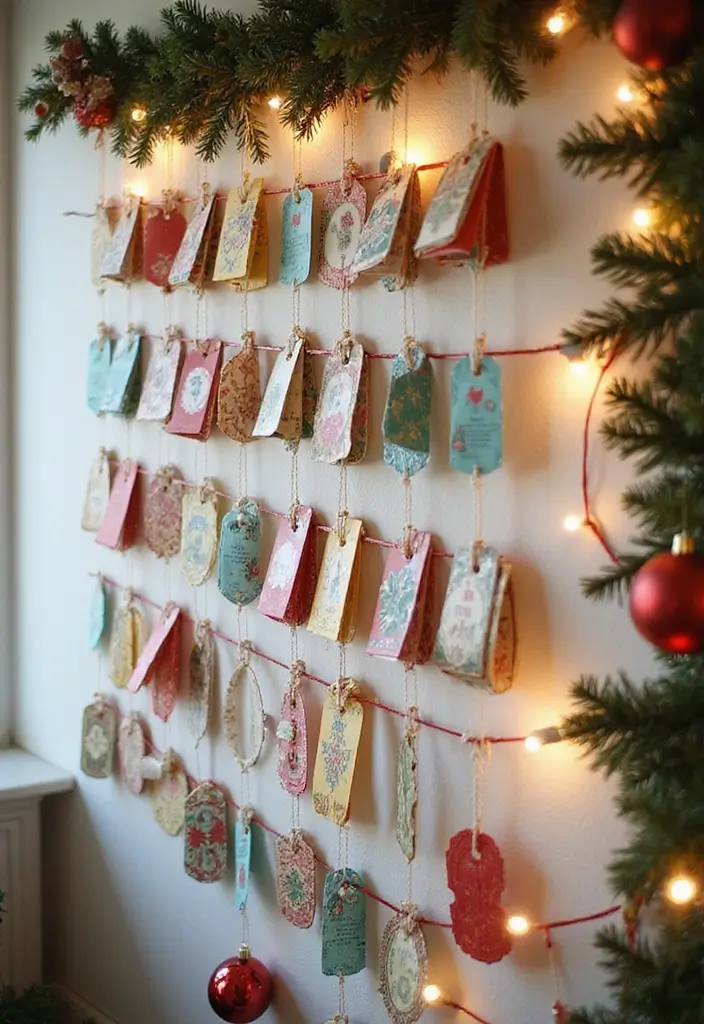
You want a simple way to add a spark before the big day. A chain advent calendar does that. It uses 24 links. Each link holds a small treat, a note, or a quick activity for the day ahead. Use bright paper. A touch of glitter makes it feel festive.
Crafting Ideas:
– Write a tiny family activity on each link.
– Pick paper that matches your decor.
– Hide a small treat or a clue for the next day.
– Keep tasks short.
What you need:
– 24 paper strips, scissors, tape or glue, markers, and string.
– Optional glitter or stickers for a little shine.
– A wall, door frame, or mantel to hang the chain.
Next steps:
– Cut 24 strips and link them to form one chain.
– Write a note or activity on each link.
– Hang where it’s easy to reach for daily opening.
Why this helps:
– It builds daily cheer without big prep each day.
– Kids love tearing off a new link and guessing what’s next.
– It turns a long month into short, happy moments.
Tips for success:
– Keep activities easy and quick.
– Use bright colors for a cheerful look.
– Save the chain after the season or reuse it next year.
@media(max-width:480px){
15. Eco-Friendly Recycled Paper Chains
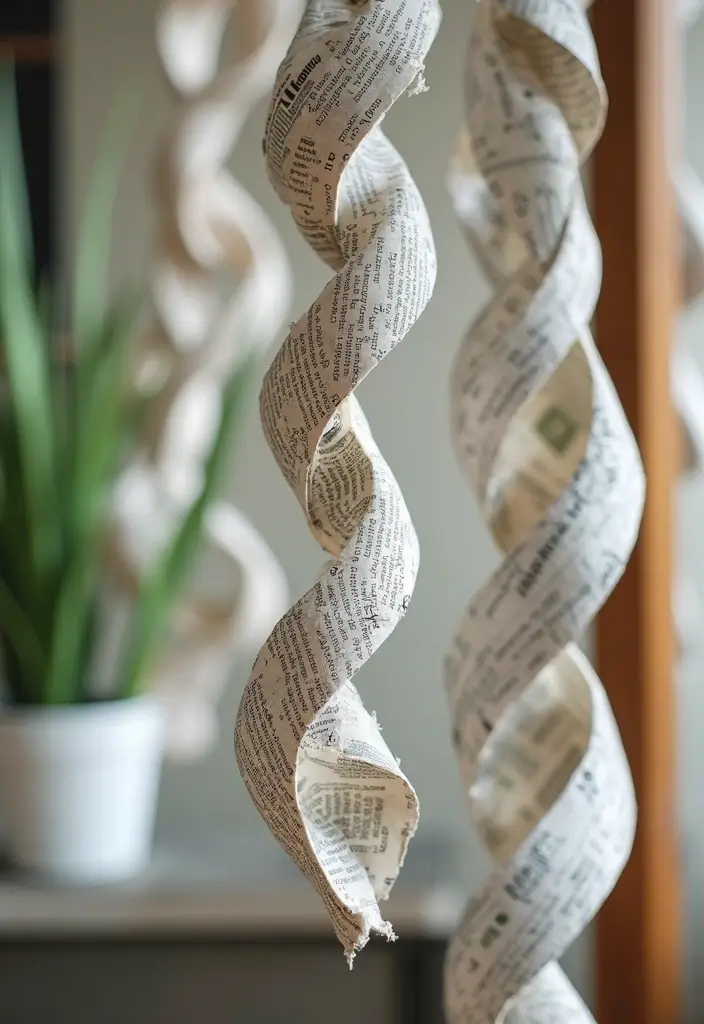
Want a quick, green way to decorate for any occasion? Eco-friendly recycled paper chains fit the bill. Use old newspapers, magazines, or cardboard. No need to buy new paper. You cut waste and add charm.
Here is how to do it.
– Cut pages into thin strips about 1 inch wide and 10 inches long.
– Tie a small loop at the end of each strip.
– Thread the next strip through that loop and pull to form a link.
– Keep going until your chain is as long as you need.
Tips for Eco-Friendly Crafting:
– Choose pages with bold colors to build a bright palette.
– Mix textures by using glossy ads, plain newsprint, and construction paper.
– Save the scraps; they can become future decorations or be used in other projects.
Display ideas: drape the chain over a doorway, make a long garland for a table, or wrap it around a centerpiece. The loose links move softly in the breeze and catch light just right. These chains are sturdy enough for party use and easy to store flat.
Next steps: plan your color scheme, gather paper, and start linking. You’ll cut waste, save money, and have a reusable decoration you can reuse for years.
@media(max-width:480px){
16. Vintage-Inspired Floral Chains

You want decor that feels warm and old yet simple to make. Vintage-inspired floral paper chains give you that charm without a big price. They work for weddings or any vintage-themed party.
Materials you can gather
– Floral-patterned paper, scrapbook pages, or fabric scraps
– Scissors, glue, and a long piece of string or twine
– Optional lace or ribbon for a softer touch
How to make them
Here is why this method works: strips become links, and you join the links to form a garland. It’s light, colorful, and easy to move.
Step-by-step
– Cut strips about 1 inch wide.
– Fold to make a loop, then thread the next strip through to form a link.
– Glue the seam so the link stays closed.
– Keep going until the garland is long enough.
Crafting Tips:
– Mix floral patterns for a unique look.
– Tie links with lace or ribbon for a true vintage feel.
– Drape the garland along tables or at entrances to greet guests.
Where to place it
– Across a doorway, above a mantel, or along a dessert table.
– Use as a backdrop for a photo wall or corner vignette.
Finish ideas
– Lightly brush with pale ink for aged color, or leave as is for a bright retro mood.
@media(max-width:480px){
17. Geometric Paper Chains
If you want a clean, modern vibe, geometric paper chains are the way to go. Bold colors and shiny metallic papers make them pop. Cut shapes like triangles, hexagons, or circles to build a fresh, artful look. They fit stylish parties and creative gatherings just right.
What you’ll need
– Bold colored paper, card stock, or metallic sheets
– Scissors, a ruler, and glue or tape
– A hole punch or a sharp pin
– String, twine, or fishing line for links
– Optional: craft dots or double-stick tape for extra hold
How to build
– Pick two or three shapes that you like. The main links should be bigger, the others smaller.
– Cut clean shapes with templates for a neat line around each edge.
– Punch a hole near the edge of each shape. Thread them on the string to form links.
– Alternate colors and shapes as you go. Keep spacing even for a smooth look.
– Hang the chain from the ceiling, along a wall, or across a doorway.
Design ideas
– Use colors that contrast so every shape stands out.
– Make larger shapes the primary links and use smaller ones as accents.
– Try different lengths and hang from different heights to add depth.
Tips you can use
– Lay the chain flat while it dries. Store it flat for next time.
– Reuse the shapes in other decor days. It saves time and money.
Next steps: gather supplies, pick your shapes, and start crafting. Your geometric chain will freshen up any space.
@media(max-width:480px){
18. Summer Vibe Chains
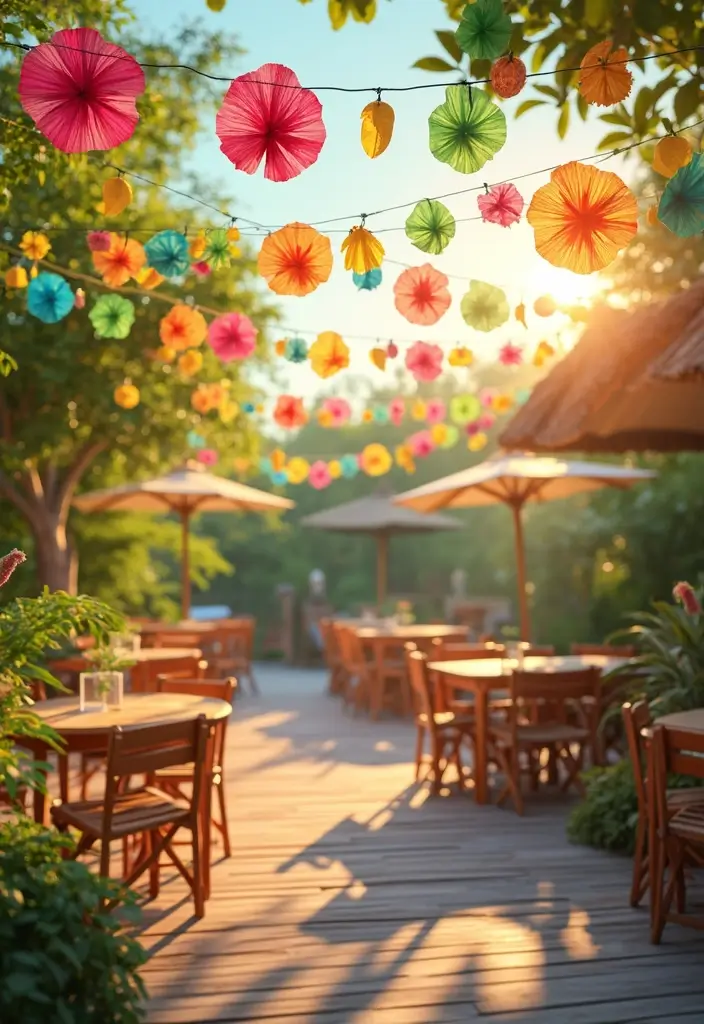
You want quick, festive decor for a summer party. Bright paper chain decorations bring a beachy feel fast and are easy to store for next time.
Materials
– Aqua, yellow, and coral craft paper
– Scissors and string or twine
– Tape or clips
– Optional: clear sealer for outdoors
Crafting steps
– Cut strips 1 to 2 inches wide and 9 to 12 inches long.
– Make a loop with the first strip, then thread the end of the next through to link.
– Repeat until the chain is long enough.
– Add shapes by gluing them on or threading holes into links.
Shapes to cut
– Sun
– Wave
– Palm tree
– Small shells or fish
Where to hang
– Drape along fences, railings, or under a canopy
– Clip to a porch ceiling or around your pool
– Space links 6 to 8 inches apart for a full look
Tips and care
– For outdoors, seal shapes or laminate paper to slow wind damage
– Bring them indoors after the party to store flat
– Use these chains at barbecues, picnics, or poolside
Here is why it works
– Quick to make and inexpensive
– Colorful, light, and easy to adjust
– You can swap colors for any summer event
Next steps
– Pick your colors
– Gather tools
– Start cutting and linking today
@media(max-width:480px){
19. Creative Children’s Art Display
If you want a simple, fun way to show your kid’s art, try a paper chain display. It creates a growing gallery on a wall or doorway. It’s easy to make and easy to update as new art comes in.
What you need
– Construction paper in bright colors
– Scissors
– Tape or glue
– A place to hang the chain (wall or door frame)
– Optional clips or sticky tabs for quick changes
– Art pieces ready to hang
Steps to build it
– Gather your child’s artwork and quick doodles
– Cut several strips, about 2 inches by 9 inches
– Twist each strip into a loop and seal with tape to form a link
– Attach each piece of art to the outside of a link with a small piece of tape
– Link the pieces together to form a chain long enough to span your space
Keep it fresh
– Hang the chain where you can reach it without climbing
– Rotate art every 2 to 4 weeks
– Add seasonal colors or motifs to match holidays or the weather
– Invite family to add a new piece now and then for a mini show
Make it kid-friendly
– Let your child decorate links with stickers or markers
– Have them pick which art goes on the chain
– Celebrate each swap with a quick cheer, a sticker, or a high five
Next steps
20. Interactive Party Games with Chains
You want a fun way to spark energy at your party without extra props. Paper chain games are perfect. They mix decorating with play, keeping guests laughing and engaged. Here is how to set them up and run them smoothly.
What you need
– Several strips of paper, tape, markers, scissors
– A timer or phone with a countdown
– A few small prizes or bragging rights (optional)
Here is how to assemble the chain. Cut strips about 6 to 8 inches long. Link them into a long chain by taping the ends to form loops. On each link, write one task or mini-challenge. Keep tasks simple and quick so the game moves fast. Hang the chain around the room where everyone can see it.
Next steps for playing. Decide how you want to use the chain. You can go link by link, have teams tackle tasks, or cut the chain at a surprise moment for a burst of activity. The key is to keep it moving and fun. If you cut the chain, guests race to finish the last tasks for a dramatic finish.
Game ideas:
– Quick challenges: tell a joke, hum a tune, or do a friendly waltz.
– Team tasks: build a mini tower with cups or pass a balloon without using hands.
– Charades or mime: act out a movie or sport for a quick giggle.
– Photo scavenger: snap a props selfie around the room.
– Dance move: show one move and teach it to the group.
Next steps: adapt the tasks to your guests, set a friendly pace, and enjoy the lively momentum all night.
@media(max-width:480px){
21. Links to Learning – Educational Craft
Here’s a clear way to turn a paper chain into a learning tool for your class or home study. If you want a colorful, low-cost setup that teaches as it decorates, this works well.
What you gain
– A visual, easy-to-update study aid.
– Quick reviews for any subject.
Here is why it helps learners: linking facts to each loop builds memory. The chain becomes a living poster you can move and reuse.
Let’s break it down
1) Gather supplies: bright paper, scissors, tape, markers, and a ruler.
2) Make the links: cut paper into strips about 2 by 9 inches. Loop and tape to form a chain.
3) Pick subjects: choose a topic for the chain, math, science, history, or language arts.
4) Add content: in each link put a fact or a quick question. Keep it short.
Crafting Tips:
– Use bright colors to keep kids focused.
– Mix facts and quick problems in each link.
– Use sturdy paper or laminate for durability.
Next steps
Start with a 1-chain science set this week, then add math next week. Hang the chain on a wall or bulletin board to spark easy review.
It scales from a single chain to many displays. You can reuse chains year after year.
@media(max-width:480px){
22. Cool Cosplay Costume Chains

You want a quick, light way to boost your cosplay today. Paper chain decorations can fit any character and stay comfy all day. They’re cheap, easy to swap, and fun to customize. They travel light in crowds and you can change them to fit each event.
Crafting ideas:
– Tie symbols or logos from your character to the links.
– Wear the chains as a belt, headpiece, or arm band.
– Color the links to match your outfit and add texture with mixed sizes of paper.
– Add glow with paint or stickers so you stand out in dim rooms under stage lights.
What you’ll need:
– Colored craft paper or card stock.
– Scissors and glue or tape.
– String, thread, or a punch hole for links.
– Markers or stickers for logos.
– Optional glow paint or glitter.
– Use cardboard scraps for extra texture.
Ways to wear:
– Wrap a chain set securely around your waist as a belt.
– Create a headband by looping links over a band.
– Make wrist and arm pieces for easy movement.
– Layer several chains for a bold, comic look.
Pro tips:
– Practice with scrap paper first.
– Use strong tape near the edges to avoid tears.
– Keep links light so your cosplay stays comfy.
Test it in a mirror before you head out soon.
@media(max-width:480px){
23. Cheerful Event Signage Chains
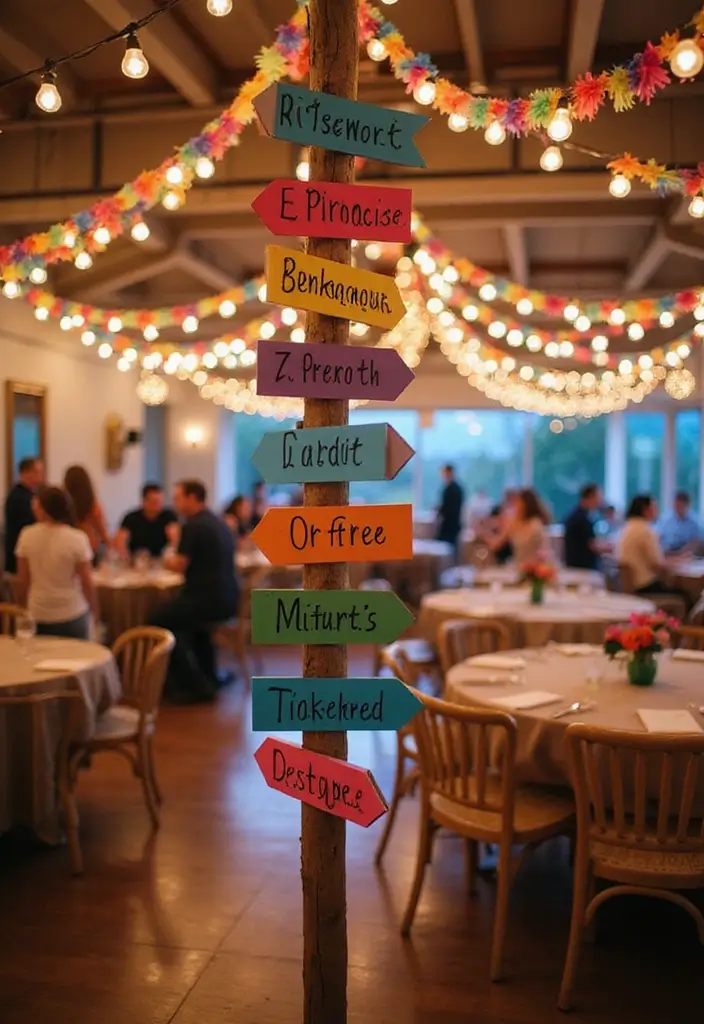
Need signs that guide guests and match your theme? Paper chain signs work well for arrows to food, the photo booth, or restrooms. They add color and a friendly touch. Here is why this helps: it catches eyes and is easy to move.
Here is how you set it up. Decide the length of each sign strip. Cut paper chains in your colors. Clip signs to links with clips or tape. For a clean look, write on a card and hang it from a link. Or punch a hole and thread a string for a smooth finish. Try two colors for contrast. Place signs at eye level for best visibility.
Tips for Signage:
– Use clear signs that are easy to read from a distance.
– Choose chain colors that match your decor and help the words stand out.
– Use for weddings, birthdays, fairs, or school events to add a friendly touch.
Materials and placement ideas:
– Paper in two colors, scissors, tape, a clip, a marker.
– Place signs at entry, along walkways, near food or the photo booth.
Next steps: test legibility from a distance and adjust height. Keep a spare card on hand for last-minute changes.
Best use this idea when planning the route. Keep it simple, and update signs as plans shift.
@media(max-width:480px){
24. Interactive Story Chains for Kids
Are you trying to keep kids focused during story time? Interactive story chains can do that. They turn reading into a hands-on adventure and spark imagination. Here is why this approach works: kids feel like they are part of the story, learning sticks to memory, and the tale moves with them.
What you gain
– Kids stay engaged as they join the tale with each link.
– The chain shows sequence and helps memory of events and actions.
– It’s easy to use in class or at home.
What you need
– Colorful paper or sturdy card stock
– Scissors and markers
– A hole punch or tape
– String, yarn, or a simple way to join links
– A short story or a quick plot idea
Steps to build
1) Pick a short story or craft a mini plot with 4 to 6 beats.
2) Cut 4 to 6 paper strips to make the links.
3) On each link, write a beat or draw a scene with characters from the story.
4) Punch holes and connect the strips to form a chain.
5) Use the chain during reading: read a section, then pass the chain and invite a student to add the next link. Continue until the story ends.
Tips to succeed
– Start small with 4 links to keep it simple.
– Let kids choose colors and drawings to boost ownership.
– Use the chain as a visual map of the plot and key moments.
– Vary roles: one link for setting, one for a character, one for a turning point.
Next steps
Try this with a favorite picture book or a class read-aloud. You can also have groups create their own chains for a new tale and compare how each chain tells the story.
@media(max-width:480px){
25. Bohemian Style Feather Chains
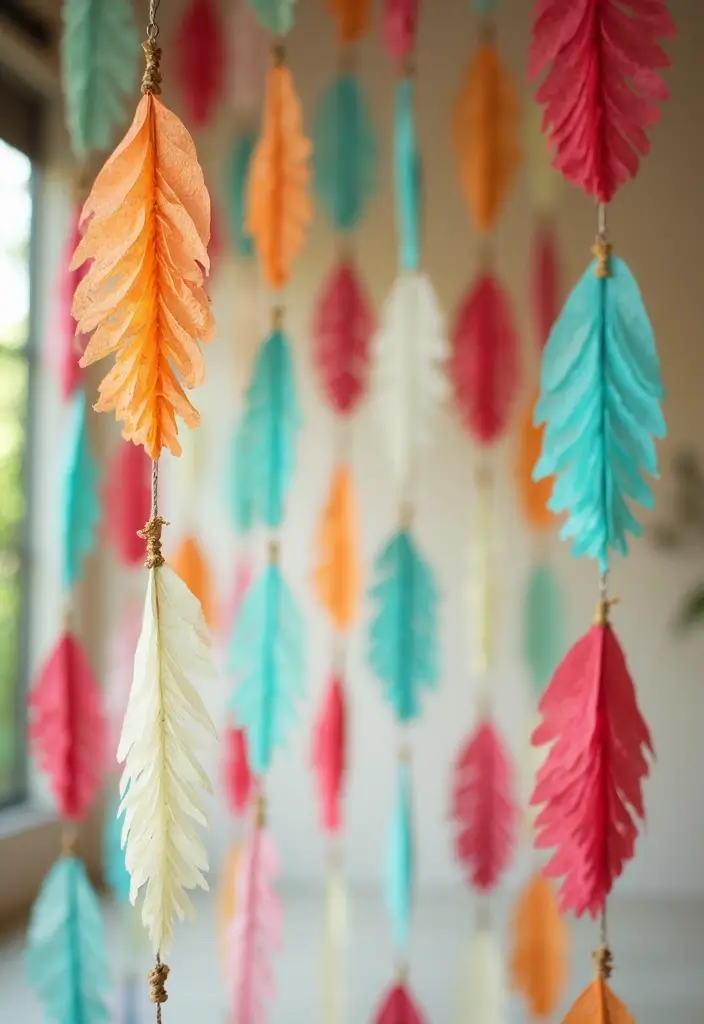
You want a soft boho vibe that feels handmade. Try a feather-shaped paper chain.
First, pick bright or earthy colors. Cut feather shapes from sturdy paper using a simple template. Vary sizes to add depth. Thread each feather onto twine or string. Link them by looping through the top hole. Let the chain drape over a doorway, a table edge, or a porch railing.
Here is why this works. Feathers move with the air and catch light as you walk by. A long chain creates a sunny backdrop for day events; a short one brightens dinners. It’s easy to customize and quick to finish.
Crafting Tips:
– Vary feather sizes to build airy layers.
– Use twine or natural string for a true bohemian feel.
– Mix matte and metallic papers for a soft shine.
– Space feathers 1 to 2 inches apart for balance.
Next steps: plan your display, cut the shapes, and start linking. You can make several short strands for fringe or one long banner for a bold statement. Finish with warm lighting or sunlight to let colors glow. This decor adapts to any space or occasion. It stays flexible too. Take it down and reuse colors for another event. Give it a try this weekend.
@media(max-width:480px){
Conclusion
Paper chain decorations are not just fun; they’re a powerful way to express your creativity and style, making every occasion brighter and more memorable. Whether you’re celebrating a holiday, a birthday, or simply adding some joy to your home, these ideas offer endless possibilities! We hope these 25 DIY projects inspire you to get crafty and add some vibrant charm to your space. Don’t forget to share your creations with others to spread the love for eco-friendly crafts!
Note: We aim to provide accurate product links, but some may occasionally expire or become unavailable. If this happens, please search directly on Amazon for the product or a suitable alternative.
This post contains Amazon affiliate links, meaning I may earn a small commission if you purchase through my links, at no extra cost to you.
Related Topics
paper crafts
DIY home decor
party decorations
eco-friendly crafts
seasonal decor
kids craft ideas
easy DIY projects
colorful decorations
budget friendly
creative activities
home celebrations
whimsical design