This time of year always brings back the simple joy of making things with kids. I put this post together to keep that delight alive when days feel busy. You want activities that are doable, not overwhelming, with supplies you already have. This collection of ideas is warm, welcoming, and easy to start.
If you’re a parent, caregiver, or teacher who loves hands-on fun and needs crafts that don’t pull you into a big mess, this one’s for you. You care about quick wins, safe materials, and memories your kids will carry.
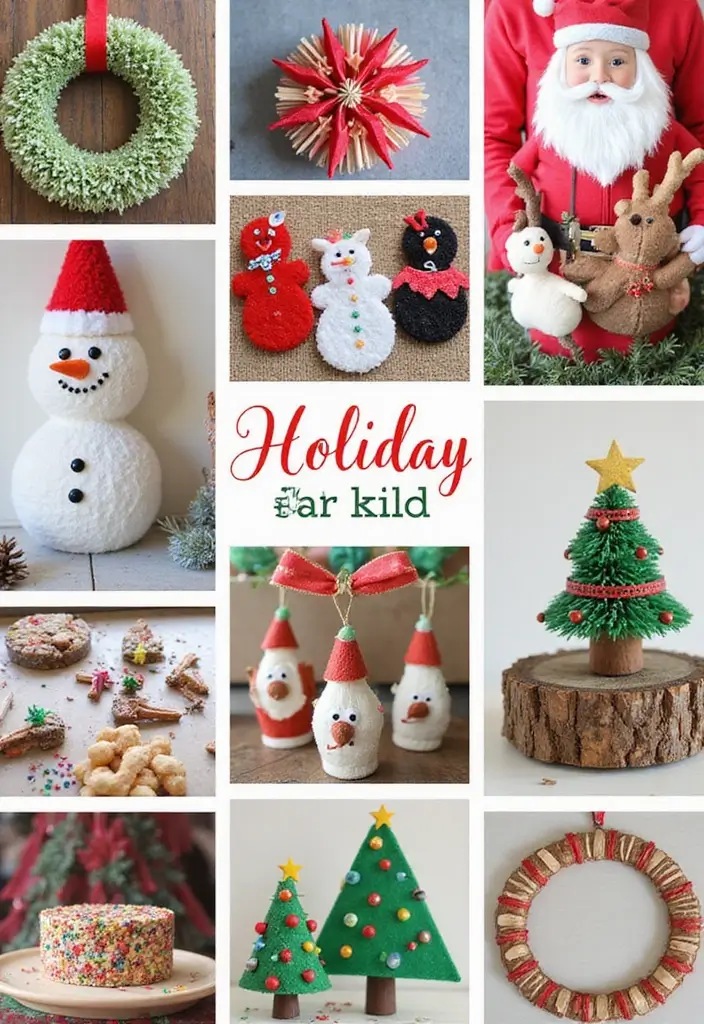
You’ll get 30 holiday crafts for kids that are easy to pull off, affordable, and truly enjoyable. The ideas fit different seasons and holidays, so you can weave them into a weekend plan, a winter break, or a quick after-school session. Each craft comes with simple steps and a quick tip to involve the little ones and keep them engaged.
These crafts use common items you already have: paper, fabric scraps, pinecones, string, and paint. You will find projects that feel cozy and colorful, with textures kids love to touch. Most ideas take 15 to 40 minutes, with room to let imagination lead the way.
To help you use them now, the guide includes age suggestions, clear steps, and ideas to make cleanup easier. The notes show how to adapt a project for younger kids or for bigger kids who want a challenge. The writing is short and easy to scan on a phone, so you can pick a craft in a minute and start.
Grab a cup of cocoa, pick a project, and start. This list is designed to spark creativity and give you quick wins that brighten your home. You’ll finish a few crafts, share a smile, and notice how a simple idea can make every season feel magical.
1. Recycled Paper Snowflakes

You want a winter craft that is easy, cheap, and fun. Recycled paper snowflakes fit. Use old newspapers and magazines to make light, delicate shapes that float when you hang them.
Materials:
– Gather recycled paper for layers.
– Pick kid-safe scissors to cut cleanly.
– Have a pencil for sketching simple snowflake designs.
– Keep string or twine ready for hanging.
– Add optional eco-friendly glitter or dried herbs for scent and color.
– If you want, tint a few sheets with a light wash of watercolor.
How to make them:
– Fold the paper into simple shapes, then cut.
– For clean lines, use scissors.
– If you want tiny details, ask an adult to help with a craft knife.
– Unfold to reveal the pattern.
– It looks like a small winter scene.
Decorating ideas:
– Lightly dust with glitter or press in dried herbs for scent.
– Link snowflakes to form a garland that hangs in a window or across a doorway.
Tips:
– Vary sizes.
– A big snowflake draws attention; a small one adds texture.
– Try one color or a mix of colors for a snowy collage.
Here is why it works: it uses waste paper, teaches folding and cutting, and brings simple, cozy charm to any room.
Next steps: gather supplies and pick two designs to try in an afternoon.
@media(max-width:480px){
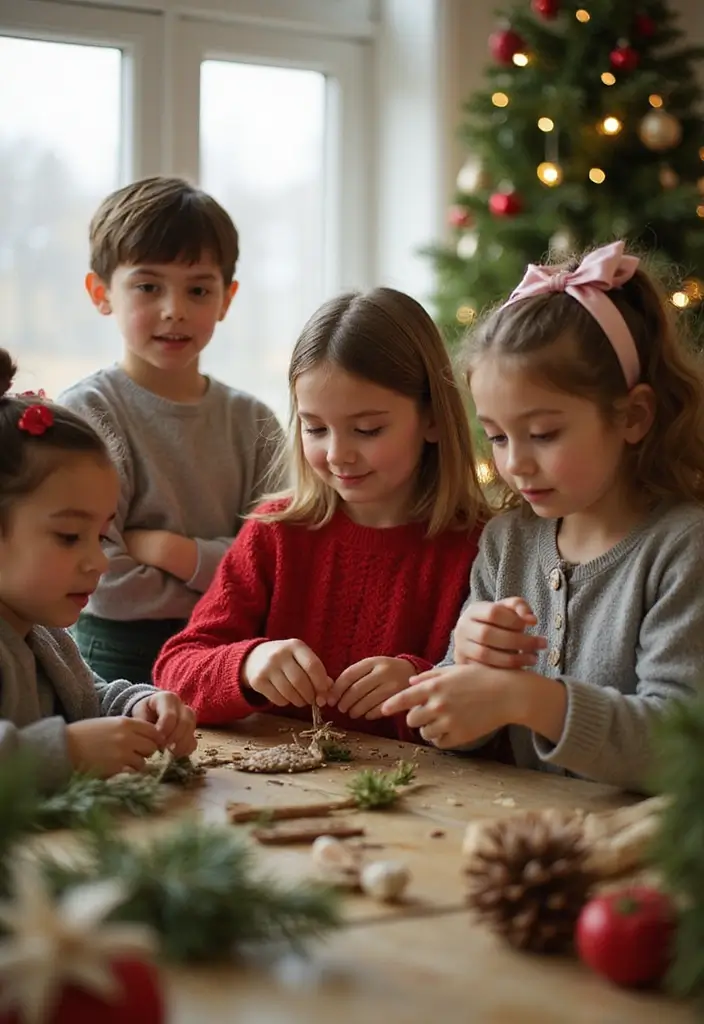
2. Nature-Inspired Holiday Wreaths

Want a kid-friendly craft that brings the outdoors into your home? Nature-inspired holiday wreaths fit the bill. They use twigs, leaves, pinecones, and seeds to create a living, seasonal display. A simple ring becomes a tiny stage for the season.
Here is why this works for kids: it blends science and art, invites outdoor exploration, and ends with a keepsake you can hang. Let’s break it down.
– 1) Gather materials during a nature walk. Look for twigs, dried leaves, pinecones, seed pods, and small flowers.
– 2) Pick a circular base. Use a sturdy cardboard ring or a light wire hoop.
– 3) Glue pieces on in layers. Start with the biggest pieces, then fill gaps with smaller finds.
– 4) Add color or texture. Dry flowers add color. A light coat of eco-friendly paint works too.
– 5) Finish and hang. Tie on a string or twine and place the wreath where everyone can spot it.
Tips:
– Add dried flowers or pinecones for texture and color.
– Use twine or natural string to hang the wreath.
– Incorporate eco-friendly paint if you want pops of color.
– Let kids sign the back with a marker to personalize their art.
Wreath-making lets kids express creativity and celebrate nature at the same time.
@media(max-width:480px){
3. Salt Dough Ornaments

If you want a simple craft for the holidays, try salt dough ornaments. They’re easy to make with a few kitchen ingredients and they become cherished keepsakes.
What you mix is flour, salt, and water. Use about 2 cups flour, 1 cup salt, and 1 cup water. Stir to a stiff dough. Knead until smooth.
Shape and bake. Roll out the dough and cut shapes with cookie cutters. Stars, trees, and tiny handprints work well. Poke a hole with a straw for hanging. Bake at 200 to 250 F for 60 to 120 minutes until hard. Cool completely.
Decorate. Paint with non-toxic colors. Add dried flowers or safe glitter for a festive touch. Press in buttons or yarn for texture. When dry, seal with an eco-friendly varnish to keep colors bright.
Tips:
– Use cookie cutters for shapes; a straw makes hanging holes.
– Seal with eco-friendly varnish to keep them lasting for years.
– Make a small collection to gift grandparents or friends.
Next steps: Make a small set to brighten your tree and share the fun with family.
@media(max-width:480px){
4. Upcycled Holiday Gift Wrap

Need a wrap that is kind to the planet and fun for kids? Upcycled holiday gift wrap fits the bill.
Use old brown paper bags or newsprint as a canvas. Let kids add color with stamps, crayons, or natural elements like leaves and pressed flowers. This simple method makes gift giving greener and gives kids a chance to personalize each present.
Tips:
– Provide natural dyes or kid-safe paints in a few colors for bright designs.
– Use string, twine, or fabric scraps for a rustic touch.
– Include a handmade tag crafted from the same recycled materials.
Here is why this works for you. This wrap saves money, avoids waste, and gives your child a sense of pride in a real project. It also turns gift giving into a small, memorable activity that families can share.
Next steps:
– Gather your paper, stamps, leaves, and a small tray of natural dyes or kid-safe paints.
– Let your child plan a theme or color scheme.
– Decorate the paper with stamps, drawings, and natural elements.
– Tie it with string or fabric scraps.
– Make a matching tag from recycled paper.
Give it a try this season and watch gifts shine. Plus, it can be a small piece of art that your family keeps.
@media(max-width:480px){
5. DIY Clay Pot Snowmen
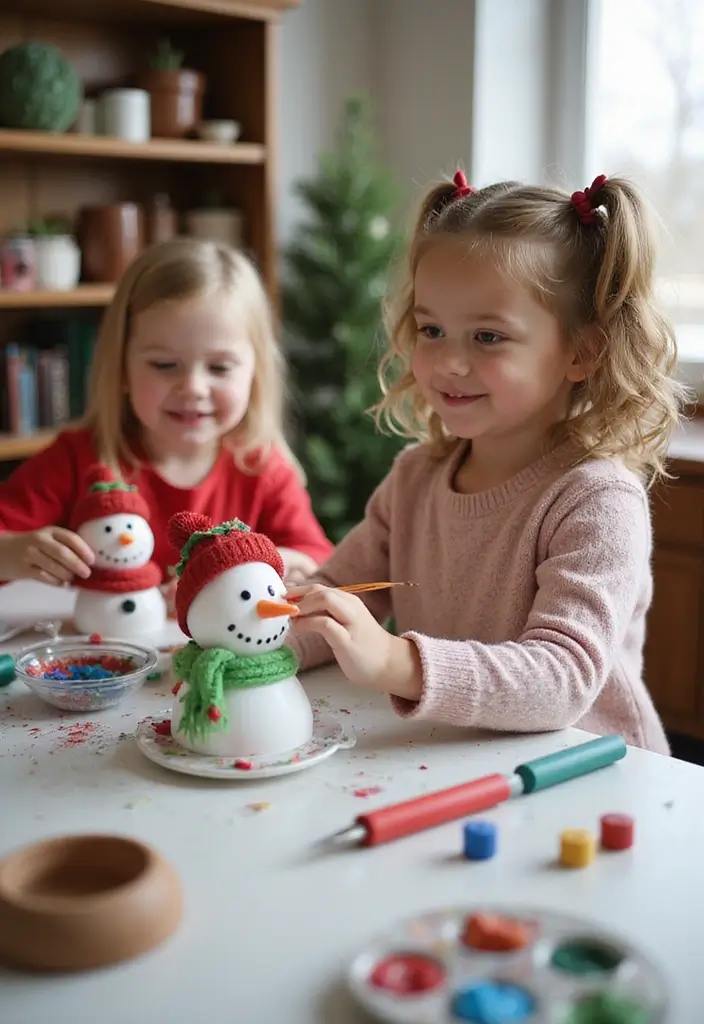
You want a cozy, kid-friendly craft that sparks winter joy. DIY Clay Pot Snowmen fit the bill. Here is why they work: they use simple supplies and grow with your kids’ ideas.
– Pick three clay pots in different sizes. A small head, a medium body, and a large base make a friendly stack.
– Clean and dry them. Paint the pots white with two thin coats for a smooth finish.
– Put the head on the body. Glue or stack them carefully. Let the joints dry so they stay steady.
– Add a face. Glue small buttons or beads for eyes. A painted orange carrot nose is easy, or use a tiny orange bead. A smile can be drawn with a fine brush.
– Dress them up. Tie a scarf with fabric scraps. Add a hat, maybe from an old knit cap or a sturdy paper bowl.
– Arm them. Use twig sticks. They give the snowman a natural look.
– Finish with details. A line of buttons down the middle, or a row of bottle-cap buttons for extra charm.
– Seal for outdoors. If you place them outside, use eco-friendly, weatherproof paint or sealant.
– Plan a tiny parade. Line them up in the hallway or on the porch.
Tips:
– Use weatherproof paint if these stay outside.
– Build a family set by using three pot sizes to invite teamwork.
– Host a small snowman parade to show off their hard work.
These clay pot snowmen brighten any space and give kids a quick sense of accomplishment.
@media(max-width:480px){
6. Egg Carton Reindeer
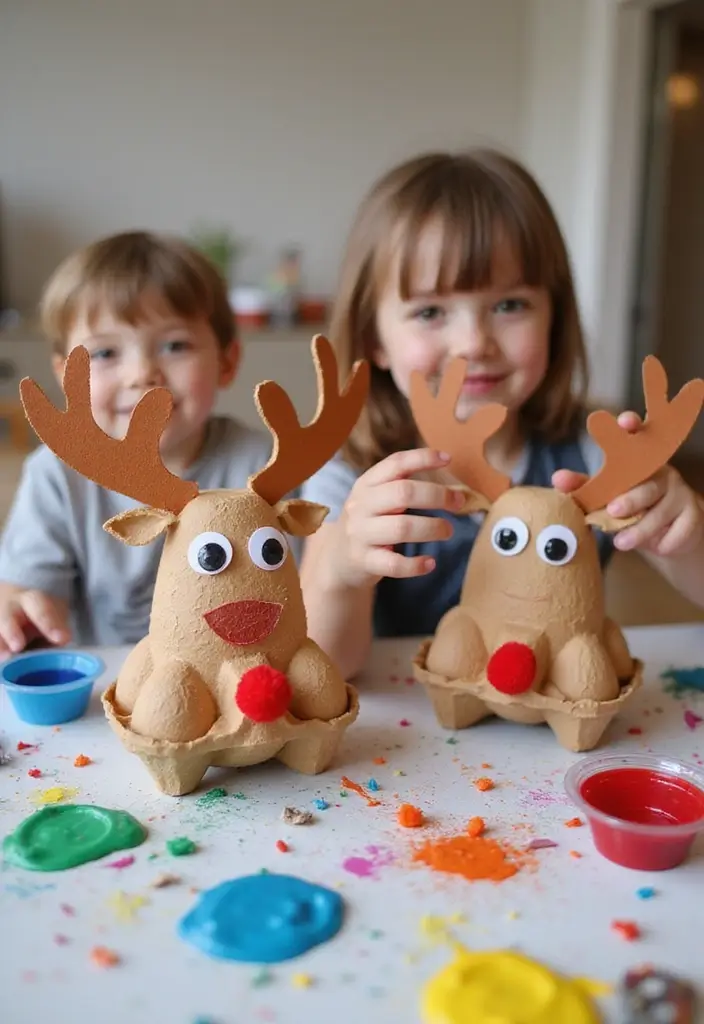
Looking for a quick, kid-friendly craft that uses scraps and spreads holiday cheer? You can turn used egg cartons into adorable reindeer you can hang or gift. This idea keeps a small budget and shows how recycling can be fun.
Here is how to make them:
– Cut apart an egg carton and save one cup for each reindeer.
– Paint the cup brown with a simple brush stroke.
– Glue on two googly eyes and a small nose. You can use a red pom-pom or a bead.
– Bend a pipe cleaner into two curved antlers and glue them to the top.
– Let the pieces dry, then add string to hang or place it on a shelf.
Why this helps: kids learn to reuse scraps and feel proud of a finished toy.
Tips:
– Use natural dyes for painting, like beet juice for a red tint or ground turmeric for a warm brown.
– Add a tiny jingle bell so the reindeer ring softly when moved.
– Make a tiny reindeer family by using different browns and sizes to decorate your space.
These little reindeer add a playful touch to your home and give kids a sense of accomplishment. It also fits home decor, classroom activities, and thoughtful gifts.
@media(max-width:480px){
7. Nature Collage Holiday Cards

You’re looking for a warm, personal way to say happy holidays that also protects the planet. Try nature collage holiday cards.
– Gather leaves, dried flowers, and small twigs from your yard, park, or a trail. Feel the rough bark, see the bright veins, smell the pine and earth.
– Cut recycled cardstock to your desired card size. A simple white or brown sheet works well and looks natural.
– Glue the natural pieces with non-toxic glue. Press them flat so they dry smooth and mail-ready.
– Create a simple collage on the card. You can frame a tiny scene, or line the edge with a delicate border of leaves.
– Write a heartfelt message inside. A short poem or a warm note makes it feel truly yours.
– Optional: host a card-making party. Friends and family bring scraps, share glue, and swap ideas.
These cards use nature, not waste, and they carry real care for the people who receive them.
Tips:
– Add a personal note or short poem inside for warmth
– Use non-toxic glue to keep pieces secure
– Keep items flat so the card mails easily
– Take a quick photo of your finished card to share ideas later
Next steps: gather supplies, pick a cozy day, and invite someone to join. Your nature collage cards bring a simple, kind touch to the holidays.
8. DIY Pinecone Birdfeeders

You want a simple, kid-friendly project that invites birds to your yard. Pinecone birdfeeders fit the bill. They’re easy to make and fun to watch.
What you’ll need
– Dry pinecones
– Peanut butter or a safe swap like sunflower butter
– Birdseed that’s friendly to local birds
– Natural string or twine
– A plate or tray to catch spills
How to make it
– Coat the pinecone with peanut butter all around.
– Roll it in birdseed so the seeds stick well.
– Tie a loop of twine at the top for easy hanging.
Where to hang
– Pick a sturdy branch or hook in a clear spot.
– Place it where birds feel safe and curious.
– Let the sun warm the feeder in the morning; birds usually arrive then.
What you’ll learn
– Start a simple birdwatching journal to note names, colors, and visits.
– Watch how birds move and what they eat.
– Try moving the feeder a bit if nothing shows up after a few days.
Tips:
– Use seeds that are safe for wildlife in your area.
– Keep the twine natural and free of decorations that snag.
– Clean feeders monthly with mild soap and water.
Next steps
– Put up two feeders for variety.
– Observe daily, and add ideas if kids ask questions.
This project teaches kids about nature and caring for local wildlife.
@media(max-width:480px){
9. Festive Mason Jar Lanterns
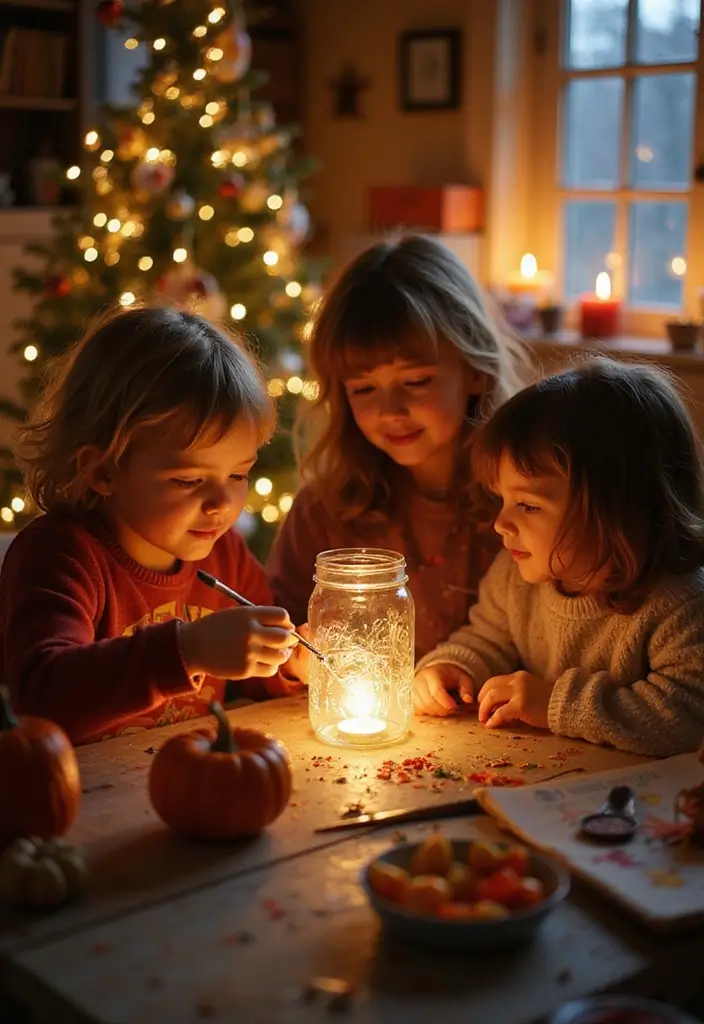
What you need
– Clean mason jars in a few sizes for depth
– Non-toxic or eco-friendly paints
– Paint brushes and paper towels
– Ribbons, twine, and natural accents like pine needles
– Scissors and tape
– A safe tealight candle or battery LED light
Steps
– Choose jars in multiple sizes to create a varied display
– Wash and dry the jars so paint sticks well
– Paint with simple designs or solid colors; let dry between coats
– Add ribbons or wrap twine around the rims; tuck in a few natural elements
– Place a tealight or LED inside the jar so it glows
– Arrange the lanterns on a table, mantel, or as a festive centerpiece
Tips
– Use different jar sizes for a cascading look
– Mix two or three colors for a festive mood
– Group jars together to make a warm centerpiece
– If you use real candles, keep them away from flammable decorations and never leave them unattended
These lanterns glow softly and remind your family of the fun hours you spent crafting together.
10. Eco-Friendly Christmas Tree Decorations
You want tree decorations that are safe for kids and easy on the planet. You can make them at home with simple, natural materials. Here is how to do it and why it helps.
– Idea 1: Dried orange slice ornaments
– Slice oranges into rounds about a quarter inch thick.
– Lay the rounds on a baking sheet and dry them in a warm oven or in the sun until they are hard.
– Poke a small hole near the edge and thread with natural twine.
– Tie a knot and hang on the branches. The room will fill with citrus scent.
Here is why this works. The colors stay warm, the pieces are edible for compost after use, and kids see how heat and air turn fresh fruit into keepsakes.
– Idea 2: Popcorn and cranberry garland
– Pop some plain kernels and cool them.
– Thread popcorn and dried cranberries on sturdy string or fishing line.
– Add a cinnamon stick every now and then for a cozy smell.
– Leave a loop at the end to hang on the tree.
Here is why this works. It uses real food parts, so nothing goes to waste, and the garland looks rustic and inviting.
– Idea 3: Cinnamon stick ornaments
– Tie a cinnamon stick with twine.
– Add a small orange slice or star anise if you have it.
– Make a loop for hanging and trim excess string.
Here is why this works. It smells wonderful and lasts through the season with simple care.
– Idea 4: Pinecone decorations
– Find small, clean pinecones and let them dry completely.
– Glue or tie on a bit of natural twine to hang.
– Optionally add a fabric bow or a touch of paint for color.
Here is why this works. Pinecones are free, durable, and add a natural, forest look.
Tips:
– Use twine or natural string for hanging.
– Combine different materials for a varied look.
– Consider gifting some ornaments to neighbors or family members.
These eco friendly decorations make your tree stand out while teaching kids about sustainability and creativity.
Next steps: gather a few materials, pick one idea, and start making together.
11. Paper Plate Gingerbread Houses
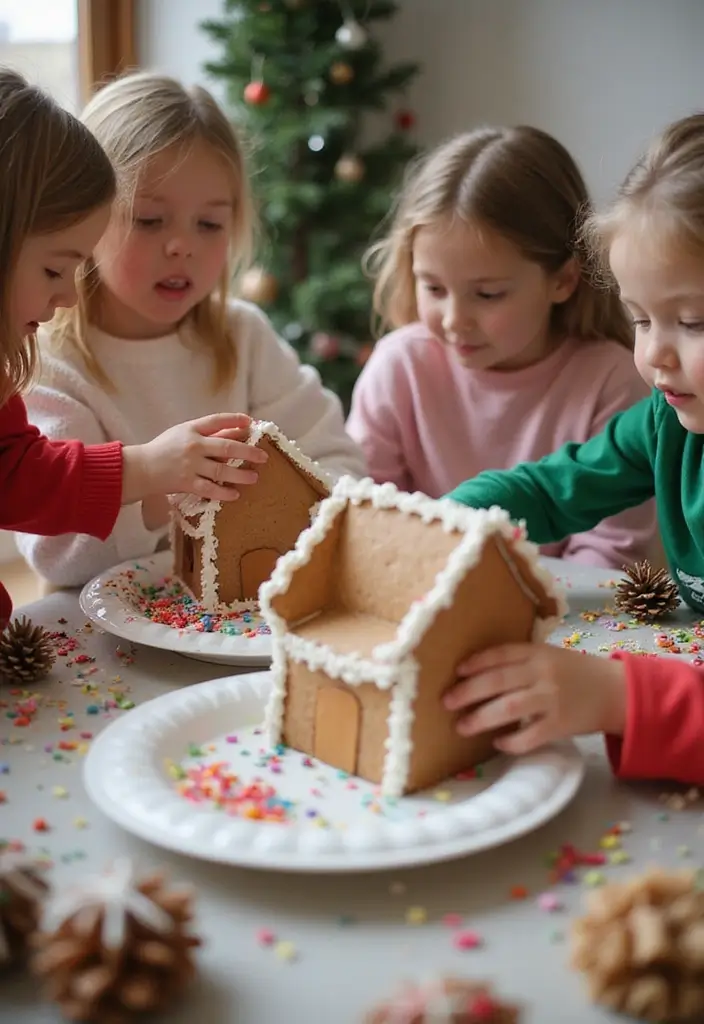
Looking for a mess-free, kid-friendly holiday craft? Try making gingerbread houses with paper plates. This project keeps the festive mood up without baking, and it gives kids a place to show their creativity. It is quick to finish, so you can do this with kids after a meal or before bed. Here is why it works well for families.
Materials you need
– Paper plates
– Colored paper
– Markers
– Tape or non-toxic glue
– Scissors (adult supervision)
– Stickers and clean candy wrappers for decorations
How to build it
– Plan a simple design on the plate.
– Attach a roof with a second plate or a paper strip across the top.
– Decorate walls with colored shapes, markers, and stickers.
– Cut windows and a door from contrasting paper.
– Stand several houses in a row to make a gingerbread village.
Benefits
Kids practice color, shape, and fine motor skills. The project is easy to finish in one sitting. The finished houses double as festive decor you can leave out or set on a table for a photo backdrop.
Tips:
– Use glue or tape for attachments.
– Let kids arrange designs freely.
– Create a mini village for more fun.
– Host a simple contest for the most creative house.
These little houses add charm to your holiday setup and store flat for reuse next year.
@media(max-width:480px){
12. Holiday Scented Playdough

You want a safe, fun holiday activity that fills the room with a warm scent. This playdough project gives kids hands-on art and a cozy aroma all in one.
Here is why it works. Simple ingredients mean you can mix it in minutes.
– Ingredients: 2 cups flour, 1 cup salt, 1 tablespoon cream of tartar, 1 cup warm water, 1 tablespoon oil. Optional: a few drops of food coloring, a touch of vanilla, or 1–2 drops of a kid-safe essential oil for scent.
– How to make: Stir dry goods first. Add water and oil. Knead 3–5 minutes until the dough is smooth.
– Scent it: Knead in your chosen scent right after you finish mixing. If you use essential oil, limit to a couple of drops and watch for skin sensitivities.
– Color and texture: Add color if you want red, green, or gold. Shape with cookie cutters or your own designs.
– Store and share: Keep dough in airtight containers. It stays soft for days of fun.
– Seasonal fun: Make stars, trees, bells, or ornaments. Have a mini playdate to swap shapes.
– Gift idea: Pack a small amount in a jar for a personal, handmade gift.
Tips: Seal well, plan themed shapes, and keep safety in mind.
@media(max-width:480px){
@media (max-width: 600px) {
.normal-quiz-iframe { min-height: 570px !important; height: 570px !important; }
}
13. Handmade Holiday Banners
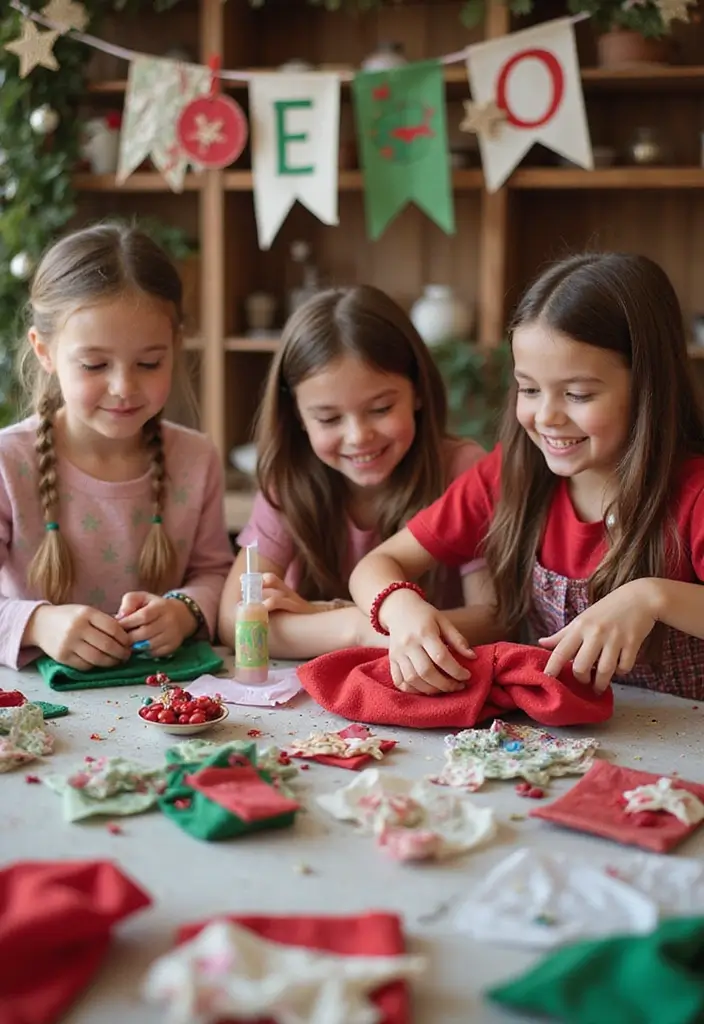
Want a simple way to add warmth to your holidays? Handmade holiday banners do that for you. The whole family can join in. Use fabric scraps or sturdy colored paper. Kids cut out letters and shapes, then string them together for a festive look. This project gives you decorations you can hang year after year.
Here is why this works for busy families.
Materials
– Fabric scraps or thick paper
– Scissors, glue, tape
– String, twine, or ribbon
– Hole punch or needle and thread
– Markers or fabric pens
How to make them
– Let kids sketch a short message like JOY, PEACE, or WARM WISHES.
– Cut out letters and simple shapes that match the message.
– Glue shapes onto a backing piece for extra durability, if you want.
– Punch a hole at the top of each piece or sew a small loop.
– Thread pieces onto the string. Space them so they hang nicely.
Tips
– Mix bright colors and patterns for a lively look.
– Have kids add a personal note or name.
– Hang banners across a mantel, along a stair rail, or over a doorway.
Keep and reuse
– Store flat in a labeled bin. Next year you can pull them out and reuse, or swap in new messages.
– This cozy project stays fun for everyone and makes your home feel extra inviting.
@media(max-width:480px){
14. Holiday Story Stones
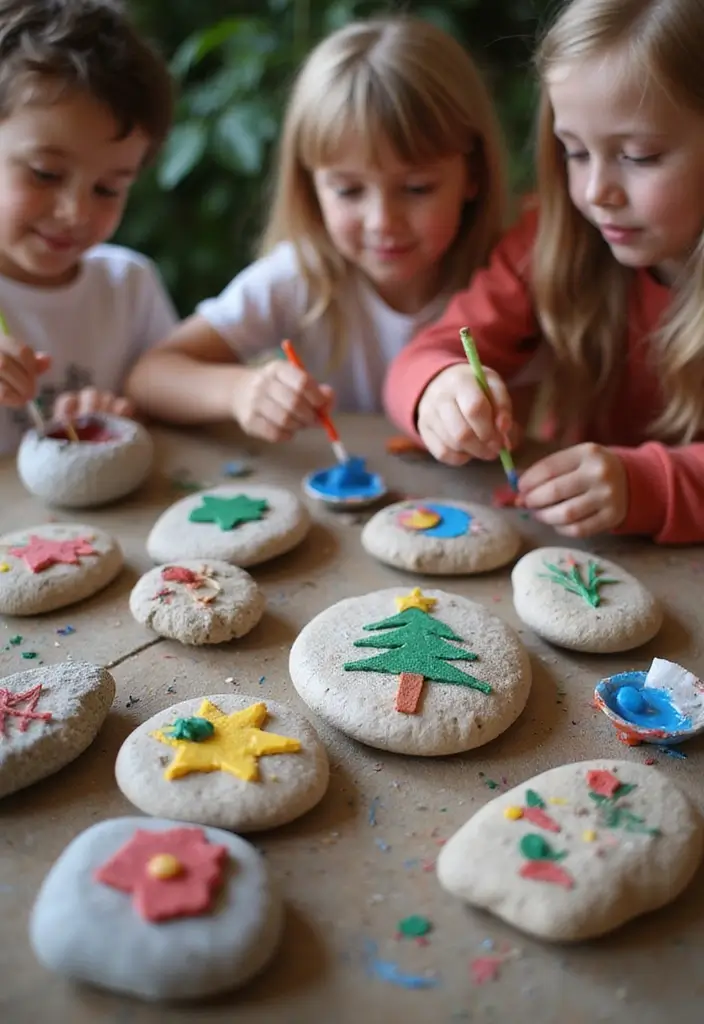
You want a craft that sparks stories and keeps kids excited during the holidays. Holiday story stones fit the bill. Kids paint simple symbols on smooth rocks and then use them to tell fresh tales.
How to make them
– Gather 6 to 12 smooth stones in different sizes for a varied play set.
– Wash and dry the stones well so paint sticks and lasts.
– Choose non-toxic paints and draw one clear holiday symbol on each stone, like a bell, tree, star, or mitten.
– Let the stones dry completely, then seal with a water-based finish to keep colors bright.
– Start a story circle so each child uses one or two stones to begin a tale.
– Take a short nature walk to collect stones that fit your holiday theme.
Why it helps
This activity grows language and sharing. Kids describe scenes, feelings, and actions. It also builds patience and listening as others add parts of the tale.
Easy prompts
A star guides a lost mitten home through snowy streets. A bell wakes a sleepy tree and invites animal friends to a party.
Next steps
Keep the stones in a basket for quick storytelling during cozy evenings. Rotate prompts to keep ideas fresh and fun. Keep a few stones in your bag for on-the-go story time.
@media(max-width:480px){
15. DIY Snow Globes

You want a winter craft that is easy, fun, and something you can keep. DIY snow globes fit the bill. A simple jar becomes a tiny world you can shake into a flurry of pretend snow.
Here is why they work for kids. You choose the scene. You can use small figurines, pine needles, photos, or a tiny tree. The globes are playful, and they become a keepsake you made together.
What you do:
– Gather a clear jar with a lid, water, glitter, and a small scene piece.
– Add a drop of glycerin if you have it. It slows the glitter so the snow falls longer.
– Place the scene inside. Add water to fill the jar. Seal tightly to stop leaks.
– Tighten the lid and shake. Watch the snow swirl and settle. If you want more motion, add a bit more glitter.
Tips:
– Use strong glue or a waterproof seal to avoid leaks.
– Let the glue dry before turning the globe upright.
– Make themed globes for holidays or seasons to share with family.
These snow globes double as bright decorations or thoughtful gifts. They spark creativity and bring a tiny winter scene to any room.
If you want to add more fun, keep a stash of small figures and ribbons for quick makeovers.
@media(max-width:480px){
16. Potato Stamp Holiday Cards
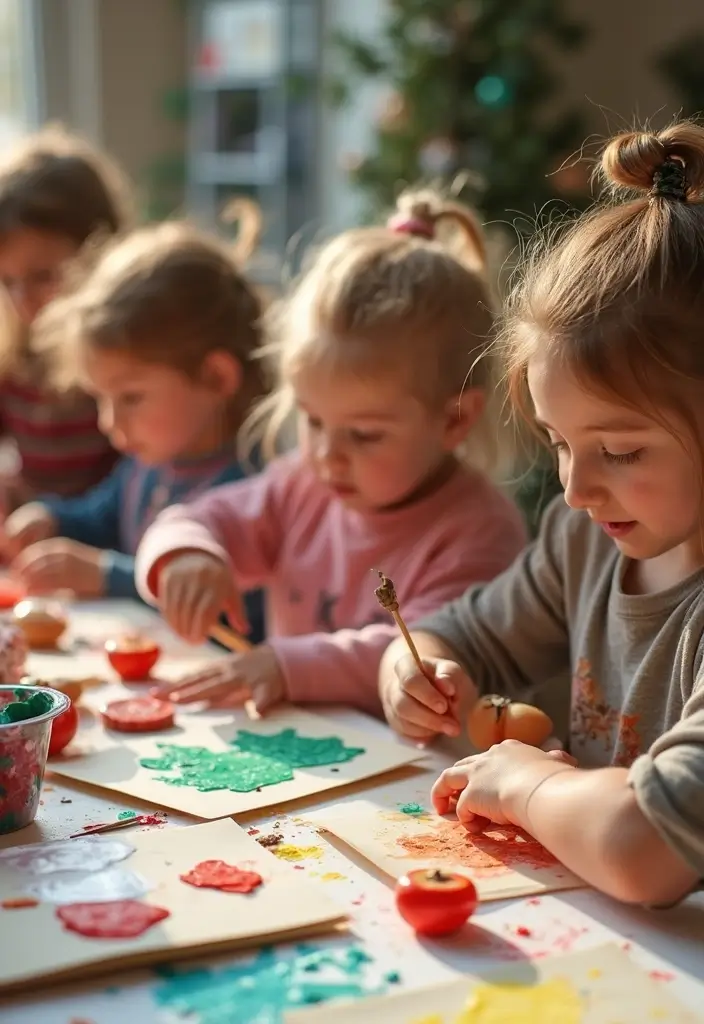
If you want a simple, cozy way to send holiday greetings, potato stamp cards are a win. You carve, stamp, and share smiles.
Here is how it works. Slice a potato in half. Carve a small shape with a kid‑safe knife. Dip the stamp in eco‑friendly paint and press it onto a blank card. Let the ink dry. Add a greeting or a border with a marker.
What you need
– Potatoes for stamps
– Non‑toxic craft paint
– Card stock or sturdy folded cards
– A kid‑safe knife and a cutting board
– Paper towels for clean up
– Natural bits for texture, like leaves, pine needles, or cinnamon sticks
Tips:
– Try different fruits or vegetables to get new stamp designs.
– Play with patterns and two or more colors at once.
– Add natural details to cards for a rustic look.
Why this works for families
Kids enjoy shaping the potato and choosing colors. Stamping gives them a sense of craft pride. The cards become keepsakes that family and friends will treasure. It’s a quick, affordable activity you can do together.
Next steps
Gather supplies, pick a few shapes, and start stamping. Keep some stamps plain and add a few if you want. Enjoy the simple magic of handmade holiday cards.
@media(max-width:480px){
17. Fabric Scrap Ornaments

You want a simple craft that uses fabric scraps and adds warmth to your home. Fabric scrap ornaments fit. They recycle clutter and spark kids’ creativity at the same time.
Here is how to make them:
– Gather scraps. Look for cotton, felt, lace, old T shirts, or curtain scraps.
– Cut shapes. Draw a few easy forms such as stars, hearts, circles, or trees. Cut them out with safety scissors.
– Attach pieces. Layer shapes on a sturdy base like felt or lightweight cardboard. Sew by hand or glue with kid-friendly glue.
– Add small details. Stitch a few stitches, sew on buttons, beads, or tiny bells for sound and sparkle.
– Create a hanger. Tie a length of ribbon, twine, or thin cord to the top.
– Finish and dry. Let glue or thread set before hanging. Label the back with the year if you like.
– Use or gift. Hang on your tree or wrap one for a friend.
Tips:
– Use a mix of fabrics for depth and texture.
– Host a mini craft fair to show the finished ornaments.
– Create a yearly themed collection to start a family tradition.
These fabric ornaments decorate your home and become keepsakes filled with memories.
They last long.
@media(max-width:480px){
18. Handprint Holiday Tree
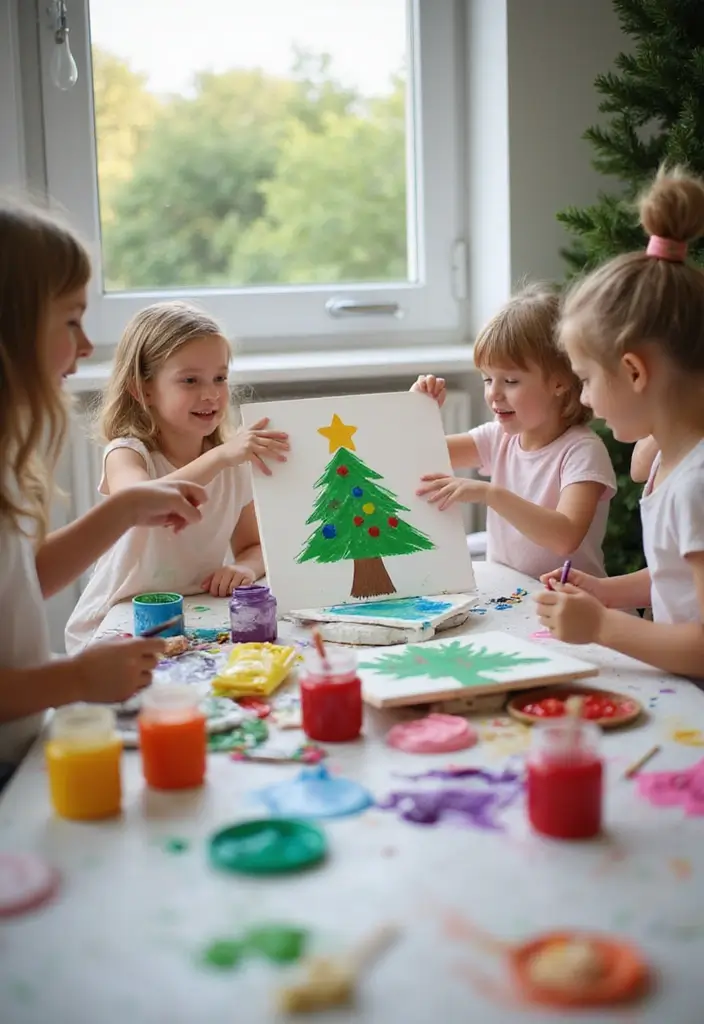
You want a holiday craft that captures a moment in time. The Handprint Holiday Tree does that. It uses your child’s small hands to create a growing tree on canvas, with bright ornaments that pop with color. It is more than art; it is a memory you can keep for years.
Here is why this idea works. It is simple, a little messy in a fun way, and easy to repeat each year. You will see how your child grows with every print.
What you need
– A sturdy canvas or wooden panel
– Green paint for branches
– Bright paints for ornaments
– A tray, paper towels, and an old shirt for mess
– A fine brush or marker to add a trunk or a date
How to do it
1) Set up a clean work area. Lay down a protective mat.
2) Dip your child’s hand in green paint. Press it on the canvas to form the tree’s branches.
3) Use fingers or a brush to add round ornaments in red, yellow, blue, and pink.
4) Add a simple trunk with brown paint if you want. Write a short date or name at the bottom.
5) Let dry. Frame the piece or hang it in a special spot.
Tips
– Choose a sturdy canvas for durability.
– Include a personal message at the bottom.
– Frame the art to keep it safe and ready to gift or display.
Next steps
You can add a new handprint tree each year. It builds a living memory wall over time.
@media(max-width:480px){
19. Snowman Sock Puppets

Looking for a simple, mess-free way to spark winter fun today? Snowman sock puppets are perfect. They turn old socks into friendly characters kids can act with and tell stories about.
What you need today
– Colorful socks
– Buttons, fabric scraps, and soft stuffing
– Non-toxic glue or a safe sewing kit
– A small scarf or hat for each puppet
How to make them
– Fill the sock with a little stuffing to give arms and a soft body.
– Sew or glue on buttons for eyes and a nose made from fabric or felt.
– Use scraps for a smile, a scarf, and tiny arms.
– Draw or stitch little snow-like cheeks for extra cuteness.
– Let each puppet have a name and a tiny story.
Reasons this works
– It builds imagination. Kids act out winter scenes with their own characters.
– It teaches reuse. You breathe new life into old socks.
– It creates family fun. Put on a mini puppet show for a festive touch.
Tips for more magic
– Pick bright socks so each puppet looks unique.
– Host a short puppet show with family or pets.
– Write quick backstories and keep them simple.
Next steps
– Add a few puppets to your holiday game time. Enjoy the smiles and warm stories.
@media(max-width:480px){
20. Holiday Suncatchers

You want holiday decor that shines in sunlight and stays easy for kids to make. Suncatchers cut from recycled lids brighten windows and mindfully reuse supplies. They turn simple scraps into tiny, cheerful art.
What you’ll need:
– plastic lids from yogurt or sour cream
– colored tissue paper
– white glue or school glue
– scissors
– string or thin ribbon for hanging
How to make it:
– Clean the lids and dry them before you start.
– Tear tissue into small shapes and strips.
– Place tissue pieces on the lid to build a pattern or scene.
– Glue the pieces in place and press flat.
– Let the glue dry completely.
– Punch a small hole and thread a string through for hanging.
Where to use them:
– Slide them into sunny windows for a quick glow.
– Group a few on one wall to create a bright display.
Tips:
– Use many colors for a lively effect.
– Let kids pick a holiday theme, like snowflakes or ornaments.
– Hang suncatchers at different heights for visual interest.
When the sun hits, these suncatchers glow and fill a room with warm, festive light. It’s a simple, fun project that teaches color, planning, and care for the planet.
21. DIY Holiday Candles
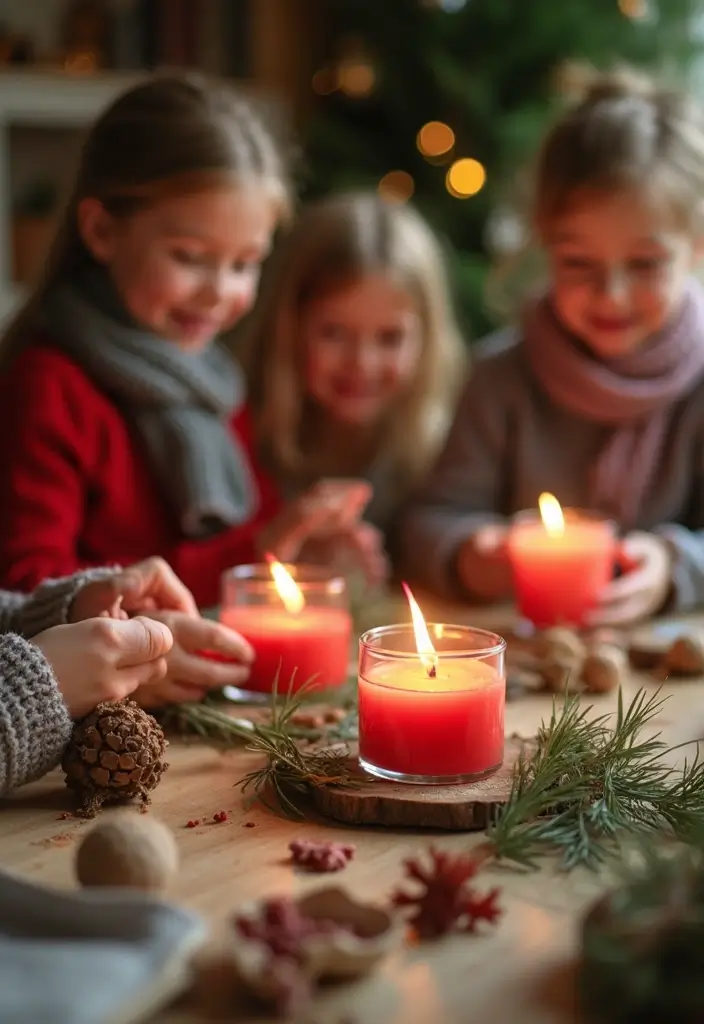
Want cozy, kid-friendly holiday candles that are safe and fun to make at home? DIY candles with beeswax or soy wax fit the bill. They give a warm glow, gentle scents, and a sense of pride when you light them.
What you need
– Beeswax or soy wax pellets
– Cotton wicks
– Glass jars
– A small pot and a larger pot for a double boiler
– Natural scents like cinnamon or peppermint, or a few drops of essential oil
– Simple decorations like fabric scraps, twine, or recycled paper labels
– A spoon or skewer for steady pours
How to make them
– Ask an adult to help. Melt the wax in a safe double boiler.
– Add scent. Use a few drops per jar and stir.
– Center the wick in the jar. Pour slowly.
– Let it cool and harden. Trim the wick.
Tips:
– Use essential oils for natural scents.
– Decorate with fabric or twine for a rustic look.
– Consider a small candle party to share the fun.
Why this helps
These candles brighten your home with a soft glow and a nice smell. They double as gifts and make a simple, calm holiday project for kids.
They store well and make your table feel festive.
@media(max-width:480px){
22. Cinnamon Stick Stars

Want a kid-friendly craft that fills your home with a warm spice scent? Cinnamon stick stars are a cozy DIY idea for the holidays and beyond. They’re simple to make, add a rustic charm, and can be gifted as small treasures.
What you need
– Cinnamon sticks (about 4 to 6 per star)
– A hot glue gun with adult supervision
– A short piece of ribbon or string for hanging
– Dried orange slices or cranberries for color
– Optional eco-friendly glitter for a little sparkle
How to make
1) Arrange five cinnamon sticks to form a five-point star. Keep the tips light and even so the shape sits flat.
2) Apply a tiny dab of hot glue at each joint and press sticks together until they hold.
3) Tie or glue a small loop of ribbon at the top so you can hang the star easily.
4) Decorate with a dried orange slice, a berry, or a small bow for extra color.
5) Let the star dry completely before you move or hang it.
Tips
– Use a hot glue gun under an adult’s watch to keep fingers safe.
– If you like extra sparkle, dust the star with eco-friendly glitter.
– Hang cinnamon stick stars on the tree or around the house for a cozy scent and warm look.
These fragrant stars bring holiday cheer and a simple, tasty aroma to your decorations.
23. Pine Cone Garland

Here is the garland you need for a cozy home this season. You want something simple that kids can help with. Pine cones give a rustic, natural feel that fits every room.
– Step 1: Collect and clean. Find pine cones outside. Rinse off dirt and let them dry completely.
– Step 2: Color and style. Have kids paint the cones or use natural dyes for an earthy look. A light snow cap of white paint works well.
– Step 3: String and add texture. Tie twine to make a long chain. Space cones apart and slip in beads or dried fruit for color.
– Step 4: Hang and enjoy. Drape the garland across a mantel, over a doorway, or along a windowsill. The scent of pine adds to the feel.
Here is why it works. It teaches kids to notice nature. It gives them a real project they can finish in one afternoon. It stays flexible for different spaces and seasons.
Tips:
– Use natural dyes for an organic look.
– Mix beads or dried fruit for extra color.
– Hang over mantels or doorways for holiday charm.
This pine cone garland captures the beauty of the season and makes a fun family craft that everyone can enjoy.
@media(max-width:480px){
24. Jingle Bell Bracelets
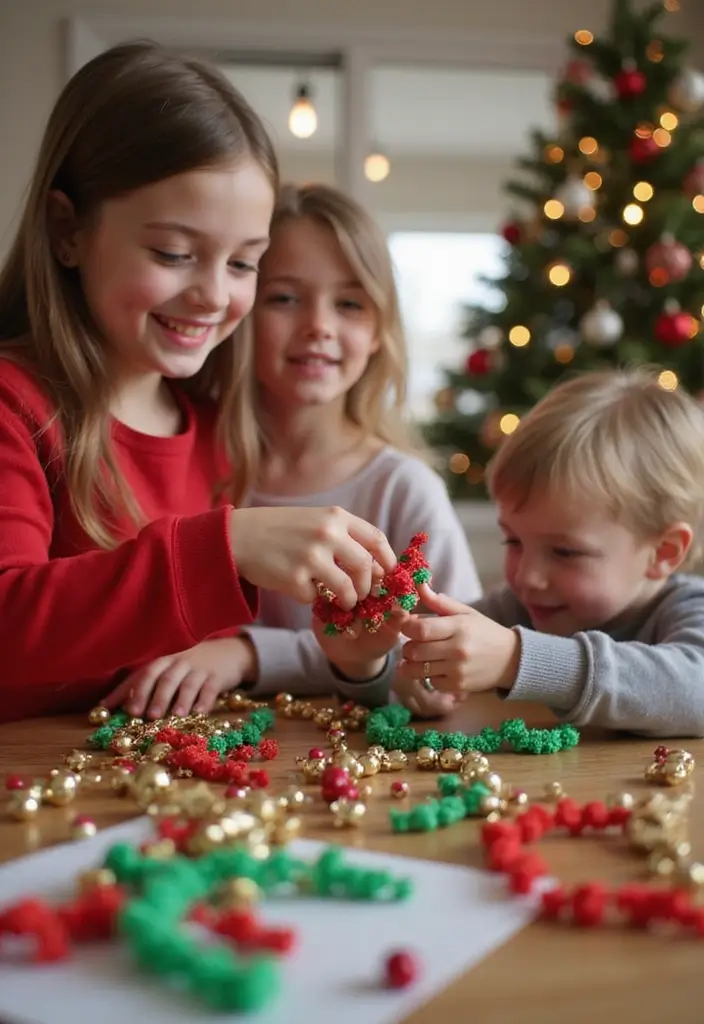
You want a quick, joyful craft that kids love and that adds a little holiday sparkle. Jingle Bell Bracelets are a perfect fit. They’re simple to make and fun to wear during any celebration. You’ll see tiny chimes with every move, which makes the moment feel special. Here is why this works for kids and families.
Materials
– Elastic cord or thin stretch thread
– Small jingle bells in a few sizes
– Scissors and a ruler
– Optional beads or colored tape for color themes
– A dab of glue (optional) to help the knot stay put
Next, gather what you need and set up a clean, flat space so little hands can move easily.
Steps
1. Measure the wrist and cut a length of elastic a bit longer than needed.
2. Tie a loose knot at one end, leaving a small loop to help secure the final grip.
3. Thread bells onto the elastic. Mix sizes or colors for a lively look.
4. After the last bell, tie a secure knot and trim any extra cord.
5. Push the knot close to the beads and tighten. Trim again if needed.
6. Try it on, adjust the fit, and slide it off with a gentle tug.
Here is why this approach works: it builds hand control while kids pick a design they love. Tips keep the project smooth and fun.
Tips
– Use bells of different sizes for a richer sound.
– Create themed bracelets with color patterns your child chooses.
– Let kids wear them at gatherings to spread cheer and style.
Next steps: make a small set for party favors or holiday stockings. This simple craft turns plain elastic and bells into wearable joy.
@media(max-width:480px){
25. Holiday Inspired Scented Rice Bags

Here is why you want a holiday craft you can finish in one afternoon. Scented rice bags are simple for kids and bring a warm, inviting aroma to any room. They make handy aromatherapy bags you can customize for winter scents.
Materials
– Dried rice
– Small cotton fabric squares about 4×4 inches
– A few drops of essential oil
– Needle and thread or a sewing machine
– Optional ribbon or tag
Complete a quick prep: pick fabrics in red, green, or white to match your decor.
Steps
– Sew two fabric squares together on three sides to make a pouch.
– Fill the pouch about one third with rice.
– Add a few drops of essential oil, then finish the seam.
– Tie a ribbon or attach a label for a gift-ready look.
These bags are tiny, but they make a big cozy effect.
Tips
– Use different oil blends for each bag.
– Let kids choose colors and patterns.
– Store plain rice bags in a dry spot so they stay soft.
Uses and care
– Microwave 15 to 20 seconds for a gentle warm scent.
– Place on a lap desk, pillow, or shelf to add comfort during the holidays.
– Gift them as a thoughtful set in a small jar or pouch.
Next steps: start with a simple scent, then build a few more bags with different looks. Have fun and enjoy the aroma.
@media(max-width:480px){
26. Paper Chain Decorations

Want quick, kid-friendly holiday decor that lasts through the season? Paper chain decorations fit. They’re cheap, colorful, and easy for kids to make. You can turn scraps into long garlands that brighten any room.
Materials
– Colored construction paper or scrap craft paper
– Scissors
– Tape or clear glue
– Optional markers or stickers for extra flair
Here is how you do it.
1) Cut strips about 1 to 2 inches wide and as long as you like.
2) Link strips by looping one piece through the next, then tape the ends to hold each link.
3) Continue until the chain is as long as you want.
4) Hang the chain across a wall, doorway, or mantle. Add more links to extend it, if needed.
Tips
– Use patterned paper for extra texture and color.
– Vary strip widths to create a lively, layered look.
– Turn the chain into a countdown to the holidays by removing a certain number of links each day.
Why this works is simple. Kids can see their progress as the chain grows. The colors lift a space and bring a festive feel with almost zero mess. It’s a practical craft that uses scraps and becomes decor you’ll actually want to keep up.
Next steps: pick your colors, cut the strips, and start linking. You’ll have a bright, cheerful display in no time.
@media(max-width:480px){
27. Recycled Gift Card Holders

If you want a quick, kid-friendly holiday craft that cuts waste and adds a personal touch, try recycled gift card holders. Old gift cards become tiny, handy gift wraps. Your child can mix colors and stickers to make each holder one of a kind. It’s simple, fun, and keeps scrap supplies out of the trash.
What you need
– Old gift cards
– Colorful paper or cardstock
– Stickers and stamps
– Scissors
– Double-sided tape or craft glue
– Optional: ribbon, washi tape, markers
How to make
1) Choose a design that matches the giver’s style.
2) Trim the card if the edges look worn or dull.
3) Fold the card to form a small pocket on the back or inside.
4) Decorate the front with color, stickers, or stamps.
5) Seal the pocket with tape so the gift card stays put inside.
Tips
– Use double-sided tape for clean edges and quick assembly.
– Let kids pick a theme based on what the recipient loves.
– Make it a family project; each person decorates a holder, then you all assemble together.
These tiny, personalized holders add a warm touch to any gift. They teach creativity, reuse, and care without a long setup.
@media(max-width:480px){
28. Felt Tree Skirt

Feeling stuck on how to add a cozy, kid-friendly touch to your holiday setup? A felt tree skirt does the job. It uses recycled felt and bright colors to match your tree and home. Kids can cut, paste, and press shapes, turning scraps into a tiny, warm scene. This craft becomes a family keepsake and a small way your kids help decorate.
Here is why this works. Felt doesn’t fray, so you can skip complicated sewing. It’s easy for little hands, and the results look festive fast. You also get to reuse scraps, which is kinder to the planet and your budget.
What you’ll need
– Recycled felt in several colors
– Child-safe scissors
– Glue (fabric glue or a glue gun with adult supervision)
– Assorted small shapes (stars, trees, snowflakes, animals)
– Strong thread or ribbon to tie the skirt around the tree
How to make it
1) Cut a circle or wrap-around band from a large piece of felt so it fits around the tree base.
2) Let kids cut out shapes. Use contrasting colors so the designs pop.
3) Glue shapes onto the skirt. Press gently and let them dry.
4) Add finishing touches. You can outline shapes with a simple stitch or add a ribbon edge. For extra sturdiness, glue a second backing layer.
Tips:
– Use a glue gun for sturdier decorations. Have an adult handle the hot glue.
– Choose a theme, like woodland animals, candy canes, or snowmen, to guide shapes.
– Host a family decorating night to finish it together.
This felt tree skirt will warm your holiday space year after year and hold your family’s craft stories.
@media(max-width:480px){
29. Hand-painted Holiday Mugs

You want a craft that kids can finish and actually use. Hand-painted holiday mugs give you that. They’re perfect for cocoa, hot cider, or gift swapping. Fun to make, and practical too.
What you’ll need
– Non-toxic ceramic paints designed for mugs
– Small brushes and sponges
– Stencils or freehand ideas
– A clean work space with old newspaper
– An oven to set the paint
– Dish soap for cleaning
Step-by-step
1) Wash the mug and dry it completely. A clean surface helps the paint stick.
2) Decide on a design. Use stencils for neat lines or draw freehand for a personal touch.
3) Paint in light layers. Let each layer dry before adding more color.
4) Bake the mug to set the paint. Follow the paint label for temperature and time. When it’s done, let it cool fully.
5) After cooling, wash gently and wait 24 hours before heavy use. This helps the design stay bright.
Tips you can use
– Create a mug for each family member with a small symbol for their personality.
– Add a tiny seasonal scene—snowflakes, candy canes, or a friendly elf.
– Save a set for gifting: tie with a ribbon and a note.
This project gives you a useful keepsake and a memory of the time you spent crafting together.
@media(max-width:480px){
@media (max-width: 600px) {
.visual-quiz-iframe { min-height: 995px !important; height: 1100px !important; }
}
30. Holiday Photo Frame Decorations
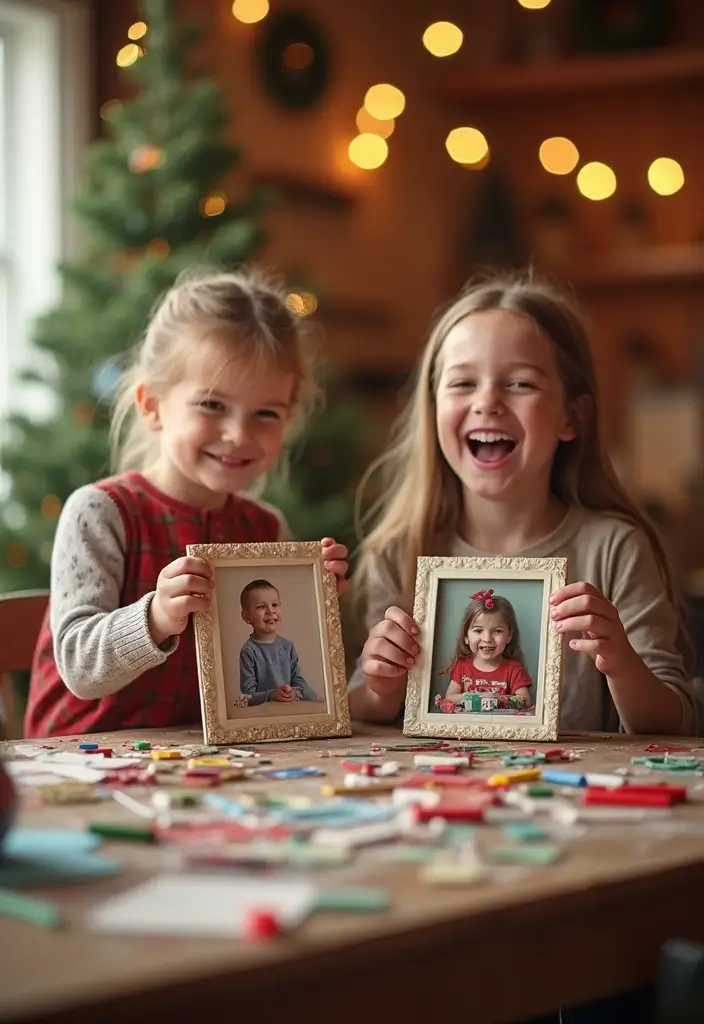
Want a simple craft that helps your home feel warmer during the holidays? This photo frame decoration idea fits. It uses an old frame or sturdy cardboard, kid-friendly paints, glue, and natural accents. Your child picks the photos and designs the theme. The result is a frame that holds memories and looks festive on the wall.
Materials you need
– Old frame or strong cardboard
– Non-toxic acrylic paints
– Glue or Mod Podge
– Natural decor such as twigs, leaves, pine cones
– Your favorite holiday photos
Step-by-step
– Clean the frame and plan your look.
– Paint a base color that matches your decor.
– Glue on natural decorations and place the photos in the frame.
– Let it dry completely, then hang it up or gift it.
You can swap photos later to match the season or mood.
Tips
– Let kids choose their favorite holiday photos to display.
– Try natural items for texture and a unique look.
– These frames make thoughtful, personalized presents for family.
Next steps: set a little craft time on your calendar and start with one frame. This activity creates a simple keepsake that you will enjoy year after year.
@media(max-width:480px){
Conclusion
Crafting during the holidays creates lasting memories and strengthens family bonds.
These 30 ideas for holiday crafts for kids DIY not only entertain but also teach the importance of sustainability and creativity.
So gather your supplies, let your imaginations run wild, and make this holiday season magical with eco-friendly crafts that everyone will love!
Note: We aim to provide accurate product links, but some may occasionally expire or become unavailable. If this happens, please search directly on Amazon for the product or a suitable alternative.
This post contains Amazon affiliate links, meaning I may earn a small commission if you purchase through my links, at no extra cost to you.
Related Topics
holiday crafts
DIY projects
eco-friendly crafts
seasonal decor
kids activities
easy crafts
upcycled materials
festive decorations
creative family fun
handmade gifts
nature crafts
winter activities