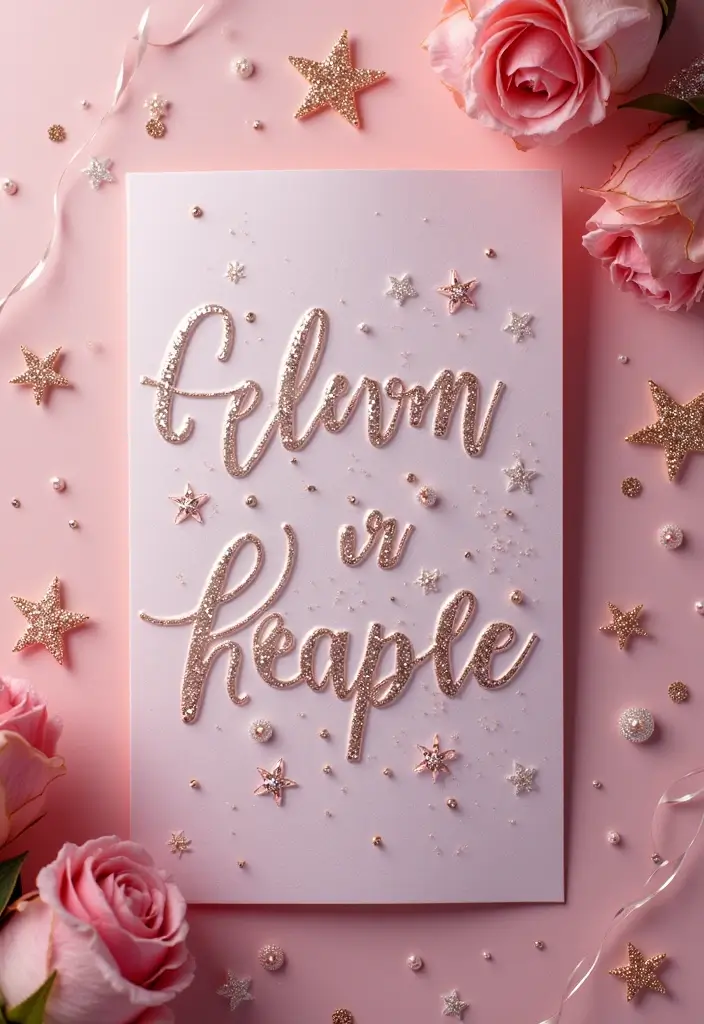
I put this together because I want to help you send cards that feel personal, not generic. Handmade paper cards carry warmth that store cards miss. They let you share care in a small, thoughtful way. These projects are doable, even on busy days.
If you love simple crafts and meaningful notes, this post is for you. It is for teachers who want to say thanks. It is for friends who want to brighten a day. It is for anyone who wants to swap out mass produced cards for something handmade.
Here is why these 25 ideas work. They use common paper, glue, scissors, and a pop of color. They don’t need fancy tools. You can finish most in minutes, or enjoy a cozy weekend project with a cup of tea. Expect techniques like hand lettering, watercolor washes, collage, and a touch of nature.
Let’s break it down. Each idea comes with a simple materials list, step by step instructions, and a style note to help you pick what fits your recipient. You’ll find cards that lean playful. One card feels rustic. Others look neat and clean. The point is to give you real, ready-to-use options.
This guide helps you save money, waste less, and still give something that shines. You’ll learn easy pairing ideas for color and texture, how to finish edges, and quick ways to mail a card safely. It also shows how to adapt ideas for different occasions, like birthdays, thank yous, or just saying hello.
Take a moment to pick a project and gather a few supplies. Start with scraps of paper and a basic glue. Try a simple card first, then move to a layered design if you feel ready. Once you finish one, you’ll see how a little care can brighten someone’s day. Next steps: dive in and stitch your own story with paper.
1. Flower Pressed Card
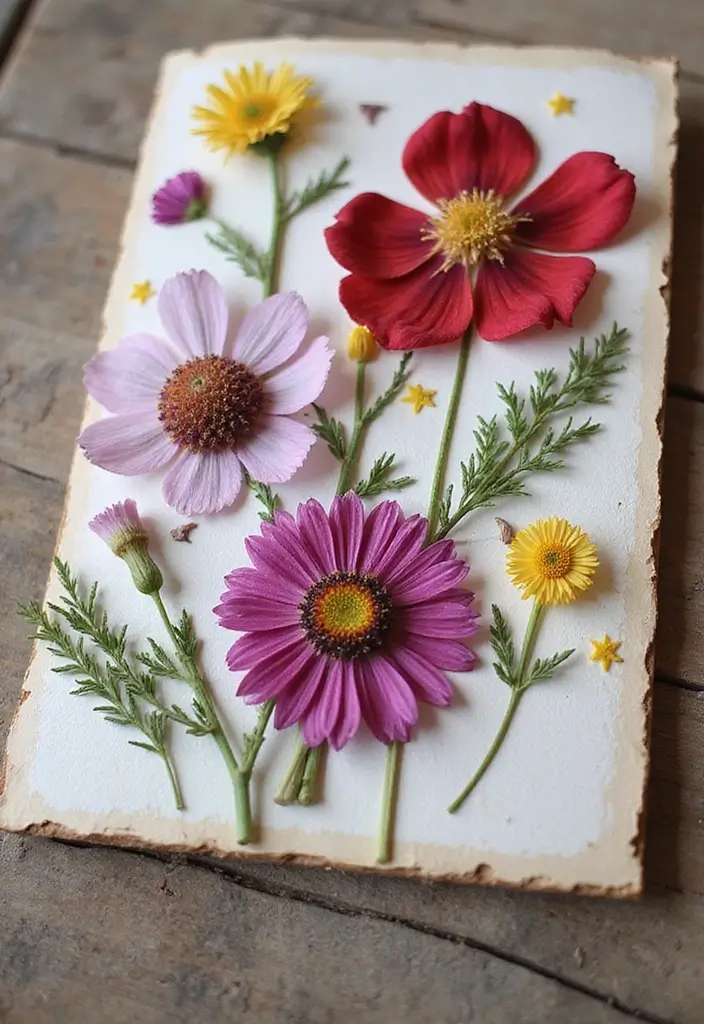
Want a card that feels personal and fresh? A flower pressed card can deliver that feel with a simple, affordable method. You get a keepsake and a message that shines.
Here is how to make it.
– Gather small, colorful blooms from your garden or a local park.
– Press them. Place each flower between clean sheets of paper and stack heavy books on top. Leave it for about a week until they dry flat.
– Prepare your base. Use a blank card as the starter. Decide where each bloom will sit before you glue anything.
– Glue and finish. Dab craft glue on the back of a dried flower and press it onto the card. Let it dry fully.
Tips:
– Daisies and violets press best because they stay flat.
– Try a single bloom for a bold look or a tiny bouquet for a playful touch.
– Add a short note about the flowers to give the card a story.
Next steps: pair your card with a handwritten message to boost meaning. These cards suit thank-you notes, invitations, or just a warm hello. Each piece will be one of a kind, showing nature’s beauty in your own handwriting.
With practice, you’ll speed up the steps and try cooler layouts.
2. Watercolor Stamped Card
If you want a card that pops with color but stays simple, this watercolor stamped card is for you. Here is why it works: watercolor washes give a soft background, and stamps add clear shapes on top. Let’s break it down.
What you’ll need
– Watercolor paper or cold-press sheet
– Watercolor paints or pigment ink pads
– Rubber stamp with your chosen design
– Acrylic block
– Water cup and brush
– Card base or folded cardstock
– Clean cloth or paper towel
Steps to create it
– Start with a light wash. Paint a square or stripe on the paper using your colors. Keep the strokes loose and even. Let it dry completely.
– Now add the stamp. Ink the stamp well, then press firmly onto the dry paper. Aim for bold lines that stand out.
– Build depth. Add a second stamp in a lighter shade or slightly offset for layering. You can let some edges blend for a soft feel.
– Finish by mounting. Glue or tape the painted panel to a blank card base. Write a simple greeting on the inside.
Tips
– Keep stamped images clear and bold for the best look.
– Use several shades of the same color to make a smooth gradient.
– Layer colors to create depth and texture.
– Clean stamps between colors to keep edges crisp.
– Experiment with light washes behind dark stamps for contrast.
This approach yields fresh, personal greeting cards you can share with friends and family.
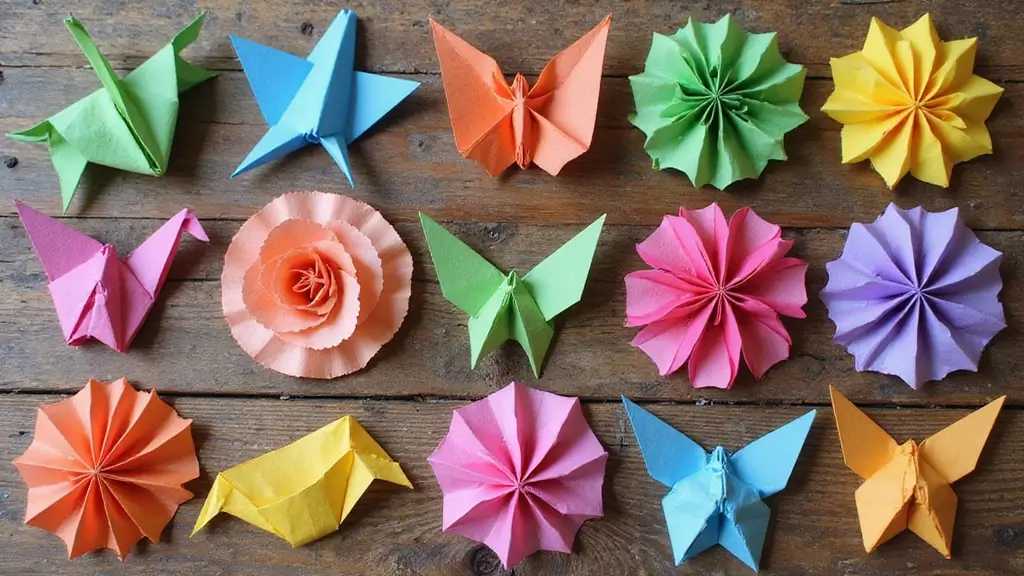
3. Origami Style Card
Origami adds life to a plain card. You can fold colorful square papers into small 3D shapes that pop when you open the card. Here is how to do it simply.
1) Pick square sheets in 2–3 colors. Try tones that match the person you are gifting.
2) Fold a crane, a flower, or a star. Start with a beginner-friendly fold. You can find a quick video or a simple diagram.
3) Attach the finished piece to a blank card using a few glue dots. Place it off center for a modern look. Press gently.
4) Add a thin border with washi tape or a pen. This helps the origami stand out.
Unique Insights:
– Use papers with different textures like matte, glossy, or linen for extra touch.
– Origami is a fun family activity, easy to learn and teach.
– The card can double as a gift tag when you slip a note into the fold.
Next steps: choose a color story, practice two folds, and glue them in place. Personalize with colors that fit the recipient, making the card feel truly theirs.
Here is why it works. The tiny folds catch light and cast soft shadows. You can write a short note inside the flap to finish the look.
4. Recycled Paper Card
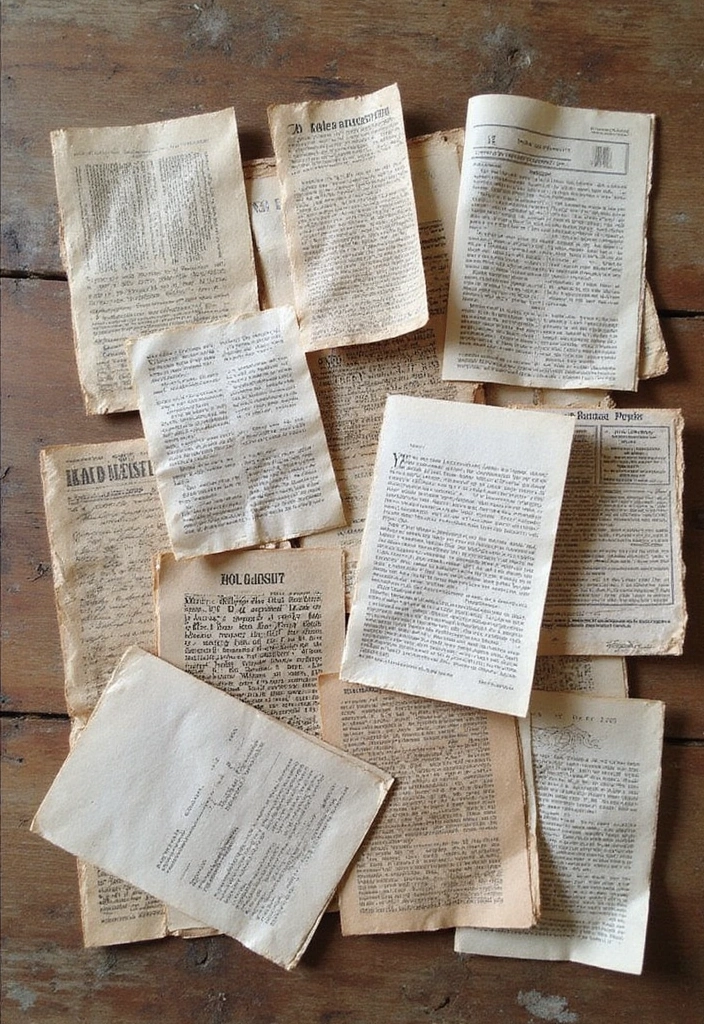
Put your old newspapers and magazines to good use by making recycled paper cards! First, tear the paper into small bits and soak them in water for a few hours. Blend the soaked paper until it forms a pulp, then spread it onto a screen to dry. Once dry, cut it into card shapes.
– Add flower petals or seeds to your pulp for extra texture.
– Use vibrant colors for more exciting card designs.
– Consider writing inspiring quotes or messages on these unique cards.
Recycled cards not only express your creativity but also promote sustainability in your crafting endeavors!
5. Embroidered Card
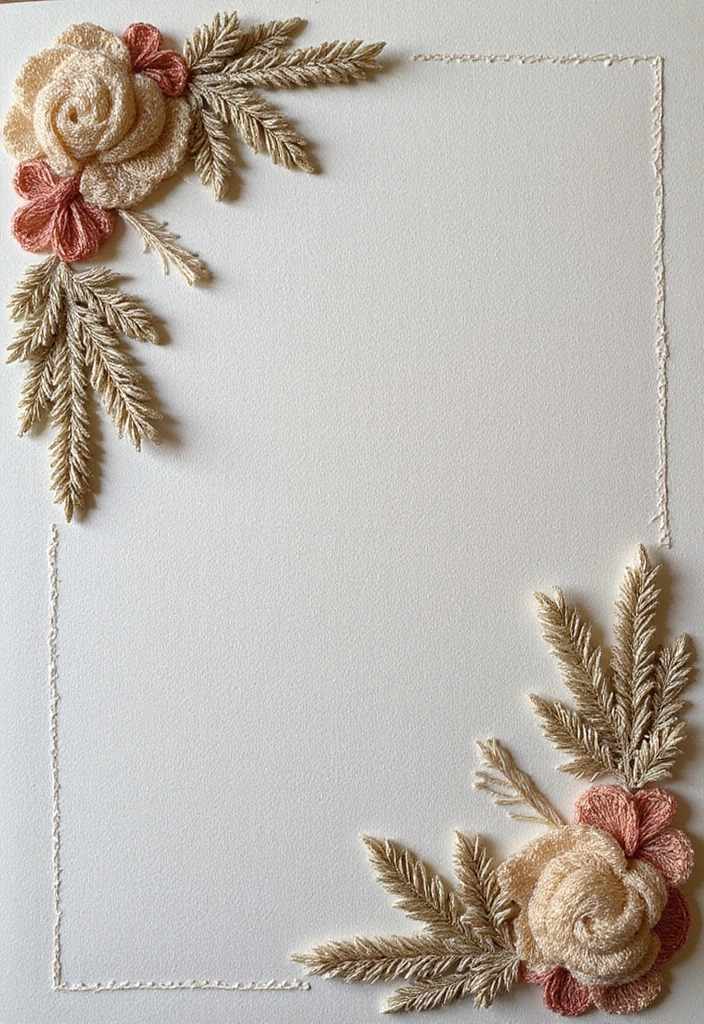
You want a card that feels personal and means more than a store-bought note. An embroidered card can do that. The raised stitches catch light and touch, making the message feel alive.
What you need
– Blank folded card
– Embroidery floss in two colors
– A small embroidery needle and scissors
– A light pencil for tracing
– Optional: initials or a date to add meaning
How to do it
1) Draw a simple design on the front of the card. Think of a heart, star, or letter.
2) Thread the needle, knot the end, and start along the traced lines.
3) Use an easy stitch at first, like the running stitch or backstitch. Keep lines neat.
4) Finish each line with a small knot at the back and trim the ends.
5) Add a second color to create depth or a highlight.
6) Personalize the piece with initials or a date for a lasting memory.
Tips to make it pop
– Pick thread colors that stand out against the card so the design shines.
– If you’re new, keep shapes large and simple.
– Press the card lightly between clean sheets after you finish to flatten the stitches.
Why it works
This card stays a keepsake. It suits anniversaries, birthdays, or any special day. It invites touch and shows you cared enough to sew it by hand.
6. Layered Card
If you want a card that truly stands out, try a layered card. It adds depth and life to a simple piece of paper. You cut shapes, stack them at different heights, and let light hit the edges for a subtle 3D look. A layer of foam pads gives each piece a gentle lift and makes the design feel like a tiny work of art.
What you need
– Different shades of card stock or handmade paper
– Sharp scissors and a craft knife
– Glue and foam pads or adhesive dots
– A plain card base
– Optional textures like lace, fabric, beads, or sequins
Steps to build a layered card
1) Pick a color palette with 2–3 tones. Keep it simple so the layers read clearly.
2) Cut your main shapes. Try flowers, leaves, or geometric forms for a chic look.
3) Lay out the design on the card base. Start with the bottom layer and place the rest above it.
4) Glue the bottom layer down. Add foam pads under each higher layer for a pop-up effect. Press gently to set.
Ideas for layers
– Use contrasting colors so each layer pops.
– Mix textures like lace or fabric for extra touch.
– Add tiny embellishments such as beads or sequins for sparkle.
Best uses
Layered cards suit birthdays, anniversaries, thank you notes, or any time you want a heartfelt message. A little extra effort goes a long way, and the recipient will feel your care.
Tips for success
– Keep the design simple if you are new to layering. Too many layers can feel busy.
– Let a single focal shape shine and place smaller pieces around it.
– Store finished cards flat to keep the layers from bending.
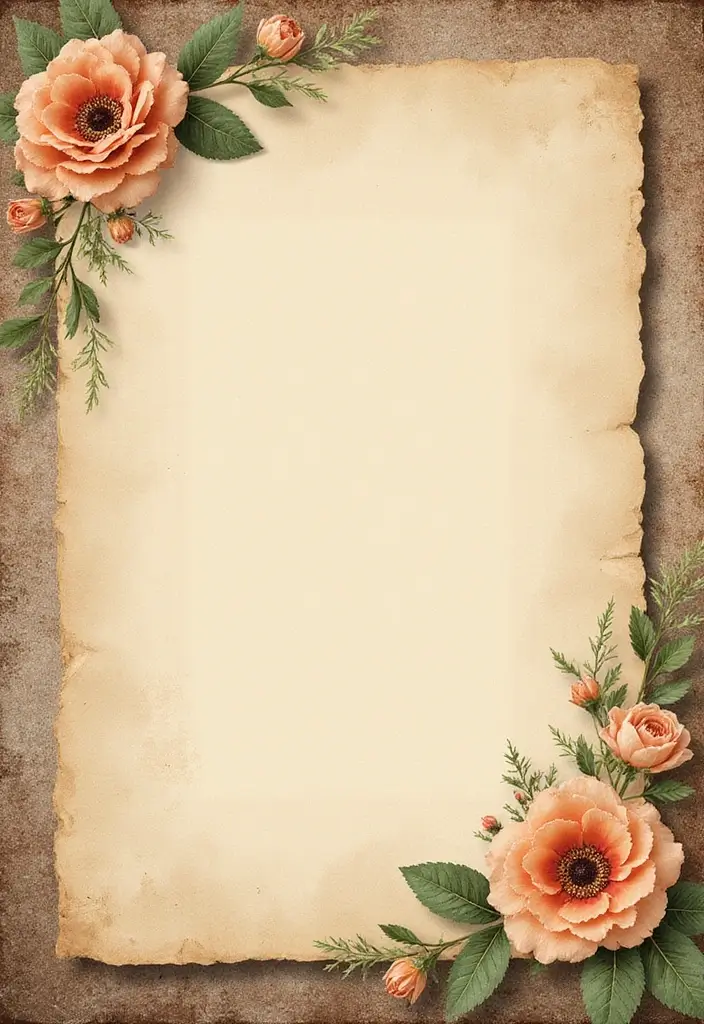
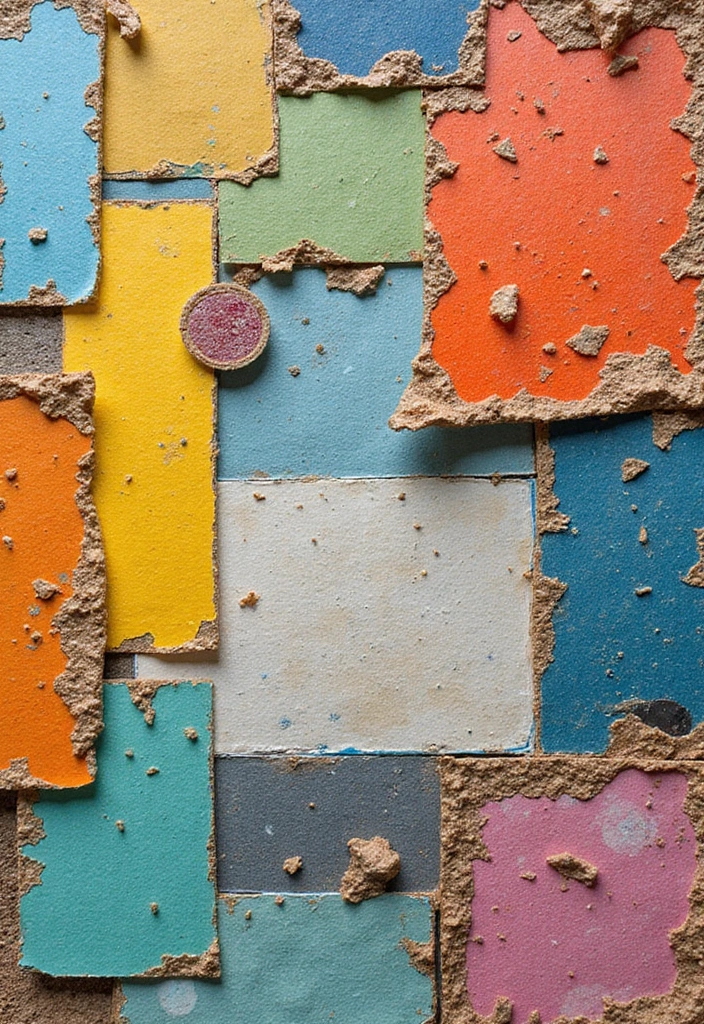
7. Nature-Themed Card
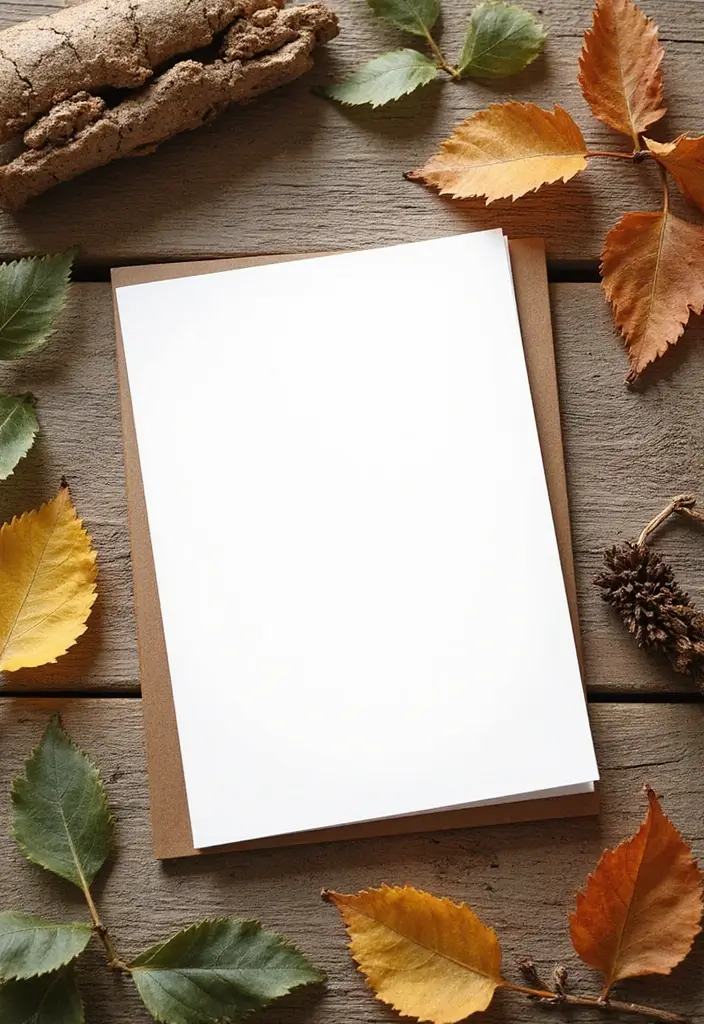
Want a card that feels natural and warm? A nature-themed card does just that. It brings calm and a rustic touch using simple, affordable materials. Leaves, twigs, and a pinch of sand add texture you can feel. This style makes a tiny outdoor scene on paper.
Here is why it works: you control the look from start to finish. Start with a blank card and gather items from a walk or your yard. Dry any wet pieces first so glue sticks well. If you want color to last, press leaves for 1–2 days in a heavy book.
Next, plan a layout. Place your pieces in a pattern you love. Leave small gaps so each texture stands out. When you are happy, glue them down and press gently until they set.
Finish with a personal touch. Write a short note about nature or a favorite nature quote. Sign by hand for real charm. These cards work great as thank-you notes after a gathering or for a nature lover in your life.
Tips:
– Dry all items before gluing to avoid a soggy card.
– Press leaves ahead of time to keep color and shape.
– Add a handwritten message about nature to finish the look.
Next steps: try a simple nature card for your next invitation or thank-you card.
8. Photo Collage Card
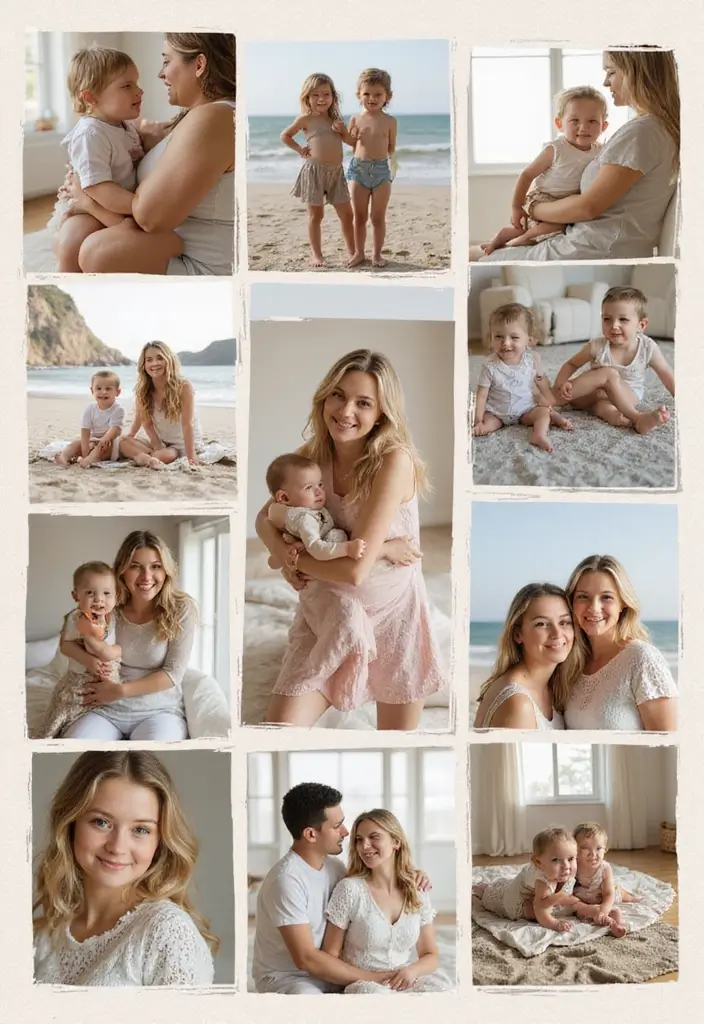
Want a card that feels warm and real? A photo collage card puts your memories on one page. Here is why this works. It shows you care and it tells a little story with simple art. You can do it with basic supplies and a steady hand.
Next, create it in these simple steps:
1. Pick a size and a theme that fits the photos.
2. Gather 4 to 7 favorite pictures.
3. Cut photos into fun shapes like circles or hearts.
4. Lay them on a blank card and test the layout first.
5. Glue or tape the pieces in place with a light hand.
6. Add short captions or dates next to each photo.
7. Finish with a thin border or tiny doodles.
Tips for a standout collage
– Use colors that match the photos so the card feels tied together.
– Try black and white prints for a vintage vibe.
– Leave a small white edge around each cut image for clean edges.
– Add a dated note to mark the moment and make it extra meaningful.
Next steps: pick a card you like, gather the photos, and start today. Your loved one will feel the care behind a handmade memory card. Give yourself time to test a few layouts and pick the best look.
9. Interactive Scratch-Off Card
People love a card that hides a smile. You want a handmade note that feels fun and personal. An interactive scratch-off card delivers that. It turns a simple message into a moment of surprise.
What you need
– A sturdy blank card or folded cardstock
– Scratch-off paint: a mix of dish soap and acrylic paint
– The message or tiny prize you want to reveal
– Optional glitter for a sparkling finish
Steps to make it
1) Write a short note or the prize on the card.
2) Mix scratch-off paint with dish soap until it looks smooth and opaque.
3) Brush a thin layer over the writing. Let it dry completely.
4) To reveal, the reader uses a coin to scratch off the paint.
Smart ideas you can try
– Use glitter in the paint for a little shine.
– Add a tiny game or prompt next to the reveal, like a riddle.
– Change color schemes to fit birthdays, holidays, or themes.
– Add a clear top coat if you want extra protection from rubbing.
Why this works
Scratch-off cards feel personal. The reveal creates a quick moment of delight. They’re simple to make, and the result sticks with people.
Next steps
Grab materials, pick a message, and make one tonight. You’ll have a thoughtful gift with minimal cost.
10. Stencil Card
Here is why stencil cards are a great pick for quick gifts. They look clean and bold with little effort. You can change the mood by color and texture.
Here is how to make one.
– Pick a stencil design you love.
– Place it on a blank card and tape the edges so it stays flat.
– Choose a sponge or small brush and dab ink or paint on it. Tap, don’t push hard.
– Lift the stencil slowly to reveal a crisp pattern.
– Let the card dry before you touch it.
If you want to go simple, start with one small pattern and a single color. Keep your sponge clean so colors stay bright.
Tips:
– Try different color combos to get a layered look.
– Layer two stencils for a fresh, unique design.
– Add a touch of metallic or glitter paint for shine.
– Use a light background color so the stencil pops.
Stencil cards work for any celebration. They fit birthdays, thank you notes, and invites. Pair them with a matching envelope liner or a simple ribbon for extra charm. You can store extra stencils for fast, last-minute cards.
Next steps: collect a few stencil patterns, your favorite inks, and a blank card set. You’ll be ready to craft in minutes.
11. DIY Pop-Up Card

Want a card that really stands out? A DIY pop-up card brings a moment of surprise. You can make one with a few simple supplies and a steady hand. Here is why you’ll love this project: it is personal, quick, and fits many occasions.
– Materials:
Sturdy cardstock, scissors, a ruler, a pencil, glue or double-sided tape. Optional: a scoring tool, a craft knife, colored pens.
– What to cut:
Choose shapes like flowers, stars, or animals. Keep them small so they fit inside the card.
– Make the fold:
Make a small fold or tab behind each cut shape. Attach the tab to the inside of the card. The figure will rise when you open.
– Finish the design:
Decorate the outside of the card to match the pop-up scene. Test the card by opening it several times. Fix any glue that sticks.
– Tips for success:
Use thick paper so the pop-up stands. Practice with scrap first. Pick a theme and carry it through the outside.
Next steps: Your friends and family will love this playful keepsake. They’ll remember the moment you made it.
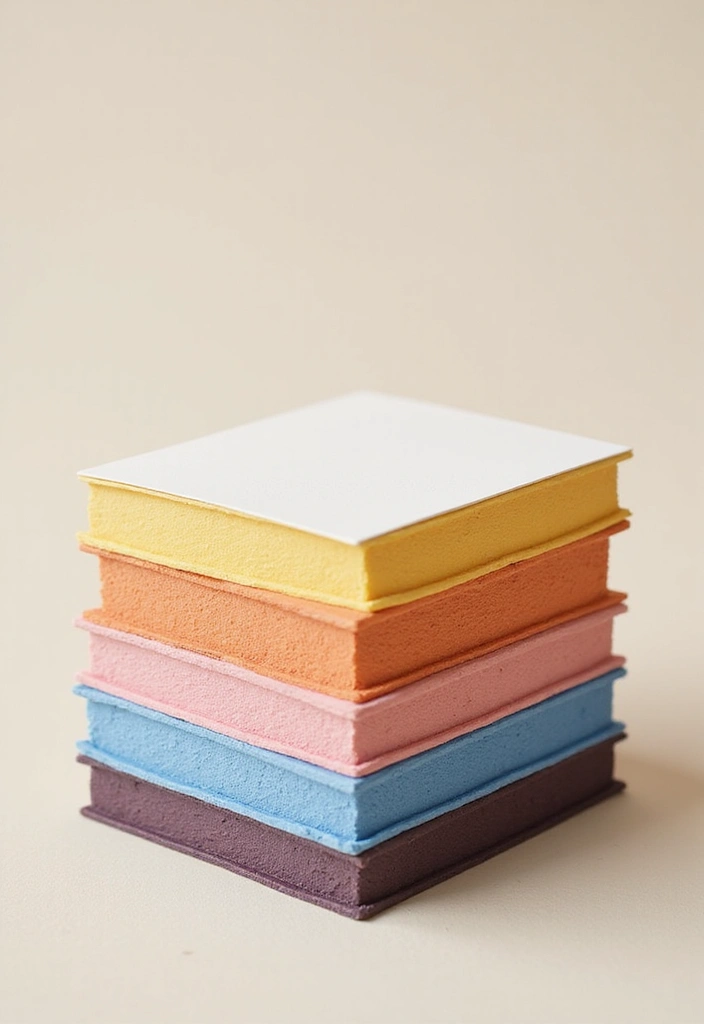
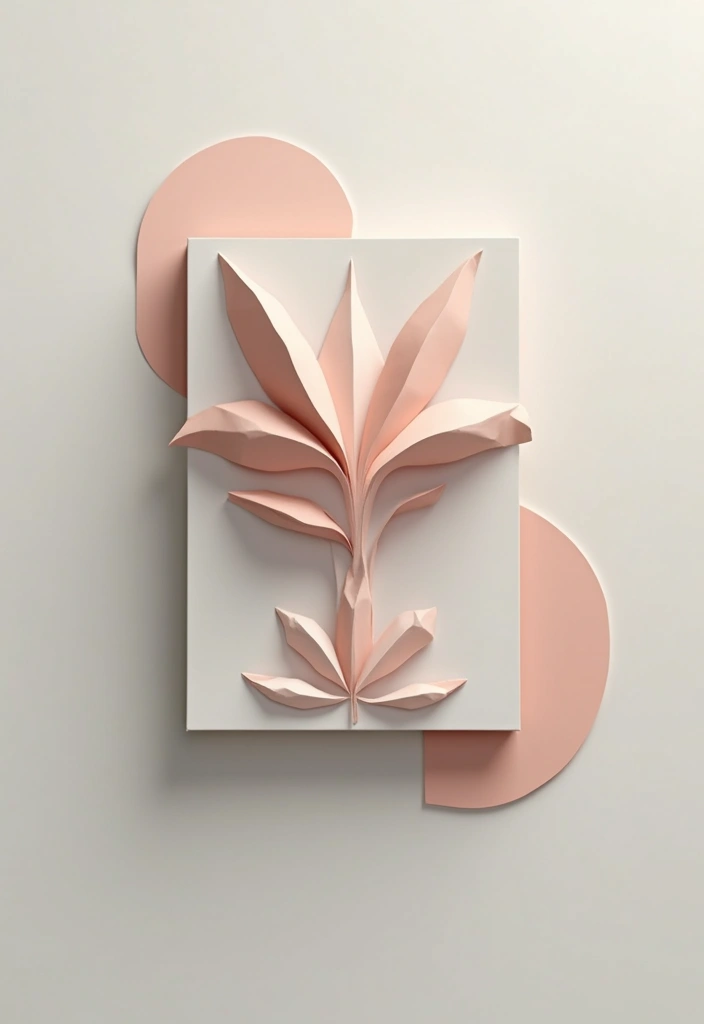
12. Minimalist Card
You want a card that feels calm and clear. Minimalist cards use less, but they say more. One small design element can stand out on its own. Choose high-quality cardstock to keep lines sharp. This style fits formal events or when you want a message to land softly.
Here is how to pull it off.
– Choose a high-quality cardstock in white, ivory, or light gray.
– Pick a single design element, such as a tiny flower or a simple geometric shape.
– Stick to a monochrome color palette to keep the look chic.
– Use a clean hand or light calligraphy for a personal touch.
– Leave generous white space around the element so it breathes.
– Align the element with the center or a single clean margin.
Tips to get it right.
– Keep text minimal to avoid crowding the page.
– If you add words, use a simple font with clear contrast.
– Let the surface texture do some work; a smooth finish adds quiet depth.
– Avoid extra decorations so the sole design can shine.
When to use minimalist cards.
– They work well for formal invitations.
– They fit a quiet thank you note.
– They suit a subtle hello or sympathy card.
Next steps: choose your paper, decide on a single element, and try a small sample to refine the balance.
13. Glitter and Glam Card
You want a glitter card that shines without making a mess. Here is a simple way to get a dazzling result.
– Choose a sturdy card base. A solid surface helps the glitter stay in place and look clean.
– Draw your design with glue. You can make a swirl, dots, or a bold shape.
– Sprinkle glitter over the glue. Use enough to cover, but not so much that it clumps.
– Gently shake or tap the card to remove the loose glitter. Let it dry fully before you touch it.
Tips
– Use double-sided tape for a mess-free glitter path. It keeps glitter where you want it.
– Mix different colored glitters. Layer light pink with silver or emerald with gold for depth.
– Pair with a shiny envelope. The first glimpse should feel like a party.
Why this method helps
– Glue gives a clear path so glitter stays in place.
– Double-sided tape keeps stray glitter off your desk.
– A few color choices add depth without crowding the design.
This glitter card works well for celebrations, birthdays, or anytime you want to add a little dazzle to your message. Next steps: gather your supplies and try a small glitter pattern first, then go bigger as you gain confidence.
Have fun with it.
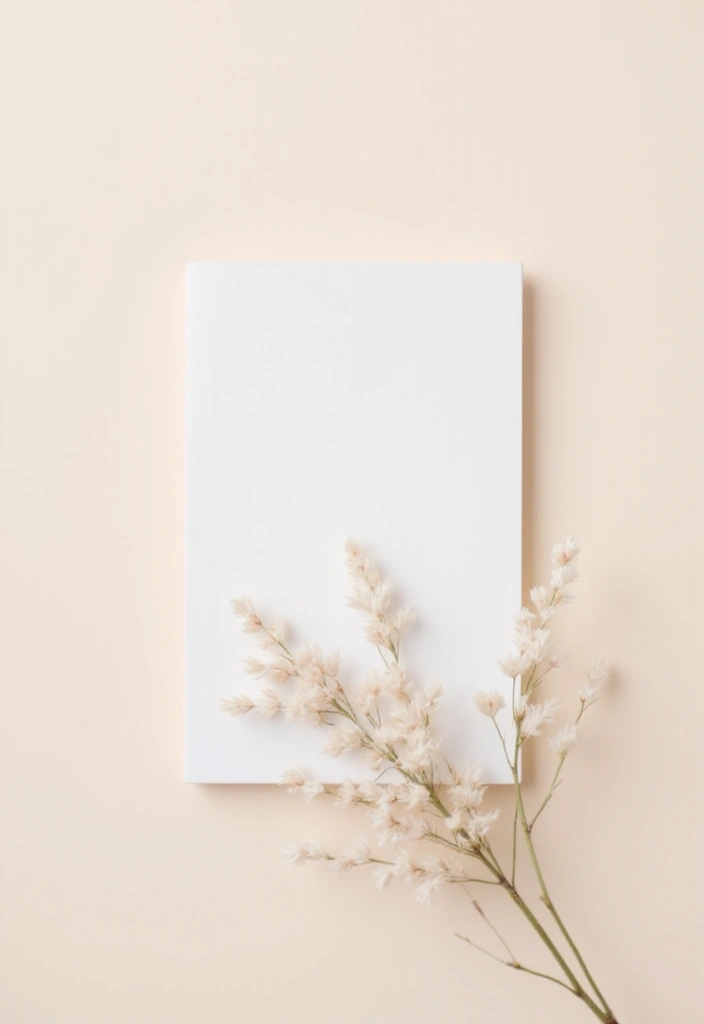
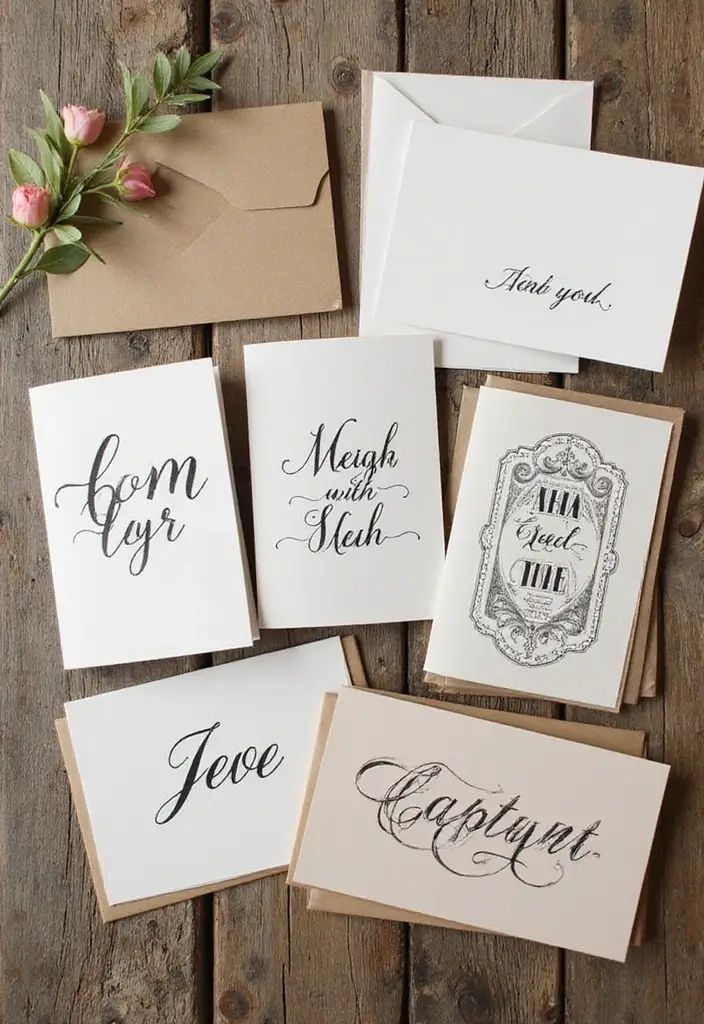
14. Sentimental Handwritten Card
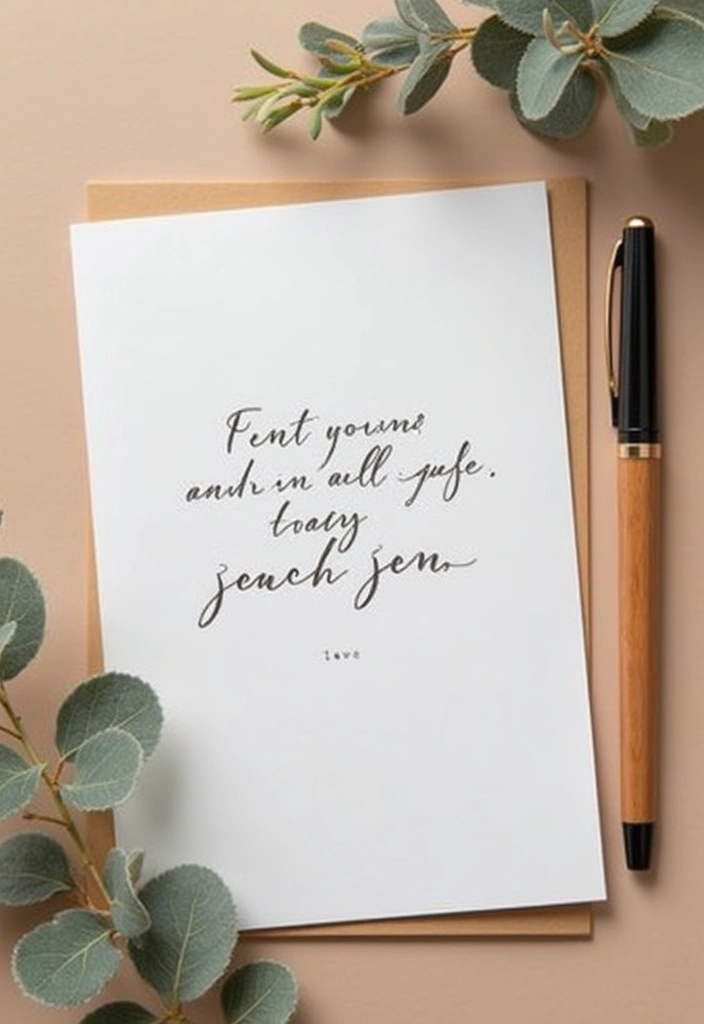
Want a card that truly shows you care? A handwritten note does more than a text. It carries your voice, your time, and your warmth. Here is why a pen and a blank card beat a screen message.
Here’s how to craft one. Choose a blank card you love. Use a smooth, quality pen that won’t smudge. Write a message from the heart. Add a small drawing or doodle to match the moment. Leave space between lines so it reads easy. If you want, add a short quote that fits your bond. Let the ink dry before you handle it.
What to include
– Use a blank card and a smooth pen to write clean, crisp lines.
– Personalize the message to fit the person and your shared memories.
– Include a short quote or poem that fits your bond.
– Add a small doodle or border for a personal touch.
– Let the ink dry before you close the card.
Handwritten cards linger on desks and in memory. They invite smiles long after you send them. Next steps: grab a blank card and write something today. A tiny card can spark a big smile.
15. Seasonal/Festive Card
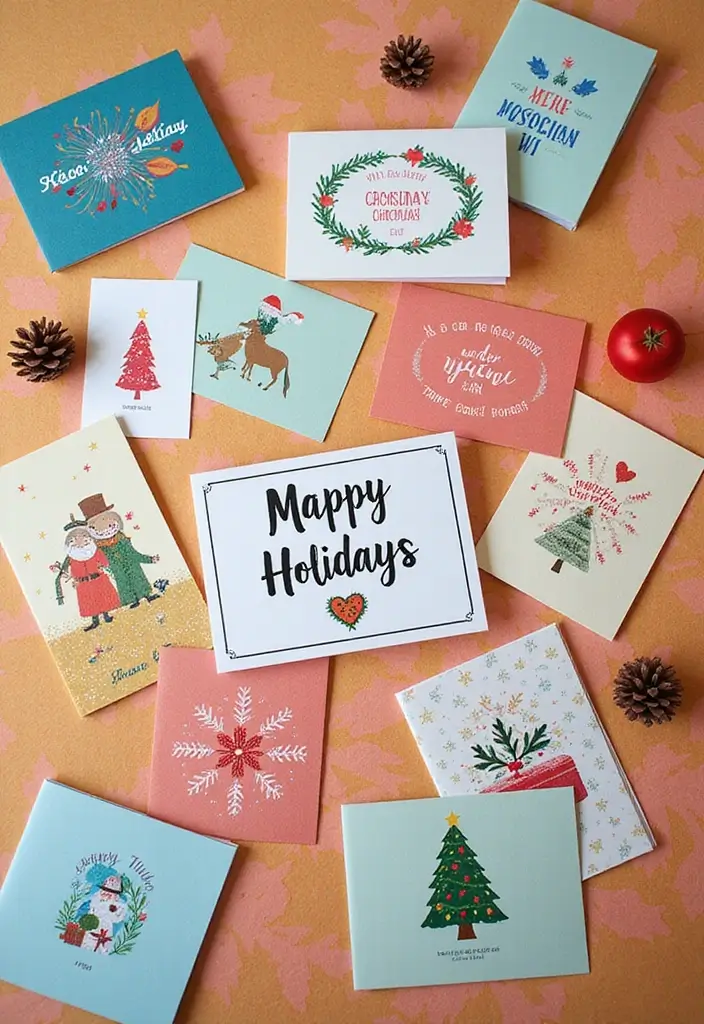
You want cards that fit the season and feel handmade. Seasonal cards do that and tell your friend you cared for them just right. Here is why they work. They are simple to make, use easy colors, and feel warm to the touch.
What you need
– Thick paper or handmade paper you can fold into a card
– Markers, colored pencils, or paints
– Scissors and glue
– Simple stamps or stencils (optional)
– Small decorations like leaves, twine, or ribbons
Let’s break it down
1) Pick a season and color theme. Autumn leans orange and brown. Winter shines with blues and gold. Spring sings with greens and pinks. Summer glows in yellows and sky blues.
2) Sketch a simple design. Think a leaf, a snowflake, a flower, or a sun. Keep lines easy to cut or stamp.
3) Put it together. Fold the card, add the shapes, and write a short note inside.
4) Finish with a touch. A ribbon, a pressed leaf, or a tiny sticker can add depth.
Ideas for Seasonal Cards
– Halloween card with friendly ghosts or pumpkins in orange and black
– Spring card with bright flowers and soft greens
– Winter card with warm reds, golds, and snowflake accents
– Summer card with a big sun and light blues
Practical tips
– Keep designs simple. Clean lines are faster and neater.
– Let glue dry before stacking or mailing.
– Try a quick color palette swap to suit the mood.
Next steps: pick one idea, gather supplies, and make a card tonight. You will feel the joy of giving a handmade touch.
16. DIY Gift Card Holder
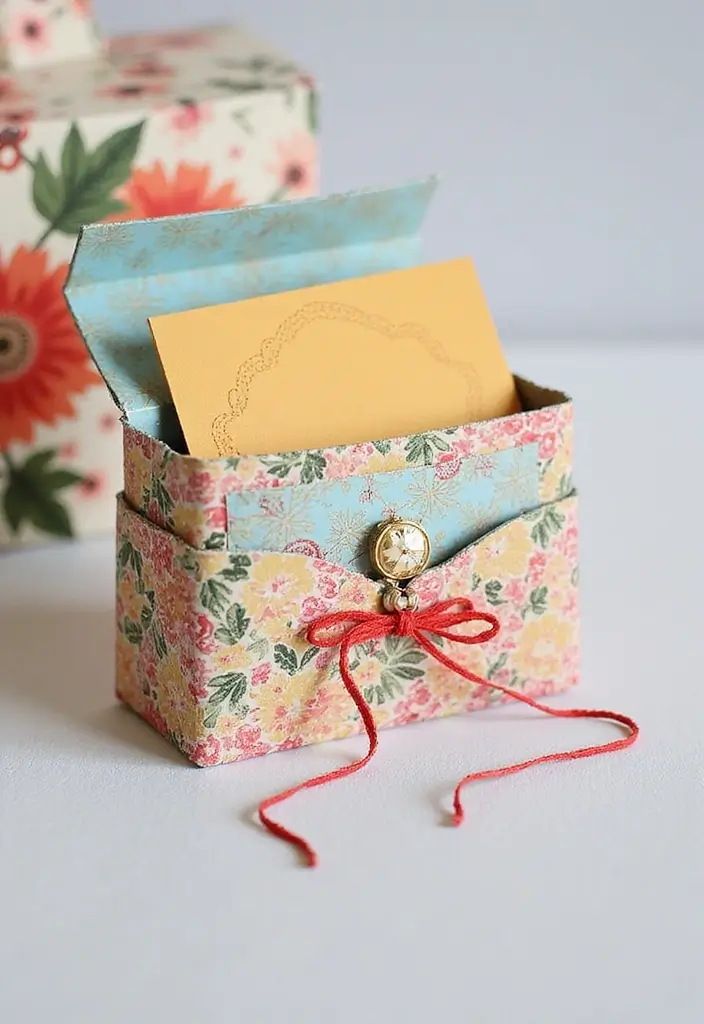
Here is why a DIY gift card holder matters. A plain card can feel cold. A small handmade envelope or sleeve adds warmth and style.
What you need
– Cardstock or decorative paper
– Scissors and glue or double-sided tape
– A ruler or scoring tool
– Optional extras: washi tape, stickers, ribbon, a tiny button
Step by step
Here is a simple path you can follow.
1) Cut a rectangle that fits a standard gift card with a little space.
2) Score a fold line to form a pocket and a flap.
3) Fold along the line, then seal the sides so the card stays put.
4) Decorate the outside with a burst of color or a theme they love.
5) Slip the gift card in the pocket and add a short note inside.
Tips
– Personalize with their favorite colors or designs.
– Attach a short note explaining why you chose this gift.
– Use washi tape or stickers for extra flair.
A handmade holder adds thoughtfulness. It shows you took time to make the gift feel special.
Next steps: Try a clean look with one color and a simple shape, or go playful with cutouts and a ribbon. Either way, the gift card feels more cared for and memorable.
17. Celebration Quote Card

When you want to lift someone’s spirits, a celebration quote card can do the job. Pick a line that fits the moment and the person. Then build a card that carries that feeling with you.
Here is why this works. A good quote touches memory. A handmade card adds a warm, personal touch. A bright design makes the message feel louder in a good way.
Materials you’ll want
– Thick card stock or watercolor paper
– A blank 5×7 or A6 card base
– Markers, colored pencils, or gel pens
– A fine liner for neat lettering
– Glue or double-sided tape
– Optional: stamps, stamps ink, and a nib pen for hand-lettering
Step-by-step guide
1. Choose a personal quote that reflects the recipient.
2. Pick a color palette that fits the mood—cheerful or classy.
3. Plan the layout. Put the quote at the center or inside a framed border.
4. Test a few fonts. Simple sans or friendly handwriting is easy to read.
5. Add small drawings or icons that relate to the message.
6. Finish with clean edges and a neat fold.
Style tips
– Use bright colors only on key elements to guide the eye.
– Keep a clean margin so the text breathes.
– Explore hand-lettering for a unique touch.
Next steps: gift the card with a smile. A well-made celebration quote card shows you care and fits handmade paper cards trends.
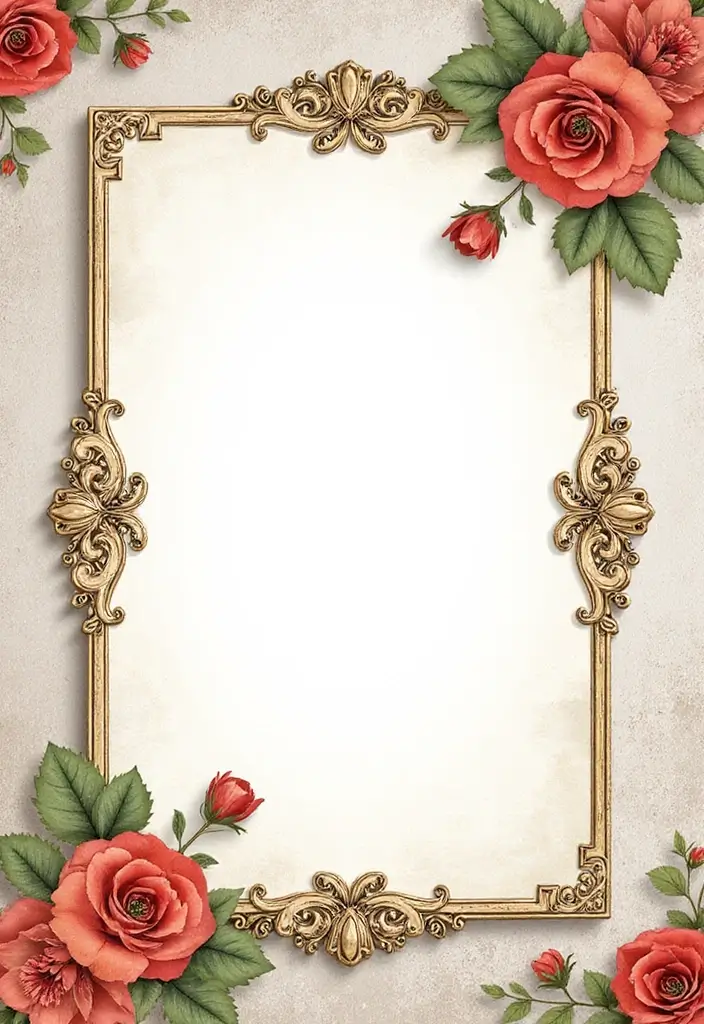
18. Vintage Style Card
You want a card that feels timeless. A vintage style card can give you that warm, nostalgic look with just a few careful choices.
Materials and look
– Pick a muted color palette: cream, soft beige, dusty rose, and muted teal.
– Use lace trim or floral prints for texture.
– Distress the edges with light sanding or ink to create a worn feel.
– Add a small piece of old book page or a vintage postcard for charm.
Next steps: Practical creation tips
– Start with a sturdy base card. Build layers with a slightly smaller top panel.
– Ink or stain the edges you want to wander softly.
– Layer lace, a pressed flower, or a tiny metal brad to anchor texture.
– For photos, choose sepia-toned images to deepen the era feel.
Typography and print
– Choose fonts that echo the past: a simple serif or a gentle script.
– Keep wording short and meaningful to keep the antique vibe.
Occasions and limitations
– This style shines at anniversaries, weddings, or moments that deserve classic charm.
– It can look heavy if used for fast-paced, modern themes. Use sparingly.
Here is why it works: the mix of muted colors, aged edges, and old-paper textures evokes memories. With these steps, you can craft a vintage card that feels handmade and heartfelt.
19. Fun Folded Card
Looking for a card that feels playful and personal? A fun folded card can do the job. It adds surprise when the recipient opens it.
How to start: pick a sturdy sheet of paper for the base. Lightly mark fold lines with a ruler, then crease. Decorate the outside with bright colors and keep the inside message clear.
– Accordion fold: Score two or three lines to make a long fan. When it opens, each panel reveals a new line or image. Glue a small decorative layer to peek out as the card unfolds.
– Tri-fold: Create three equal panels. Put a bold title on the front and a short note on the middle panel. The inside last panel can hold the main message or a drawing.
– Gate fold: The left and right panels form doors that open to reveal the center message. Write on the center panel and tuck a tiny drawing behind the doors.
– Add pull tabs or flaps: A tab pulls out a hidden note or a tiny photo. This adds a playful interaction that makes the card memorable.
Fun folded cards spark smiles and give you a chance to share more than one idea.
Here are quick tips.
– Color choice: Use bright, contrasting colors that catch the eye.
– Layering: Add a couple of lightweight layers that pop.
– Keep it simple: If you add many parts, make sure the text stays easy to read.
Next steps: try a fold today. Show it to a friend and note what they say.
20. Inky Patterns Card

Are you after a card that feels personal? Inky patterns let you make a handmade card that stands out. Grab fine-tip pens or markers and fill the surface with doodles, mandalas, or repeating shapes. It’s simple, and the process can be calming.
Here is how to do it:
– Start with a clean card. Colored stock makes ink pop. White works too.
– Pick two pen widths: thin for detail, bold for emphasis.
– Start with a small motif in the center and grow outward. Repeat circles, petals, or geometric shapes to build rhythm.
– Keep color to a small set. Try black on color for a strong look.
– Let the line flow. Perfection isn’t the goal; character comes from the ink.
– Finish with a light border or a few dots at the corners to frame the design.
Tips:
– Experiment with color and line weight.
– Work in stages; pause to view from a distance and guide your next move.
– Sign your card in a tiny corner.
Why this works: you create a piece that feels personal. It goes fast and costs little, yet it is unique. The result is friendly and easy to share.
Next steps: practice on scrap paper first. Then map your pattern on the card and enjoy the craft.
Use these patterns on envelopes, gift tags, or small art pieces you frame today. Feel free to mix with simple borders or sparing color.
21. Nature Print Card
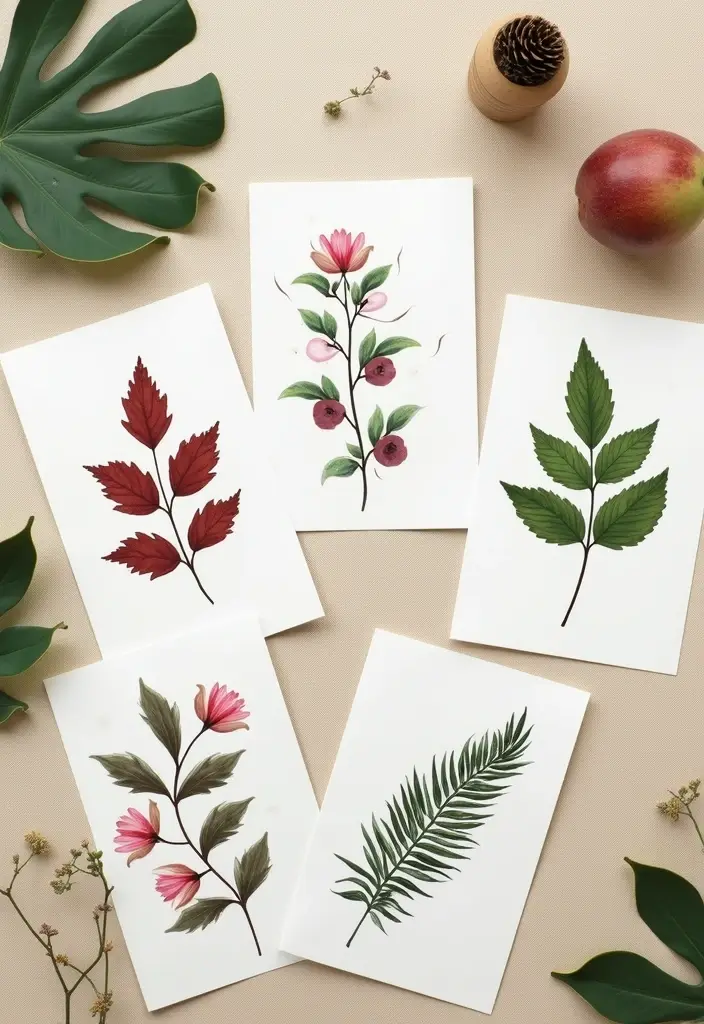
Want a card that feels natural and personal? A nature print card is the easiest way. You press real leaves or tiny flowers into paint and press them onto a blank card. The result looks simple and alive, with a touch of the outdoors.
Here is why it works: plants leave their shape on the paper. No two prints are the same. You get a one-of-a-kind design with minimal gear.
What you need
– Blank folded card
– Printing ink or acrylic paint
– Leaves, ferns, or small flowers
– A flat plate or palette
– A clean sponge or brush
– Paper towels
How to make it
1. Gather flat leaves or blossoms. Dry them first so they won’t smear.
2. Put a small dab of color on your palette.
3. Gently dab or roll the leaf to pick up paint.
4. Place the leaf on the card and press with steady hands.
5. Lift straight up to reveal the print.
6. Try different leaves or colors to layer prints.
7. Let the card dry before writing a message.
Tips
– Use dark ink on a light card for clear contrast.
– Layer prints to add depth.
– Finish with a short handwritten note to personalize.
Nature print cards work for birthdays, thank-yous, or just to say you care about the world around you. Next steps: pick your plants, choose colors, and create your own card today.
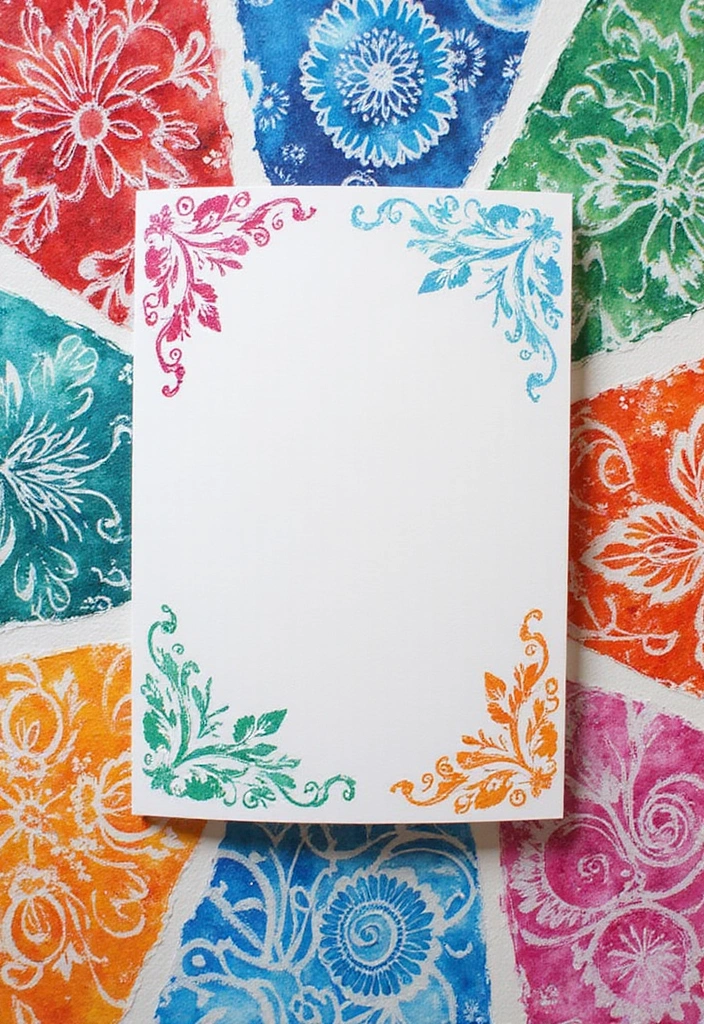
22. Decorative Border Card
Want to give a handmade card a strong, personal touch without a big effort? A decorative border can do that. It frames your message and adds style with just a simple move. You can use washi tape, ribbon, or even paint to create a nice clean edge around your card.
– Border choice Choose a border design that matches your card’s theme.
– Widths and style Try different widths and styles to add visual interest.
– Bold inner elements Put bold typography or a small image inside to pull focus.
– Color contrast Pick border colors that pop against the card base.
Decorative border cards are easy to make and fit any occasion. If you worry about mistakes, start with thin tape on a light card, then add a second layer for depth. Keep the tape flat.
– Washi tape technique Align the tape in a straight line and press firmly to keep clean lines.
– Edge control with ribbon Use a ruler to keep edges neat when adding ribbon or painting a border.
This style works well for birthdays, weddings, and thank you notes. Holiday cards also shine with a single clean line.
Try a border on your next card and see how it looks in person. With practice, you will line borders faster and get great results.
23. Collage Card
You want a card that feels personal and warm. A collage card does that with simple items you already have. You can make it in a few easy steps and put your own story into it.
Here is what you need:
– Blank card or sturdy white paper
– Photos, magazine cutouts, or kid drawings
– Textured paper and fabric scraps
– Glue or Mod Podge
– Scissors, pencil, a ruler
– Clear sealant (optional) to keep it strong
Here is how to make it:
– Pick a theme. Choose a color, memory, or mood
– Gather items that fit that theme
– Lay out pieces on the card to test the look
– Glue big parts first, then spots of color
– Press gently and let dry
– Add a short message in a clear spot
Tips:
– Tie pieces to a theme
– Mix textures for depth
– Secure edges and let glue dry
– Leave space for your message
Collage cards tell a small story. They show care by using personal bits from your life.
Try a few looks. A single color palette with bold accents can work, or a quiet mix of photos and textures for a softer feel.
Next steps: gather items, pick a theme, and make a collage card today. Then share your finished piece with a friend.
24. Mailable Art Card

Turn a simple card into a small piece of art you can mail. A mailable art card blends craft and care. You get texture, color, and a smile in one envelope.
Next steps: Here is how to do it.
– Start with a light base. Use thin card stock or a folded sheet. The goal is to stay postage-friendly.
– Build layers with mixed media. Add flat textures like a fabric scrap, soft lace, or a small paper collage. A tiny landscape or abstract shapes in layers works.
– Add small, safe embellishments. Lightweight beads, seed beads, or a stitched charm can work well. If you add 3D bits, secure them with strong glue dots or clear adhesive. Weight matters, so keep it gentle.
– Create color with care. Try watercolor, ink, or colored pencils. Let one area pop while the rest stays calm.
– Check the feel. Hold the card up to light to see if anything sticks out. If something is loose, trim or re-glue.
Important tips:
– Keep the card light to avoid extra postage.
– Double-check that embellishments stay in place during mail.
– Think about the recipient’s taste so the art feels personal.
A mailable art card shows that a card can be a tiny work of art you share with joy. It is more than words, it is handmade expression.
25. Family Memory Card
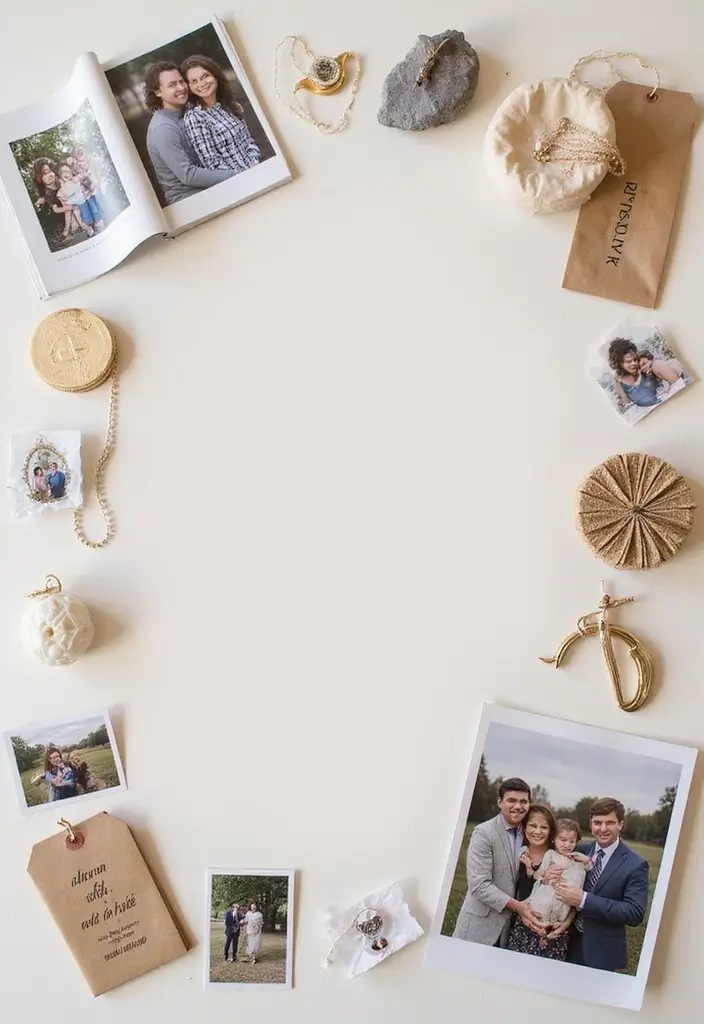
You want a keepsake that lasts. A family memory card can give you that. It turns moments into a tiny, touchable story. Gather photos, ticket stubs, and drawings from family members. Put them on a handmade paper card. The result is a timeline you can touch and flip.
Materials:
– Large handmade paper card or thick craft paper
– Photos, tickets, drawings
– Glue, scissors, ruler, pen
– Washi tape or string for accents
– Optional: clear sleeve or lamination
Steps:
– Decide on a layout. Choose a timeline or a collage.
– Sort memories by date or type.
– Attach items in order. Leave little gaps for notes.
– Add short captions with dates. Say where you were.
– Color code by person. Use one color for each member.
– Add a bold title. Finish with a line that sums the story.
– Protect the card with a sleeve or light lamination.
Tips:
– Use a big card so large families fit more memories.
– Have kids write a note next to their memory.
– Keep it simple now; you can add pages later.
– Let the texture of handmade paper add charm.
– Display on a wall, a shelf, or in a frame.
These cards keep bonds alive. They invite relatives to share the moments you all treasure.
Conclusion
Handmade paper cards are not just about the art of crafting; they’re about connection and sentiment. Each card you create is a unique piece of your heart, a gesture that can light up someone’s day with just a few words.
Explore these 25 DIY projects to find inspiration for your next card-making session. Whether you want to express love, gratitude, or friendship, creating a card shows that you care—one handmade creation at a time.
Get ready to craft some memorable moments and let your creativity flow!
Note: We aim to provide accurate product links, but some may occasionally expire or become unavailable. If this happens, please search directly on Amazon for the product or a suitable alternative.
This post contains Amazon affiliate links, meaning I may earn a small commission if you purchase through my links, at no extra cost to you.
Related Topics