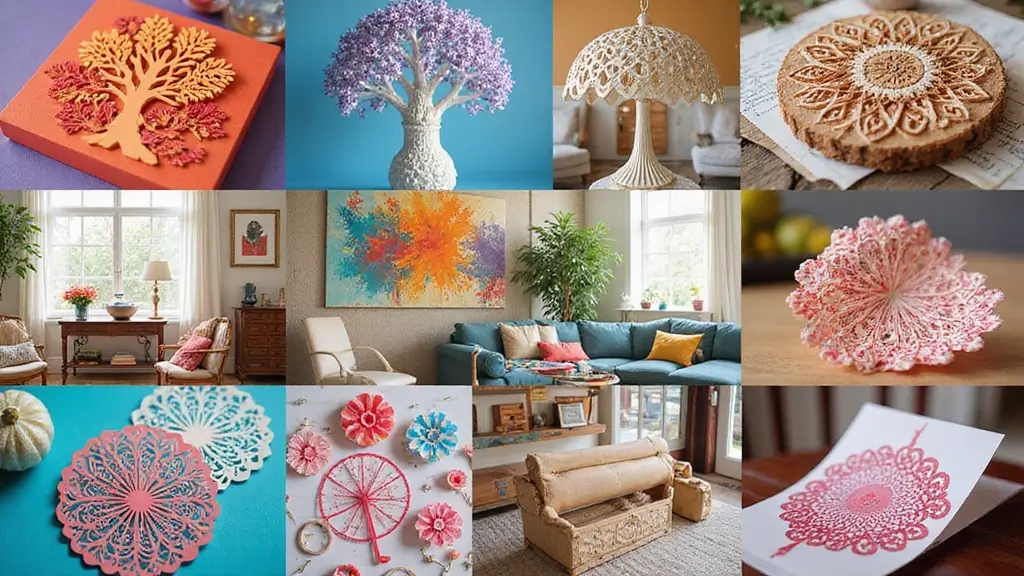
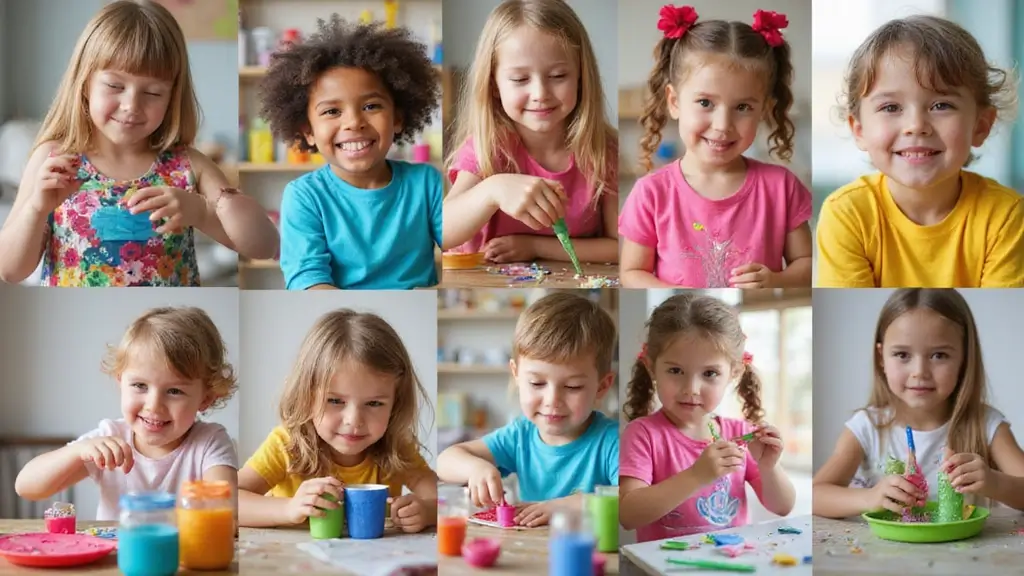
Are you looking for activities that keep kids busy and teach at the same time? This topic hits home for many families. I put together 26 DIY activities that blend play and learning in simple, doable ways. They use common supplies and fit into busy days. You can mix a math game with a craft. You can turn story time into a tiny science project.
Here is why I made this post. I want you to have ideas that spark curiosity without a long prep. I want to help you turn a few free minutes into learning moments that feel like fun, not chores.
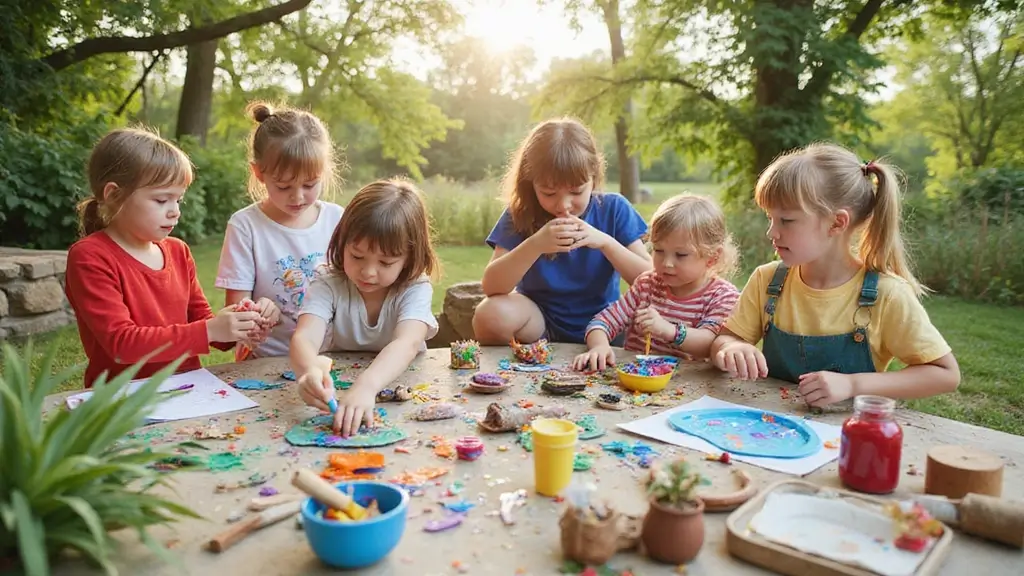
Who is this for? If you are a parent, caregiver, teacher, or homeschooler who cares about hands-on learning, this is for you. If you want screen-free play that still teaches reading, math, science, and thinking skills, you will find it here.
What you’ll get is a toolkit of 26 ideas that are simple, adaptable, and ready to try. Each activity uses everyday materials, a clear setup, and steps you can follow in minutes. You will see how to turn a few buttons, pieces of paper, and a bit of tape into a mini science project or a creative challenge.
Here are practical tips to get started. Set up a small DIY station. Gather a bin of supplies. Pick one idea per day. Keep it short and let kids lead.
Not every idea fits every kid. If something fails, adjust the pace or swap supplies. The goal is small wins that build confidence and a love of learning. Try one idea this week and watch engagement grow.
1. Rainbow Bubble Wrap Printing
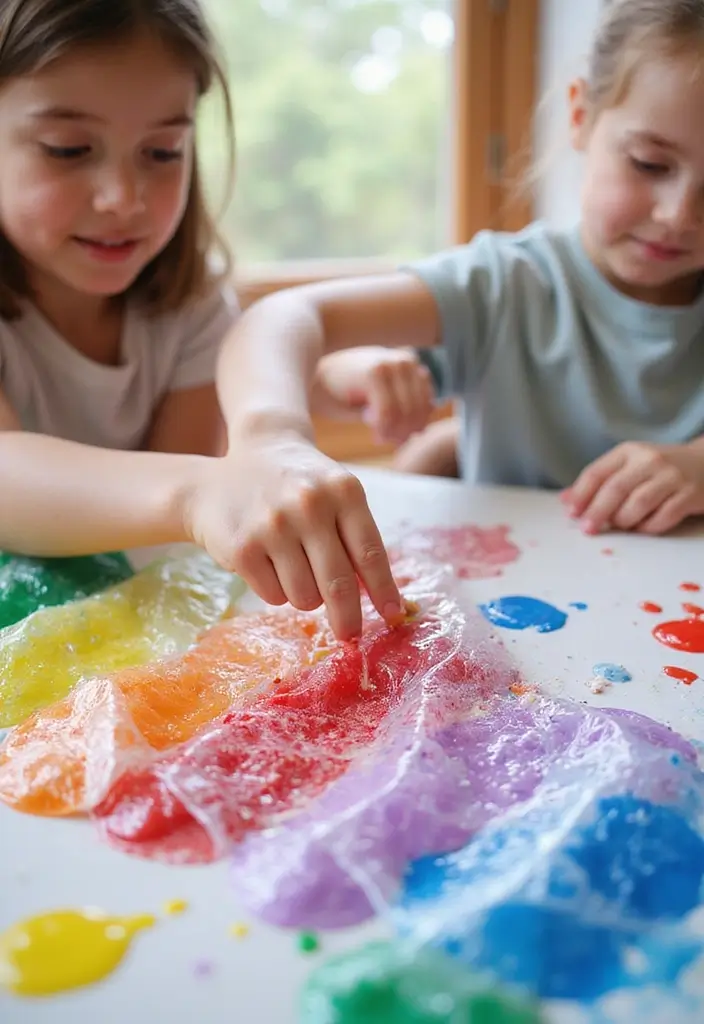
You want an art activity that blends play with learning. Rainbow bubble wrap printing is a great pick.
Here’s why. It uses simple supplies and bold colors. You press paper onto painted bubble wrap, then lift to reveal color patterns. Next you pop the bubbles to add texture. The lesson sticks because kids touch, see, and make.
What kids learn
Color mixing. Colors blend as you press. Follow steps and stay patient.
What you need
– Bubble wrap
– Non-toxic paint
– Paper (cardstock or printer paper)
– Paper towels for cleanup
How to do it
– Brush a thin layer of paint onto the bubble side of the wrap.
– Place a sheet of paper on top and press evenly.
– Lift the paper to reveal the print. Gently pop any bubbles for texture.
– Lay prints flat to dry. Use them for cards and posters.
Tips for better results
– Try color mixes like red and blue or yellow and blue.
– Different papers help. Cardstock gives bold lines; regular paper softens.
Group idea
– Each kid adds a print, then you arrange the pieces in a rainbow.
This activity is quick and hands-on.
@media(max-width:480px){
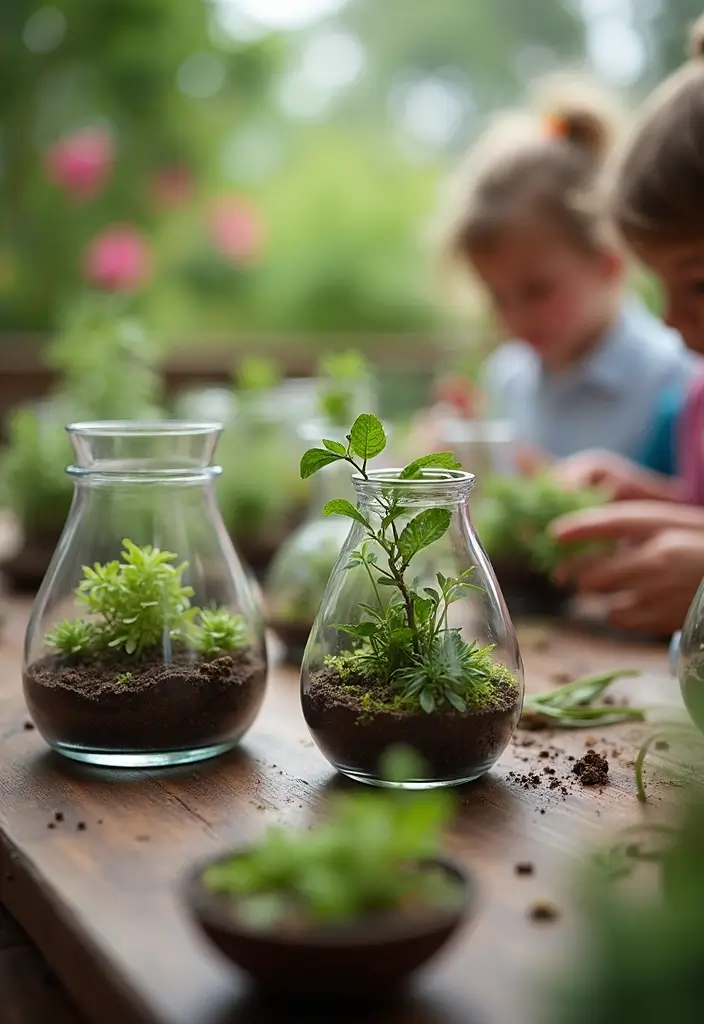
2. DIY Plant Terrariums
What you’ll need
– a clear glass container with a wide mouth for easy planting
– small, easy-care plants that stay compact
– soil and a few decorative stones
– a pinch of activated charcoal (optional)
– a spray bottle for gentle, even misting
How to build it
– Add a thin layer of rocks for drainage.
– If you have charcoal, add a light layer next.
– Fill with soil on top of the rocks.
– Gently tuck in your plants, keeping roots covered and leaves visible.
– Lightly mist the soil. Do not soak it.
– Decide where it sits. A spot with bright, indirect light works best.
– Decorate the outside with stones or tiny accents if you like.
What you learn and observe
– Here is why terrariums work. They show how air, water, soil, and plants fit together.
– Kids can name their plants and track growth weekly.
– Watch the water cycle in action as condensation gathers on the glass.
– Notice tiny life in the soil and how it helps the garden stay healthy.
Tips to make it work
– Pick a jar or bowl that is easy to reach and clean.
– Choose small, slow-growing plants for beginners.
– Place the terrarium where it gets bright, indirect light.
– Label each plant so you can compare changes over time.
– If the glass fogs up, open the lid a bit to vent the air.
– Use rain or bottled water if your tap water is very hard.
Next steps
– Check moisture, trim any yellowing leaves, and keep a simple growth log.
– Share what you learn with a quick family chat or a drawing.
– Take weekly photos to see the mini garden grow.
@media(max-width:480px){
3. DIY Slime Science

If you want a kid-friendly science project that plays as hard as it learns, slime is the answer. It turns plain glue into a stretchy, squishy toy and shows real science in action.
What you need
– 1/2 cup white glue
– 1/2 teaspoon baking soda
– 1–2 teaspoons contact lens solution (the activator)
– Food coloring or glitter
– A bowl and a spoon
Steps
– Pour 1/2 cup glue into the bowl.
– Add 1/2 teaspoon baking soda. Stir until smooth.
– If you want color, drop in a few drops of food coloring.
– Slowly add contact lens solution while you stir. Add just a little at a time until the mix pulls away from the bowl and becomes thick.
– Knead the slime with clean hands for a minute or two until it feels soft and stretchy.
What’s happening
Here’s why slime works: glue is a polymer that forms long chains. The borate in the contact lens solution links those chains, turning the liquid into a rubbery, stretchable mass. Baking soda helps control how sticky the slime is. The result is a toy you can poke, pull, and squish.
Tips for best results
– Use room-temperature glue for better stretch.
– Start with less activator and add more as needed.
– If it sticks to fingers, wash with a little soap and knead again.
– Store in an airtight container after play.
More fun ideas
– Add fluffy texture with a dab of foam shaving cream.
– Sprinkle in glitter or tiny foam beads for shine.
– Try different glue brands to compare texture and stretch.
Next steps
Think like a scientist. Observe how slime pours, then how it stretches. Compare how thickness changes when you vary glue and activator. Ask your kid questions about viscosity and polymer links to keep the learning moving.
4. Homemade Volcano Eruption

You want a science moment that feels exciting but stays easy to pull off at home. A homemade volcano eruption does just that. It shows a real chemical reaction and invites your questions. Ready to try? Here is how to do it:
– Shape a volcano with clay or playdough around a small bottle or cup.
– Fill the bottle with baking soda.
– In a separate cup, mix vinegar with a few drops of food coloring.
– Pour the colored vinegar into the volcano and step back.
Watch the foam rush out like lava. The fizzing comes from a chemical reaction: baking soda and vinegar make carbon dioxide gas. The gas bubbles and pushes the liquid up and out of the crater.
To extend the lesson, talk about real volcanoes and why they erupt. Ask what caused that eruption. Try changing the amounts or colors to see how the lava changes.
Tips: set this on a tray, wear old clothes, and clean with soap and water after. Record a quick note or drawing of what happened. This eruption blends fun with learning and leaves a memory you can build on. It’s a safe, simple way to mix play and learning.
@media(max-width:480px){
5. DIY Shadow Puppets
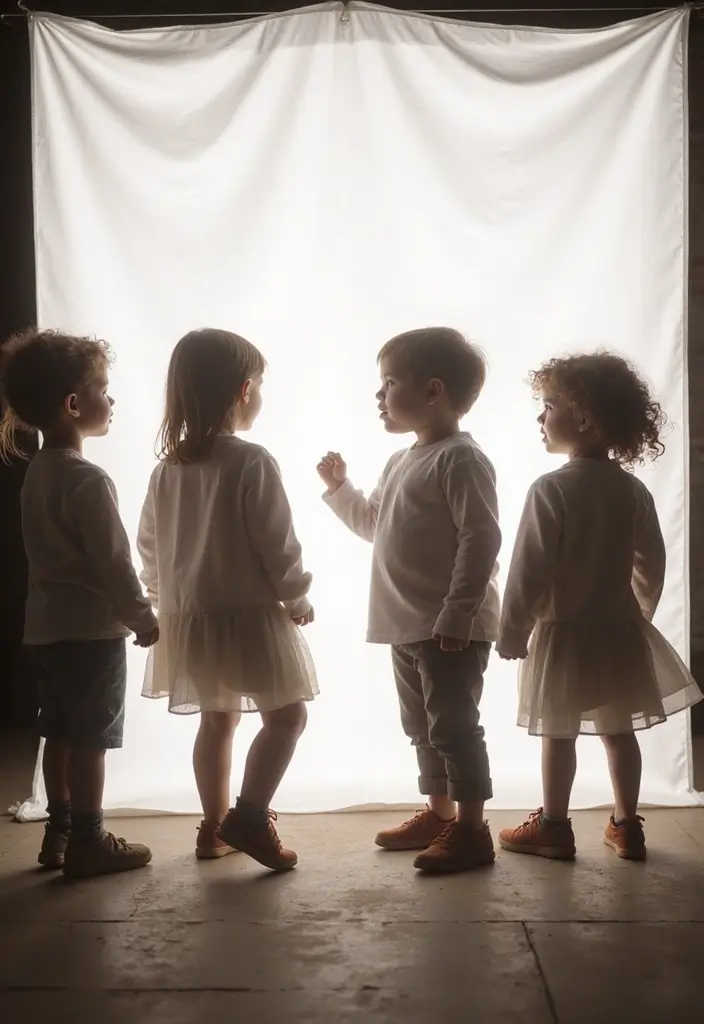
Want a kid-friendly activity that blends play with learning? DIY shadow puppets do just that. It’s a simple, hands-on way to spark storytelling while practicing language and focus. You and your child can craft a tiny stage that travels from living room to kitchen table.
Materials you need
– Cardboard or heavy paper
– Scissors (adult help as needed)
– Tape or glue
– Wooden sticks, skewers, or chopsticks
– A flashlight or a phone light
– A white sheet or a light curtain for a screen
How to make them
1) Cut out bold shapes from the cardboard. Think animals, stars, or people with large outlines. Keep lines clear so shadows read well.
2) Attach each shape to a stick with tape or glue. Make sure the puppet sits comfortably in the light.
3) Hang or drape a white sheet to act as a screen. A wall works in a pinch.
4) Dim the room and place the flashlight behind the puppets. Move the puppets closer or farther to change shadow size.
5) Let your child plan a short story or retell a favorite tale using the puppets. Take turns playing different roles.
Tips for a great show
– Practice a simple plot first. A beginning, middle, and end help focus attention.
– Use voices and sound effects to bring characters to life.
– Keep the session short and fun to hold interest.
– Try a quick “family shadow puppet night” and invite a few relatives to watch.
Why this helps
– Builds storytelling and sequencing in a fun way.
– Strengthens language, listening, and communication skills.
– Improves fine motor control as kids move the puppets.
– Encourages cooperation when you swap roles and co-create scenes.
6. DIY Nature Scavenger Hunt
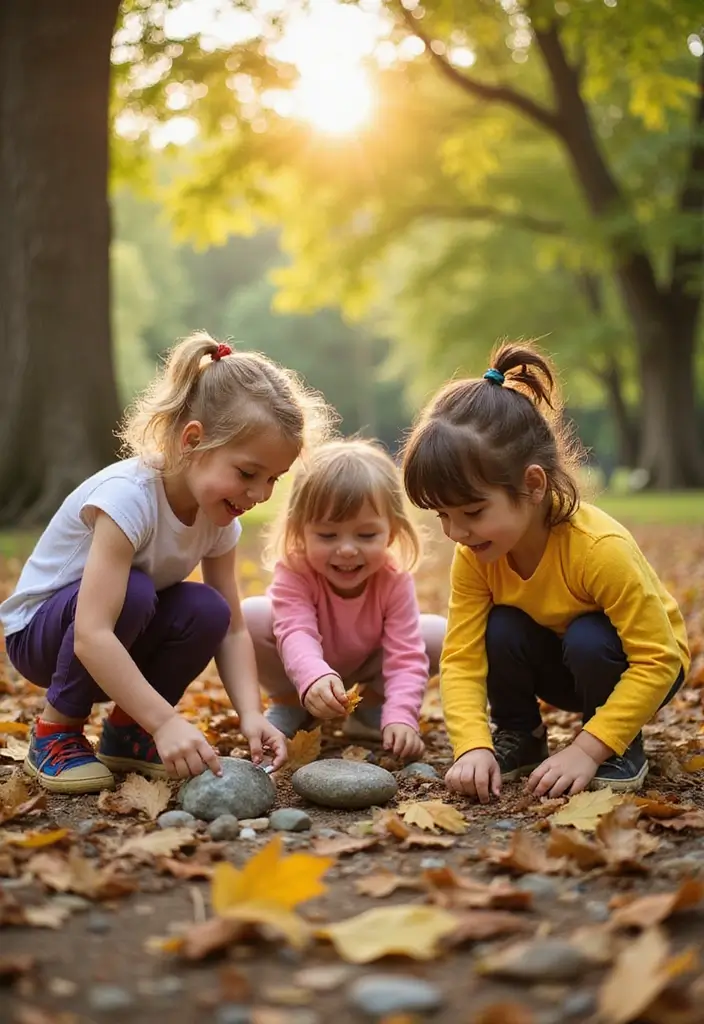
You want a learning moment that fits into a sunny afternoon. A nature scavenger hunt does just that. It moves kids and sparks curiosity. It helps them notice plants, bugs, and how things fit together.
Here is why it works: kids walk, search, and talk about what they find. They connect colors, textures, and life in the same stroll.
What you need
– Bring a simple list of nature items such as leaves of different shapes, a smooth rock, a pine cone, seeds, and, if you spot one, an insect or feather.
– Pack a small bag or jar for collecting. Keep it light and easy to carry.
– Include a quick note on safety and learning prompts for each item.
How to play
– Share the list and head outside. Let kids explore at their own pace.
– Pause often to discuss each find and ask simple questions like why a leaf is green or how a seed grows.
– Keep the pace gentle; the goal is focus, not speed.
Age tweaks
– Younger kids hunt for colors, shapes, or textures.
– Older kids can write brief notes, take photos, or sketch.
Safety and respect
– Stay on trails. Be kind to wildlife. Return items when you are asked, and leave the rest where you found it.
Variations
– Do a photo scavenger hunt if picking isn’t allowed.
– Add a timer for a quick round.
– Make themes like “things that bend” or “things that rustle.”
Next steps
– Prep the list, grab bags, and choose a safe route.
– Go outside and enjoy learning through play.
7. DIY Solar Oven
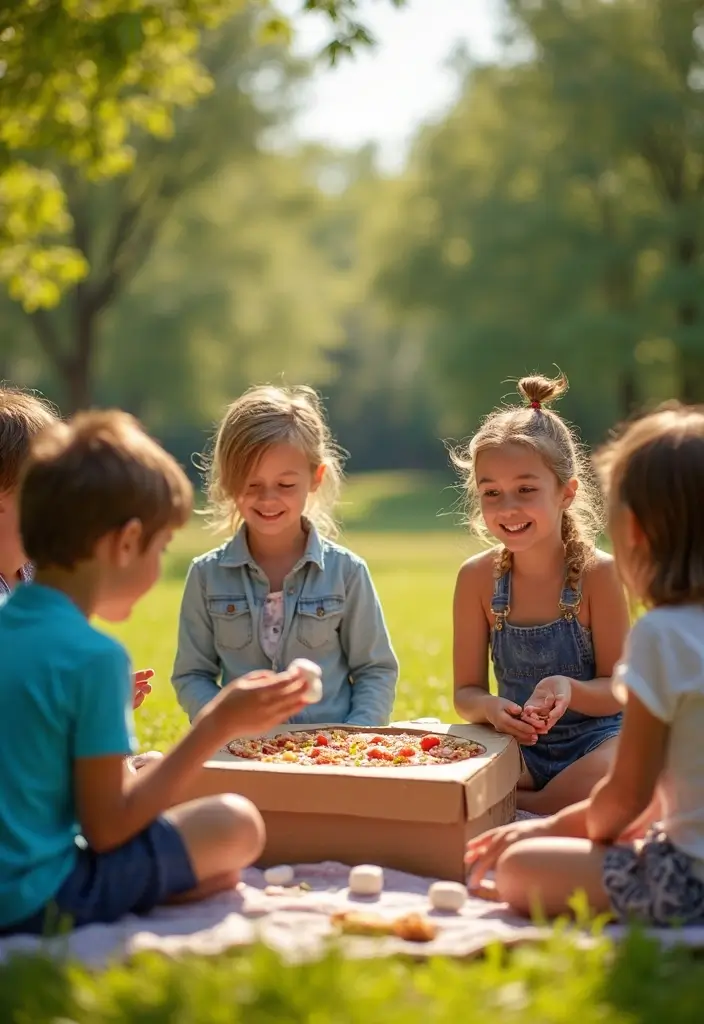
You want a kid-friendly project that shows solar power in action and ends with a snack. A DIY solar oven makes it real. Here is why this works: sunlight becomes heat, and you can cook with a simple box.
What you need
– A plain pizza box
– Aluminum foil
– Black construction paper
– Plastic wrap
– Tape and scissors
– Snacks for roasting, like marshmallows and graham crackers
Steps to build
– Cut a flap in the pizza box lid and line the inner side with foil to reflect sun.
– Open the flap so the foil reflects sunlight onto the black paper inside.
– Place the black paper inside to absorb heat.
– Cover the opening with plastic wrap to trap warm air.
– Prop the flap at a slight angle toward the sun with a stick or straw.
– Set your snacks inside and wait about 15 to 20 minutes.
Safety and tips
– Have an adult help with cutting and handling hot parts.
– Use oven mitts when you check the food.
– Pick a sunny calm day for best results.
What you learn
– How sun heat moves and why dark colors warm faster.
– How reflectors and insulation change cooking time.
– How teamwork and planning make a project like this easy to finish.
Next steps: tweak the angle, try new snacks, or scale up the oven.
@media(max-width:480px){
8. DIY Water Cycle in a Bag

Struggling to show kids how the water cycle works in a way they can see and remember? This DIY water cycle in a bag makes the concept clear, simple, and fun.
What you need
– A clear resealable plastic bag
– A small amount of water
– A permanent marker
– Tape to stick the bag
– Optional: a few drops of blue food coloring for visibility
Step-by-step guide
1) Draw the sun, clouds, and raindrops on the bag with the marker.
2) Add a small amount of water and seal the bag tightly.
3) Tape the bag to a sunny window where it will get warm light.
4) Watch the cycle unfold. You should see evaporation, condensation, and droplets that fall as rain inside the bag.
Here is why this works: the sun heats the water. It turns into vapor and rises up the bag. When the vapor hits the cooler surface, it condenses into tiny droplets. The droplets grow and join, then fall as rain. You’ve created a tiny, lasting water cycle right on your window.
Tips for a clearer view
– Color the water so you can spot droplets easily.
– Place the bag in steady light, not near a heat lamp.
– Tilt the bag gently after a while to see streams of condensation move.
Smart extensions
– Add arrows to show each stage of the cycle.
– Compare a bag in bright sun with one in shade to see speed differences.
– Take daily photos to track how the cycle changes over time.
This hands-on activity builds weather sense and scientific thinking. It’s quick to set up, outfits kids’ curiosity, and is easy to repeat for practice.
@media(max-width:480px){
9. DIY Ice Cream in a Bag

You want a tasty treat and a quick science lesson in one. This activity gives you both. You mix simple ingredients, shake, and watch ice and salt do their magic turning liquid into creamy ice cream.
Here is what you need:
– 1 cup milk
– 2 tablespoons sugar
– 1/2 teaspoon vanilla extract
– one small zip bag for the ice cream mix
– one large zip bag for the ice and salt
– ice and a handful of salt
Here is how to do it:
– Put the milk, sugar, and vanilla in the small bag and seal it tight.
– Fill the big bag with ice and sprinkle in the salt.
– Place the small bag inside the big bag, seal the big bag, and shake hard for about 5 to 10 minutes.
– Hold the bags with a towel or wear gloves, then open the small bag and enjoy.
Here is why this works:
– Salt lowers the freezing point of ice, so the ice can pull heat from the cream faster.
– The heat leaves the milk, helping it turn from a liquid to a solid cloud of ice cream.
– You feel the chill as you shake, and you hear a little crackle as it hardens.
Try these variations:
– Add cocoa powder for chocolate ice cream.
– Swirl in strawberry puree for fruit flavor.
– Add tiny chocolate chips or chopped fruit after it thickens.
A few things to know:
– It can be messy. Use towels and keep hands dry.
– If it gets slushy, keep shaking or chill the small bag for a bit and shake again.
– This works best with regular milk; dairy alternatives may behave differently.
Next steps:
– Make it at a family gathering to share the science and the treat.
– Tweak flavors and textures to find your favorite combo.
10. DIY Crystal Growing Experiment
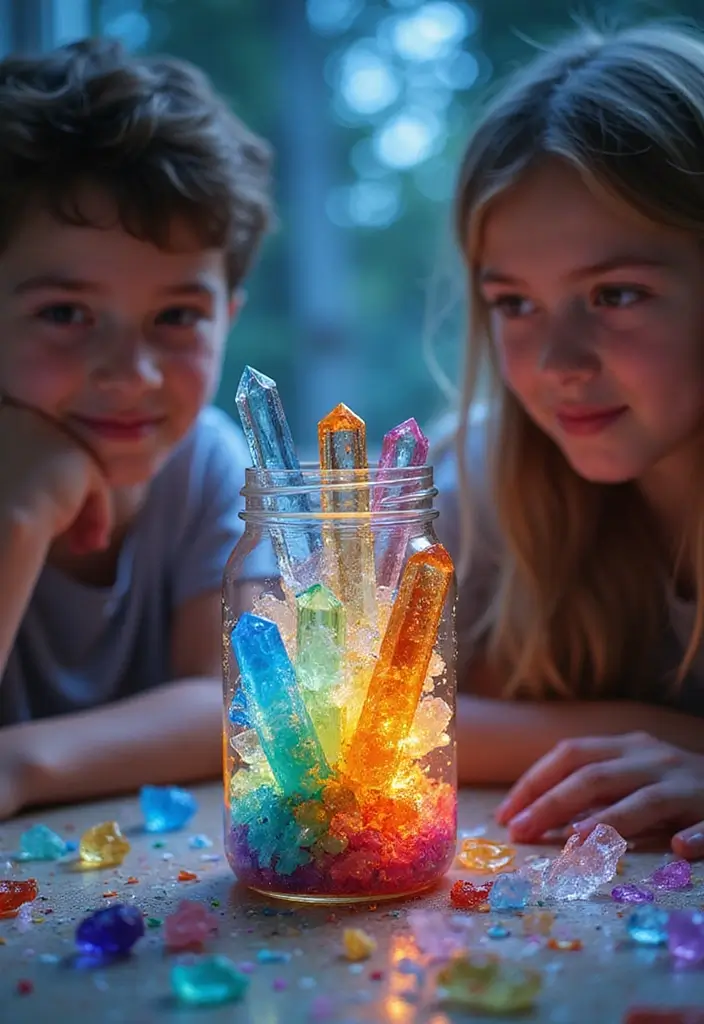
You want a science activity that kids will enjoy and actually learn from. A DIY crystal growing project fits that need. It shows how crystals form and grow, step by step. You’ll see the shape change right before your eyes, and you’ll learn why heat and saturation matter.
What you’ll need
– Hot water (safe to touch)
– Sugar or salt
– A clean jar
– A string or a small stick
– A pencil or straw to rest the string
Here is why this works. A saturated solution can hold only so much dissolved stuff. When it cools, extra sugar or salt comes out as crystals. You can watch that process as it happens.
Step by step
– Heat water until it’s hot. It should be safe to touch, not boiling.
– Stir in sugar or salt until no more will dissolve. You’ve made a saturated mix.
– Pour the solution into the jar. Tie a string to a pencil and lay the pencil across the top so the string dangles into the liquid without touching the bottom.
– Put the jar somewhere calm. Keep it there for several days without moving it.
– Check it daily. Crystals will start to show and then grow.
Here is a simple twist you can try. Add a drop of food coloring to tint the crystals. Compare sugar crystals with salt crystals to see which grows faster or looks different.
Tips and what you’ll learn
– Patience pays off. Growth takes time, and that quiet watching builds scientific thinking.
– Your observations matter. Record size, shape, and how long it takes to grow.
– Safety first. Do not taste the solution and have an adult supervise hot water.
Next steps. If growth stalls, gently refresh the solution by making a fresh saturated batch and re-dipping the string. This teaches you how changes in concentration affect crystal growth. With a little practice, you’ll see bigger, clearer crystals and gain a basic feel for crystals in nature.
@media(max-width:480px){
11. DIY Egg Drop Challenge
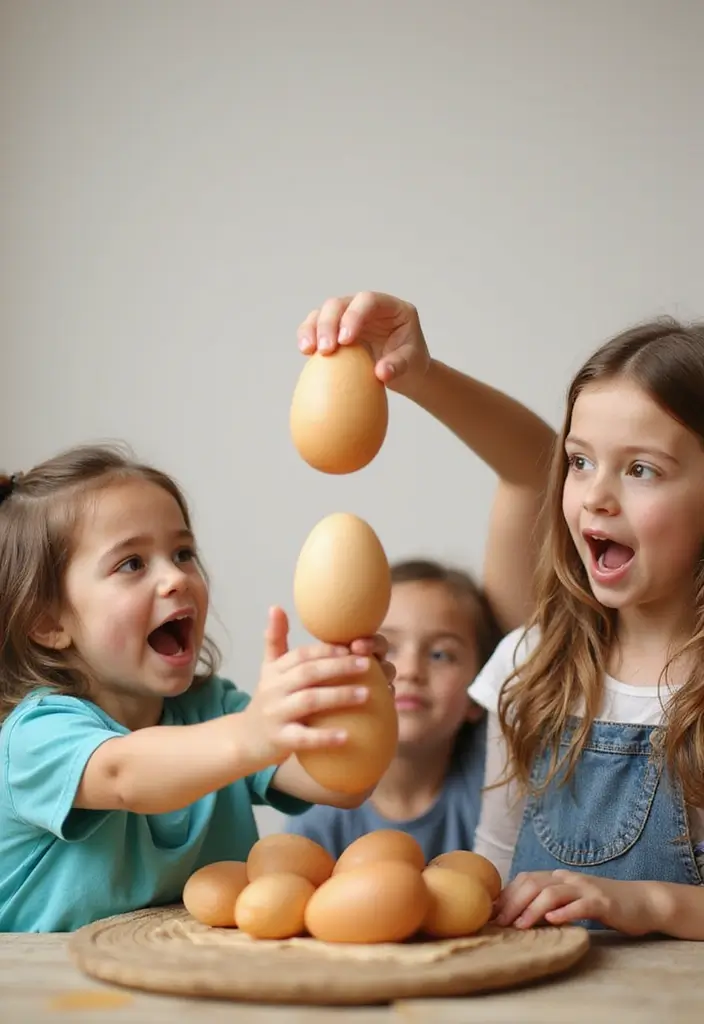
If you want a task that blends play with learning, try the DIY Egg Drop Challenge. You will guide kids as they design a small shelter to keep an egg safe from a fall. It’s quick to set up and loads of fun as ideas get tested and rebuilt.
Here is why it helps. It shows how gravity and air work together. It builds teamwork as you share ideas and cheer for good designs. It also teaches a simple loop: plan, build, test, tweak.
Materials
– 1 hard-boiled egg
– straws and tape
– cotton balls or bubble wrap
– rubber bands
– paper cups or small cardboard boxes
– scissors (adult supervision)
– optional: plastic bag, string, or cardboard scraps
Steps
1) Plan your idea. Sketch a simple shelter that cushions the fall. Keep it small and easy to build.
2) Build the protector. Use the materials to cradle the egg and slow the drop.
3) Test from a safe height. A chair or low counter works. Watch how the egg lands.
4) Decide what helped and what didn’t. Tweak your design and test again.
Tips for success
– Start with a gentle drop, then raise the height gradually.
– Use soft padding to absorb impact.
– Compare two designs side by side to learn faster.
Safety and wrap-up
– Work together and stay safe. Clean up after the test. Document results so you can brag about what you learned.
12. DIY Homemade Compass
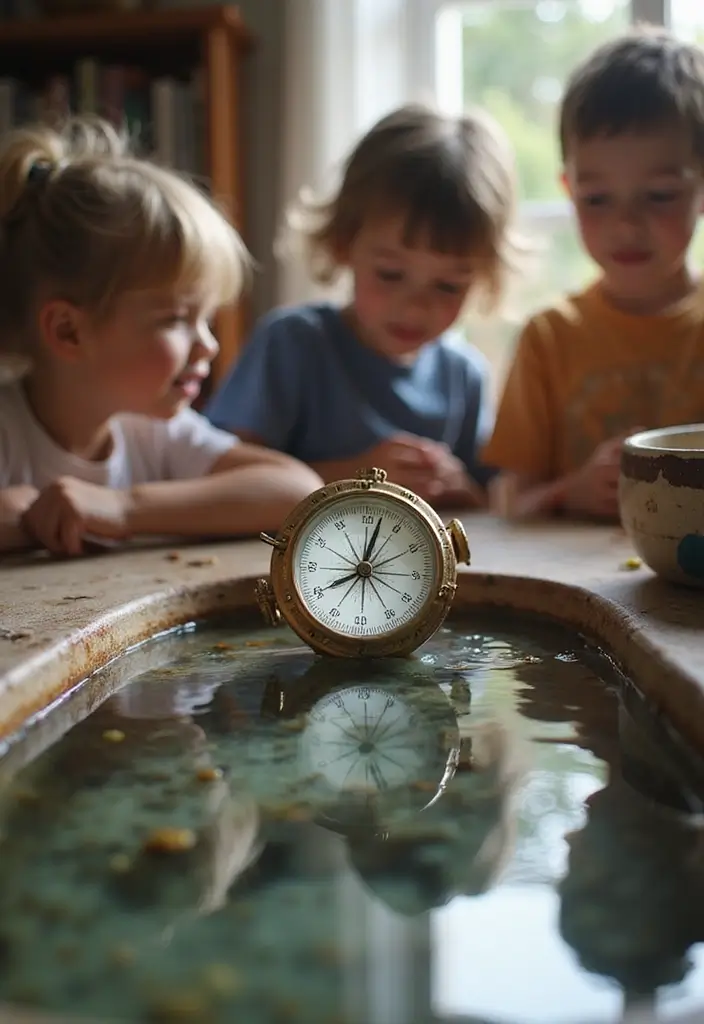
DIY Homemade Compass
If you want a simple way to teach kids about direction and maps, this DIY compass helps a lot. You see magnets in action and you learn how travelers find their way. It’s a fun, hands-on build you can do at home or in the classroom.
What you need
– a needle
– a cork half or small cork slice
– a magnet
– a bowl of water
How to do it
– Magnetize the needle by stroking it with the magnet in one direction, steadily.
– Thread the cork with the needle or set the needle on top of the cork.
– Float the cork in the bowl of water and watch it bob gently.
– The needle will slowly align with the Earth’s magnetic field and point roughly north-south.
Here is why it works
– The magnet inside the needle acts like a tiny compass needle.
– When it sits on the cork, the needle can pivot with the slightest touch of wind or water.
– The water helps the needle move freely so you can see the direction it points.
Next steps
– Talk about directions. Which way is north on your window wall or a map?
– Try a basic compass rose on paper and match it to the real direction.
– Use the compass to plan a pretend treasure hunt or a short hike. This is a quick, safe way to learn about navigation and geology together.
13. DIY Homemade Weather Station

You want a simple way for kids to see weather in action. A DIY homemade weather station makes that happen. It turns weather into daily stories they can read in numbers and drawings. It builds science skills and keeps nature close.
What you’ll need
– A jar to catch rainfall.
– A thermometer to measure temperature.
– A windsock made from fabric or sturdy paper.
– A ruler or tape to mark rainfall on the jar.
– Paper and pencil to log what you see.
What you’ll measure
Temperature, rainfall, and wind direction. These basics teach a lot about the day.
How to set it up
– Put the jar outside, on a tray, in an open area.
– Mark the jar with a ruler. Use tape to show each centimeter.
– Place the thermometer in shade, away from sun, at kid height.
– Make a windsock. Attach fabric or paper to a stick and hang it where the wind can push it.
Record and learn
Each day, write down the numbers and a quick note. For example, “rain this morning,” or “wind blew from the north.” Compare days and look for patterns. Here is why this helps you see how weather works.
Tips and limits
– Check your station at the same time each day for consistency.
– Be patient. One week lets you spot patterns.
– Remember, a home station is a learning tool, not a precise instrument.
Next steps
If you want more, add a rain gauge from a bottle, track humidity with a simple chart, or compare your data with a nearby forecast.
14. DIY Marshmallow Structures

You want a project that feels like play but teaches real building ideas. This marshmallow structure activity gives you just that. Your kid gets to design, build, test, and talk about why some shapes stand longer than others.
What you need
– Marshmallows, the soft kind
– Toothpicks, thin and sturdy
– A tray or placemat to catch crumbs
– Optional: food coloring or a small cup of water for candy-safe glue
How to set up
First, lay out a small work area. Let your child pick a base size. Show how a few toothpicks connect to a marshmallow. Keep the sticks clean and straight. The goal is to keep things simple and fun.
What to build
– Cubes and pyramids to learn shape strength
– Low bridges that span a small gap
– A simple tower to test height and balance
Challenges to try
– Build the tallest tower without it tipping
– Create a bridge that holds a toy car for a moment
– Compare a triangle frame to a square frame and note which stays firmer
What kids learn
Triangles add stiffness. Longer spans need strong joints. Easy fixes—shorter steps, stronger bases—make a big difference. Kids see how design keeps things from wobbling.
Tips for success
– Start with easy structures, then add more parts
– Have a clear goal for each build
– Talk about why some shapes work better
Safety and cleanup
Work slowly, no biting toothpicks. After a session, wipe surfaces and recycle scraps. A quick taste of marshmallow is a nice finish.
@media(max-width:480px){
15. DIY Shadow Box Dioramas
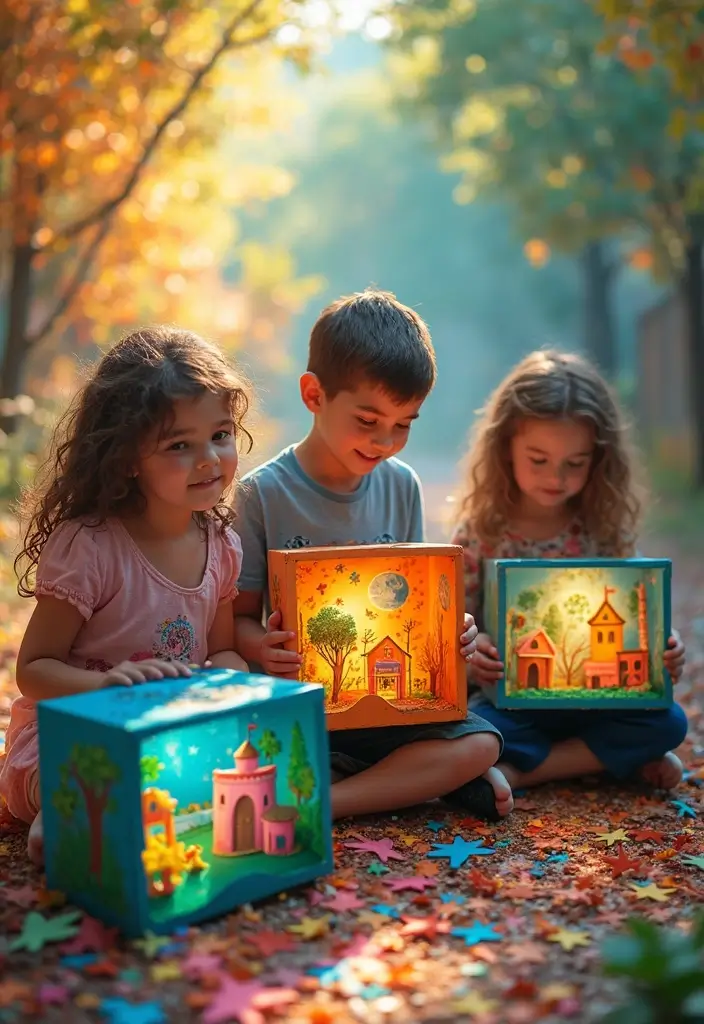
Looking for a kid-friendly craft that blends art with storytelling? A shadow box diorama makes stories jump off the page. Build a tiny scene inside a shoebox and tell your tale with color and texture. It builds planning, focus, and space for ideas.
Here is why it works:
– It turns ideas into a hands-on project.
– It uses simple materials and lots of room for imagination.
– It rewards careful work with a keepsake you can show.
What you need
– A shoebox or small box
– Construction paper, cardboard, fabric scraps
– Natural items like leaves, sticks, pinecones
– Glue, kid-safe scissors, tape
– Markers, paints, brushes
– A short caption or story card (optional)
Steps to follow
– 1) Pick a scene from a book, movie, or your own idea.
– 2) Plan the layout on the back wall of the box.
– 3) Paint the background to set the mood.
– 4) Layer elements to create depth using cardboard pieces.
– 5) Attach figures and scenery with glue.
– 6) Write a one-sentence caption or a short paragraph.
Tips for success
– Let glue dry before moving the diorama.
– Reuse items to cut waste.
– Display on a shelf and invite family to view.
Next steps
– Add lighting or a soft lamp when you display it.
– Try a new scene next weekend.
– Ask a family member to guess the story to boost storytelling.
Your kids will love showing it off.
@media(max-width:480px){
16. DIY Paper Plate Solar System

DIY Paper Plate Solar System
Materials
– One large paper plate for the sun
– A few smaller plates for the planets
– Non toxic paints and brushes
– Glue or tape
– String or yarn for hanging
– Scissors and a marker
Steps
1. Plan the layout. You place the sun in the center and arrange the planets around it.
2. Paint the sun yellow and orange. Let it dry.
3. Color each planet. Mercury gray, Venus pale, Earth blue and green, Mars red, Jupiter striped, Saturn with rings, Uranus light blue, Neptune deep blue.
4. Attach the planets to the back of their plates. Make the sizes show a rough scale.
5. Punch holes and thread them with string. Hang the string from a ceiling hook or a dowel to make a space mobile.
6. Label each planet. Add a quick fact if you like.
Display ideas
Hang the mobile from the ceiling or tape the planets to a wall in sun-to-planet order. You can point to each planet and say its color, size, and place in the solar system.
Why this helps
This craft builds color sense and planet names. It gives you a touchable map of the solar system. It stays flexible as you learn new facts.
Next steps
Use it for a quick science talk. Add a starry backdrop to make a full space scene.
@media(max-width:480px){
17. DIY Binoculars
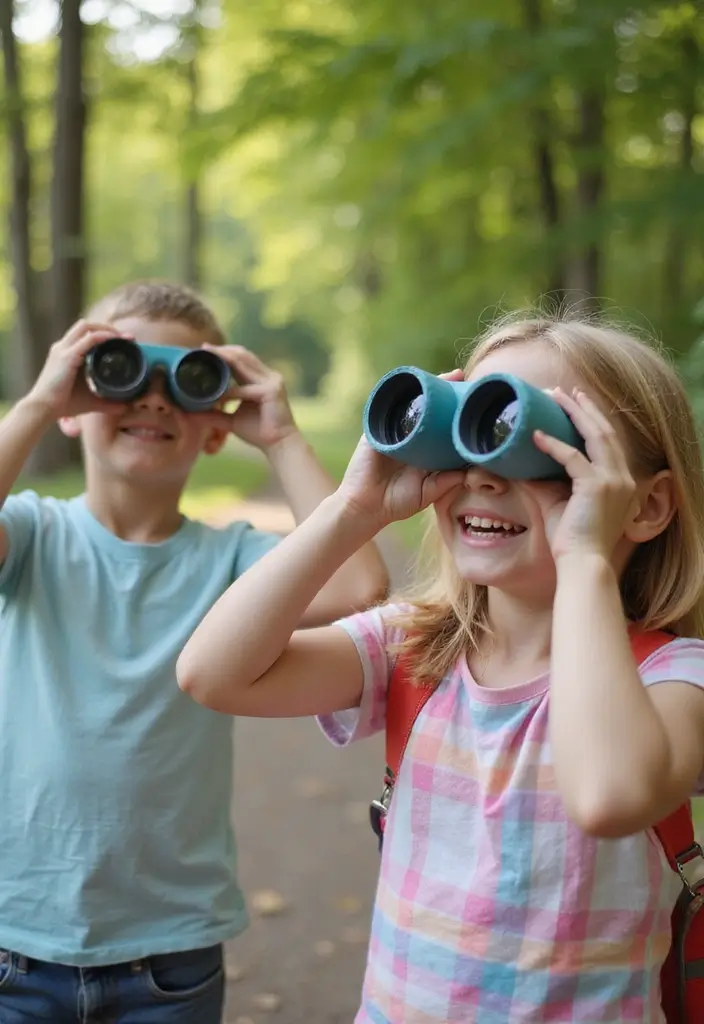
DIY Binoculars: A quick, cheap way to explore
You want a simple project that sparks curiosity and gets kids outside. DIY binoculars made from recycled materials do just that. They’re easy, fun, and a great start to real curiosity about birds, trees, and the world around you.
What you’ll need
– Two toilet paper rolls
– Glue or tape
– Paint, markers, or stickers for decoration
– A piece of string or yarn for a neck strap
– Optional: a small strip of cardboard to connect the rolls
How to make them
– Line up the two rolls and glue or tape them side by side so they stay close together.
– Let the glue dry a moment. Then decorate each roll with color, stickers, or simple designs.
– Tie a string to each end or loop a single string around the middle so you can wear the binoculars like a lanyard.
– Test them by bringing distant things into view. Adjust your hold if needed.
How they help learning
Kids learn by doing. These pretend binoculars introduce the idea of magnification and focus without scary gear. Explain in simple terms: real binoculars use lenses to bend light and make far things look bigger. With these, you practice looking carefully, spotting small details, and comparing what you see from different spots.
Play ideas and learning tips
– Go on a nature walk and try to spot birds, insects, and leaves. Describe colors, shapes, and patterns you notice.
– Challenge your child to find three things they couldn’t see up close without looking twice.
– Use them for a scavenger hunt. Give simple clues like “something that has wings” or “something shiny.”
Safety and limitations
These are a fun prop, not a real telescope. They won’t give high magnification, but they teach observation and patience. Don’t stare at the sun. Use only during daytime and in safe outdoor areas.
Next steps
If your kid loves this, scale up. Try larger cardboard tubes, add a basic focusing aid with a small band of foam, or pair them with a simple field journal. You’ll build a repeatable, budget-friendly activity that blends play with learning.
@media(max-width:480px){
18. DIY Leaf Rubbings
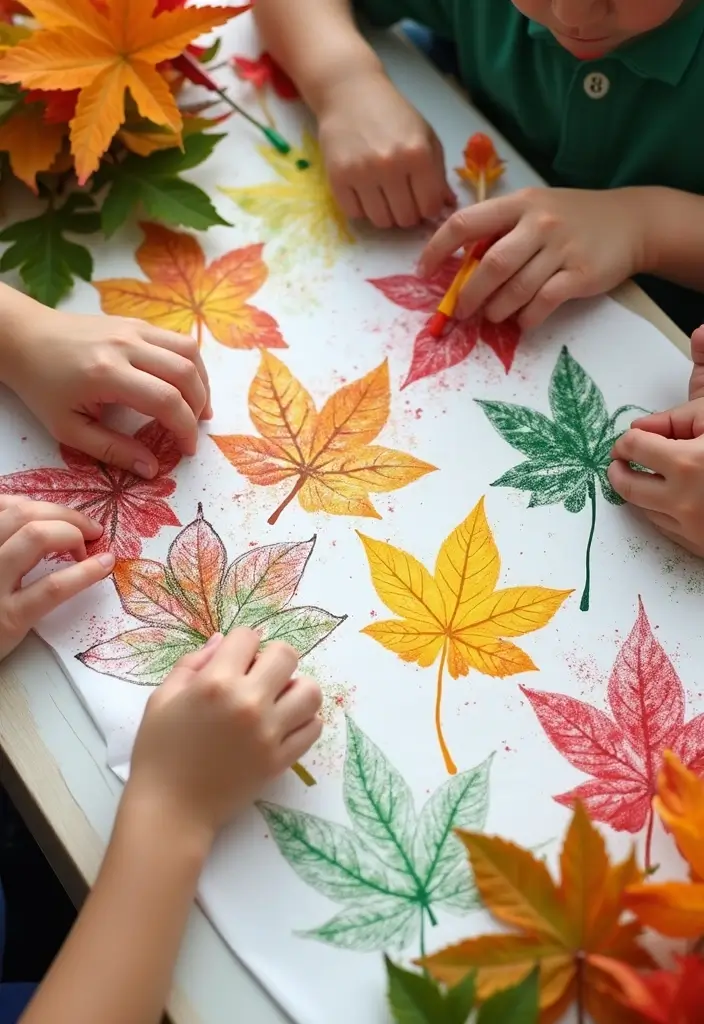
Want a quick, kid-friendly nature project that blends art with science? Try leaf rubbings. This activity reveals leaf shapes and textures in a hands-on way. It boosts focus while building fine motor skills, and it invites simple science talk during the craft.
– What you’ll need: leaves of different shapes, white paper, crayons or soft pencils, a flat surface
– How to do it: Gather several leaves after a walk. Place one leaf face down on the paper. Hold the crayon on its side and rub across the paper just above the leaf. The leaf’s silhouette will appear. Use different colors to show depth and contrast. Swap in more leaves to fill a sheet with varied prints.
– What to talk about: Compare the shapes and sizes you see. Notice broad leaves versus narrow ones. Discuss how leaves catch sunlight and help plants make food. Name a few trees you spot and link them to their leaves.
– Extensions: Turn the rubbings into a nature journal page. Glue prints into a notebook and caption what you learned. Use the prints as simple cards or bookmarks for family reading time.
– Tips for best rubbings: Choose flat, dry leaves. Press them under a heavy book for 10–15 minutes. Rub gently and recheck prints if they look faint.
This activity travels well on a nature walk or at home. It strengthens fingers, sharpens observation, and sparks curiosity about the natural world.
@media(max-width:480px){
19. DIY Sound Instruments
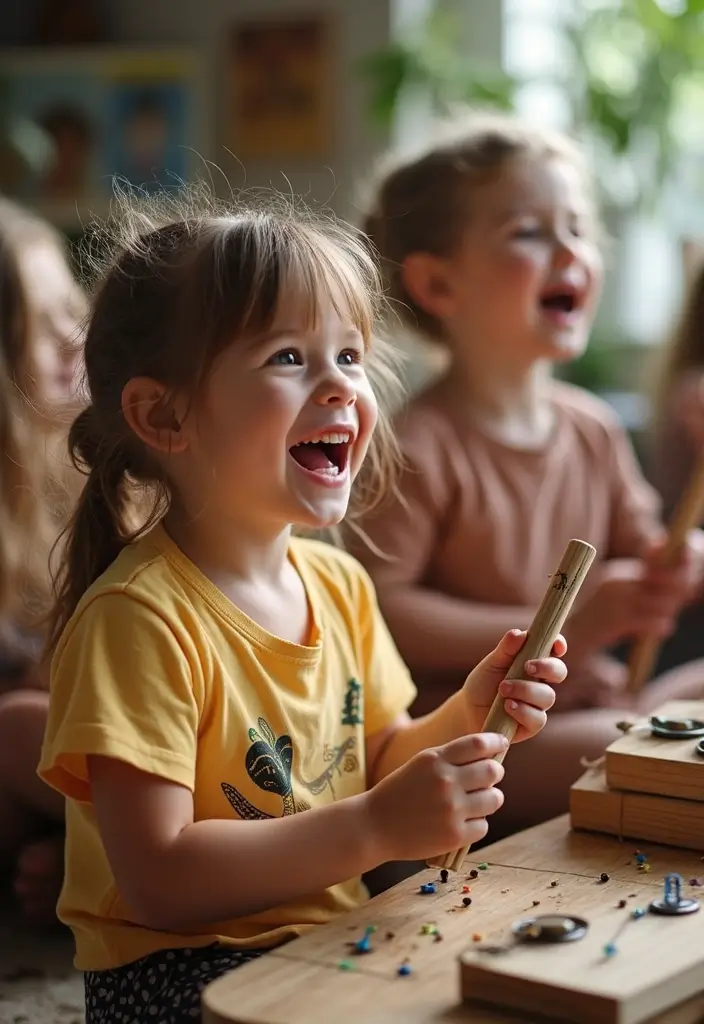
You want a kid-friendly activity that is fun and teaches how sound works. DIY sound instruments fit that need. Your child will move, listen, and learn in the same moment. They will hear how vibration makes noise and how rhythm comes from pace.
Here is why this works. Simple materials stay safe and easy to find. Short, clear steps keep kids focused. You get a hands-on project that sparks curiosity and creativity.
– Maracas — Try two plastic bottles. Add beans or rice to each bottle. Seal the lids tight. Tape the bottles shut so they don’t spill. Shake to hear the rattle. Let your kid decorate with stickers or markers to personalize the sound and look.
– Drums — Use a cardboard box as the drum body. Stretch a balloon or a small piece of fabric over the top to act as the drum skin. Tap with wooden spoons or pencils. Change the tone by pressing in the center or near the edge.
– Guitar — Stretch several rubber bands around a sturdier box or lid. Different bands give different pitches. Pluck the strings and listen as the sound changes with tightness and length.
Next steps: explore rhythm and tempo. Clap out patterns, then play along with music. Compare high pitches to low ones and notice what makes each sound unique. Use this as a simple way to teach sound waves, vibration, and timing. Be honest about limits: big boxes can be loud, so set a quiet practice zone if needed. Still, this set of homemade instruments gives real, hands-on learning you can see and hear.
@media(max-width:480px){
20. DIY Recycled Art
Want a fun project that teaches reuse and still looks cool? DIY Recycled Art can do both. You turn old stuff into unique pieces, and your kids learn to care for the earth while making something they love.
Materials you’ll need
– Bottle caps, cardboard, old magazines
– Fabric scraps or ribbon
– Non-toxic glue or tape
– Scissors (supervised for younger kids)
– Paints, markers, or crayons
– A protected workspace and a tray for small pieces
Here is why it helps kids learn and waste less.
How to make it
1 Gather unwanted items and sort them by color and texture.
2 Brainstorm ideas with your child. Think collage, sculpture, or a small mosaic.
3 Build your project by layering, gluing, weaving, or arranging pieces on cardboard or a sturdy base.
4 Talk as you work about recycling and how small choices add up to less waste.
What you can create
– A bottle cap mandala or sculpture
– A wall collage made from magazine scraps
– A cardboard town or forest scene
– A fabric patchwork banner or mobile
Tips and safety
– Cover the work area to catch spills and crumbs.
– Use washable glue and non-toxic paints.
– Keep small pieces away from very young kids to avoid choking.
Next steps
Show the finished art and discuss which materials were saved from the trash. Celebrate creativity and eco-friendly habits.
@media(max-width:480px){
@media (max-width: 600px) {
.visual-quiz-iframe { min-height: 995px !important; height: 1100px !important; }
}
21. DIY Friendship Bracelets
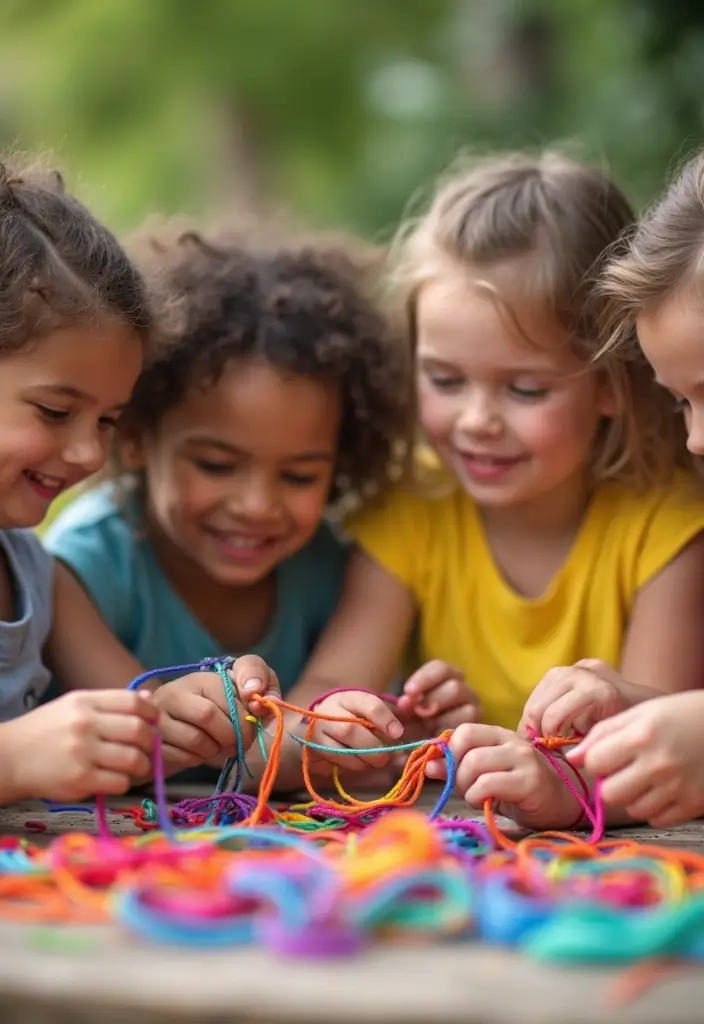
Here is why you should try DIY friendship bracelets today. They boost focus and small muscle control, and they help you share with friends.
Materials
– Embroidery floss in 4 to 6 bright colors
– Optional beads
– Scissors
– Tape or a clipboard to hold the work
– A flat surface
Steps
1) Pick colors and a simple pattern. Stripes or a solid color work well to start.
2) Cut strands. Use 6 strands about 12 inches long.
3) Secure the strands. Tape the top edge to the table or a board.
4) Learn a basic knot. A forward knot means loop the left strand over the right and pull tight. The backward knot mirrors direction.
5) Build the bracelet. Keep knots even so the bracelet lies flat.
Here is what you gain. Patience and focus grow. Small knots build hand strength. Your child will see colors come together in a real item.
Finish and share
– Tie a sturdy knot at the end and trim the excess.
– Make matching bracelets with a friend to show you care.
Tips
– Work in good light on a clean surface.
– Check tension often; loose knots slip.
– If beads are hard for younger kids, skip them.
Next steps
– Try a new pattern next time.
– Gift a small set to friends or family.
@media(max-width:480px){
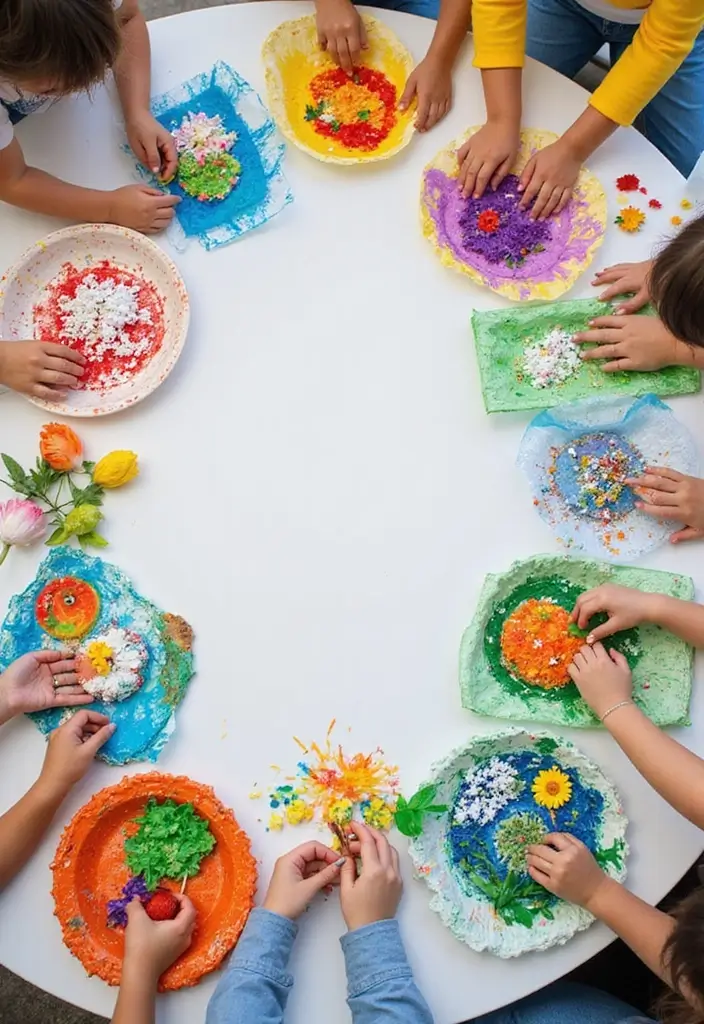
22. DIY Nature Collage

Want a simple, screen-free craft that blends art with nature? Try a DIY nature collage. It boosts creativity and helps kids notice the world on a walk.
What you’ll do
– Gather leaves, twigs, flowers, stones, and pinecones on a quick outdoor stroll.
– Pick a sturdy base: thick paper or cardboard works best.
– Lay out items first. Plan a simple design before glue.
– Glue pieces down and press until they stick. Let it dry.
Why it helps
This activity builds focus, fine motor skill, and color awareness. It also invites you to talk about where each item came from and how nature feels.
Tips to make it shine
– Choose items with different textures. A smooth stone next to a fuzzy leaf looks nice.
– Add a light background wash if you want the pieces to pop.
– Write a tiny note on the edge: the item name or where you found it.
Easy variations
– Create a seasonal collage using fall leaves or spring blossoms.
– Turn it into a tiny scene or story with a few chosen pieces.
– Try a larger wall piece by collecting more items.
Display and care
– Frame or tape the collage to a wall. Keep it away from rain and damp.
@media(max-width:480px){
@media (max-width: 600px) {
.normal-quiz-iframe { min-height: 570px !important; height: 570px !important; }
}
23. DIY Candle Making
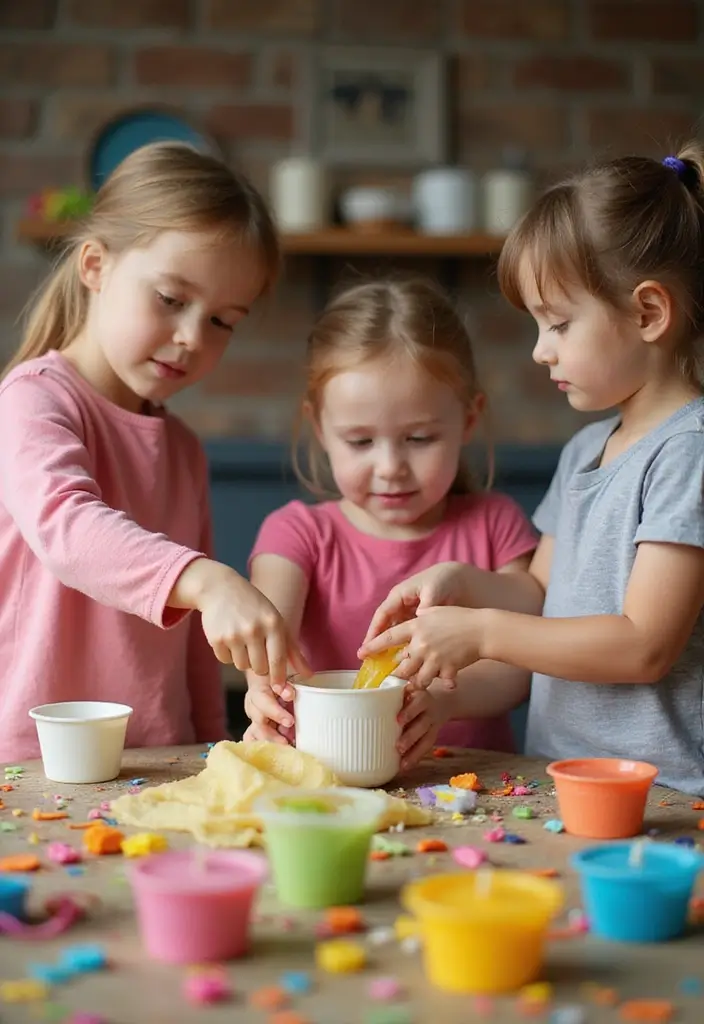
You want a kid-friendly project that blends art, science, and fun. Candle making fits. It shows how heat, wax, and scent work while you create something useful you can enjoy at home.
What you need
– Soy wax or beeswax, melted safely
– Cotton wicks and a small wick holder
– Jars, metal molds, or silicone cups
– A sturdy pot and a thermometer
– Essential oils or kid-safe fragrance
– Dyes or safe color blocks
– Tape or glue dots to hold the wick
How to do it
1) Set up on a clean, stable surface. An adult should supervise heat work.
2) Melt the wax slowly in a double boiler until it shines. Aim for about 170-180 F.
3) Remove heat and stir in a gentle scent and a touch of color.
4) Fix the wick in the center of your mold with a tab or tape.
5) Pour the warm wax carefully, leaving a small space at the top.
6) Let the candle cool completely. Trim the wick to about a quarter inch.
7) Decorate the jar with a label or drawing to make it yours.
Learning tips
– Natural wax makes a cleaner burn and is friendlier for kids.
– Try layers of color for a sunset look.
– Talk about how scent travels as the candle warms.
Next steps: recycle jars, make small gifts, or light a candle for quiet reading time.
24. DIY Paper Mache Projects

If you want a big, bright art project with simple supplies, paper mache is for you. It blends craft, science, and patience in one easy activity. You’ll see how layers build up to form something bold and new.
Here is what you need:
– torn newspaper strips
– paste made from glue and water, or a basic flour-and-water mix
– a form to cover, like a balloon, a cardboard bowl, or a foam ball
– paint, brushes, and a glad cheer for finishing touches
– a clean workspace and old towels for sticky messes
Here is how you do it:
– Tear newspaper into long, thin strips. These grip the paste well.
– Mix your paste until it feels like pancake batter and sticks nicely.
– Brush paste on a strip, press it onto your form, then smooth from the center out. Repeat with several layers.
– Let each layer dry before adding the next. Thick projects take longer to dry, so be patient.
When the sculpture is dry, pop the balloon (if you used one) and paint your creation. You can seal it with a clear coat if you like.
Try these ideas: a mask with a bold face, a shallow bowl, or a small animal statue. Paper mache teaches planning, persistence, and pride in your own work.
Next steps: set up a drying spot, store paste in a sealed container, and clean brushes right after you finish. Enjoy the steady art of building something from simple scraps.
@media(max-width:480px){
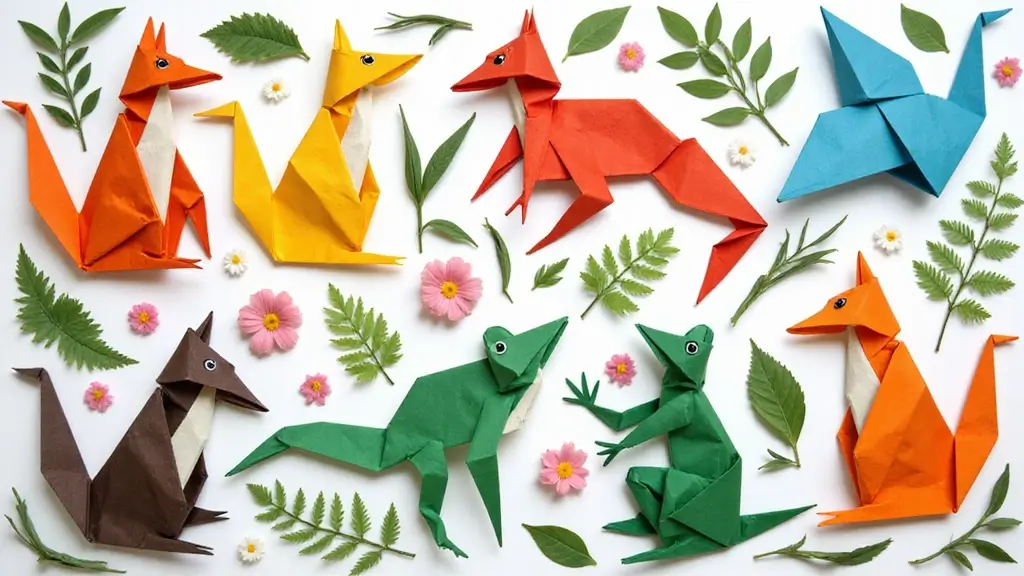
25. DIY Origami Animals
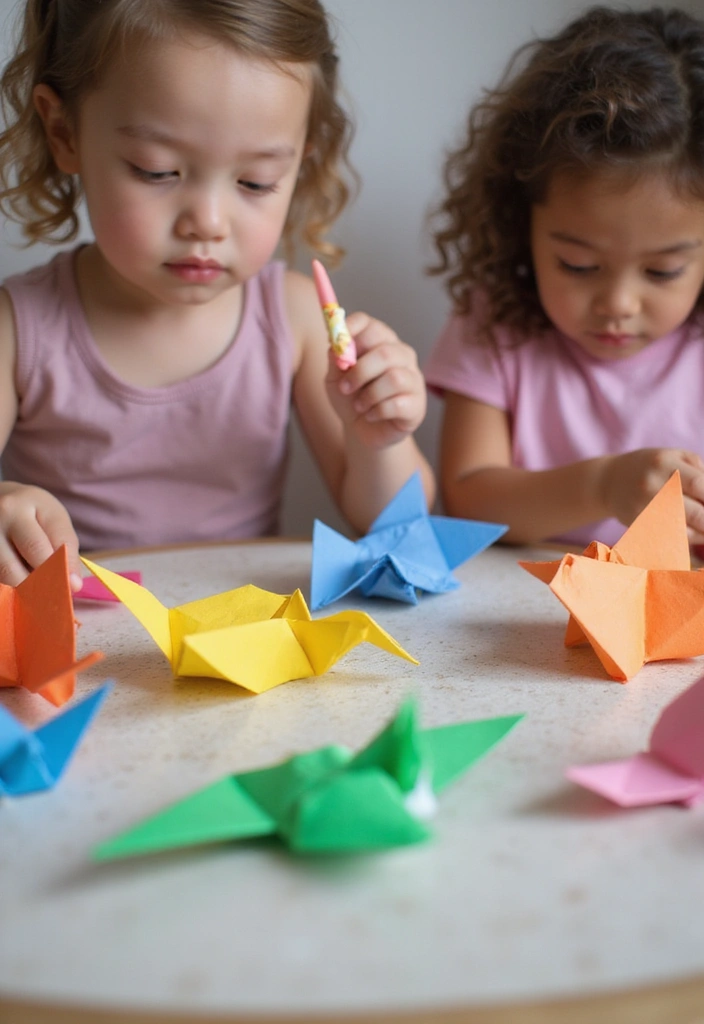
You want a kid friendly activity that blends play with learning. DIY origami animals fit the bill. They sharpen hands and focus while firing up imagination.
What you need
– Colorful origami paper or cut printer paper into squares.
– A flat workspace and a steady hand.
– Markers or stickers for decorating after the folds.
Here is why you start with simple supplies. You can use what you already have. That keeps things simple.
Steps to start
– Pick a beginner animal, like a cat, a fish, or a frog.
– Follow step by step folds. Take one fold at a time.
– Keep the paper flat. Make neat edges for cleaner shapes.
– When you finish, add drawings or stickers to give each animal a face.
Next steps: practice makes progress. Folding trains patience and helps with shapes and lines.
Tips for success
– Use bigger squares at first. They are easier to work with.
– If a fold rips, switch to thicker paper or be gentler.
– Let kids explain the steps aloud. It reinforces learning.
Display ideas
– Create a mini zoo on a shelf.
– Thread several animals into a simple garland.
– Use them as a fun gift to family.
Finish with a quick thought: origami teaches persistence and you end with a small zoo.
26. DIY Friendship Books
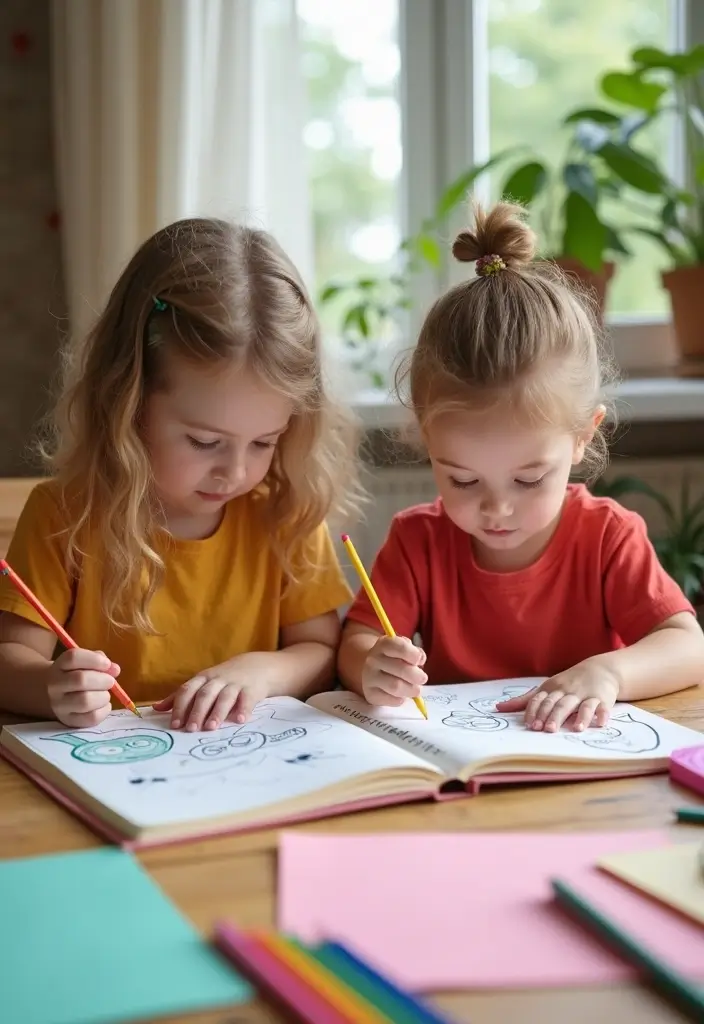
Do you need a calm,creative activity that helps kids show how they feel about friends? DIY friendship books do just that. They blend art, writing, and memory so kids bond while they craft.
Here is how you can make them simple and fun:
– Gather basics: sturdy paper or cardstock, colored pencils or markers, glue, scissors, and a way to bind pages (yarn, staples, or binder rings).
– Make the pages: cut pages to a small book size. Each page becomes a mini picture story or note.
– Personalize each page: kids draw a favorite memory, write a short message, or paste a tiny photo. Use colors that match the mood of the moment.
– Bind the book: punch holes and tie with yarn, staple along the edge, or use rings. Keep it snug so the book lasts.
– Add a closing page: a line about what friendship means to them or a note for the friend they made the book for.
Tips to get the most from this activity:
– Use prompts to spark ideas, like “a moment we laughed together” or “why you’re a good friend.”
– Keep it short. One page per friend works well.
– Read the books aloud with a buddy or in small groups to celebrate each other.
This project strengthens expression and sharing. It’s creative, practical, and perfect for classroom crafts or cozy weekend sessions.
@media(max-width:480px){
Conclusion
These 26 fun DIY for kids activities provide endless opportunities for play, learning, and creativity. Each project encourages hands-on exploration and critical thinking while fostering a love for learning. Whether you choose a science experiment, craft, or outdoor activity, you’re sure to create wonderful memories as a family. So gather your materials and start crafting today!
Engaging in these activities will not only bring joy but also strengthen bonds between family members. Embrace the experience, and watch as curiosity and creativity flourish!
Note: We aim to provide accurate product links, but some may occasionally expire or become unavailable. If this happens, please search directly on Amazon for the product or a suitable alternative.
This post contains Amazon affiliate links, meaning I may earn a small commission if you purchase through my links, at no extra cost to you.
Related Topics
fun diy for kids
educational crafts
hands-on learning
creative projects
family activities
science experiments
interactive play
easy DIY
outdoor crafts
art for kids
nature exploration
STEM activities