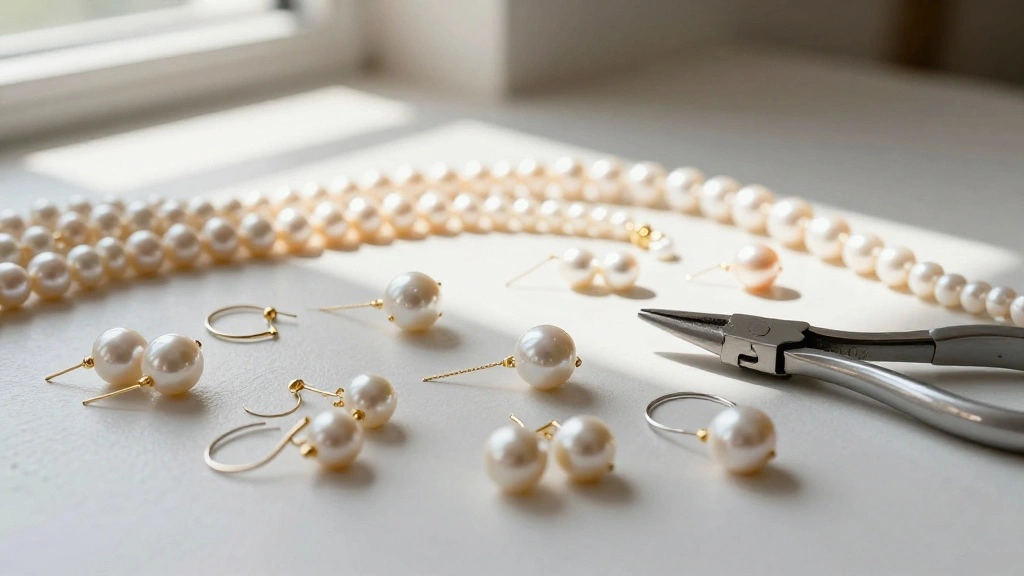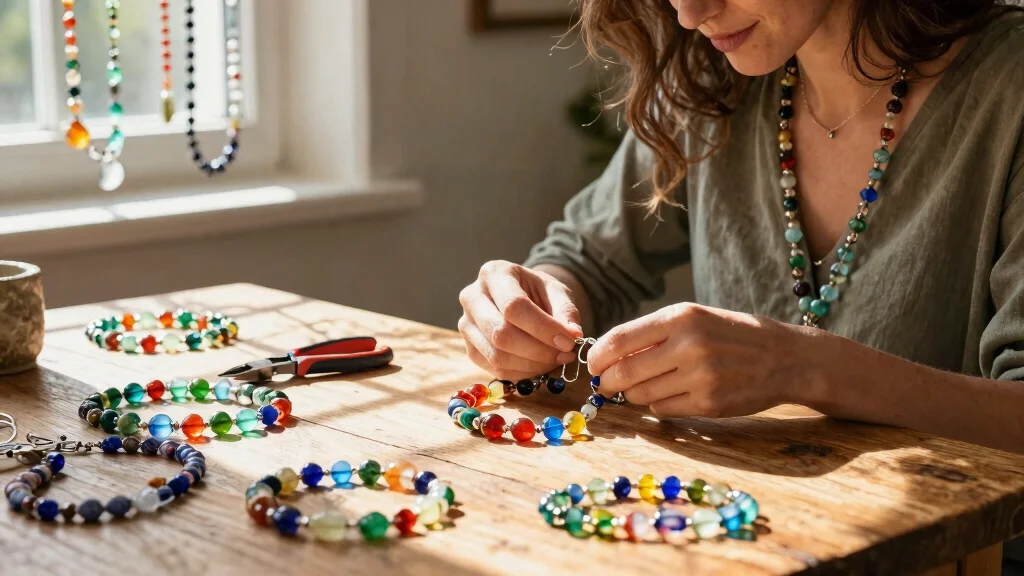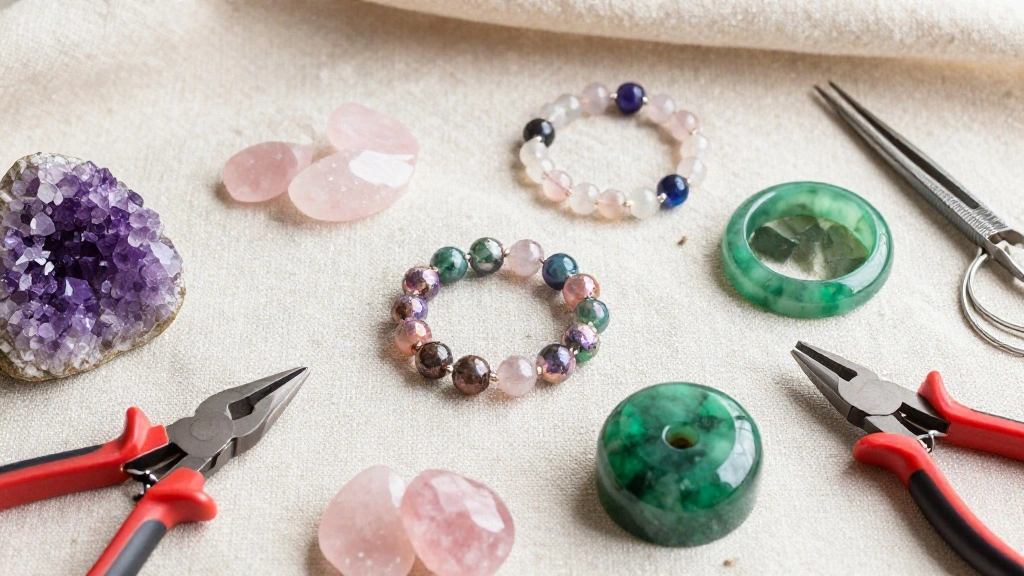

Creating handmade jewelry has become a favorite pastime for many, and there’s something special about wearing a piece that you crafted yourself. This post was made because I want to inspire you to dive into the world of DIY wire wrapped rings. With the rise of bohemian styles and personalized jewelry, wire wrapping offers a way to express your creativity and style uniquely. If you are someone who enjoys crafting and has a passion for handmade jewelry, then this collection is just for you.
In this guide, you will discover 16 DIY wire wrapped rings that are not only stylish but also fun and rewarding to create. From simple designs to intricate styles, each idea is designed to spark your creativity. Whether you’re a beginner or a seasoned crafter, you’ll find tutorials that cater to your skill level. You’ll learn about essential crafting supplies needed for each project, various wire wrapping techniques, and tips for designing your own personalized jewelry. So, grab your tools, and let’s get started on a journey to create beautiful pieces that showcase your individuality.
Key Takeaways
– Discover 16 unique DIY wire wrapped ring ideas that cater to different skill levels, ensuring there’s something for everyone.
– Learn about essential crafting supplies needed for each project, making it easier to get started without any guesswork.
– Explore various wire wrapping techniques that can enhance your skills and add depth to your designs.
– Benefit from detailed DIY ring tutorials that guide you step-by-step, helping you create beautiful pieces with confidence.
– Get tips on creating personalized jewelry designs, allowing you to put your unique spin on each ring you make.
Recommended Products

Jewelry Making Supplies Kit – Audab ring sizer jewelry making tool kit comes with 4 pcs ring sizer measuring tools, 5 pcs jewelry wire for jewelry making, 3 pcs jewelry craft pliers,1 clear beading string, 6 needles, 1 tweezers, 1 caliper, 1 awl, 1 jump ring opener, tape measure, zip pouch,1 box of jewelry findings. Perfect for professional and amateur jewelry making lovers and starters to do jewelry making project, jewelry beading, jewelry repair, crystal wrapping rings and other DIY projects

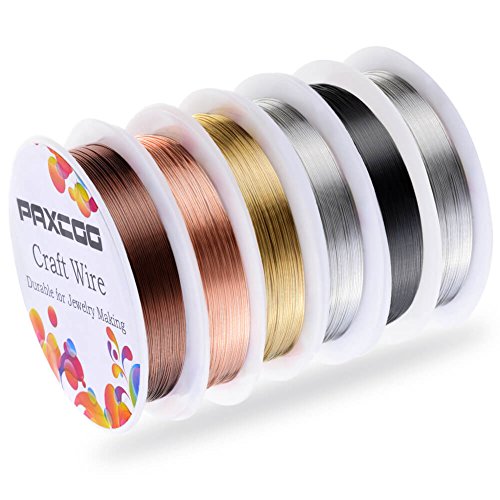
WHAT YOU GET?: Paxcoo jewelry wire set includes 6 rolls of different color copper wire. They are easy to use and works with different types of beads, necklace and bracelet designs
1. Simple Spiral Design
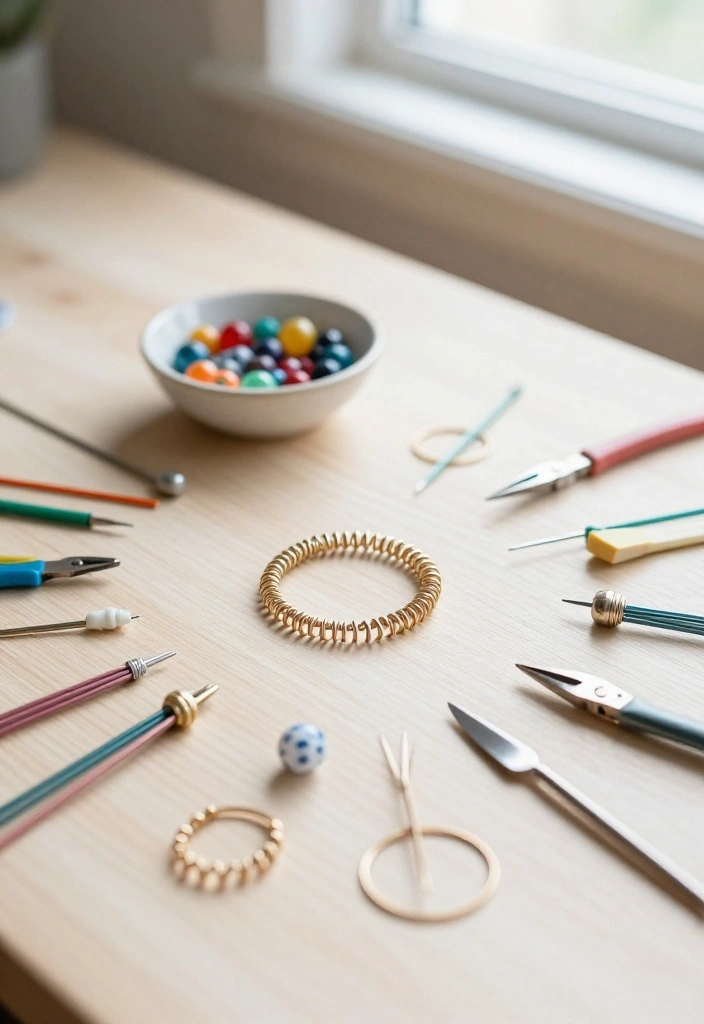
Embrace the charm of the Simple Spiral Design, a perfect entry point for DIY wire wrapped rings. This elegant yet uncomplicated style makes it ideal for casual outings or stacking with other rings for a personalized touch.
Its simplicity lies in the ability to customize it with various wire colors and thicknesses, allowing each creation to truly reflect your personality. This project serves as a foundation for mastering essential wire wrapping techniques like loops and spirals.
Materials Needed:
– 20 gauge wire
– Wire cutters
– Round-nose pliers
– Flat-nose pliers
– Optional: beads for added flair
Step-by-Step Instructions:
1. Cut a piece of wire about 6 inches long.
2. Use your round-nose pliers to create a small loop at one end.
3. Twist the wire around itself to form a spiral, leaving enough length for the ring band.
4. Shape the remaining wire into a band to fit your finger.
5. Tuck any sharp ends for safety.
6. Enhance the spiral with beads for a unique touch.
– Experiment with different wire colors for a fresh look.
– Choose wire thickness that ensures a comfortable fit.
Recommended Products
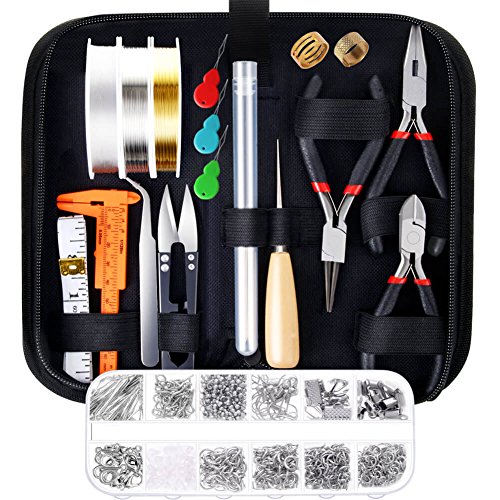
Please Note: If the pliers you received have some oil on the head that make it look like dirty, please do not worry. The jewelry pliers are coated with oil to prevent rust. Please wipe them clean with a cloth before use and apply oil to them before storage, which will help the pliers keep anti-rust.
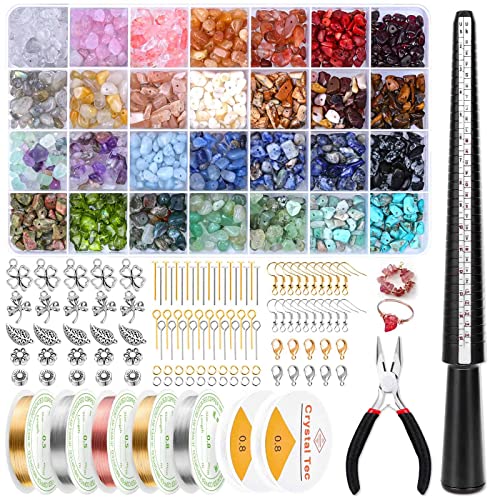
28 COLORS CRYSTAL BEADS KIT: This stone beads for jewelry making kit includes 28 colors jewelry beads, 5 rolls of copper wire, 2 rolls of elastic thread, 25 charms, 1 flat nose jewelry pliers, 1pcs instruction, 20pcs jump rings, 10pcs lobster clasp, 60pcs earring making supplies and 1pcs plastic ring sizer mandrel for jewelry ring crafts making

Warm Notes- Our jewelry pliers are all coated with anti-rust oil to protect these pliers from rusting. If the pliers you received have some oil and make it looks like dirty, please do not worry, just wipe them clean with a cloth before use and apply oil to them before storage, oil or grease will help the pliers keep anti-rust.
🏡 Transform Your Space Creatively
Unlock your home’s potential with our DIY guide, perfect for crafting beautiful spaces that inspire and delight.
2. Gemstone Accent Ring
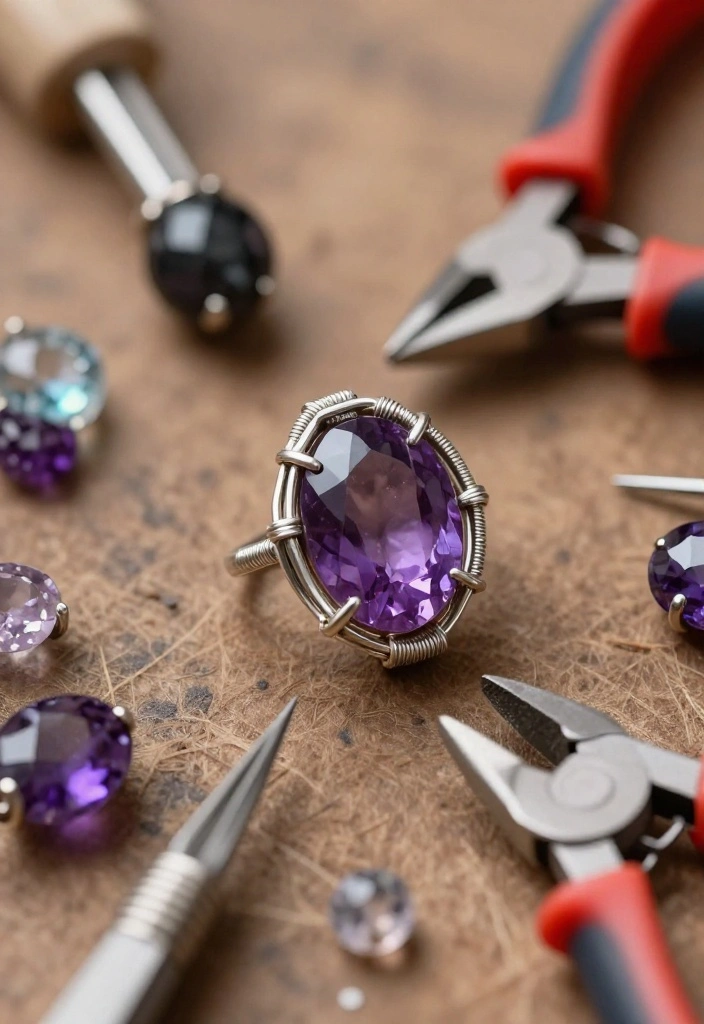
Add a touch of luxury to your collection with a Gemstone Accent Ring. By incorporating a beautiful gemstone, you elevate your jewelry while keeping it budget-friendly.
This design is versatile, allowing you to choose between intricate or minimal styles based on your mood. It’s also a fantastic way to enhance your wire wrapping skills with advanced techniques.
Materials Needed:
– 22 gauge wire
– A small gemstone or crystal
– Wire cutters
– Round-nose pliers
– Optional: decorative beads
Step-by-Step Instructions:
1. Cut a length of wire about 8 inches long.
2. Center your gemstone on the wire and loosely wrap one side around it to secure.
3. Twist the remaining wire to create a decorative wrap above the stone.
4. Shape the wire into a ring band that fits your finger.
5. Adjust and secure any loose ends.
– Ensure the gemstone is securely held to prevent damage.
– Try different gemstone shapes to see how they influence the design.
Recommended Products

Easy To Use - This 20 gauge wire is made of 304 stainless steel, which is strong and sturdy, flexible, rustproof, bendable, can maintain its shape after multiple uses, and malleable enough to shape with hand

304 stainless steel , Rustproof , Heat Treatment: Annealed (soft) can be used for a long time; Great for tie up craft projects and jewelry making

Ouwinway's aluminum wire has excellent plasticity, making it easy to bend, cut, and form various shapes, allowing you to achieve the desired effect more flexibly during use.
3. Nature-Inspired Leaf Ring
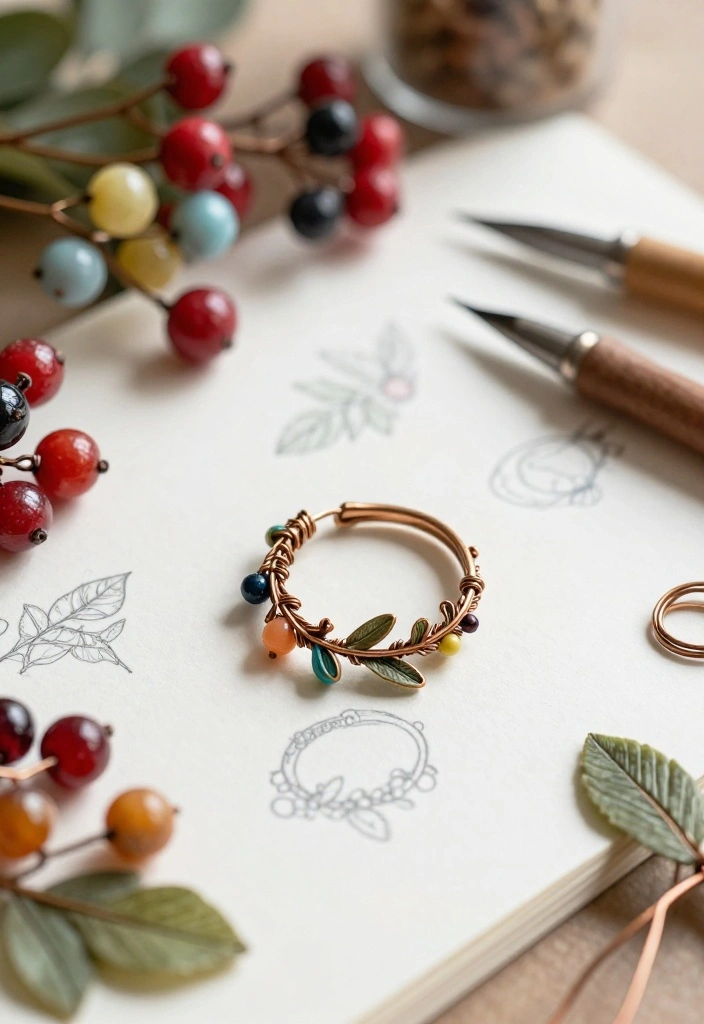
Celebrate nature with the Nature-Inspired Leaf Ring, a design that beautifully captures the essence of leaves. With its flowing lines and organic shapes, this ring is perfect for nature lovers looking to express their style.
The design allows for a creative exploration of textures and wire choices, whether you opt for the warmth of copper or the sleekness of silver. You can even add small beads as accents to mimic berries for an extra touch.
Materials Needed:
– 18 gauge wire
– Wire cutters
– Round-nose pliers
– Flat-nose pliers
– Optional: tiny beads for embellishment
Step-by-Step Instructions:
1. Cut a length of wire about 10 inches long.
2. Bend the wire in half to create a leaf shape by twisting and turning.
3. Form a ‘stem’ by twisting the wire tightly down the middle.
4. Shape the ends into a ring band that fits your finger.
5. Add tiny beads along the ‘stem’ for texture.
– Feel free to experiment with various leaf shapes.
– Opt for thicker wire for a more robust design.
Recommended Products

Wire wrapping mandel set contains 2 round mandels made of steel, PVC handle come with non-slip, each mandel tool has 5 stepped/10 sizes wire wrapping - jump ring or loops making beading tools.
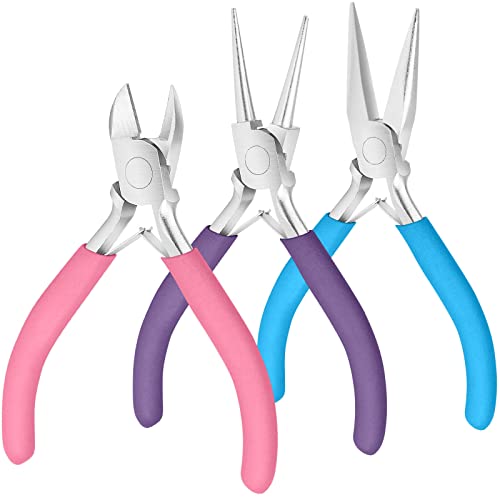
Jewelry Making Supplies: Package comes with set of 3 jewelry pliers including needle nose pliers, round nose pliers and wire cutters. Professional jewelry tools for jewelry making, jewelry repair, wire wrapping, beading and other DIY crafts
4. Elegant Infinity Wrap
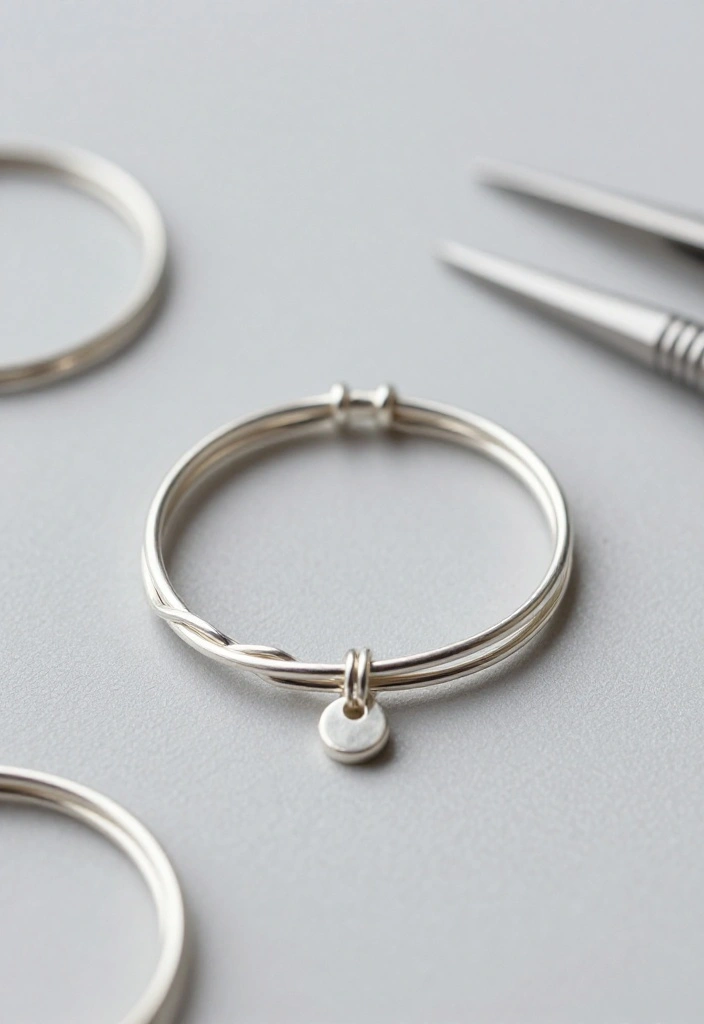
Create a statement with the Elegant Infinity Wrap ring, a symbol of eternal love and connection. Its simple yet sophisticated design highlights intertwined wire, making it a perfect gift for someone special or a treat for yourself.
This project allows you to practice wrapping techniques while achieving a polished finish, ensuring the piece reflects your unique style.
Materials Needed:
– 20 gauge wire
– Wire cutters
– Round-nose pliers
– Flat-nose pliers
– Optional: a small charm for personalization
Step-by-Step Instructions:
1. Cut a length of wire about 10 inches long.
2. Create a small loop at one end and form a figure-eight shape for infinity.
3. Twist the wire to secure the shape.
4. Shape the remaining wire into a comfortable ring band.
5. Optionally, add a charm to the center loop.
– Use different wire colors for each loop for added flair.
– Smooth the edges to ensure comfort when wearing.
diy wire wrapped rings like the Elegant Infinity Wrap are a love letter you wear. Start with a soft, thin wire for delicate twists, then switch gauges for a bold finish. Your handmade piece reflects your style and patience.
Recommended Products

Ideal for making a wide variety of loops with wire for jewelry and other crafts

MULTI-FUNCTION JEWELRY PLIERS: 2-in-1 bail making & wire looping pliers with 2-9mm adjustable stepped jaws, designed to accommodate various wire gauges-micro wire looping pliers for DIY jewelry making supplies
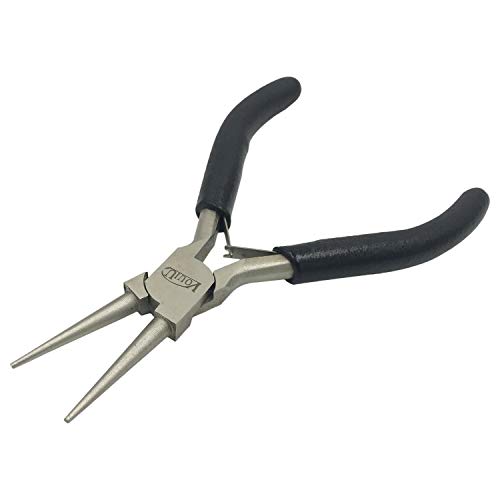
Ideal for earrings, wire wrapping, create loops, eye pins, clasps, jump rings, coils, and curved bends.
5. Bohemian Feather Design
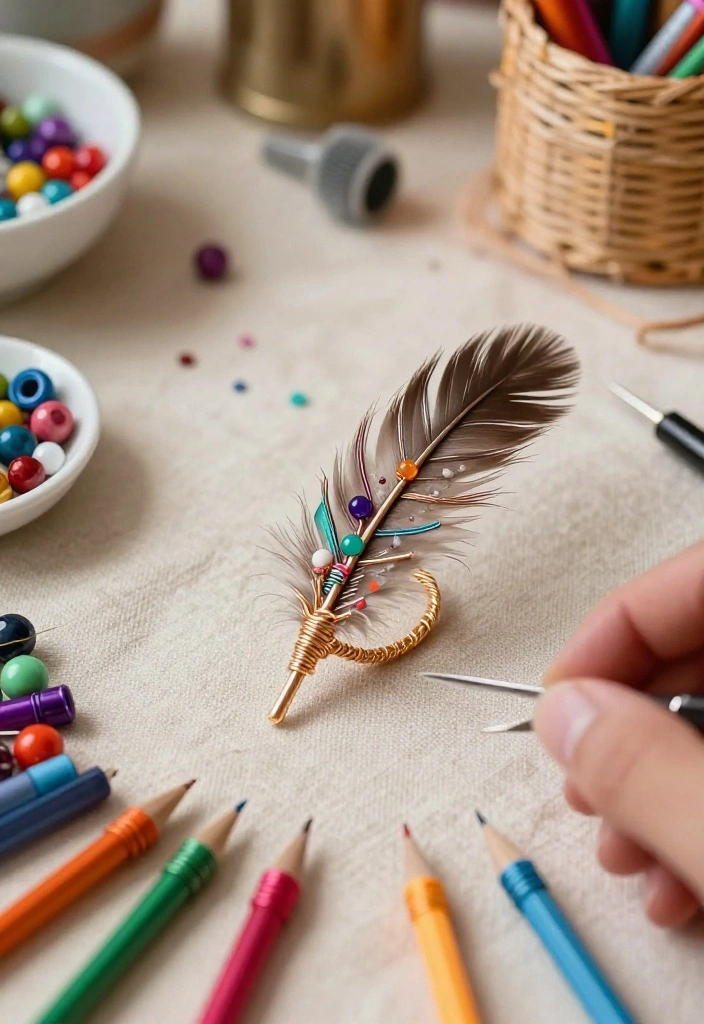
Unleash your inner free spirit with the Bohemian Feather Design ring! This whimsical piece features delicate wire shaped like feathers, perfect for adding a playful vibe to your jewelry collection.
It’s ideal for those who enjoy a bohemian aesthetic, offering plenty of room for creativity. Think about weaving colorful threads into the wire or attaching beads to enhance the feather’s look.
Materials Needed:
– 22 gauge wire
– Wire cutters
– Round-nose pliers
– Optional: thread or beads for decoration
Step-by-Step Instructions:
1. Cut a piece of wire about 12 inches long.
2. Create a loop at one end and twist the wire into a feathery shape, leaving enough length for the band.
3. Use a second piece of wire to wrap around the base, adding texture.
4. Shape the remaining wire into a comfortable ring band.
5. Add threads or beads for an enhanced feather effect.
– Use multiple wire colors for a vibrant look.
– Secure the wire ends to prevent snagging.
Recommended Products

Package include: the jewelry wire for jewelry making set comes with 3 rolls of 18 gauge craft wire (25 m/ 82 feet), proper size of thin wire for crafts(1 mm) to meet your different crafting needs. Useful pliers and ring sizer will be offered together

┃WIRE JIG┃: It is made of aluminum and can be reused for a long time. This Wire Jig is great for beginners; small nails and closer hole spacing are great for making more delicate and small jewelry parts. 677 holes and 30 metal pins allow unlimited creation and design of various handicrafts.

Difficulty Rating & Requirements
Overall Difficulty Rating: Medium
Creating DIY wire wrapped rings is a rewarding project, but it does come with its challenges. Beginners may find some designs manageable, while more intricate styles may require a bit of practice. This project is suitable for anyone interested in handmade jewelry, whether you’re just starting out or looking to enhance your skills.
Time Estimate:
⏱ Estimated time: 2-5 hours depending on complexity.
Here’s a breakdown:
– Design Planning: 30 minutes to 1 hour (Sketch ideas and gather inspiration)
– Materials Gathering: 30 minutes (Collecting all necessary crafting supplies)
– Wire Wrapping Process: 1 to 3 hours (Depending on the complexity of the ring design)
– Finishing Touches: 30 minutes (Polishing and ensuring all ends are smooth)
Skill Requirements:
– Required skills: Basic wire wrapping, handling pliers, and cutting tools
– Beginner-friendly: Yes! While some techniques may be slightly challenging, many designs can be mastered with practice.
– Skills like wire wrapping and design can be learned through tutorials, but some experience can be beneficial for intricate designs like the Vintage Filigree Style or Statement Cuff Ring.
Tools & Materials Needed:
🧰 Essential items checklist:
– Wire (Copper or aluminum): Required
– Pliers (Round-nose and chain-nose): Required
– Wire cutters: Required
– Beads or stones (if using): Optional
– Jewelry adhesive (for securing stones): Optional
– Ring mandrel or ruler: Required
– Safety glasses: Optional (for eye protection while cutting)
– File or sandpaper: Optional (for smoothing sharp edges)
Step-by-Step Overview:
1. Plan Your Design: Spend around 30 minutes sketching ideas and choosing your materials. This helps visualize the end product.
2. Gather Materials: Allocate 30 minutes to collect all the tools and materials needed for your project. Check your supplies to avoid interruptions later.
3. Start Wrapping the Wire: Dedicate 1 to 3 hours for the actual wire wrapping. Depending on the design, this can vary. Follow tutorials to guide you through this step.
4. Add Finishing Touches: Use the last 30 minutes to polish your ring, check for sharp edges, and make any final adjustments.
Professional vs DIY:
Professional: A custom wire-wrapped ring from a jeweler can cost anywhere from $50 to $200, depending on materials and complexity.
DIY: Making your own ring can cost as little as $10 to $30, depending on the materials used. Plus, the satisfaction of creating something unique is priceless! If you enjoy crafting and want to express your creativity, tackling this project yourself can be both enjoyable and cost-effective. If you’re looking for a high-end finish or specific designs, hiring a professional might be the way to go.
Recommended Products

Complete Package Contents: Includes 15 kinds of jewelry findings, 1 brass ring, 4 kinds of beading wire, 1 tweezer and 1 pliers for all your jewelry making needs

Earring hooks:The earring hooks and open jump rings are made of 925 silver plated copper,nickel free and Hypo-allergenic.The earring backs are made of clear silicone, the earring silver hooks will make you comfort and make jewelry DIY well
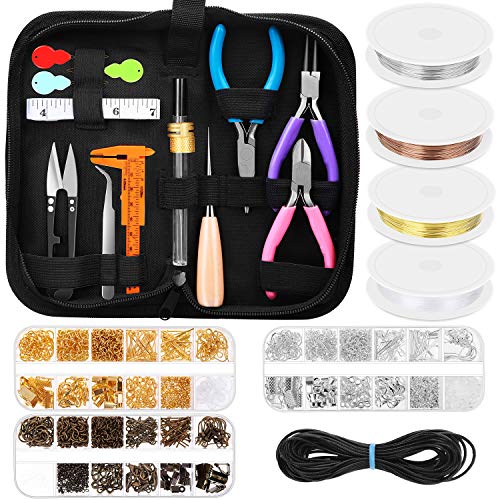
Please Note : If the pliers you received have some oil on the head that make it look like dirty, please do not worry. The jewelry pliers are coated with oil to prevent rust. Please wipe them clean with a cloth before use and apply oil to them before storage, which will help the pliers keep anti-rust.
6. Rustic Twisted Band

For a rugged aesthetic, the Rustic Twisted Band ring offers a unique charm that stands out. This design involves twisting multiple strands of wire together, resulting in a textured and layered appearance.
It’s perfect for everyday wear and can be customized in various wire colors to match your style. Plus, mastering this twisting technique will benefit many other jewelry projects.
Materials Needed:
– 18 gauge wire
– Wire cutters
– Round-nose pliers
– Flat-nose pliers
Step-by-Step Instructions:
1. Cut three pieces of wire, each about 10 inches long.
2. Securely twist the wires together at one end.
3. Continue twisting the wires around each other to create a spiral effect.
4. Shape the twisted wire into a ring band that fits your finger.
5. Tuck the ends in securely.
– Experiment with different wire gauges for added variety.
– Ensure the ends are properly secured to avoid sharp edges.
Recommended Products
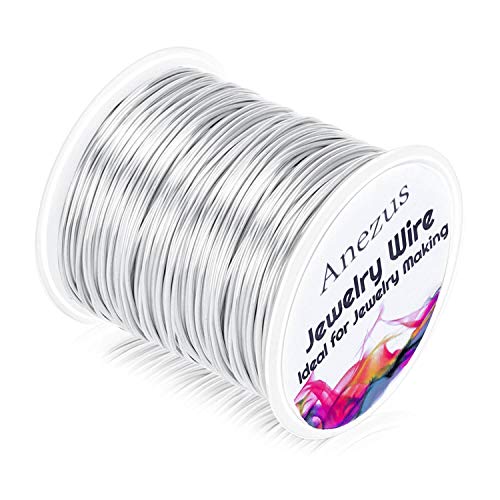
【CONVENIENT SPOOL PACKAGE】Anezus jewelry wire is packaged with a sturdy spool which is convenient to take the metal craft wire out and keep them organized without messy

【CONVENIENT SPOOL PACKAGE】Anezus jewelry wire is packaged with a sturdy spool which is convenient to take the metal craft wire out and keep them organized without messy

PURE COPPER: BEADNOVA round bare copper wire is made of pure copper, the color is beautiful with a shiny sheen. Each spool of bare copper wire measures 20 gauge or 0.8mm.
7. Statement Cuff Ring
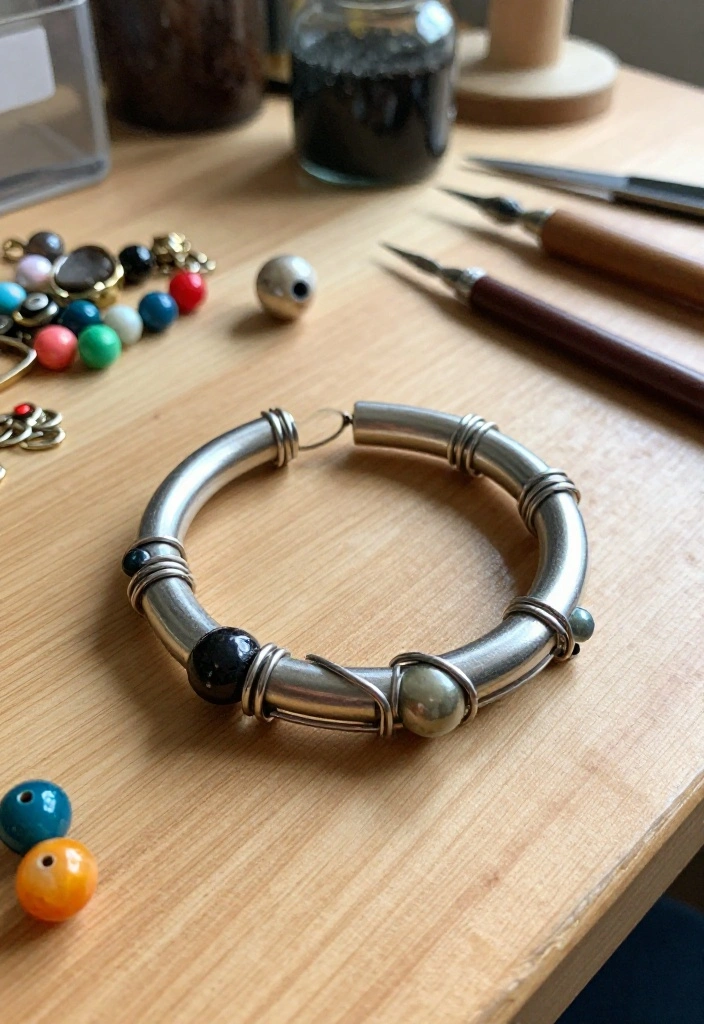
Make a bold impression with a Statement Cuff Ring! This design is perfect for those who love unique accessories that showcase individuality.
The cuff style allows for a wider band, making it an excellent canvas for intricate designs and embellishments. With the right techniques, you can create a striking piece that highlights your artistic flair.
Materials Needed:
– 16 gauge wire
– Wire cutters
– Round-nose pliers
– Flat-nose pliers
– Optional: large beads or charms
Step-by-Step Instructions:
1. Cut a piece of wire about 14 inches long.
2. Shape the wire into an open cuff form, leaving space for embellishments.
3. Use round-nose pliers to create decorative curves along the band.
4. Attach large beads or charms securely.
5. Ensure the cuff fits comfortably.
– Balance the design with beads of varying sizes for visual interest.
– Consider using thicker wire for a bolder look.
Recommended Products

What You Get - You will get a box of crimp beads in 2 colors, including 400 pieces brass crimp tubes beads, 200 pieces crimp bead covers, 60 pieces knot covers, 200 pieces wire guardians, 40 pieces lobster clasps, 300 pieces jump rings, sufficient amount can meet your different needs of jewelry making
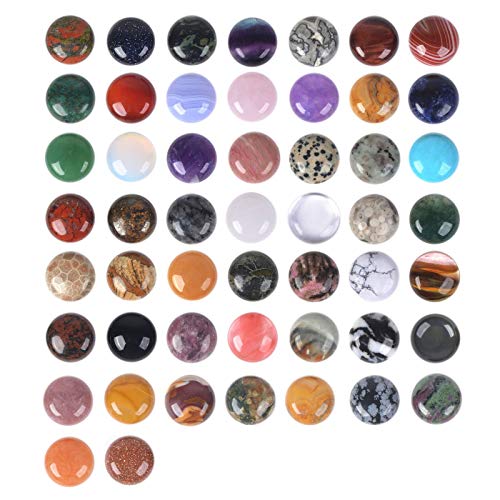
Quantity: 24 materials. they were picked randomly, no one knows which ones you will get till you open the parcel :).
8. Vintage Filigree Style
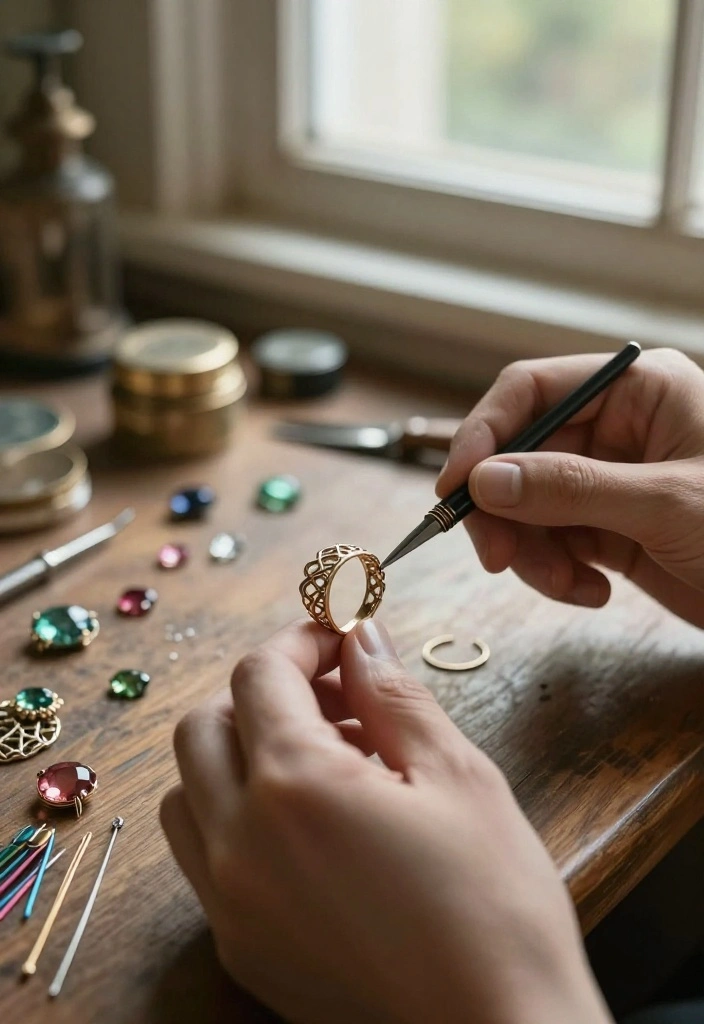
The Vintage Filigree Style ring exudes timeless elegance with its delicate lace-like wirework. This design is ideal for those who appreciate vintage aesthetics and wish to create something stunning.
Mastering this style will not only boost your wire wrapping skills but also enable you to craft a piece that feels both classic and contemporary. Incorporating small gemstones or beads can add a touch of sparkle to the filigree pattern.
Materials Needed:
– 26 gauge wire
– Wire cutters
– Round-nose pliers
– Flat-nose pliers
– Optional: small gemstones or beads
Step-by-Step Instructions:
1. Cut a length of wire about 12 inches long.
2. Use round-nose pliers to create small loops and bends, forming a lace-like pattern.
3. Intertwine loops to establish a delicate frame.
4. Shape the remaining wire into a ring band.
5. Attach small gemstones or beads at intersection points for enhancement.
– Be patient with the loops for uniformity.
– Experiment with varying wire colors to add depth.
Recommended Products

Premium Material: Our round nose Pliers are made of durable steel,rust resistant for long time use. The craft plier with a smooth and shiny surface is designed for jewelry making and repairing, without worrying about scratches or leaving marks on the jewelry.
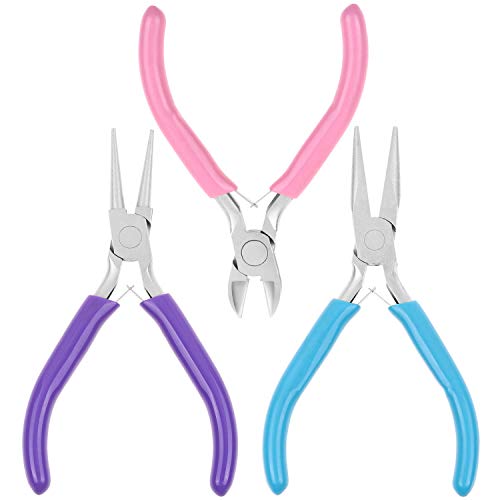
PLEASE NOTE: The jewelry making tools are coated with oil to prevent rust.If the jewelry making pliers you received have some oil on the head that make it look like dirty, please do not worry. Please wipe them clean with a cloth before use and apply oil to them before storage, which will help the pliers keep anti-rust

Premium Material: Billbotk round nose pliers are made of high-quality hardened steel which maximizes the tenacity, not easy to crack
9. Wrapped Stone Ring

Showcase the beauty of natural stones with the Wrapped Stone Ring. This stunning design highlights the stone’s character while adding personal flair through wire wrapping.
Perfect for making a statement, this project allows you to practice your wire wrapping skills while creating an eye-catching piece. Choose stones that inspire you, whether polished or rough, and wrap them securely for a stylish look.
Materials Needed:
– 18 gauge wire
– A natural stone
– Wire cutters
– Round-nose pliers
– Flat-nose pliers
Step-by-Step Instructions:
1. Cut a piece of wire about 10 inches long.
2. Center the stone on the wire and wrap it tightly around the stone.
3. Create decorative twists with the remaining wire at the top.
4. Shape the wire into a ring band that fits your finger.
5. Tuck in any sharp edges for safety.
– Choose stones with unique shapes for added interest.
– Ensure the wire is tight around the stone for security.
10. Layered Wire Rings
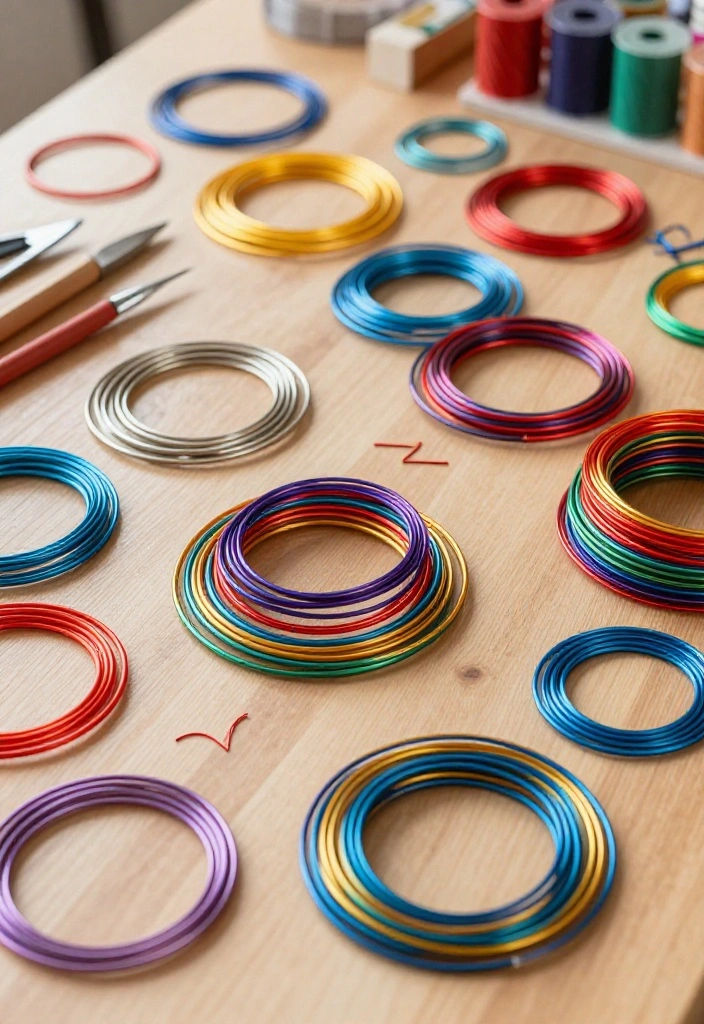
Layered Wire Rings are a stylish way to express your creativity by stacking multiple designs together. These rings allow you to mix and match colors, textures, and styles for a bold look that reflects your personality.
Each ring can be uniquely crafted, making it easy to wear them as a set or individually. This project is also eco-friendly, perfect for using leftover wire scraps without sacrificing style.
Materials Needed:
– Assorted wire colors (20 or 22 gauge)
– Wire cutters
– Round-nose pliers
– Flat-nose pliers
Step-by-Step Instructions:
1. Cut several lengths of wire, each about 6-8 inches long.
2. Design each ring differently, such as spirals, twists, or simple bands.
3. Shape each piece into a ring that fits your finger.
4. Stack and mix the rings for a layered effect.
5. Adjust for comfort and style.
– Experiment with various colors and designs for each ring.
– Showcase your personality through the layering process.
11. Heart-Shaped Wire Ring
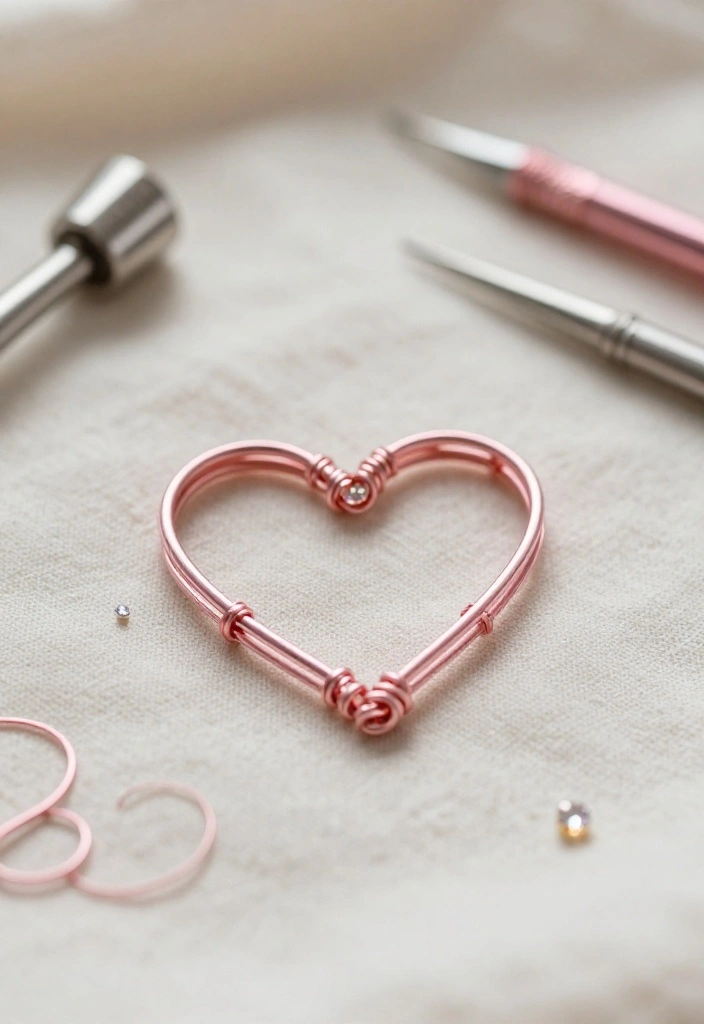
Express your affection with the Heart-Shaped Wire Ring, a sweet design perfect for gifts or personal treats. This charming shape captures love’s essence, making it ideal for romantic occasions or celebrating self-love.
Its simplicity allows you to focus on wire wrapping techniques while creating a piece that holds sentimental value. Customize it by adding small gems or beads for a personal touch.
Materials Needed:
– 20 gauge wire
– Wire cutters
– Round-nose pliers
– Flat-nose pliers
– Optional: small gemstones or beads
Step-by-Step Instructions:
1. Cut a piece of wire about 10 inches long.
2. Create a loop at one end and shape it into a heart by bending the wire into two curves.
3. Twist the wire to secure the shape, leaving extra length for the band.
4. Shape into a comfortable ring.
5. Optionally, add small gems or beads at the heart’s center.
– Use different wire colors to symbolize various meanings.
– Ensure symmetry for a polished look.
Hands-on heart magic: a handmade wire ring says ‘I care’ louder than any store-bought gift. Keep it simple with 20-gauge wire, then sprinkle a tiny bead to make it truly yours.
12. Personalized Name Ring

Craft a unique statement with a Personalized Name Ring, a wonderful way to celebrate special moments or loved ones. This ring can feature initials, names, or meaningful words, adding a personal touch to your jewelry.
This project encourages creativity, as you can choose different wire colors and fonts to make it truly unique. It also makes a thoughtful gift for friends and family.
Materials Needed:
– 20 gauge wire
– Wire cutters
– Round-nose pliers
– Flat-nose pliers
– Optional: charms or additional beads
Step-by-Step Instructions:
1. Cut a length of wire about 12 inches long.
2. Use round-nose pliers to bend the wire into letter shapes for names or initials.
3. Form loops and curves to connect the letters.
4. Shape the remaining wire into a ring band that fits your finger.
5. Optionally, add charms or beads for further personalization.
– Keep letter sizes consistent for a polished finish.
– Select a wire color that complements your style.
13. Twisted Rope Ring
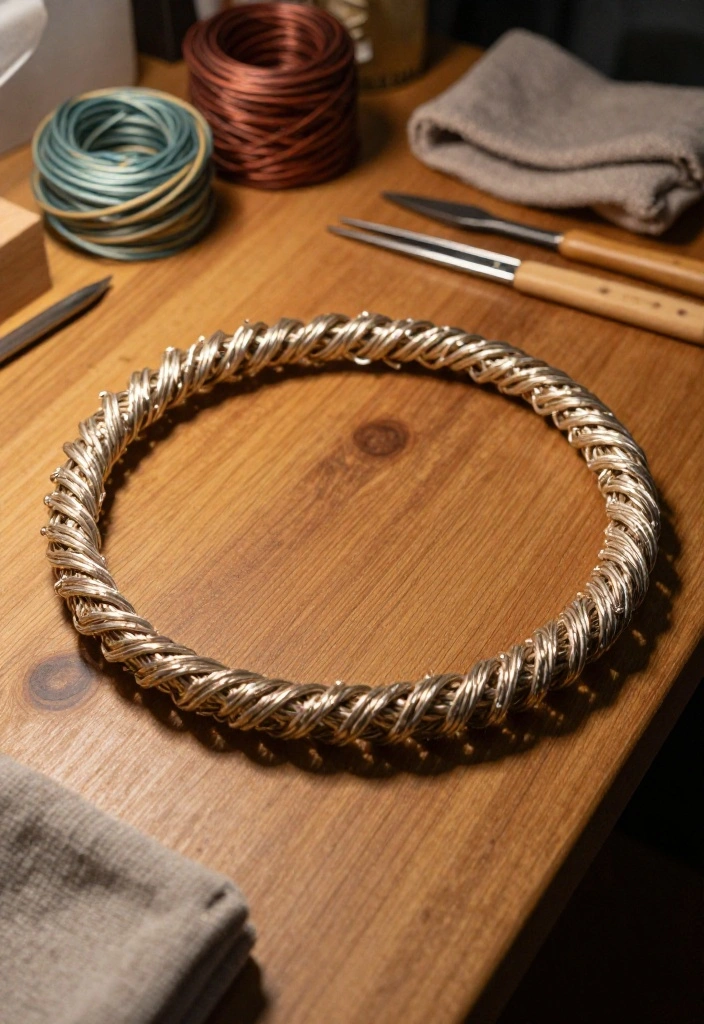
The Twisted Rope Ring combines strength and beauty, resembling intertwined ropes—a fantastic symbol of resilience. This design involves twisting multiple wire strands together, creating a stunning texture that catches the eye.
As you tackle this project, you’ll not only enhance your wire wrapping skills but also boost your confidence in crafting more complex designs. Choose different wire colors and gauges to further customize your ring.
Materials Needed:
– 18 gauge wire
– Wire cutters
– Round-nose pliers
– Flat-nose pliers
Step-by-Step Instructions:
1. Cut three lengths of wire, each about 10 inches long.
2. Twist the wires tightly together until you achieve the desired rope effect.
3. Shape the twisted wire into a ring band that fits your finger.
4. Tuck in the ends securely.
– Experiment with various wire gauges for different thicknesses.
– Ensure even twisting for a consistent appearance.
Fun fact: twisted rope rings use two or three strands to create ingrained texture that hides beginner mistakes—you’ll gain confidence after just 1-2 practice twists. Start with 18-gauge wire, pick colors, and watch your first DIY wire wrapped rings come alive.
14. Ocean-Inspired Wire Ring
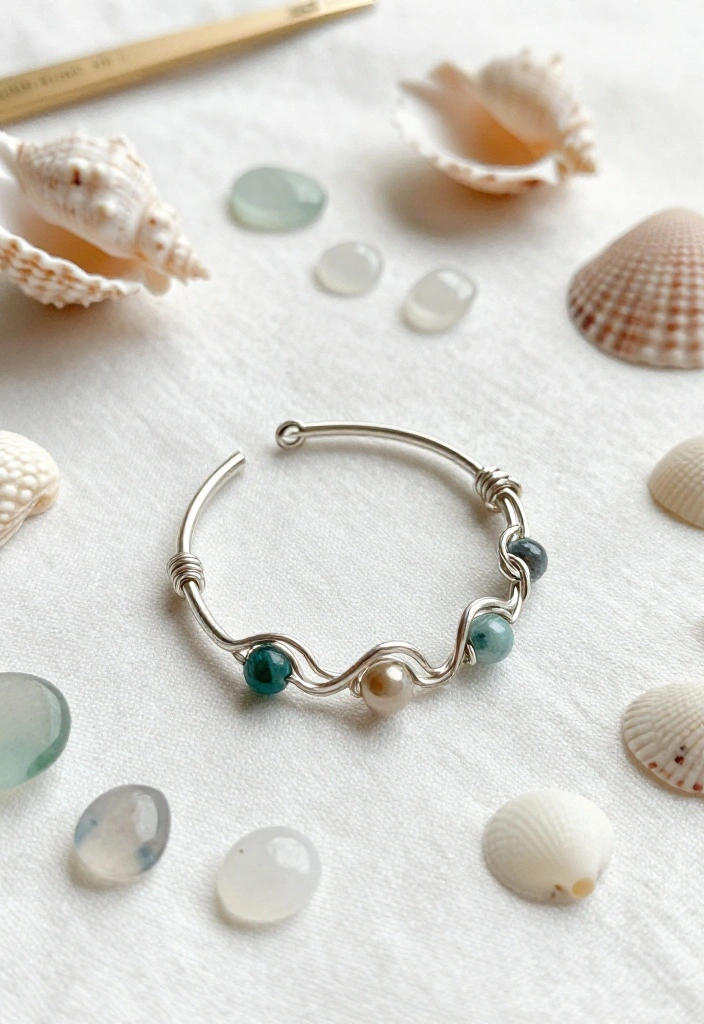
Capture the essence of the sea with the Ocean-Inspired Wire Ring! This design mimics the flowing patterns of waves, perfect for ocean lovers.
Use wire to create wave shapes and consider incorporating shells or sea glass for an authentic beach vibe. The result will be a unique piece that not only looks stunning but also reflects your love for the ocean.
Materials Needed:
– 20 gauge wire
– Wire cutters
– Round-nose pliers
– Flat-nose pliers
– Optional: small shells or sea glass
Step-by-Step Instructions:
1. Cut a piece of wire about 12 inches long.
2. Start bending the wire into wave shapes, creating curves and curls.
3. Secure smaller shells or sea glass onto the wire at desired points.
4. Shape the remaining wire into a ring band that fits your finger.
5. Tuck in sharp edges for comfort.
– Choose wire colors that reflect ocean hues, like blues and greens.
– Ensure shells or sea glass are securely fastened to prevent loss.
15. Multi-Strand Braid Ring
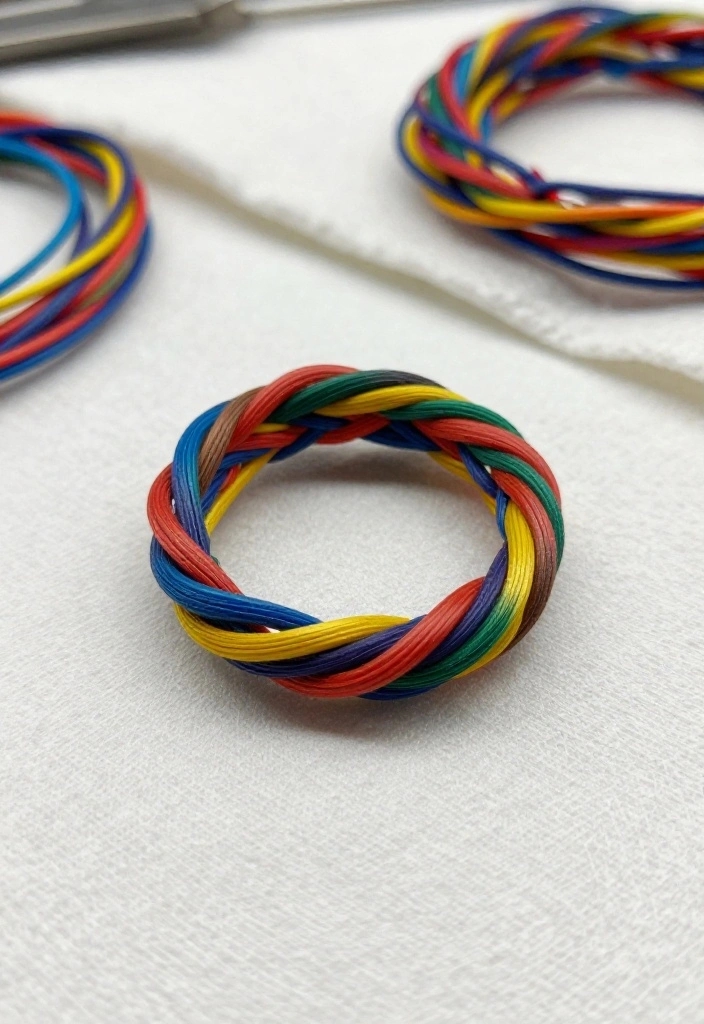
The Multi-Strand Braid Ring showcases an intricate braided design that’s both stylish and unique. This piece allows you to blend various wire colors and gauges, creating a personal statement that reflects your creativity.
Braiding the wires together enhances your wire work skills and offers a chance to practice while crafting a stunning ring. This design is perfect for layering with other rings or wearing solo for a bold look.
Materials Needed:
– 20 gauge wire in various colors
– Wire cutters
– Round-nose pliers
– Flat-nose pliers
Step-by-Step Instructions:
1. Cut three lengths of wire, each about 10 inches long.
2. Begin braiding the wires together tightly for a clean look.
3. Secure the braid by twisting the ends together.
4. Shape the braided section into a ring band, adjusting for comfort.
5. Tuck in any sharp ends for safety.
– Use contrasting colors to make the braid stand out.
– Ensure all strands are evenly braided for a polished finish.
16. Chakra Stone Wire Ring
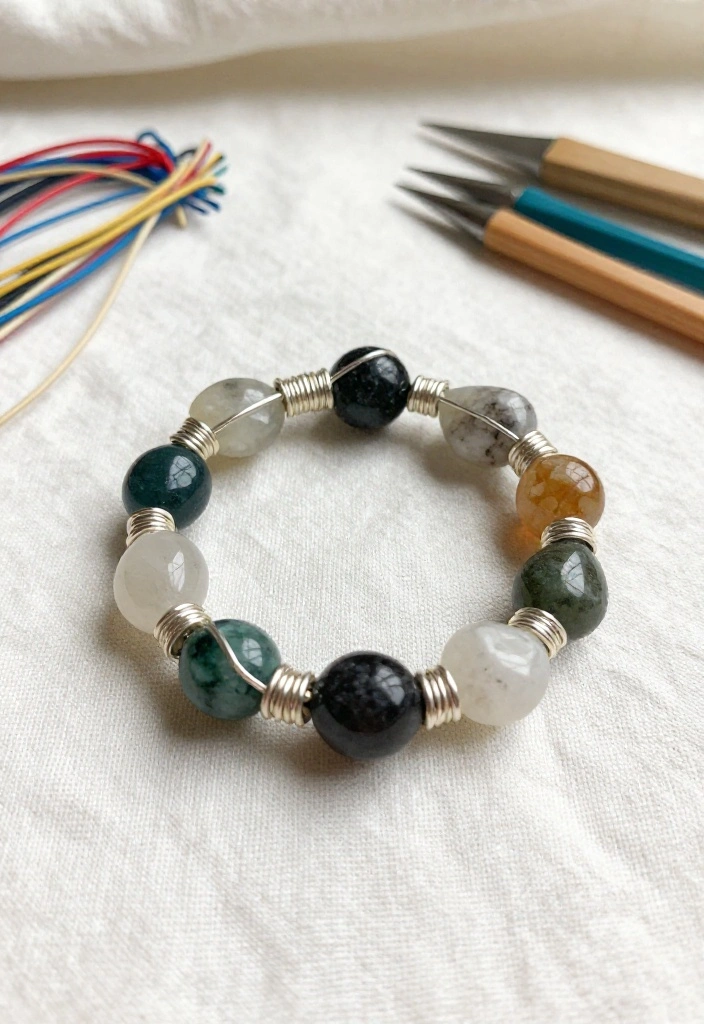
Express your love for spirituality with the Chakra Stone Wire Ring, a beautiful way to showcase healing energies. By incorporating chakra stones, you create a stunning ring that promotes balance and energy flow.
Each stone represents different energy centers in the body, allowing you to customize a meaningful piece. The wire wrapping techniques used here enable intricate designs tailored to your style.
Materials Needed:
– 20 gauge wire
– Assorted chakra stones
– Wire cutters
– Round-nose pliers
– Flat-nose pliers
Step-by-Step Instructions:
1. Cut a piece of wire about 12 inches long.
2. Choose your chakra stones and arrange them in your preferred order.
3. Secure the stones into the wire by wrapping them tightly.
4. Shape the remaining wire into a ring band that fits your finger.
5. Ensure all stones are secure and tuck in sharp edges.
– Choose stones that resonate with you personally.
– Use different colored wires to represent each chakra for a vibrant appearance.
Conclusion

Creating DIY wire wrapped rings is more than just a craft; it’s a way to express yourself and celebrate your individuality.
With these 16 bohemian-inspired designs, you can explore different techniques, materials, and styles that resonate with your personality. Whether you opt for a simple spiral or an elaborate gemstone piece, each ring holds the potential to tell a story. So grab your wire and tools, and let your creativity shine! Your next favorite accessory is just a craft session away.
Frequently Asked Questions
What basic tools and materials do I need to start with diy wire wrapped rings?
To begin your diy wire wrapped rings, gather a few essential tools and beginner-friendly crafting supplies. You’ll want round-nose pliers, chain-nose pliers, flush cutters, a ring mandrel or cylindrical rod, measuring tape, and spool wire in gauges around 20–24. Add some beads or stones to create focal points, plus a few bead caps if you like. For a Bohemian look, pick earthy tones and natural textures. Start simple and build up to more complex wire wrapping techniques as your confidence grows in handmade jewelry design.
How can I start with beginner-friendly wire wrapping techniques for rings?
Begin with a straightforward bezel wrap around a bead and a basic loop to learn control. Use round-nose pliers to shape the loop, make 4–6 tight wraps, then neatly tuck the end. Practice on soft copper or craft wire before moving to sterling silver so you can refine your tension and consistency. Once comfortable, try a wrapped shank or multi-bead layout for added interest in your DIY ring tutorials.
How can I personalize wire wrapped rings to create personalized jewelry designs?
Personalization can be as simple as choosing wire colors that match a wardrobe, adding initials or a small birthstone charm, or combining different beads for a unique design. Start by sketching a quick layout, pick a focal bead, then secure it with a few wraps and a sturdy shank. Finish with a light hammer for texture and a choice of finish (antique bronze, silver, or gold-tone) to suit your personalized jewelry designs vibe.
For more ideas, search for handmade jewelry and DIY ring tutorials to spark inspiration.
Where can I find inspiration and tutorials for 16 DIY Wire Wrapped Rings ideas?
Seek a mix of step-by-step DIY ring tutorials and quick photo guides showing the wire wrapping techniques used in various designs. Save the article as a go-to resource for handmade jewelry inspiration, then recreate a ring or two to practice. Gather a small set of crafting supplies and experiment with different wires, beads, and textures to match the Bohemian vibe. If you get stuck, try a simpler version of the design before scaling up to the full idea.
What common mistakes should I avoid when crafting bohemian-inspired diy wire wrapped rings?
Common missteps include using the wrong wire gauge (too stiff or too thin), skipping secure ends, and wrapping too tightly so the bead sits uncomfortably. Rushing the shank shaping can distort fit, and not finishing ends leaves sharp edges. Take your time measuring finger size, keeping wraps neat, and tucking ends cleanly so your wire wrapped rings stay durable and comfy.
Stay mindful of wire wrapping techniques and practice with simpler designs before tackling more complex patterns.
Related Topics