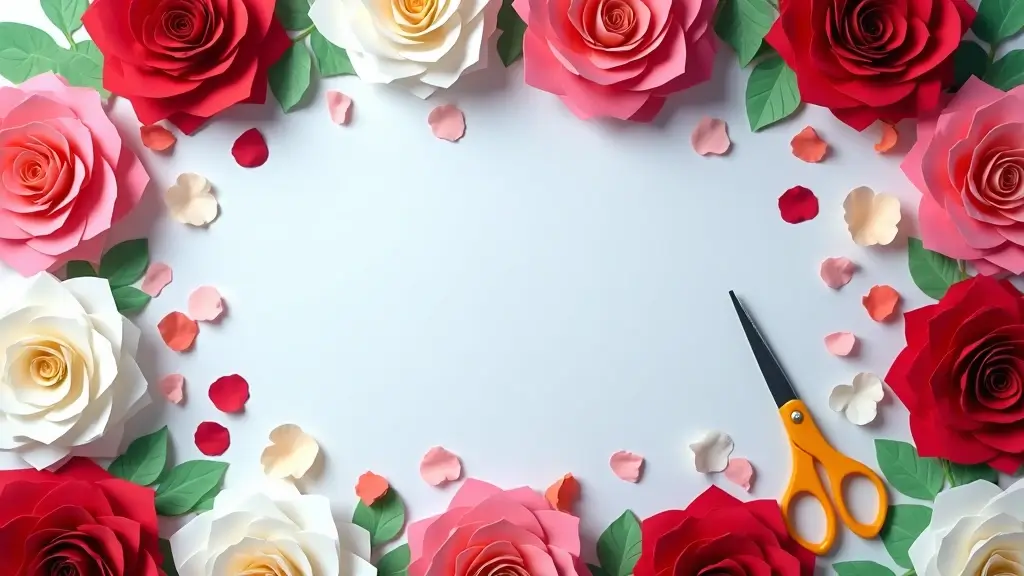
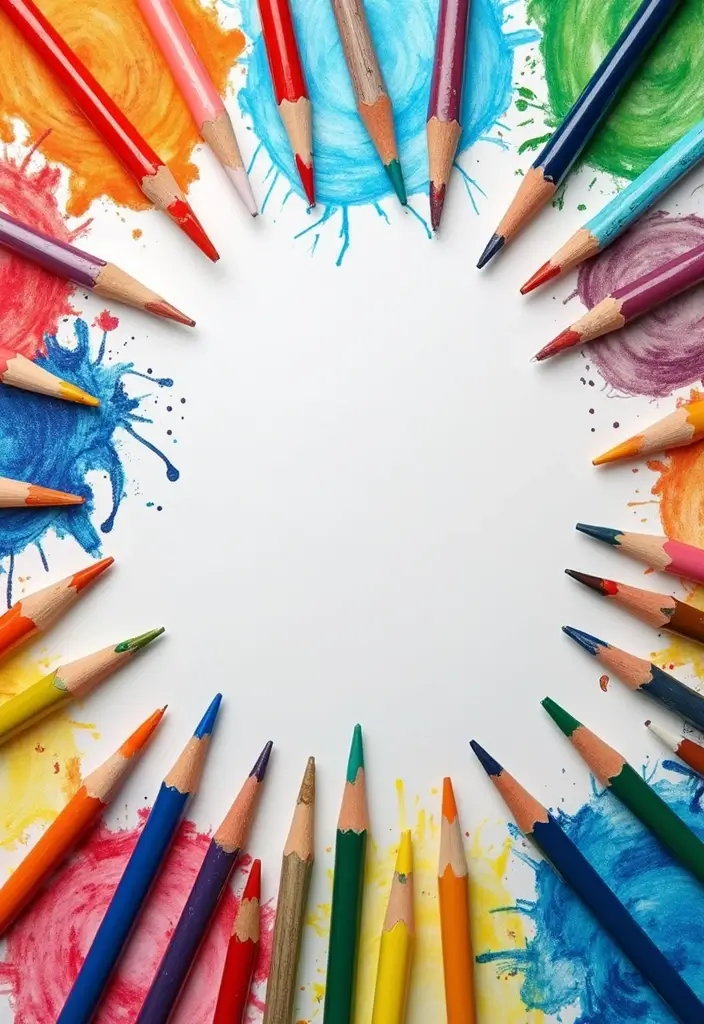
This season has me thinking about the power of a handwritten note. A simple card can brighten a day and linger on a fridge or desk for weeks. I made this post to share how easy it is to make heartfelt cards with just paper, a few scraps, and a dash of imagination. You don’t need fancy tools to touch the heart with a handmade card.
If you enjoy paper crafts, small gifts, or ways to show you care without a big price tag, this one’s for you. If you mail cards to friends, family, teachers, or neighbors, you’ll find ideas that fit your style. These projects are simple, warm, and friendly for busy days.
I pulled together 26 DIY greeting card ideas that cover quick wins and longer projects. You’ll find ideas that use scraps, stamps, watercolor washes, die cuts, and neat textures. Each idea is explained in plain steps and with practical tips you can use right away. They work for birthdays, thank yous, encouragement, and just saying hello.
Here is why this works. You get flexible ideas that fit what you have at home. Let’s break it down: pick one card, gather 3 simple supplies, and start. You’ll see results fast, and you’ll learn tips you can repeat on future cards.
Next steps and practical examples. Picture a folded notecard with a strip of patterned paper, a tiny stamped bloom, and a twine bow. Or a photo tucked into a layered card with a soft watercolor wash behind it. These small touches are cheap, but they feel personal and thoughtful.
Be honest about limits. Not every idea fits every day, and that is okay. These ideas give you options that scale from quick notes to keepsakes. Start with one, make it, and notice how small acts of care add up.
1. Recycled Paper Masterpieces
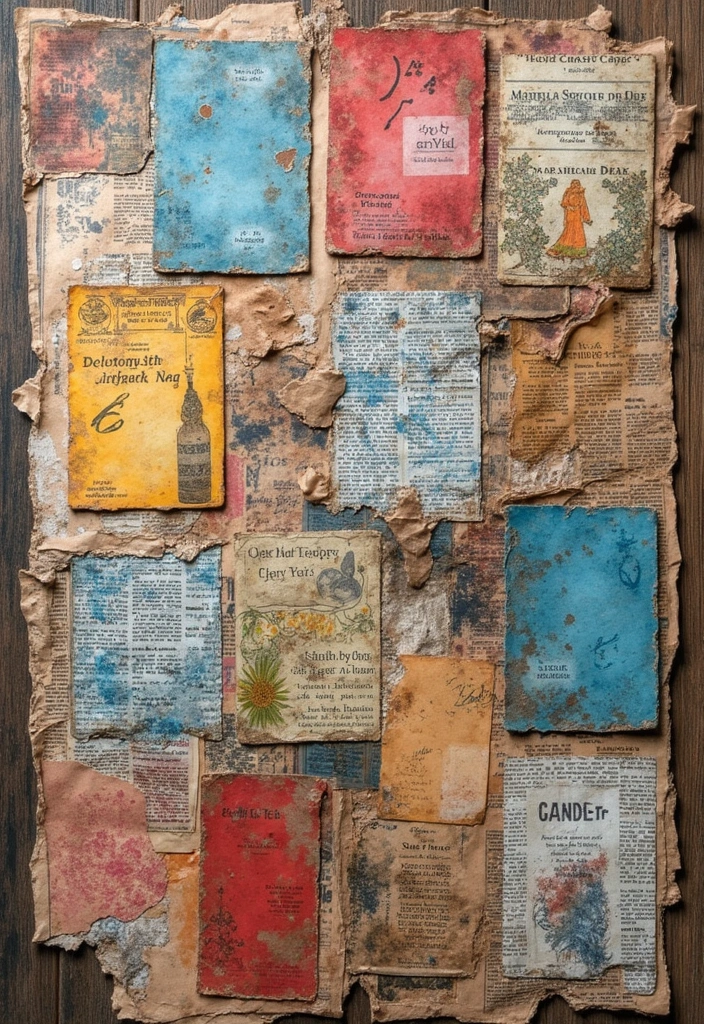
Want greeting cards that feel warm and kind to the planet? You can make them from scraps you already have. Turn old newspapers, magazines, or plain paper into art. Cut out pictures and letters. Arrange them on a blank card like a tiny story. Glue them down and press gently. A simple message beside the art makes the card sing.
What you need
– A sturdy card base
– Scissors and glue
– A mix of paper scraps with different textures
Tips for a bold look
– Use textures for depth.
– Layer pieces to create a light 3D feel.
– Keep the words short so the images speak.
Try these tricks
– Add a small ribbon, a sticker, or a bold font cut from a magazine.
– Leave a border for a clean finish.
– Press the whole piece gently to keep everything in place.
Why it helps you now
– It cuts waste and saves money.
– Each card tells a tiny story you can share in person.
– It sparks easy chats about paper waste.
Next steps
– Gather 2 or 3 scraps this week.
– Make one card in about 30 minutes.
– Save leftovers for your next card.
@media(max-width:480px){
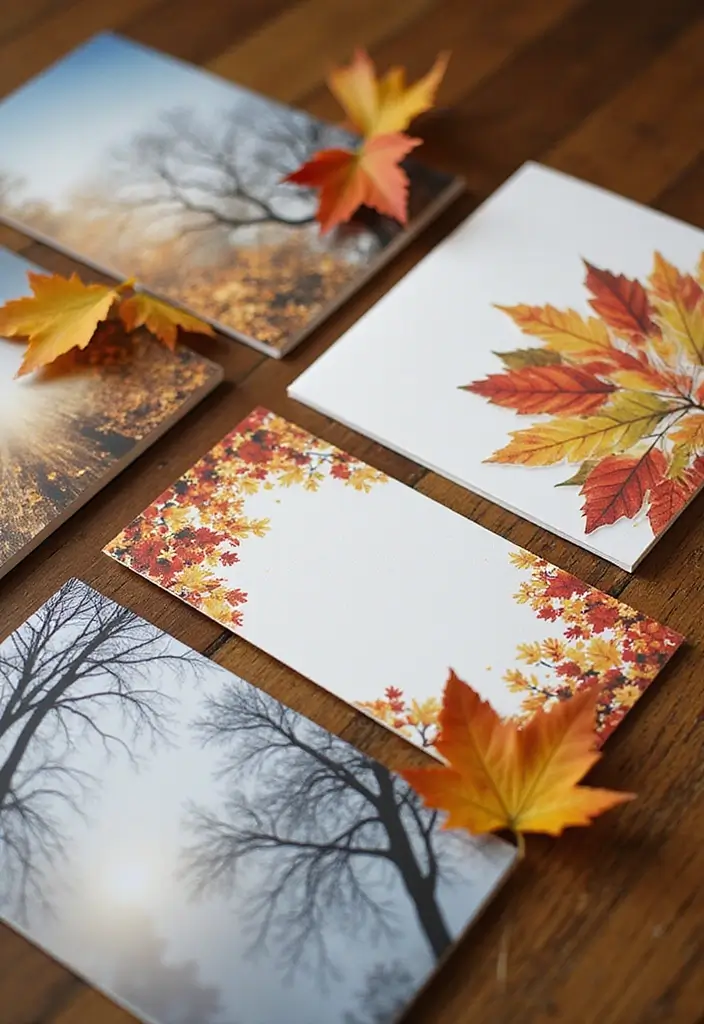
2. Nature-Inspired Cards
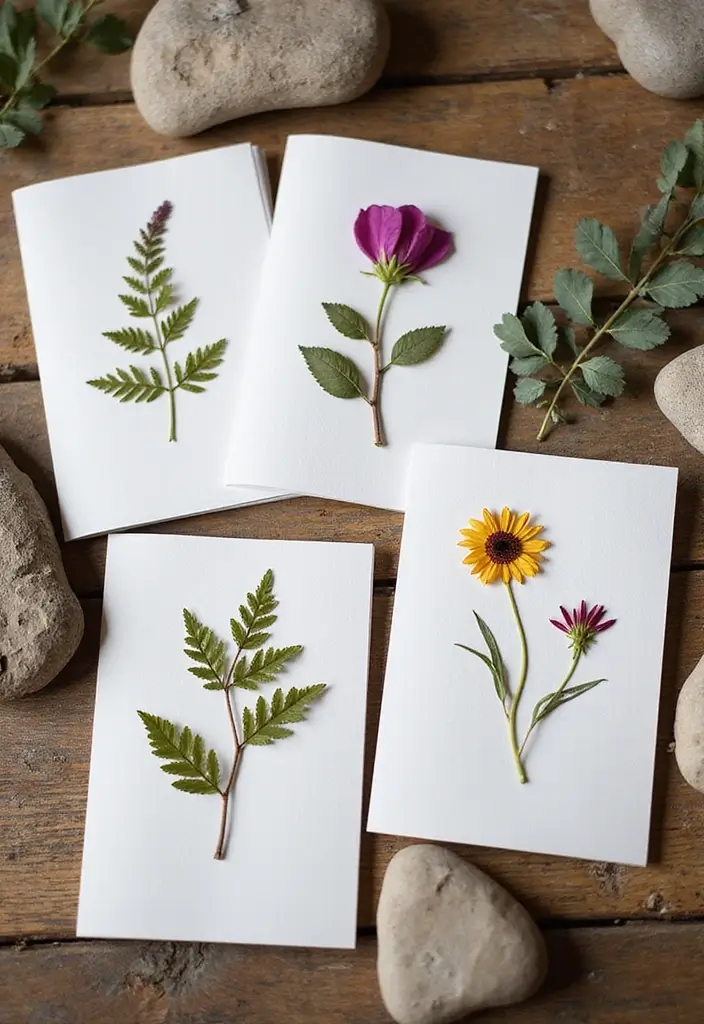
If you want nature-inspired cards that feel calm and earthy, nature-inspired ideas can help you. You can use real leaves, petals, and simple textures to make each card unique. Here is how you can do it.
– What you gather Leaves with clear shapes and bold veins work best.
– Press and dry Press items between parchment or clear sheets with a light weight for 24 hours.
– Plan the layout Lay pieces on your card first to see balance, then adjust.
– Attach carefully Fix each piece with glue dots or a small dab of glue; press until it sticks.
– Add finishing touches Tie a twine loop, add a strip of earthy paper, or brush a tiny watercolor wash for background texture.
– Try alternatives Use leaf-shaped stencils or stamps to create a nature look without real leaves.
Here is why it works: real textures echo the outdoors, and pressed items stay flat when kept under light glue. These cards feel grounded and thoughtful, perfect for friends who love the outdoors.
If you want a softer feel, use pale greens, cream, or tan as your base and limit color pops to one leaf. For a bolder look, switch to a bright hue with a clean white card and keep the layout simple. Seal the design by spraying a light, clear finish to help leaves stay crisp.
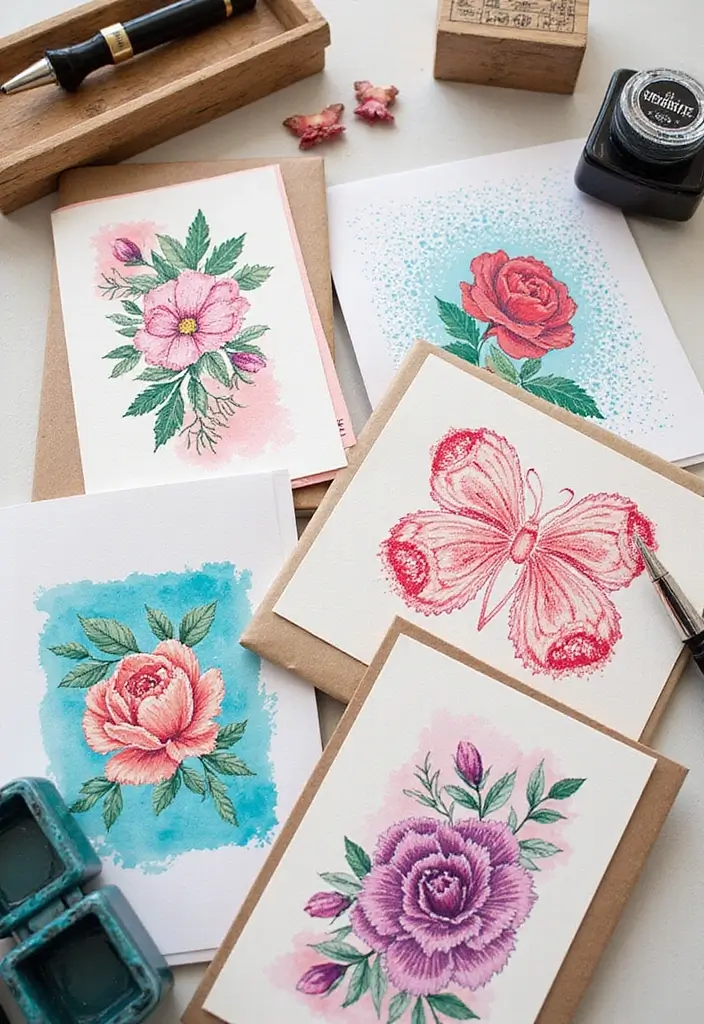
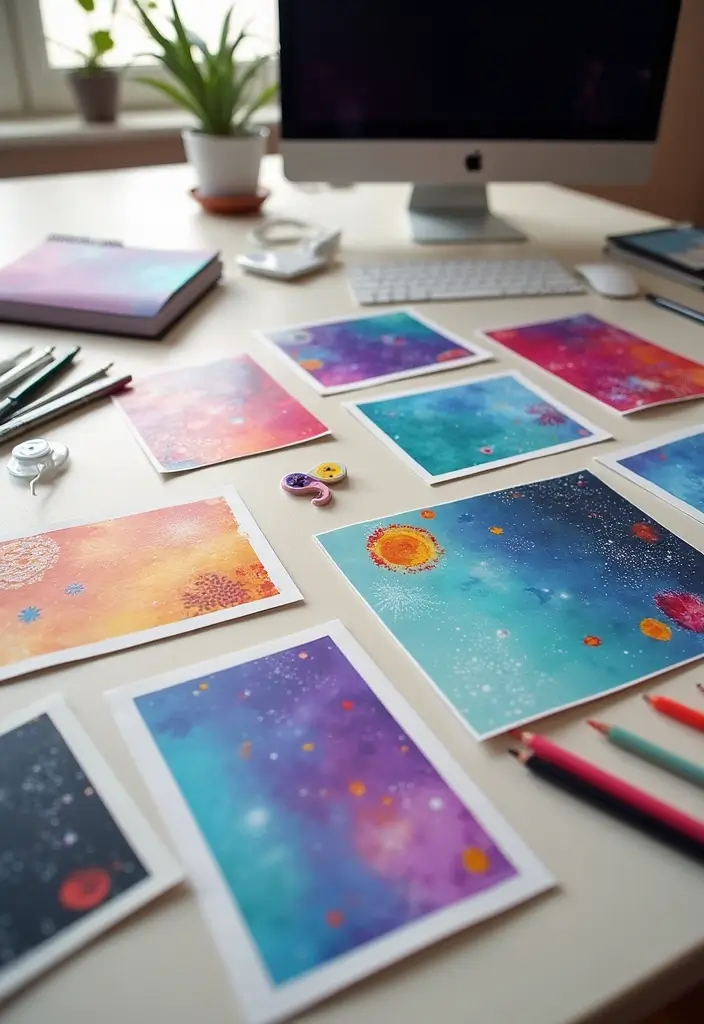
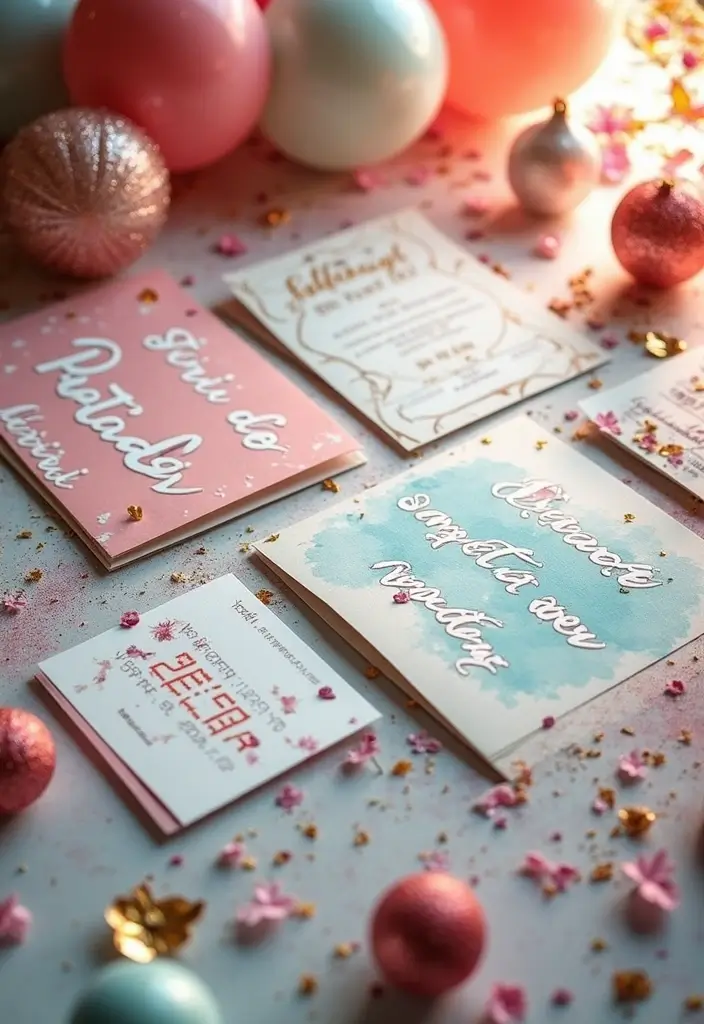
3. Watercolor Wonder Cards

Watercolor Wonder Cards
You want cards that feel soft and personal. Watercolor can do that with ease. The colors glide, blend, and leave tiny, unique marks on every card.
Here is why they connect with people. Watercolor art feels gentle and warm, and it shows you care.
Here is how to start:
– Use watercolor paper for best results.
– Let each color dry before adding the next.
– Try salt or plastic wrap to add texture.
Turn the wash into art:
– Start with a pale background. A thin wash of blue, pink, or green sets the mood.
– Add a bolder stroke to frame your message.
– Dot in small shapes or a tiny bouquet in a corner.
Next steps:
– Write your note after the paint dries. A fine pen or brush lettering works well.
– Keep the message short so the art shines.
– Practice on scrap paper first—that helps you pick the right balance.
Why it helps your card:
– These cards feel personal and show you took time.
– They suit birthdays, thank-you notes, or just hello cards.
Want more depth? Try a subtle gradient or a lone seed of flowers. Let everything dry fully before you mail the card.
Keep a small set of colors handy and you can make a new card in minutes.
@media(max-width:480px){
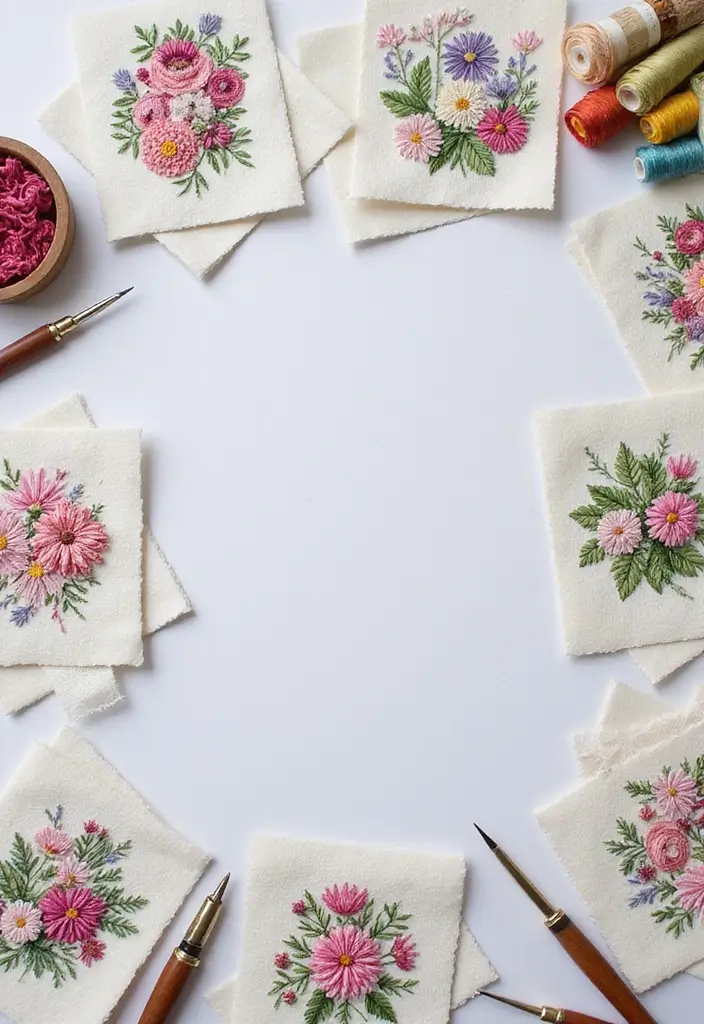
4. Fabric Scraps Delight
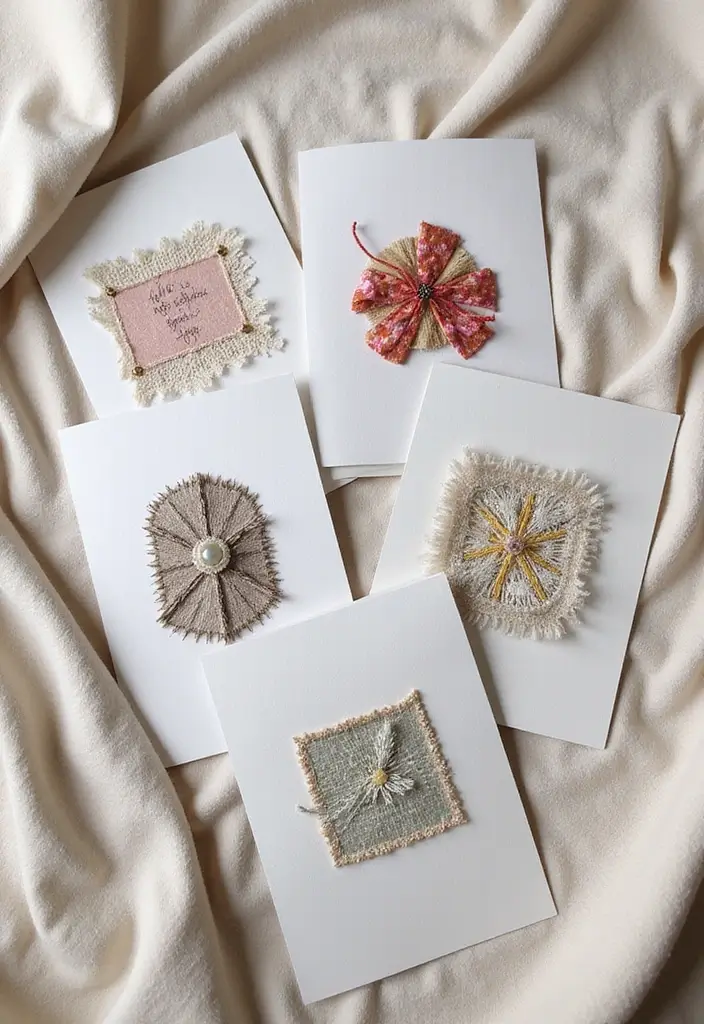
Want your cards to feel warm and personal? Fabric scraps give you texture, color, and a soft, handmade touch. Here is why it works: you layer real fabric on a plain card base to add depth. Next steps. Here is how to do it. Here is what you gain from this approach. You transform old scraps into keepsake cards. You can make several designs from one pile. Best of all, you control colors and textures.
– Gather small scraps from old clothing or crafts and cut them into simple shapes.
– Layer shapes on the card base to add depth and a cozy, tactile feel.
– Add simple embroidery stitches for extra detail.
– If you don’t want embroidery, try simple stitches like running stitch for texture.
– Pick fabrics that fit the occasion, such as florals for birthdays or soft tones for sympathy.
– Use light glue or double-sided tape to secure pieces without making the card stiff.
– Trim edges cleanly with scissors to prevent stray threads.
– Mix patterns with care by keeping colors in the same family for harmony.
– Test the glue on a scrap first to see how the fabric reacts.
This approach yields textured cards that feel personal and thoughtful. You can try a few colors next. Your finished cards will warm any heart.
5. Stamped Greetings
Stamps lift your cards fast. A small set of stamps lets you add patterns, shapes, or messages with ease.
Stamping gives a clean, repeatable look. It helps you make a batch without a lot of extra work.
Here is how to get a professional stamped feel:
– Use archival ink. It stays crisp and resists fading on card stock.
– Layer stamps for depth. Stamp a light motif first, then place a larger shape over it.
– Mix fonts and designs. Try a bold word paired with a delicate script.
– Mask to build scenes. Stamp a sun, then cover it to add clouds around it.
– Play with color. A bright accent shade draws the eye and sets the mood.
After you stamp, clean your stamps so they stay sharp. Store inks separately to keep colors true.
Optional tweaks for faster results:
– Pick 2–3 stamp sets that fit your theme and reuse them across multiple cards.
– Practice on scrap paper first to feel the right pressure and placement.
– Use a stamping platform or a steady mat to align designs perfectly.
Stamped greetings feel polished with minimal extra work. They suit beginners and busy crafters, and you can reuse the same designs on many cards.
Pick a theme you love and keep it simple. A seaside scene, gentle flowers, or cute characters work well. Add a short sentiment in a script that matches the mood. Limit yourself to one bright accent color so the eye lands on the message. If you make many cards, stamp in batches to save time and get a consistent look.
6. Upcycled Cardboard Creativity

You want a greeting card that feels personal and doesn’t cost a lot. Upcycled cardboard is a perfect fit. It starts plain, then gains texture as you work. With a simple cut, fold, and splash of color, you turn a box scrap into a card that lasts and stands out. This is a practical DIY greeting cards idea for eco-minded friends. It’s eco-friendly and easy to recycle after use.
Here is how to begin.
Steps to make your cardboard card:
1. Gather a sturdy piece of cardboard from an old box.
2. Cut it to card size.
3. Score a fold line and fold.
4. Add color with paint, markers, or stamps.
5. Let it dry and add small details.
Decoration ideas:
– Texture tip: Use old shipping boxes for a textured background.
– 3D effect: Layer pieces for depth.
– Playful shapes: Cut-out shapes to create playful cards.
These upcycled cards stay sturdy even with daily handling. This makes a good project for summer craft time. You can make several at once. Friends and family will notice the texture and care you put in.
Next steps: Try this with kids or friends, test on scrap first, then share your results.
@media(max-width:480px){
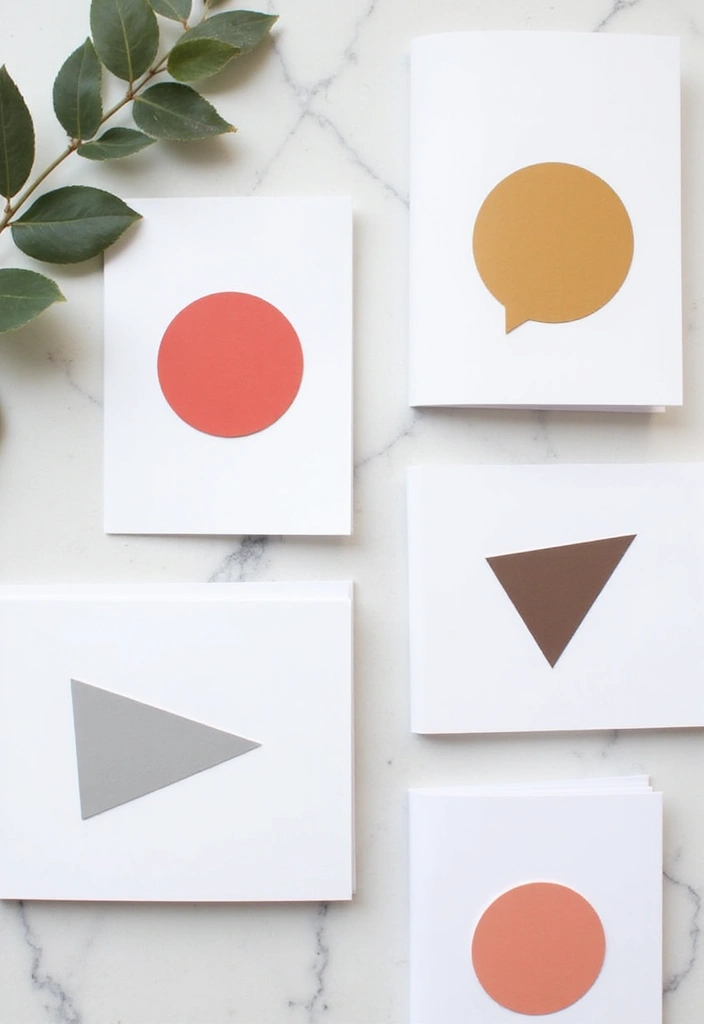
7. Minimalist Designs
Minimalist Designs
You want a card that speaks softly but reaches the heart. Minimalist design does just that. It uses space, clean lines, and a single mood to tell your message. Here is why this style connects with readers.
How to pull it off
– Pick one main design element: a single flower, a simple line drawing, or a small icon. Let that be the star.
– Use one color palette: two tones at most. A calm gray, a warm taupe, or a bold black on white.
– Leave negative space: let the card breathe. Don’t crowd the front with words or pictures.
– Choose a heartfelt message: a short line often lands stronger than long text.
Practical tips for success
– Pick stock that feels smooth or slightly textured. The feel adds warmth even when the image is simple.
– Use clean lines and minimal typography. Avoid busy fonts.
– Test on real light: look at the card in daylight and under a lamp. See what stands out.
What you’ll gain
– A classy, versatile card that fits many occasions.
– Easy creation: less to design, more focus on care.
– A keepsake feel that friends remember.
Next steps
– Pick a moment you want to honor.
– Choose your one element and let it lead.
– Make a card that feels calm and heartfelt.
8. Pop-Up Cards
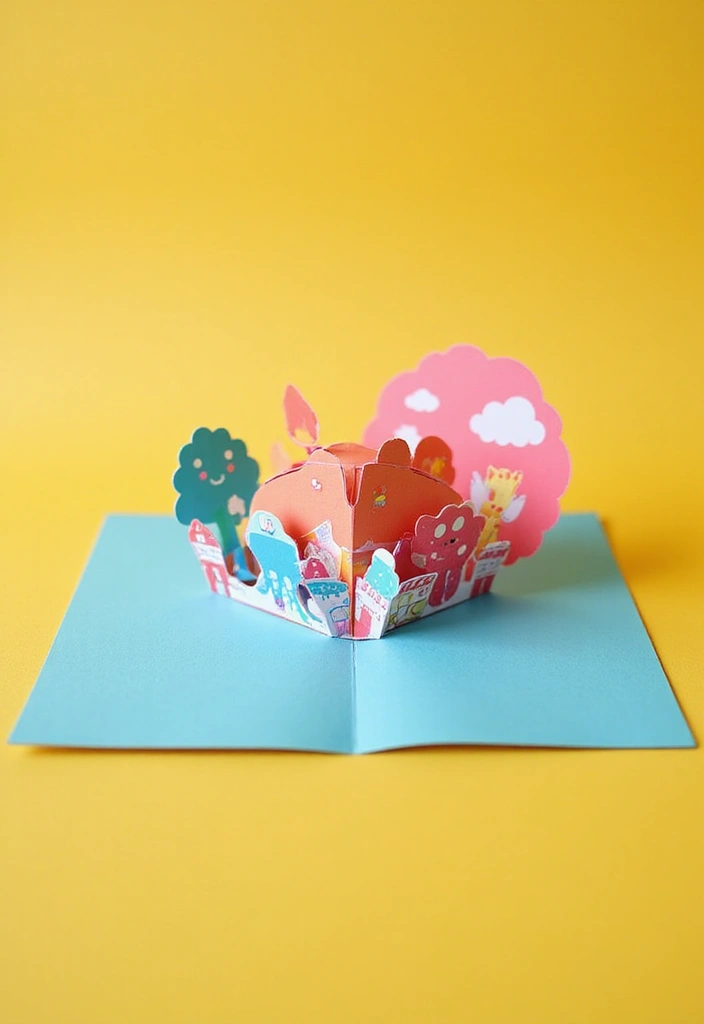
Pop-up cards add a spark of surprise. When the reader opens the card, a figure jumps up and greets them. It’s a small trick, but it makes your message feel alive. You can make this with a simple plan and careful folding. Let’s break it down.
Materials
– Cardstock in a light to medium weight for durability
– A second sheet for the pop-up piece
– Sharp scissors and a ruler
– A scoring tool or a blunt edge to crease cleanly
– Double-sided tape or glue dots for a strong hold
– A pencil for planning
– Optional: thin decorative paper for the pop-up face
Steps
– Start with a plan. Pick a simple shape that will stand up, like a heart, flower, or star.
– Cut the pop-up shape on scrap paper first. This helps you test size and balance.
– Fold your card where you want the pop-up to live. Score the fold so it bends smoothly.
– Add a small tab or flap to the back of the pop-up shape. Glue it along the inside fold with just a thin line of adhesive.
– Attach the tab to the card so the shape rises when the card opens. Check that it sits flat when closed.
– Decorate the front and the inside. Keep the message on a flat panel so it stays legible.
Tips for success
– Use a strong adhesive and avoid applying glue on the pop-up face.
– Test the card by opening it several times during assembly.
– Keep shapes simple for a clean, reliable pop.
Next steps. With practice, you’ll create pop-up cards that feel polished and heartfelt.
@media(max-width:480px){
@media (max-width: 600px) {
.visual-quiz-iframe { min-height: 995px !important; height: 1100px !important; }
}
9. Hand-Lettered Cards
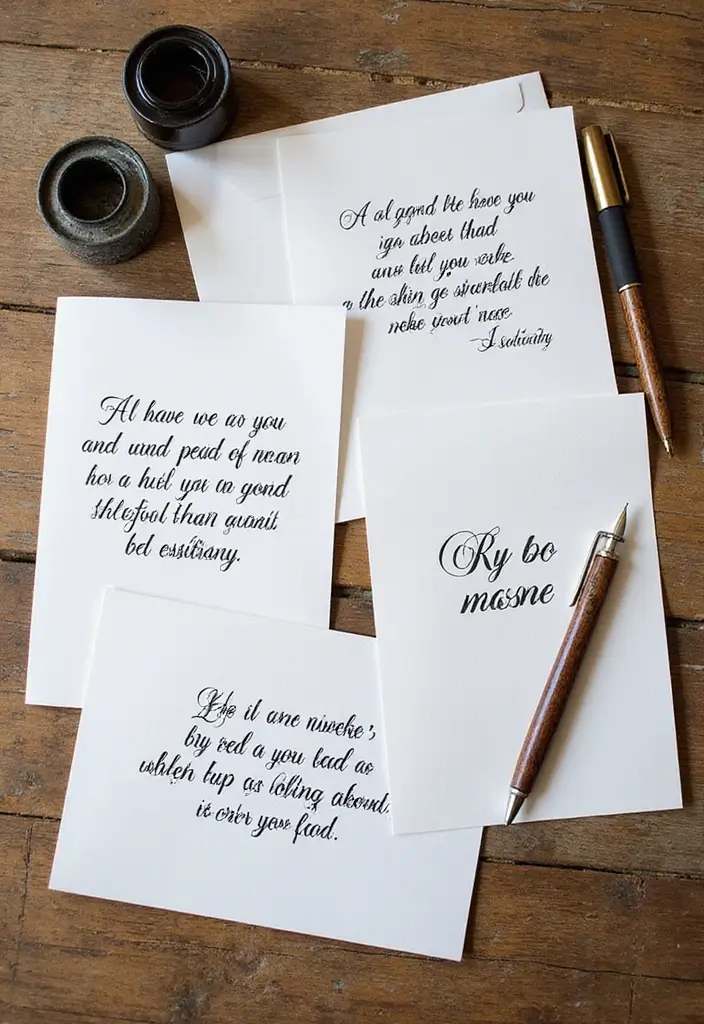
You want a card that feels one-of-a-kind. Hand lettering can do that. It adds a personal touch that printed cards miss. You can set the mood with color and rhythm. You can shape the words to fit your voice.
Here is why hand-lettered cards stand out. You write with your own hand, not a machine. You show care in every line and curve. Your message stays with the reader a bit longer.
Next steps to nail it:
– Gather simple tools: a good marker or brush pen, a fine liner, and smooth card stock.
– Pick a style you love for the name and the message.
– Plan your layout first with light pencil guidelines.
– Add borders and doodles that frame the text.
– Practice on scrap paper before the final card.
– Use guidelines and light pencil marks to keep letters aligned.
– Keep a tidy desk and clean nibs to avoid smudges.
– Finish with a calm touch by letting ink dry and adding a little color or shadow if you want.
– Don’t rush your work; slow practice makes your letters smoother and more confident.
– Adjust spacing by counting characters and leaving even gaps.
– Experiment with color accents that do not overpower the text.
– Store finished cards flat to avoid warping the ink.
– Your practice will pay off.
End result: a heartfelt card that feels made by you.
10. Interactive Scratch Cards

You want greeting cards that feel fresh and personal. A scratch-off layer adds surprise and a small thrill. It invites you to touch, scratch, and reveal. Here is why this approach works: it makes your card an experience, not just a note on paper.
Here is how to make your scratch cards simple and reliable:
– Create a tiny scratch area with clear tape. Then coat it with a thin mix of acrylic paint and a drop of dish soap. The soap helps the paint lift off cleanly when scratched.
– Write a hidden message under the scratch spot. Keep it warm, light, or funny so the reveal brings a smile.
– Pick a theme for the occasion. A birthday card can hide a joke; a thank-you card can reveal a note of thanks.
– Quick tips to get a smooth reveal: choose a bright paint color so the message stands out once you scratch. Keep the visible design simple so the reveal doesn’t overwhelm the card.
These cards fit well with DIY greeting cards and paper crafts trends. They work for birthdays, anniversaries, or just a kind moment.
Next steps: test your scratch layer on a scrap piece first, then apply it to your real card. Check that the surface feels easy to scratch and that the message is easy to read when revealed.
11. Stitched Cards
If you want a greeting card that feels truly personal, try stitching on paper. Stitches give texture and a warm, handmade vibe that flat prints miss. You can stitch numbers, words, or simple shapes to tell your story. The look changes with thread thickness and stitch type.
What you need
– Use thick card stock to support every stitch.
– Lightly sketch your design with pencil before you start.
– Mark evenly spaced holes with a needle or a paper punch.
– Pick thread colors that pop, or go soft for a calm look.
– Experiment with stitches like running stitch or backstitch for texture.
– Keep the card flat while you stitch to avoid misalignment.
– Let the thread rest for a minute before you tie off.
Finishing touches
– Tie knots at the back and trim ends to keep the card neat.
– Secure the ends with a small dab of glue or tape if needed.
– Practice on scrap paper first to build confidence.
– Tidy up your workspace when you finish.
Why this works
Stitched cards feel nice in the hand and are perfect for birthdays, anniversaries, or just to say you care. Stitched cards win smiles because you made them by hand. You can also turn stitched pieces into gift tags.
12. Photo Cards
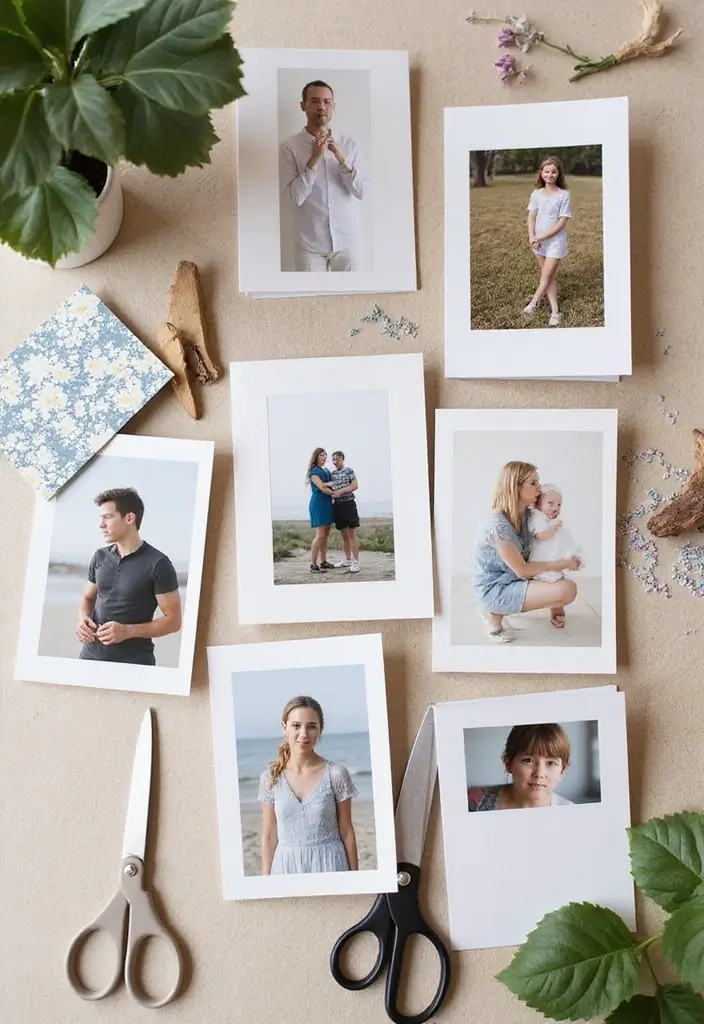
You want a greeting card that feels personal and real. Photo cards let your memories speak.
Here is why they work: a familiar face or place makes the note feel closer. Choose a bright, clear photo. Joyful moments work best.
Next steps:
– Pick a size: 5×7 or 4×6 fits most cards.
– Print on sturdy stock or glossy photo paper. Use high print quality if you print at home.
– Glue the photo to a blank card or mount it with corners.
– Add a short, handwritten message for warmth.
Tips to boost the look:
– Leave a clean white border or frame the photo with decorative paper.
– Add a date or location for extra meaning.
– Try a two-photo collage or a black-and-white version for a classic feel.
What you need:
– blank greeting cards or folded cardstock
– a printer and good photo paper
– glue or double-sided tape
– scissors or a paper cutter
– optional: decorative edge scissors or corner punch
Ideas for use:
– birthdays, anniversaries, thank-yous
– travel memories, milestones, family moments
Finish and care:
– sign with a short note
– store in a sleeve to keep colors bright
Pro tip: print one sample to check colors before you run a batch.
@media (max-width: 600px) {
.normal-quiz-iframe { min-height: 570px !important; height: 570px !important; }
}
13. Foil Accents
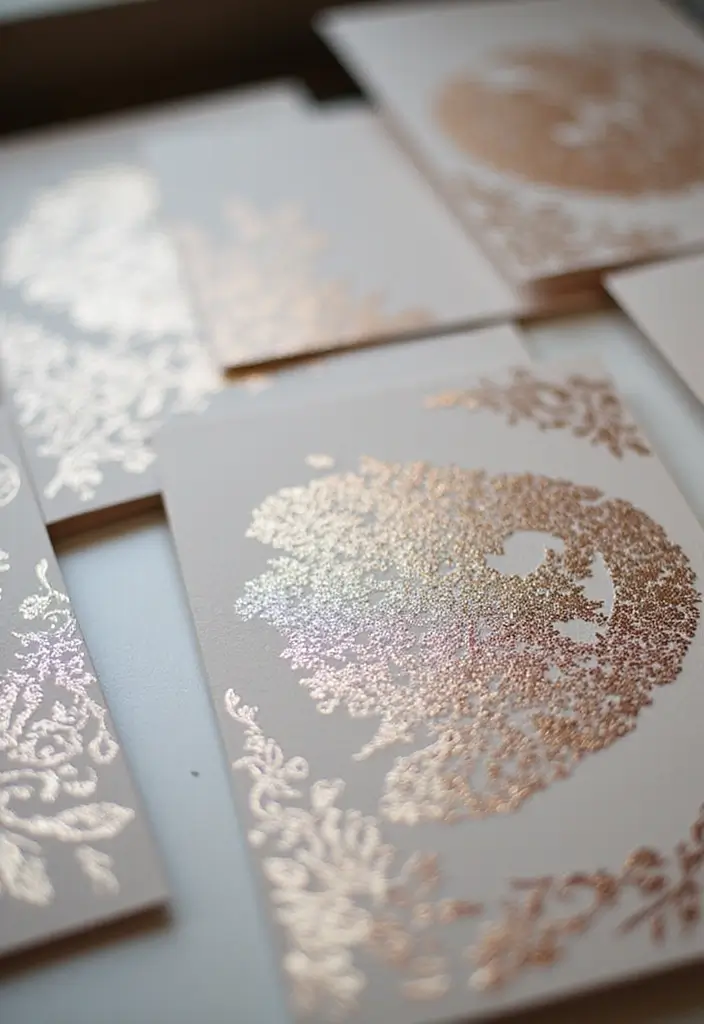
Looking to add a touch of luxury to your cards? Foil accents do it with ease. They bring a shiny sparkle that catches the eye. You can use foil transfers or stickers for the look you want.
– Choose colors that pop against your card base. Dark foil on light backgrounds works well; silver or gold reads elegant.
– Keep the design simple. A single word or small shape can shine with lots of white space.
– Use foil like a punctuation mark. Too much foil makes a card feel busy.
Foil shines on smooth, sturdy paper. It can look flat on heavy textures, so pick clean stock. If you plan a wedding or formal card, foil accents read refined.
Where it fits. It suits wedding invites, save-the-date cards, and formal thank-you notes. It also works on white or pale backgrounds.
Limitations. Busy patterns hide the shine. Foil is delicate on very thin cards.
How to apply
For transfers, place the design face down and rub with a bone folder until the foil sticks. For stickers, peel and press down, smoothing air bubbles.
Next steps
Test on scrap first. Let the foil dry before you fold. Store finished cards flat to avoid bending. With care, your cards glow with soft elegance.
@media(max-width:480px){
14. Digital Designs
Digital designs let you craft cards you can print at home or share online. Design once, then print or send as needed.
Why this helps you: you control color, font, and image. Fix mistakes quickly and save trips to the store.
What you need
– A graphic design tool or app (Canva, Inkscape, or Procreate).
– A standard card size, usually 5 by 7 inches or A6.
– High-resolution images. Aim for 300 DPI.
– Thick, eco-friendly card stock or sturdy matte paper.
How to design
– Start with a simple layout and 2–3 colors. Keep it readable.
– Use one or two fonts. Make the headline bigger.
– Add a photo or graphic that fits your message. Preview at actual size.
– Save as a print-ready PDF.
Printing and finishing
– Do a test print on plain paper to check spacing and color.
– Print on the right stock, trim, and fold carefully.
– A matte finish can look clean.
Next steps: share the file, print a set as gifts, or keep blank templates for quick notes.
Quick tips
– Start with a clean, simple layout.
– Use high-contrast text on light backgrounds.
– Save an online PNG version for easy sharing.
– Save a print-ready PDF for clean printing.
If you want more style, try two-tone colors and a light frame around the message.
15. Mixed Media Madness

You’re after cards that feel personal, not copied from a store shelf. Mixed media gives you that handmade magic. When you blend paper, fabric, stickers, and tiny trinkets, your card becomes something new every time. It catches the eye and says you cared. Here is why this works.
Mix in upcycled pieces from old cards and fabric scraps for an eco-friendly touch. This style fits fall, weddings, and birthday cards. It’s easy to swap colors to fit any mood.
Mixed media techniques for greeting cards
– Layer textures to add depth. A fabric edge peeks from under a paper layer.
– Add playful bits like buttons, beads, or charms.
– Let each piece tell a small part of the story.
– Balance bold bits with quiet space so your message shines.
Next steps you can apply today:
– Gather three textures you love and a plain card.
– Lay out the pieces first, then glue from back to front.
– Use light glue for delicate parts and tape for flat pieces.
– Seal with a light spray or a brush-on sealer to hold things in place.
– Write your message after the glue dries to keep it neat.
Quick wins: start with one focal piece and a few textures. Too many items can hide your message.
16. Card Sets for Every Occasion

Do you want a gift that keeps on giving? Create a set of themed greeting cards you can gift together.
Steps to Build a Card Set
– Choose a unifying design element, like a color palette or a simple motif, so your cards feel part of the same family.
– Then pick 3 to 5 themes that fit common moments for your friends and family: birthday, thanks, thinking of you, congratulations, and a note of encouragement.
– Keep the wording varied inside each card while using the same outside design cues.
– Use the same font, card size, and border style to tie the set together.
– Then think about packaging your gift.
– A keepsake box with tissue and a printable label makes the gift feel special.
– Add a gift tag that explains the idea, like “For every note you want to send.”
– Choose sturdy stock and a matching envelope to keep the look neat.
– To build the set, print or handcraft 6 to 12 cards on sturdy stock, with matching envelopes.
– Craft tips: test color balance on a screen, then print a sample.
– Use affordable materials like recycled paper for a friendly touch, start today.
– This kind of card set works well for anyone who sends cards often, giving them choices for any moment.
– Let’s begin.
@media(max-width:480px){
17. Transparent Overlay Cards
You’re looking for a card that feels light, modern, and a bit airy. Transparent overlay cards use a clear sheet above a printed or drawn background. The result is depth you can see and touch. Choose a base card in a bold color, then add a translucent overlay in acetate or vellum. The light shines through, highlighting a word or doodle under it.
Materials
– base card
– clear overlay (acetate or vellum)
– light tape or corner adhesive
– fine pen or colored pencil for writing
How to make
– Cut the overlay slightly smaller than the base card for a clean border.
– Place your design under the overlay. Print a message, pattern.
– Secure the overlay at the corners or edges with tape dots.
– Add a small embellishment on top for texture, like a seed or a tiny gem.
Design tips
– Use high contrast between base color and overlay to pop.
– Try a faint border around the overlay to lift it from the page.
– Let light play across the sheet for a shifting look.
Common questions
– Will the overlay stick well? Yes, with small tape points.
– How durable is it? Handle gently; avoid heavy bending.
Next steps
Experiment with prints, handwriting, and drawings under the transparent layer to find your style.
@media(max-width:480px){
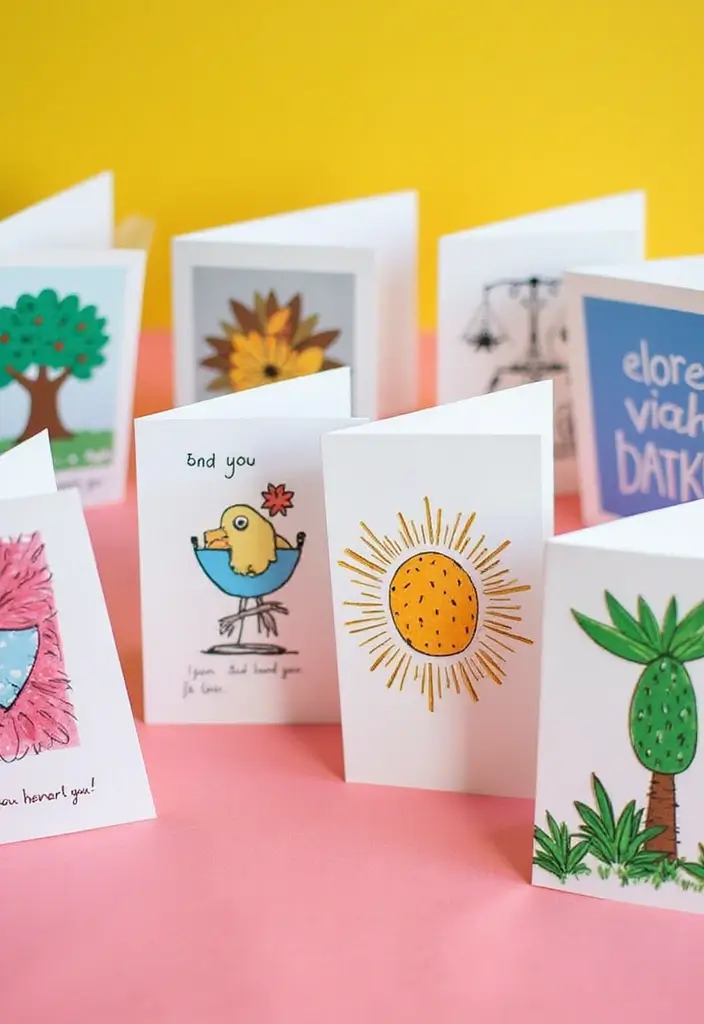
18. Kids’ Art Cards
Want a simple way to celebrate your kid’s art and make cards your family will treasure? You can turn a doodle or painting into a warm greeting card that people will love to receive.
What you need
– Your child’s artwork
– A scanner or a phone camera that takes clear pictures
– Card stock or a ready-made folding card
– Glue or double-sided tape
– A short note about the art (the kid’s name, age, and date)
How to do it
– Pick a piece that speaks to you. A small drawing can shine on a card.
– Capture it in good light. Hold the camera steady and shoot straight on.
– Print on sturdy stock. Aim for a clean edge and a folded card base.
– Attach the print to the front. Use glue or tape for a neat look.
– Add a caption inside or on the back about what you love in the art.
Tips to make them stand out
– A white border helps busy art feel calm.
– Include a tiny note with the artist’s name and age.
– Try a collage by cutting out shapes from the art and arranging them.
– For big works, make a photo-card version to keep color accuracy.
Here is why this works: it uses art you already have, saves money, and makes the giver feel close. Next steps: keep a digital copy, tweak colors if needed, and keep a few ready-to-mail designs.
@media(max-width:480px){
19. Card Making Kits

You want to make greeting cards fast without digging for supplies. A card making kit puts all the basics in one place. It saves time and cuts clutter. It also makes crafting feel friendly, a little social, and easy to share with a friend or two.
What to include in a card making kit
– A mix of papers: sturdy cardstock, patterned sheets, and recycled options.
– Basic tools: scissors, a glue runner, a tape dispenser, stamps, ink pads, and a pencil.
– Embellishments: stickers, ribbons, sequins, and washi tape.
– Extras: a small box or pouch to keep things tidy, blank note cards, and a few envelopes.
– A simple guide or checklist to grab what you need quickly.
Here’s why this setup works. You can pull it out for a quick Sunday session. The kit travels well, so you can craft at a friend’s place or at a cafe.
How to use your kit
– Lay out a card base and a sheet from your kit.
– Pick a design, stamp a greeting, and color a bit.
– Add embellishments to finish the look.
– Tuck leftovers back in their pockets and store the kit away.
Next steps
Choose a ready-made kit or start your own small set. Begin with a compact box and a few papers you love. See how it fits your days, then adjust.
20. Seasonal Cards
Seasonal cards help you send a warm note. You can make them feel alive with colors, shapes, and textures that match the season. Here is why they connect with people: they show care and timing.
Here is how to plan a batch you can reuse later.
– Pick a season and mood. Think spring freshness, summer brightness, autumn coziness, or winter calm.
– Choose a color palette. Spring uses soft pinks and greens; summer uses sunny blues and oranges; fall uses earthy browns and gold; winter uses icy blues and white.
– Add seasonal motifs. Use flowers for spring, suns and waves for summer, pumpkins or leaves for autumn, snowflakes or pine for winter.
– Gather simple supplies. Use sturdy cardstock, a bit of patterned paper, a stamp set or clear stamps, ink, scissors, glue, and a black pen for words.
– Keep layouts easy. A centered image with a short message works well on a 4×6 or A6 card.
– Add texture and finish. A thin ribbon, a touch of embossing, or a foil accent makes cards feel special.
– Gift or mail. Seasonal cards are great for birthdays tied to the season or as a quick hello before a holiday.
Next steps: sketch ideas, cut your supplies, and enjoy the process.
@media(max-width:480px){
21. Themed Party Invitations
You want invitations that set the mood before guests arrive. DIY invites can do that with just a little planning.
Here is why themed invites work. They tease the fun and make guests say yes fast.
– Pick a theme that matches your party idea. A pirate night, a glow party, or a cozy tea gathering all work.
– Choose colors that fit the theme and the room where you will host the event.
– Include RSVP details clearly, with a date, time, and how to answer.
– Personalize each invite with a name or memory from the guest. A small touch can go far.
– Add a playful detail, like a tag shaped like a ship wheel or a tiny tassel.
Next steps to make them real. Gather simple supplies, tidy up your design, and write friendly words. If you want faster results, use a ready-made template and swap in your words.
Tip: mail or hand out the invites a week or two before the party. This keeps the plan direct and stress-free.
If you want an extra warm feel, try a cut-out shape on sturdy paper and a short string. Or go digital with a printable template and warm wording that invites curiosity.
That is it. Themed DIY invitations do more than tell the date. They invite your guests into the feel of your event.
@media(max-width:480px){
22. Greeting Cards for Causes
You’re after cards that do more than look nice. You want your craft to help a cause you care about. Here is why this works: people love to support a cause when a card helps others.
Let’s break it down into steps you can use today.
Steps to make cause cards
– Choose a cause you care about
– Write a short message that clearly fits the cause
– Design with a simple theme that matches the message
– Plan how proceeds will be donated and where the money goes
– Choose a size and format that fits your budget
– Pick fonts that are easy to read
Materials and design tips
– Use sturdy cardstock and bright ink for clear prints
– Keep artwork simple so it looks good on small cards
– Use recycled envelopes to cut waste
– Add a personal touch with a quick doodle or initials
– Try a simple color palette to keep costs down
Ways to share and give
– Sell at school fairs, local markets, or online shops
– Donate a portion or all proceeds to the chosen cause
– Include a short note or QR code that explains the donation
– Tell the cause story in a line on the back of the card
Next steps: gather supplies, pick a cause, and start making cards that give back.
@media(max-width:480px){
23. DIY Envelopes
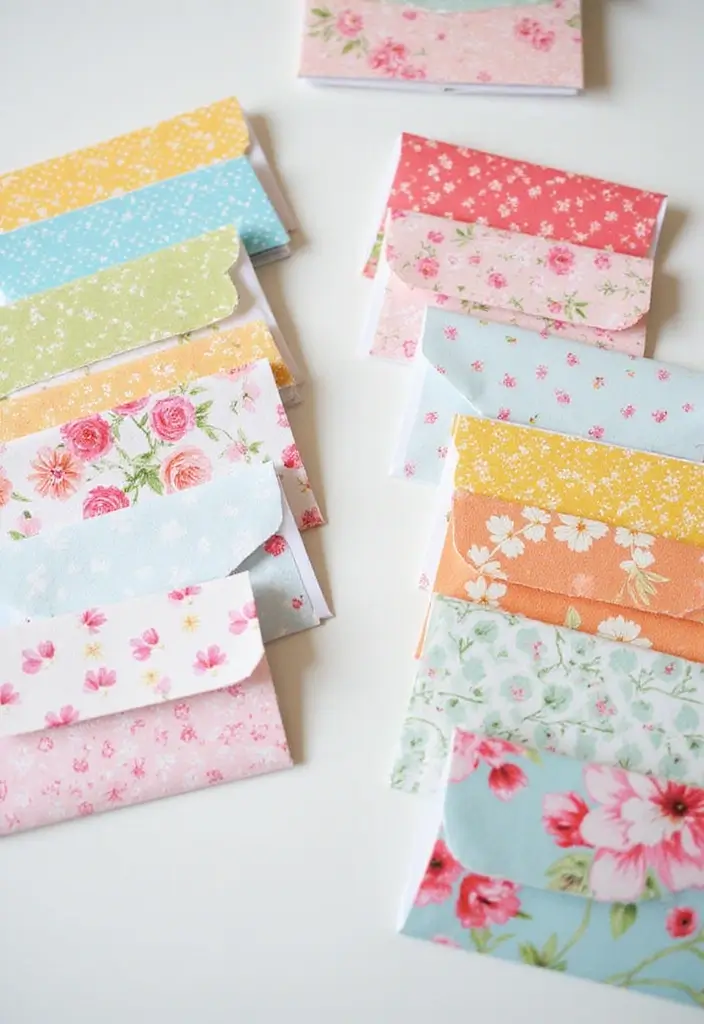
DIY Envelopes
Your card needs a matching envelope. A custom envelope lifts the whole moment. It shows you care and adds a personal touch.
– Pick paper that fits your card. Patterned paper or pretty scraps work well. You can mix a bold outside with a soft liner.
– Use an envelope template. Online templates make precise folds easy.
– Trace, cut, and measure. Place the template on your chosen paper. Cut along the edges. Leave small margins so it fits.
– Fold with care. Press each crease firm. A clean edge makes the envelope feel finished.
– Add a liner for a surprise. Line the inside with a contrasting color or print. It hides the card a moment longer as you open it.
– Finish with small details. A stamp, sticker, or wax seal adds a nice touch. Seal with a dab of glue or a tidy crease.
– Check size and fit. Your card should slide in smoothly without forcing.
– Try a few ideas first. Make a test envelope from scrap paper before committing to your chosen design.
These custom envelopes make your greeting cards feel thoughtful. They’re simple to make and easy to personalize.
24. Vintage Style Cards

You want greeting cards with real heart. Vintage style lets you reach back to warm memories. You can see faded photos, soft lace, and tiny buttons in your mind. Let’s make cards that feel like a well-loved keepsake.
Here is why this works. It taps nostalgia and stays calm.
– Base color. Start with cream, kraft, or light brown cardstock. The color sets a retro mood.
– Vintage accents. Glue on a bit of lace, a small button, or a pinch of twine. These touches invite a quiet smile.
– Muted palette. Choose sepia, olive, dusty rose, or charcoal. Keep the colors soft.
– Words worth saving. Add a short, old-fashioned line. Handwrite it for a personal touch.
– Texture with care. Lightly tea-stain the edges. Gently sand the corners for depth.
– Simple patterns. Try tiny damask, dots, or retro stripes. Let the message stay clear.
– Finish and feel. Use a soft, matte coat so print stays easy to read. It should feel smooth to the touch.
Next steps
– Next steps. Plan your first vintage card in 30 minutes. Gather lace, buttons, and ink.
– Take a quick photo to share your card and get ideas.
Test your idea on scrap paper first. This saves time and waste.
Tip: keep a small mood board of colors and textures you like. It helps you stay on track.
These steps help you craft cards that charm friends and family. With steady hands, your vintage idea comes to life.
25. Personalized Recipe Cards
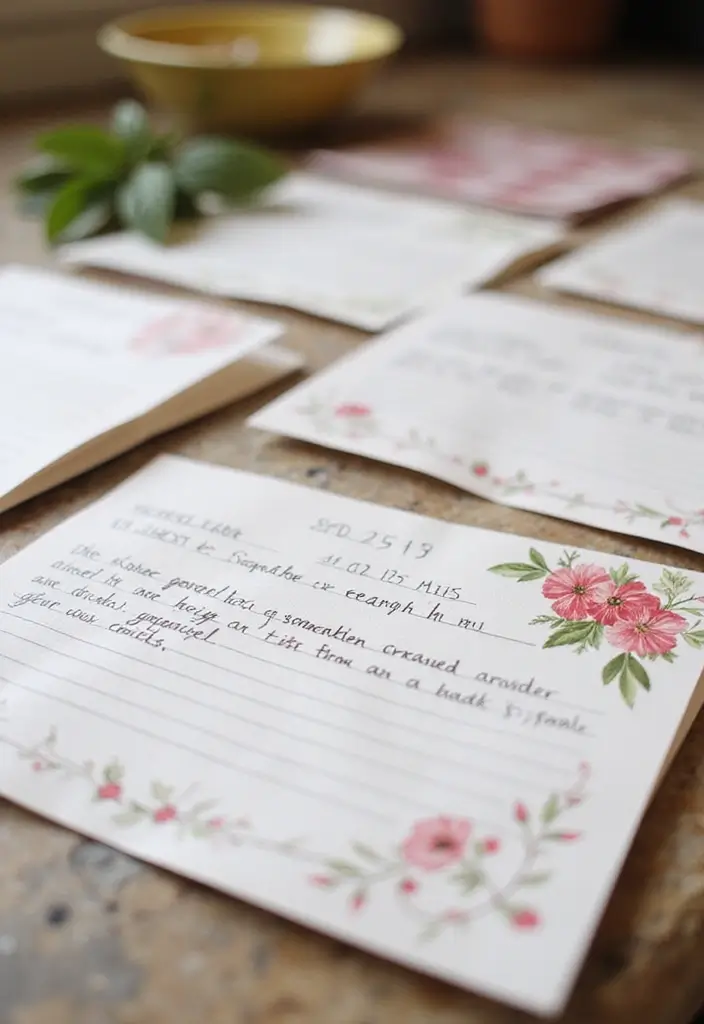
You want a gift that shows you care. DIY personalized recipe cards fit. They feel warm and useful. They’re easy to make and easy to use.
Here is how you can make them.
– What to pick Choose recipes that are tried and true. A family favorite works best.
– Handwriting or print Handwrite for a personal touch or print for a neat look.
– Notes to add Include a line about why this dish matters to you. Add one tip or variation.
– Design basics Use sturdy card stock. Pick a readable font and a simple border.
– Content layout List ingredients first, then steps. Add a short flavor note.
– Size and supplies Use 4×6 cards or A6 size. Gather card stock, pens or a printer, and envelopes.
– Matching style Match colors to the recipient’s kitchen or favorite decor.
– Where to use Great for family gatherings, weddings, housewarmings, or a thoughtful friend gift.
– Finish and gift Bundle a set in a small folder or holder. Tie with a ribbon or place in a recipe card keeper.
Next steps: print or write a small batch, then share the love.
Or share a digital version for quick gifting. It makes cooking moments feel close, no matter the distance. You can photograph the cards when you are done. Then share them today.
@media(max-width:480px){
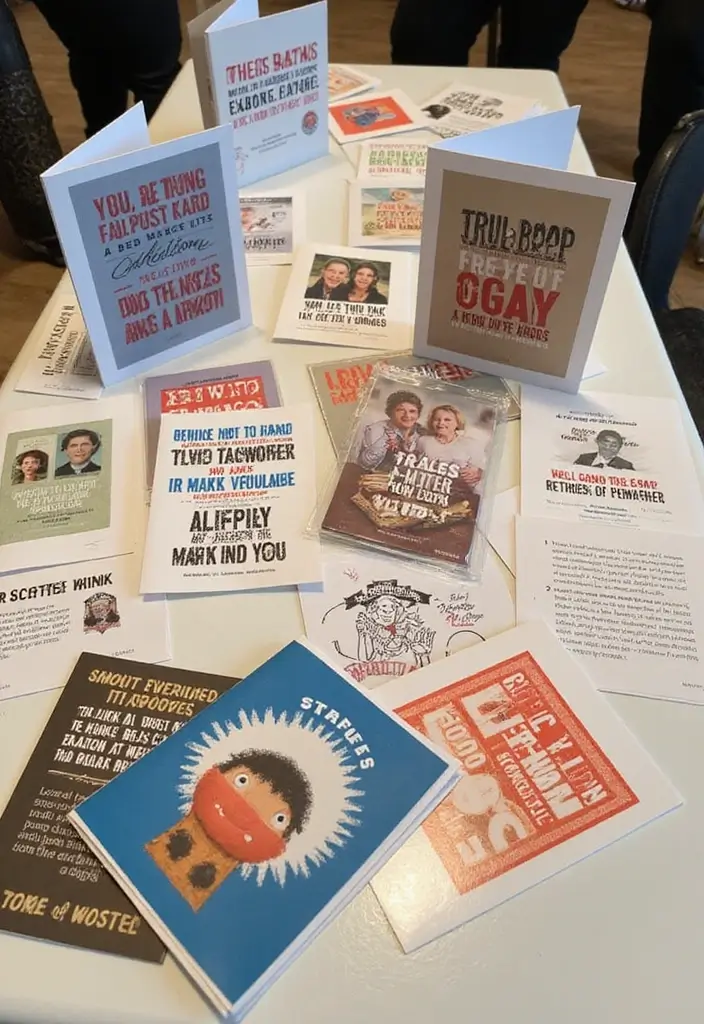
26. Card-Making Workshops

Want to turn a simple card night into a warm, shared experience? A card-making workshop can do that. You gather friends or family, pick a comfy space, and guide everyone through a relaxed afternoon of crafting. People leave with cards they’re proud of and stories they’ve shared.
Here is why: hands-on projects spark creativity, break the ice, and teach new techniques in a friendly setting. You’ll see smiles as ideas turn into cards.
Let’s break it down with easy planning steps.
– Date, space, and guests: choose a bright room, set a clear end time, and invite a group you can help easily.
– Materials you need: plain cards, envelopes, scissors, glue, markers, stamps, ink pads, washi tape, and a few extras like colored pencils or watercolor paints.
– Setup four stations: Station 1 stamps and ink play; Station 2 watercolor washes; Station 3 collage and layering; Station 4 simple pop-ups or die-cut shapes. Keep supplies organized and labeled.
– Create inspiring samples: lay out six easy options, with photos, so guests can copy or mix ideas.
– Pace and flow: plan 60–90 minutes, keep a gentle pace, and end with a quick sharing moment.
– Safe and welcoming: use non-toxic supplies, easy cleanup, and include clear instructions so beginners feel at ease.
Next steps: invite people, gather supplies, and set a date that works for everyone. Everyone leaves with their own handmade greeting card.
@media(max-width:480px){
Conclusion
Creating DIY greeting cards is more than just crafting; it’s about sharing emotions and building connections.
With these 26 eco-friendly ideas, you can make heartfelt cards that resonate with the recipients and contribute positively to our planet. So whether you’re celebrating a special occasion or just want to say hello, let your creativity flow and make something beautiful.
Share your creations and inspire others to join in the card-making joy!
Note: We aim to provide accurate product links, but some may occasionally expire or become unavailable. If this happens, please search directly on Amazon for the product or a suitable alternative.
This post contains Amazon affiliate links, meaning I may earn a small commission if you purchase through my links, at no extra cost to you.
Related Topics
diy greeting cards
eco-friendly crafts
handmade card ideas
nature-inspired designs
watercolor techniques
easy card projects
personalized greeting cards
upcycled materials
minimalist style
kids crafts
seasonal cards
card making techniques