Rainy days and stacks of cardboard boxes have me chasing simple, joyful play. I made this post to give you a practical guide that helps kids imagine with boxes, not screens. Cardboard crafts for kids can turn a plain box into a little world, a secret fort, or a tiny stage. I pulled together 25 ideas that use boxes you already have and a few everyday supplies.
If you are a parent, caregiver, teacher, or grandparent who loves hands-on projects that kids can join, this one is for you. You probably want activities that are quick to set up and easy to clean. The projects fit curious kids ages roughly 3 to 9, with older children helping guide the builds.
Inside you will find 25 crafts that start with a box and add simple parts. Each idea comes with clear steps and a short material list. There are tips to adapt for big groups or younger children. The projects help kids explore, move their bodies, and feel proud of what they make. Examples include a cereal-box rocket, a shoebox puppet theater, and a cardboard city house.
Practical notes keep things easy and fun. These crafts reuse boxes, cut waste, and spark stories. Gather supplies like masking tape, glue, markers, paints, and paper scraps. Set up a small craft station with a drop cloth. Safety first: supervise scissors and keep tiny hands away from sharp blades.
Not every box will become a perfect toy. Boxes vary in size and strength, and some builds need extra tape or a gentle trim. It’s fine to scale ideas down or combine pieces from multiple boxes. Let kids drive the design and celebrate every little win along the way.
Ready to turn ordinary boxes into adventures? Pick a idea or two and start crafting with your kid by your side. If you give a project a try, tell me which one you loved and how it sparked creativity in your space. Let’s turn simple boxes into big, kid-made stories.
1. Cardboard Castle
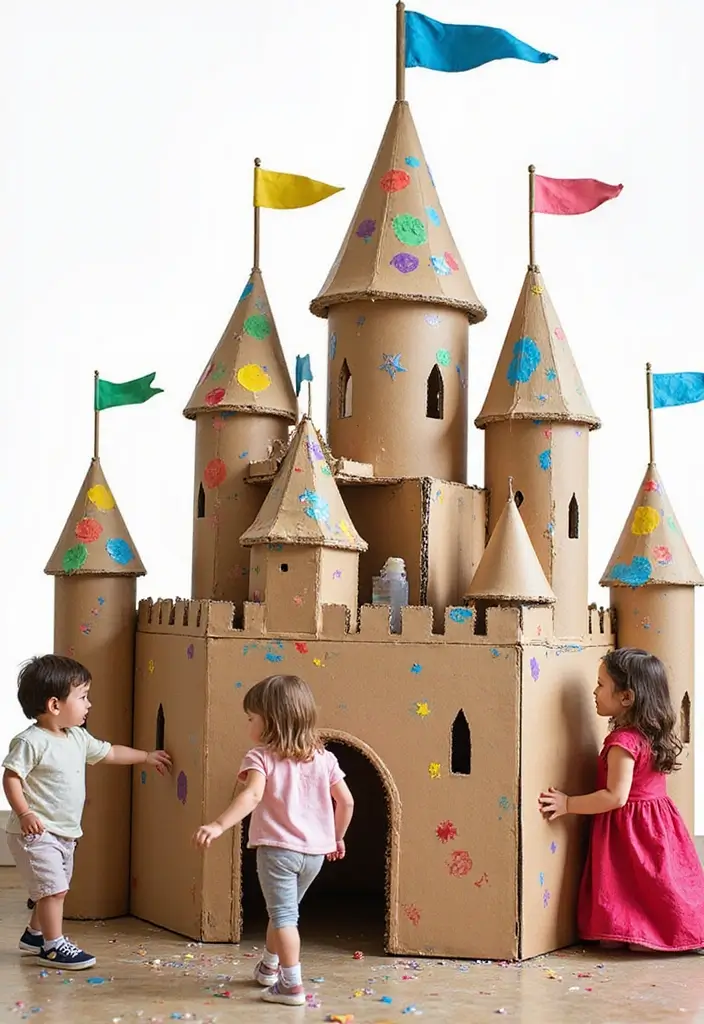
Want a castle you can build from a box plus a splash of color? A cardboard castle turns a simple box into a royal play space. It sparks imagination and gives your child a stage for pretend adventures.
Materials
– Large cardboard boxes
– Safety scissors or a craft knife for adults only
– Paints, markers, stickers
– Tape, string, fabric for flags
Here is why this works. The box becomes a canvas and your kid becomes the designer. Simple tools, plenty of room for expression, and a space they can claim as their own.
Steps
1) Cut out windows and a door from the box to make a livable fort.
2) Let your child decorate with paint, markers, and stickers to fit their royal dream.
3) Add flags on top of the towers using paper or fabric for a tall, festive look.
4) If you have extra boxes, build a moat or a drawbridge to complete the scene.
5) Draw a coat of arms on paper and tape it to the front for a personal touch.
Safety note: adults should handle any sharp edges or cutting tools.
Next steps. Turn the castle into a daily stage for stories, quests, and pretend meals. Pair it with a throne from a small box and a cape or scarf for quick dress-up. This simple build becomes a big world for play, right in your living room.
@media(max-width:480px){
2. Space Rocket

Want a quick, hands on space project? A cardboard rocket fits that need. Start with a tall cardboard tube or a box. Paint it red, silver, and blue. Cut a cone from another piece of cardboard and glue it on top for the nose. Add fins from triangles at the base. Let kids decorate with planets and stars to finish the space look.
– Create a cockpit where you can sit and steer through the galaxy.
– Add simple sounds by tapping a table, tapping a bottle, or using small toy gadgets.
– Do a countdown before lift off.
Here is why this craft works: it builds fine motor skills as kids cut, tape, and color. It sparks imagination through space themes. It also invites cooperative play if siblings join in.
Next steps for more depth: try a few variations. A paper towel tube rocket is lighter. A bigger box makes a launch ship with a cockpit and fins. Mount it on a cardboard stand to steady it.
When you finish, set up a launch zone: a smooth floor, a clear area. A safety check keeps everyone calm. This cardboard rocket turns a box into an adventure that can entertain for hours.
3. DIY Puppet Theater
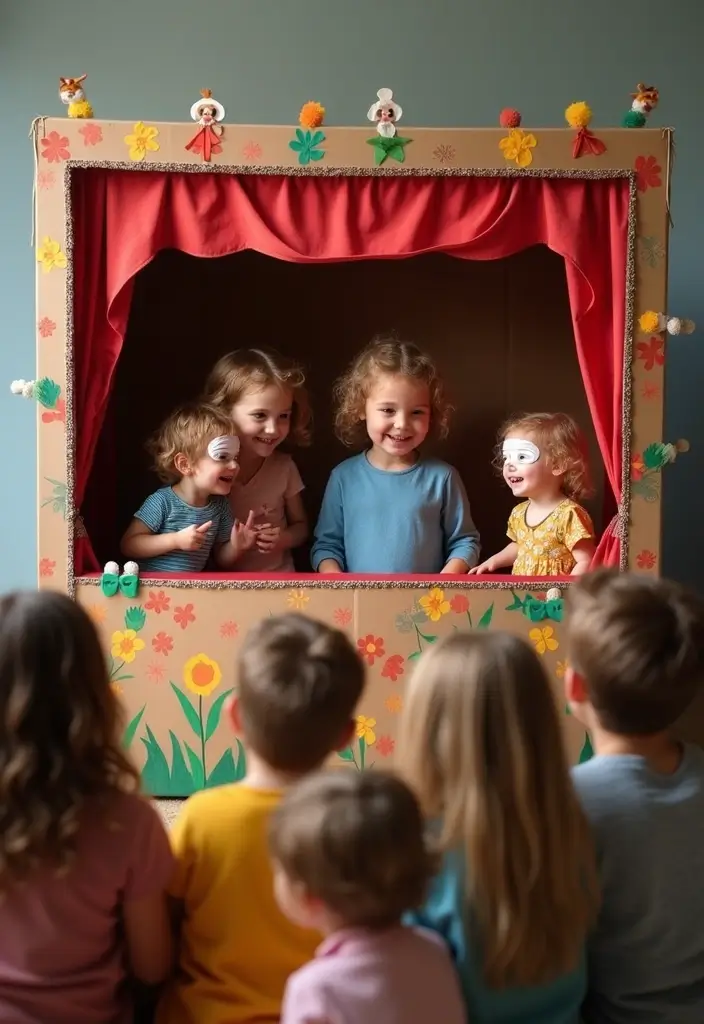
Here is why this DIY puppet theater makes sense for busy families. A cardboard box becomes a small stage for stories with almost no mess and almost no cost. You set it up in a corner and let your kid lead the show.
What you need
– One large cardboard box
– Paint or markers
– Felt, stock paper, or cardboard scraps
– Dowels or craft sticks for puppets
– A piece of fabric for a curtain
– Glue and tape
Steps to build
– Cut a wide rectangle on the box to make the stage.
– Decorate the outside with bright colors and simple shapes.
– Create puppets from cardboard, felt, or paper. Add faces with markers and mount on sticks.
– Hang a curtain from the top of the stage.
– Make a small audience by lining up two or three smaller boxes.
– Help your child write a short script or retell a favorite story.
Tips for a smooth show
– Keep scenes short for younger kids.
– Practice once before the big moment.
– Use clear actions and simple words.
Benefits
Your child practices speaking, listening, and turn taking. They gain confidence and joy in sharing ideas. You enjoy a cozy, creative activity together.
Next steps: gather supplies and try a quick five-minute practice tonight.
4. Cardboard Animal Masks
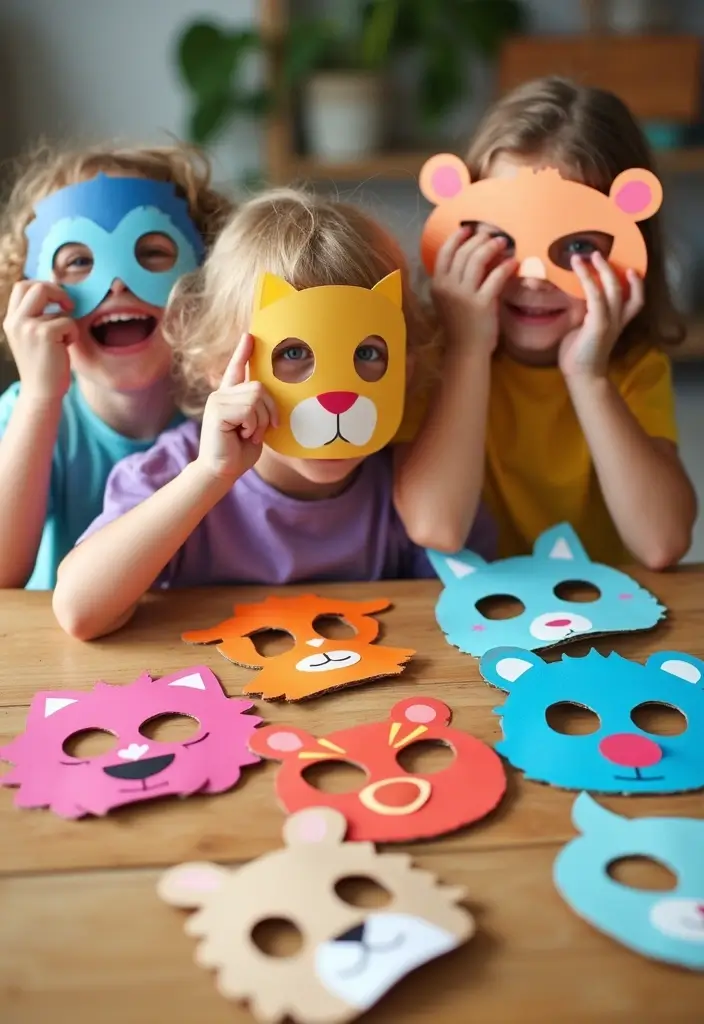
You want a quick, creative craft that ends in dress-up fun. Cardboard animal masks fit the bill. They’re easy and bring big smiles.
What you’ll need
– Flat cardboard or a sturdy paper plate
– Safety scissors and a pencil
– Paints, markers, and stickers
– Elastic cord or string and a simple way to tie knots
– Optional decor: feathers, sequins, yarn
How to make them
– Draw a simple mask shape that fits your child’s face
– Cut out the mask and two eye holes
– Punch two small holes at the sides
– Tie elastic through the holes so the mask stays on
– Let your child decorate with paint, markers, and stickers
– Let the mask dry before play
For younger kids, swap cardboard for a paper plate. It’s lighter and easier to cut.
Extra fun ideas
– Show off a quick animal parade around the room
– Create a tiny story where each mask is a character
– Add feathers, sequins, or glitter to lift the look
Why this works
– It sparks imagination and helps kids express themselves
– It builds focus and fine motor skills
– It gives you simple, screen-free time together
Ready to start? Gather supplies, pick a creature, and get crafting. Your child will love stepping into a new animal world.
@media(max-width:480px){
5. Miniature Cardboard City
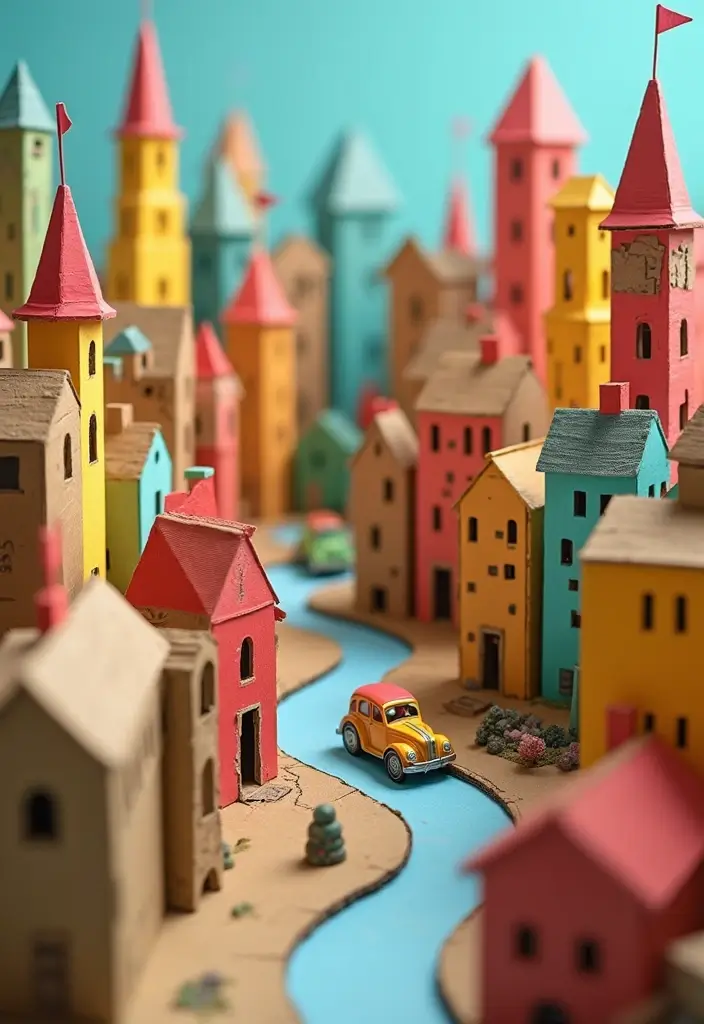
You want a project that keeps kids busy and helps them work together. A miniature cardboard city does that and more. You can pull this off with simple supplies and big imagination.
– Gather a mix of box sizes. See them stand in a row like a skyline.
– Let kids plan the layout. They decide where homes, parks, and shops go.
– Build the city with boxes. Stack pieces, tape them, and make tall towers plus tiny shops.
– Color and label. Paint with bright colors. Use stickers or markers for shop and house signs.
– Make roads. Use flattened cardboard strips and lay a neat network.
– Create cars. Turn small boxes into vehicles and use bottle caps for wheels if you have them.
– Add small details. Recycled bits become streetlights with buttons, signs with caps.
– Foster teamwork. Give roles: one plans the grid, one builds, one paints.
Here is why it helps: kids learn space and planning while playing. They share supplies, negotiate space, and solve little problems together.
Next steps: set up a display area. Take a photo as the city grows. Talk about parks, buses, and shops. This project teaches design, cooperation, and problem solving in a hands-on way.
It stays kid-friendly.
6. Cardboard Train Set
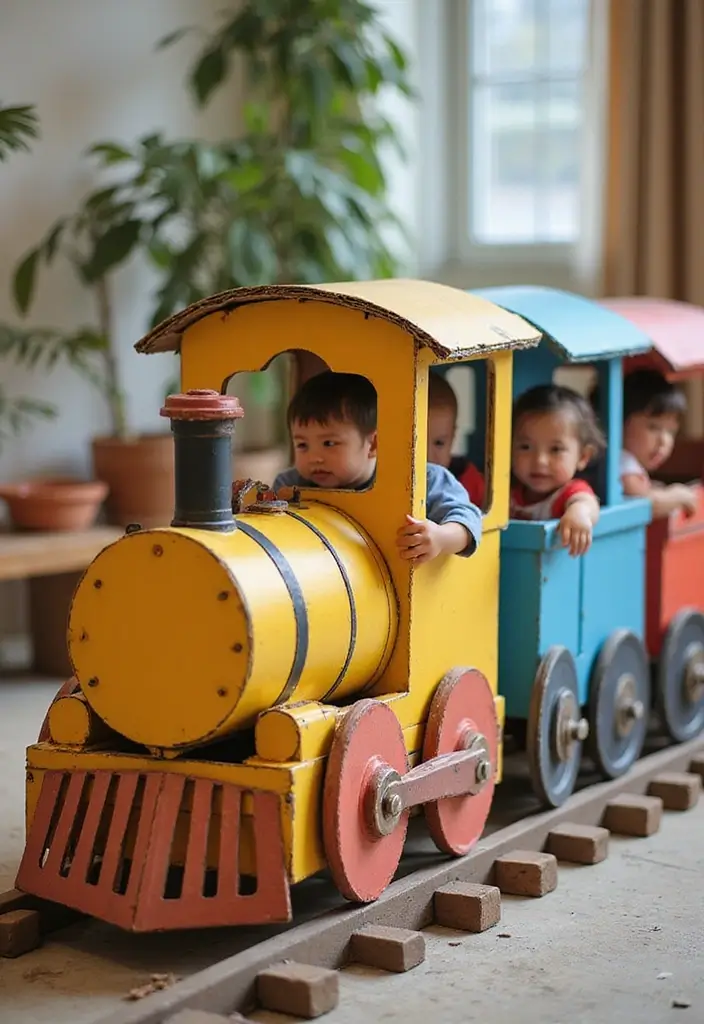
Feeling like a big, fancy toy is out of reach? You can turn a plain box into a lively cardboard train set that kids can ride and run. Let’s break it down so you can build it fast and easy.
What you need
– A large box for the engine
– Smaller boxes for train cars
– Paper plates or painted cardboard circles for wheels
– Bright paint, markers, brushes
– Kid-safe scissors, tape, glue
– Extra boxes to make a station or ticket booth
Steps
– Start with the engine. Keep the box sturdy and long enough for little riders.
– Attach the cars in a line. Tape them well so they don’t wobble.
– Let the kids cut out windows and doors. Keep the cuts simple and safe.
– Paint the train in bold colors. Add stripes or a name on the side.
– Make wheels from paper plates or circles and glue them on.
– Create tracks with long painted cardboard strips. Lay them on the floor to guide the train.
– Use another box as a station or ticket booth. Add signs to show where travelers go.
Play ideas
– Host a train-themed playdate. Kids take turns being conductor.
– Make train sounds as you push the train along.
– Roll out a pretend station exit and greet “passengers.”
Tips and safety
– Use non-toxic paints and sturdy glue. Supervise younger kids with scissors.
– Store flat in a box or hang the tracks on a wall.
– Keep the activity short and switch up the roles to keep kids engaged.
Why this helps
It sparks imagination and teamwork. Kids practice listening, sharing, and fine motor skills. Best of all, you turn a simple box into a tiny, joyful world right at home.
@media (max-width: 600px) {
.visual-quiz-iframe { min-height: 995px !important; height: 1100px !important; }
}
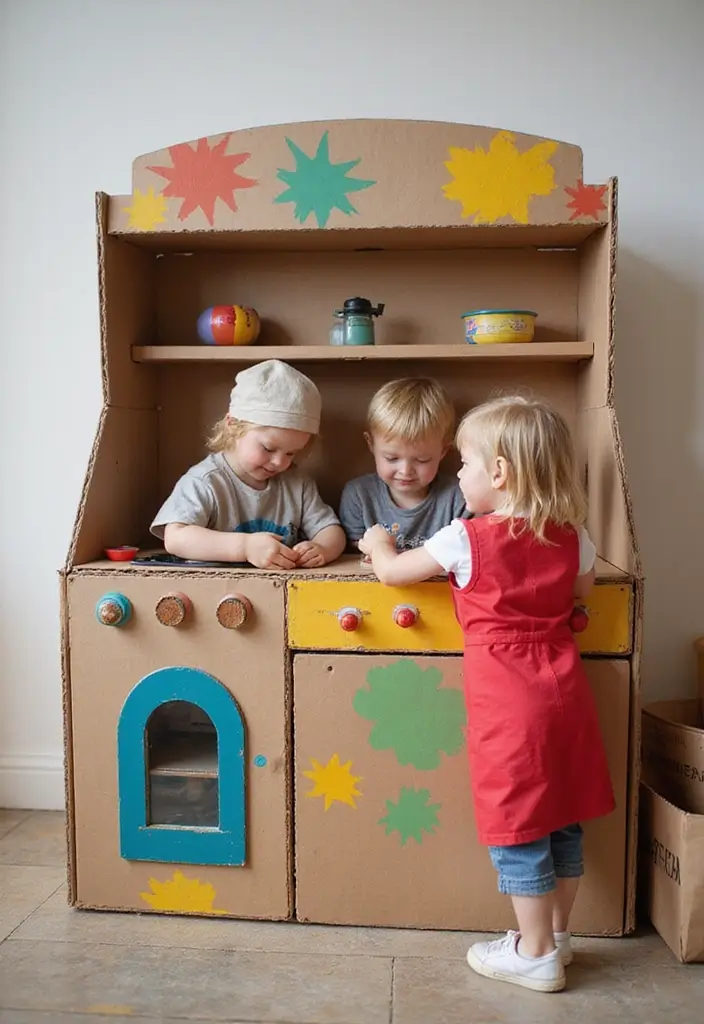
7. Cardboard Play Kitchen
Cardboard Play Kitchen
You want a simple, affordable way to spark pretend cooking. Here is why a cardboard play kitchen works. It fits in small spaces and grows with your child. It invites hands-on art and big stories.
Next steps:
– Start with a sturdy box. Open the top and cut a wide counter and a stove area. Leave the back panel for strength.
– Let your kid color the box in bright tones. Add a sink with foil or a small bowl. Glue on shelves cut from extra cardboard.
– Make pretend foods from paper shapes, felt, or painted clay. Use bottle caps as oven knobs. A cardboard door on the front completes the kitchen.
– Safety first: choose non-toxic paints and glue. Work on a protected surface. Use safety scissors with younger kids and supervise all cutting.
– Try a home restaurant day. Have family members order meals, then serve. Switch roles so kids play both chef and server.
– You gain skills too: language, cooperation, and planning. Fine motor work and problem solving grow with every build.
Next steps: reinforce sharp edges with tape, keep the setup simple, and store extra pieces in a box for easy cleanup.
8. Cardboard Robot
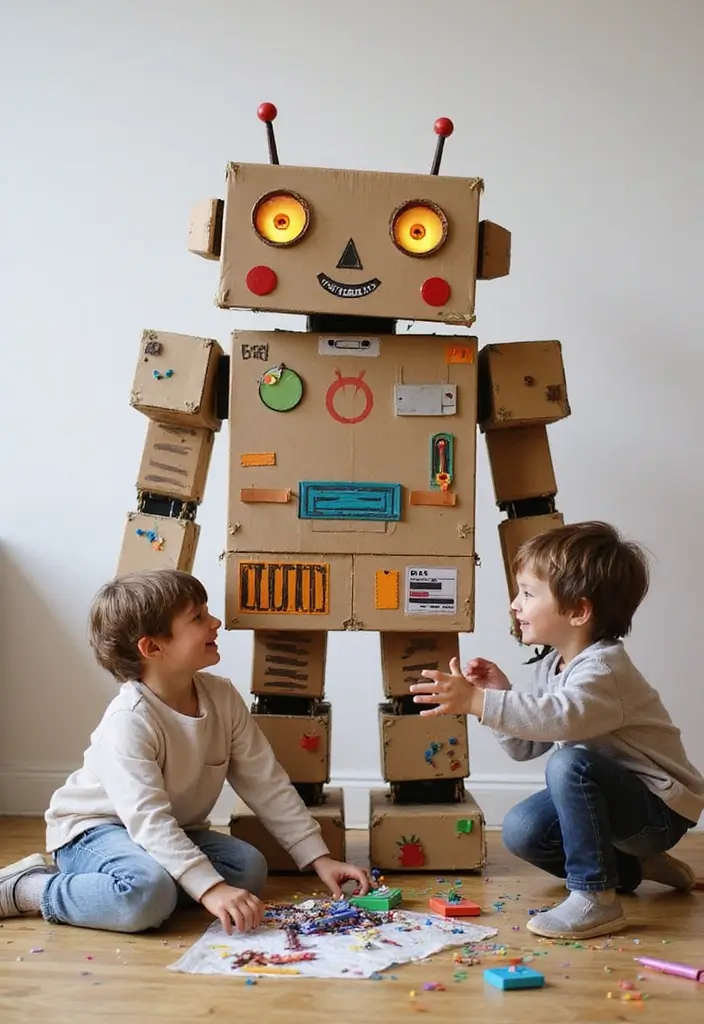
Here is why a cardboard robot is a smart kids craft. It uses simple boxes and turns them into a sturdy toy. Start with boxes in different sizes for the body, arms, and legs. Cut out a round belly, two arms, and chunky legs. Tape or glue keeps joints steady. Add features like eyes and buttons. Decorate with metallic paint, markers, or foil for a shiny look.
Add bits to give your robot character. Bottle caps work as eyes. Strips of cardboard become antennas. Small scraps become gears. A bit of glue helps hold everything in place for pretend play.
Here is how to get the most from this cardboard robot craft:
– Build body, arms, and legs first, then attach.
– Color and shine to fit your kid’s style.
– Use googly eyes for expression and a name tag for a story.
– Give your robot a backstory: who is it, where did it come from?
Play ideas: stage a robot parade, tell a tale, or have the robot join a pretend factory line.
The project grows with your child and builds hand skills.
Next steps: keep a box stash, set a timer, and try new ideas each day.
@media(max-width:480px){
9. Cardboard Dollhouse
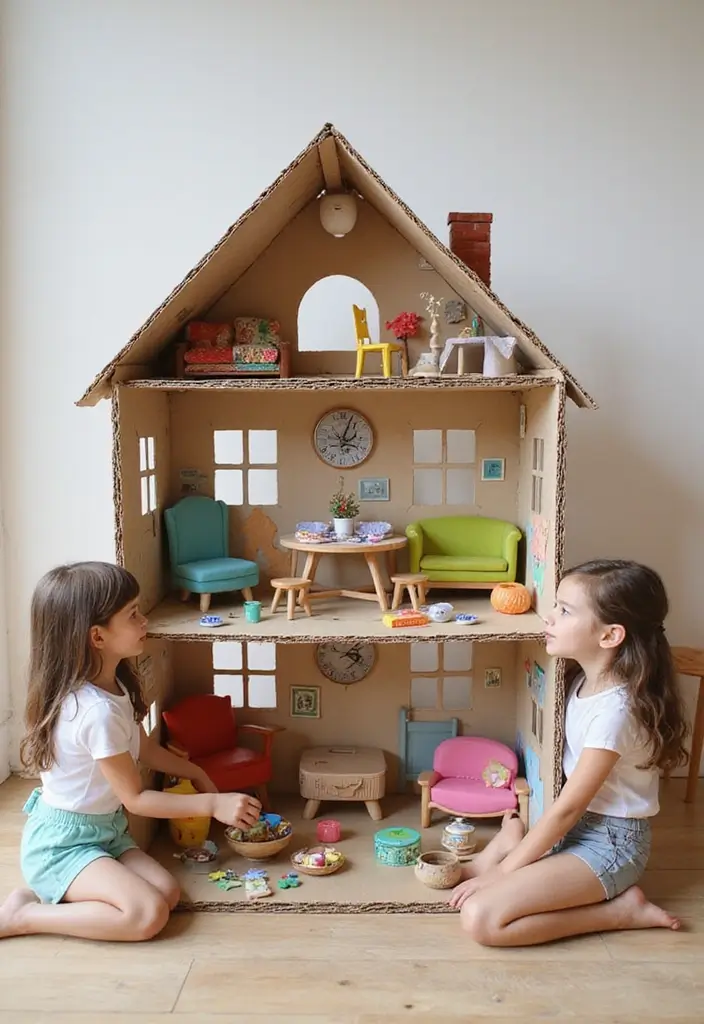
You want a dollhouse that your kids can build and decorate. Cardboard boxes turn into a world that fits in your living room.
Here is how to make it work.
– Build the shell. Pick two boxes. Set them on the floor and tape them to form a house. Cut out windows and doors with safety scissors.
– Plan with your kids. Let them draw room layouts. Talk about what rooms matter and how they should feel.
– Create the inside. Use small boxes or pieces to carve walls and floors. Add a staircase. Tape or glue them in place.
– Decorate with care. Kids can paint the outside and add wallpaper. Use fabric scraps for rugs and curtains.
– Add tiny furniture. Make beds from small boxes, chairs from bottle caps, and tables from lids. Let kids decorate each piece.
– Build outside spaces. Use extra boxes to form a garden, driveway, or garage around the dollhouse.
– Play and grow it. Tell stories with your dolls and act out scenes. Let kids move the layout as stories change.
Your kids will own the space and keep coming back to add new rooms and stories. That daily fun grows with you.
@media(max-width:480px){
10. Cardboard Maze
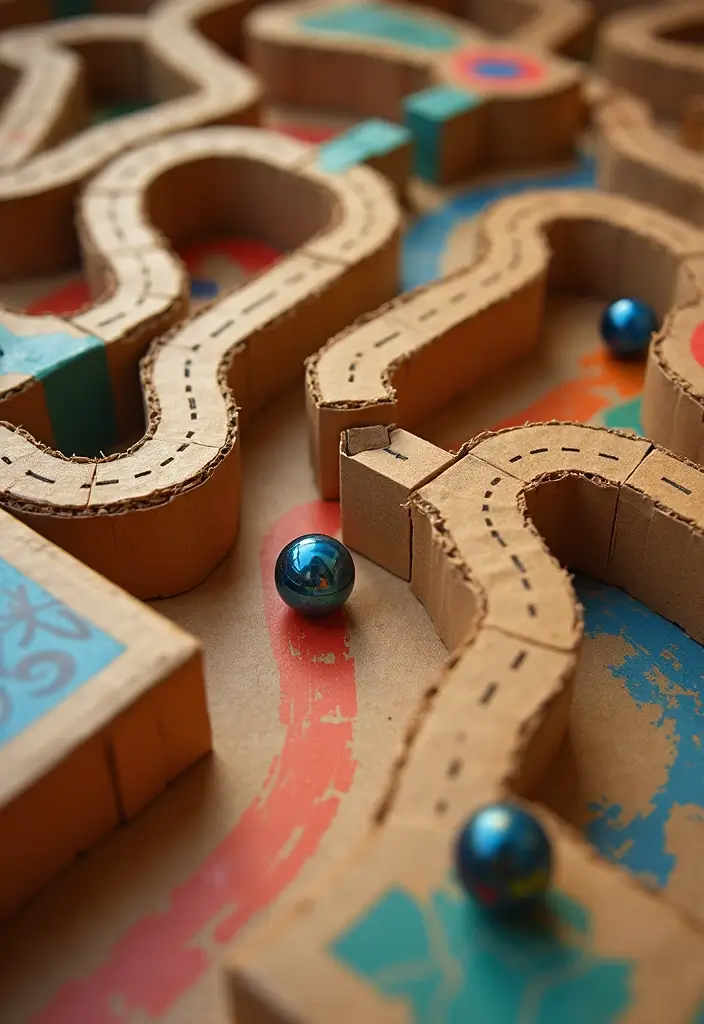
Want a cardboard maze that your kids can build and solve? This DIY maze turns plain boxes into a real adventure.
Here is why it works: it sparks creativity, builds planning skills, and gives kids a sense of ownership. It’s simple enough for a weekend project and big enough to play with for days.
Materials
– Large cardboard sheets or flat boxes
– Safe cutting tool for adults
– Tape (masking or packing)
– Paints, markers, stickers
– Small cars, marbles, or toy figures
Steps
1) Lightly sketch a simple maze on the cardboard.
2) Cut walls and pathways, then tape pieces to hold shape.
3) Decorate the walls. Try a jungle, space, or ocean theme. Let it dry.
Play ideas
– Roll a marble or toy car through the maze.
– Add a blindfolded run for a goofy challenge.
– Time how fast a buddy can finish, or race two items at once.
Tips
– Smooth rough edges with tape so no one trips.
– Adult supervision when using tools.
– Add small rewards for tricky sections.
Next steps
Move the maze to a hallway or floor with good lighting. If needed, add loops, dead ends, or a second level to raise the challenge.
Give it a try this weekend and watch ideas grow.
@media(max-width:480px){
11. Cardboard Photo Booth

You want a quick, fun activity that kids will love at a party. A cardboard photo booth fits the bill. It creates a mini studio where imagination runs wild and memories are born.
Here is how to build it fast:
– What you need: a large piece of cardboard, markers or paint, tape, scissors with adult help, construction paper, and a few extra cardboard pieces for props. A camera or a phone on a tripod keeps hands free for posing.
– Make the backdrop: pick a color scheme or theme. Paint or draw simple shapes, or make a checker or skyline. Keep edges smooth for safe posing.
– Craft the props: cut oversized glasses, hats, mustaches, and speech bubbles from extra cardboard. Decorate with stickers or colored paper. Attach with tape so little ones can pose easily.
– Set up the station: place the backdrop on a wall or stand. Position the camera at eye level. Use bright, even light from a window or a lamp.
How to use it
Dress up in fun outfits, grab a prop, and say cheese. Snap several photos with a phone or camera on a stable stand. Create a small scrapbook or a digital album later to keep the memories.
Tips to boost fun
– Keep a prop box within reach.
– Let kids take turns as the photographer.
– Snap candid moments between poses.
This cardboard photo booth turns a stack of boxes into a lively memory spot. It works for parties, playdates, or family time and invites kids to express themselves in playful, creative ways.
12. Cardboard Treasure Chest
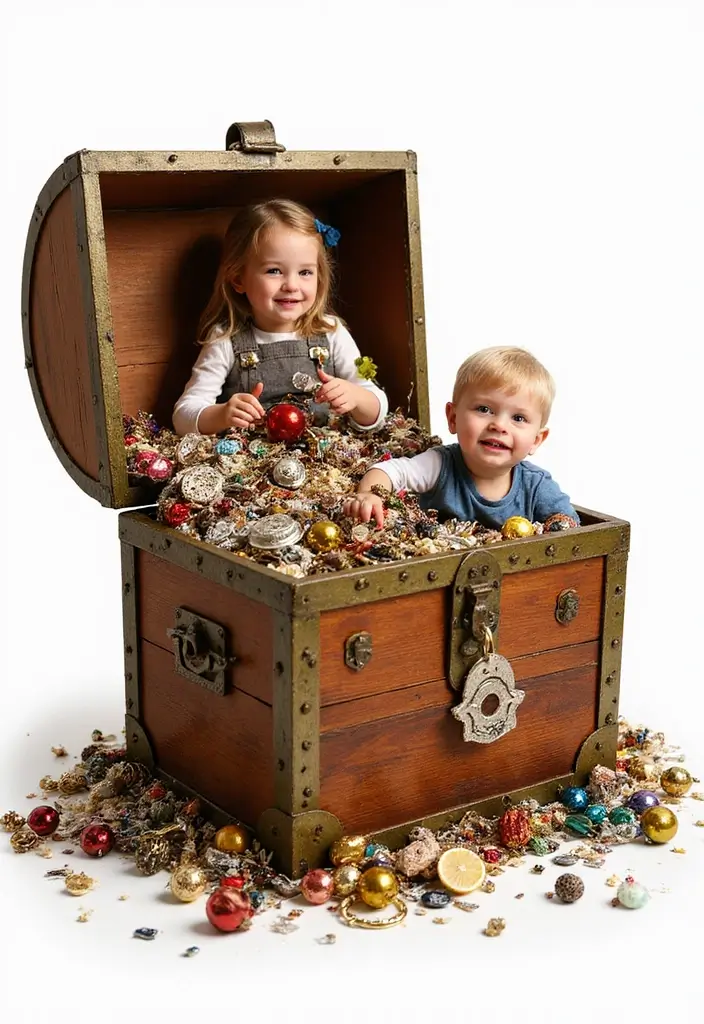
Cardboard Treasure Chest project
You want a simple box kids can turn into a treasure chest. This cardboard treasure chest is easy to make and perfect for box crafts and pretend play.
– Build the lid: cut a flap from the top and fold it back. Tape along the edges so the lid stays sturdy. A snug lid keeps items inside and invites curious hands.
– Add a latch: with adult help, bend a paper clip into a small hook. Mount a tiny washer or peg on the chest front to catch the clip. It teaches a bit of problem solving and fine motor control.
– Decorate it: use bright paints, stickers, and a little glitter if you like. A colorful chest feels special and worth protecting.
– Fill it with treasures: drawings, small toys, shells, coins, or keepsakes. Encourage your child to tell a short story about each find.
– Reuse ideas: use it as a mini art caddy, a pirate stage, or a place for notes from adventures.
Here is why this craft works: it blends hands-on building with imagination. The chest becomes a keepsake your child will treasure and protect. Next steps? Show off the chest, plan a quick treasure hunt, and rotate items to keep the game fresh.
@media(max-width:480px){
13. Cardboard Camping Tent

You want a cozy indoor camping space for kids that stays simple and safe. A cardboard camping tent does that. It turns plain boxes into a small hideaway.
Here is why this project works. It uses materials you already have. It gives kids a private spot for stories and games in pretend wilderness. It feels like a real campsite at home.
What you’ll need
– Two or three large cardboard boxes
– Tape and scissors for adults
– Paint or markers
– Blankets and pillows
– Fairy lights or a small LED flashlight
How to build
– Place boxes side by side and tape them to make a small hut
– Cut a doorway or window for easy entry
– Let your child decorate the outside with paint or fabric
– Drape blankets inside for a soft floor
– Add lights for warm glow
– Tuck books and toys inside
Play ideas
– Read in the tent with a flashlight on the pages
– Tell campfire tales under lights
– Create a pretend camp menu with cups and toy food
– Use the space for quiet time or a quick nap break
Keep the tent sturdy by checking tape after days of play. Move it around the room for new adventures. This small shelter sparks big adventures at home.
@media(max-width:480px){
14. Cardboard Chessboard

If you want a cheap project that doubles as a game, try a cardboard chessboard. It sparks thinking and gives you a friendly, screen-free activity.
Materials you’ll need
– Large piece of cardboard
– Ruler, pencil, and a sharp blade or scissors
– Black and white paint or tape
– Paintbrushes or rollers
– Small scraps of cardboard for pieces
How to make the board
Start with a square big enough for an 8 by 8 grid. Use the ruler to draw the lines evenly. Paint or tape the squares in a checkerboard pattern. Let it dry fully before you use it. A flat, sturdy board makes moves easy to see.
Crafting the pieces
Cut out small cardboard shapes to stand in as chess pieces. You can keep the classic look, or spice it up with themes like animals, pirates, or superheroes. Give each side a color or design. Label pawns, rooks, knights, bishops, queen, and king so kids learn as they cut.
How to play with your DIY board
You can learn the full rules later. Start with a simple version and build from there. Place major pieces in their usual spots and guard the king. Teach pawns to move forward and capture diagonally. Use the board for short practice games to build skill.
Tips to make it work
– Let the paint dry completely to avoid smears.
– Use magnets on the back of pieces for easy movement on metal surfaces.
– Keep the board flat in a shallow box for storage.
Next steps
Turn this into a family game night ritual. Try themed battles, or mix in new piece designs each week. It’s a kid-friendly way to learn strategy and keep creativity flowing.
@media(max-width:480px){
15. Cardboard Boat
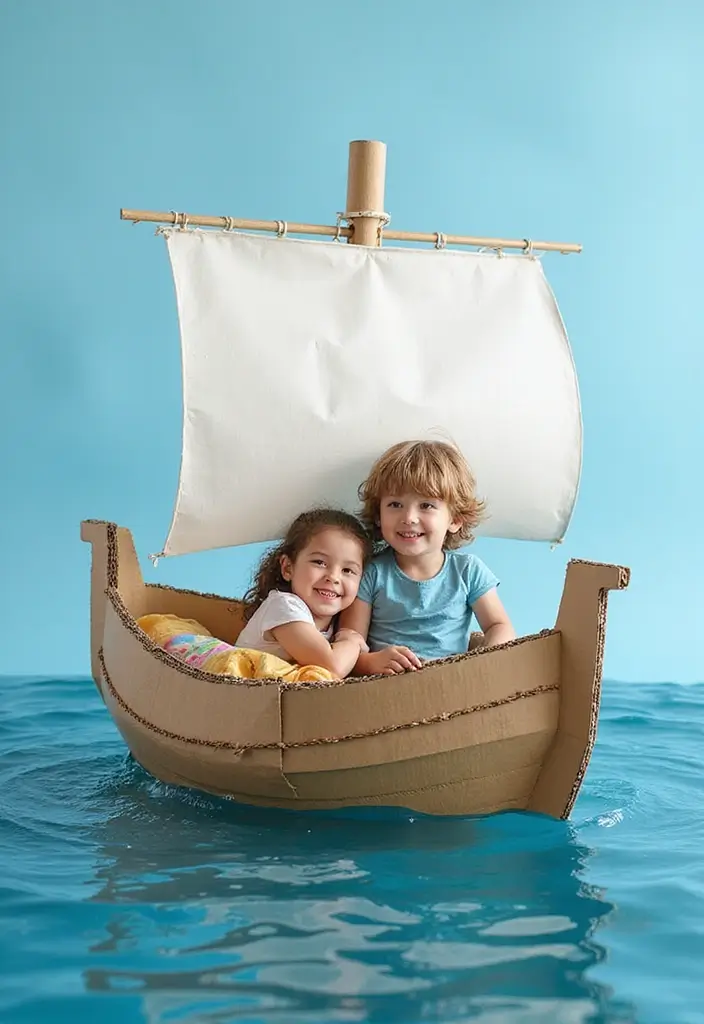
You want a craft that’s easy to make and fun to play. A cardboard boat can deliver. It turns a big box into a small voyage.
What you need
– Large cardboard box
– Scissors or a safety knife (adult supervision)
– Tape and glue
– Blue paint or markers
– Fabric scraps or paper for sails
– A stick or wooden dowel for a mast
– Clear sealant or waterproof spray (optional)
Build steps
1) Cut the box into a simple boat shape. Keep the bottom flat so it sits well on the floor or on grass.
2) Tape the seams strong. Shape a shallow bow and a wider stern.
3) Paint the hull blue and draw waves or portholes.
4) Attach a mast and sail. Secure with tape or glue.
5) If you plan to use water, seal the boat with a clear coat to slow leaks.
How to play
– Name your boat and pretend to sail across a big living room ocean.
– Tell a tiny story about a voyage, a treasure, or a friendly sea creature.
– Invite a sibling or friend for a quick regatta. See who crosses the finish line first.
Tips and extras
– Add sea creatures made from more cardboard for a small port.
– Use a waterproof layer if you’ll splash water.
16. Cardboard Furniture
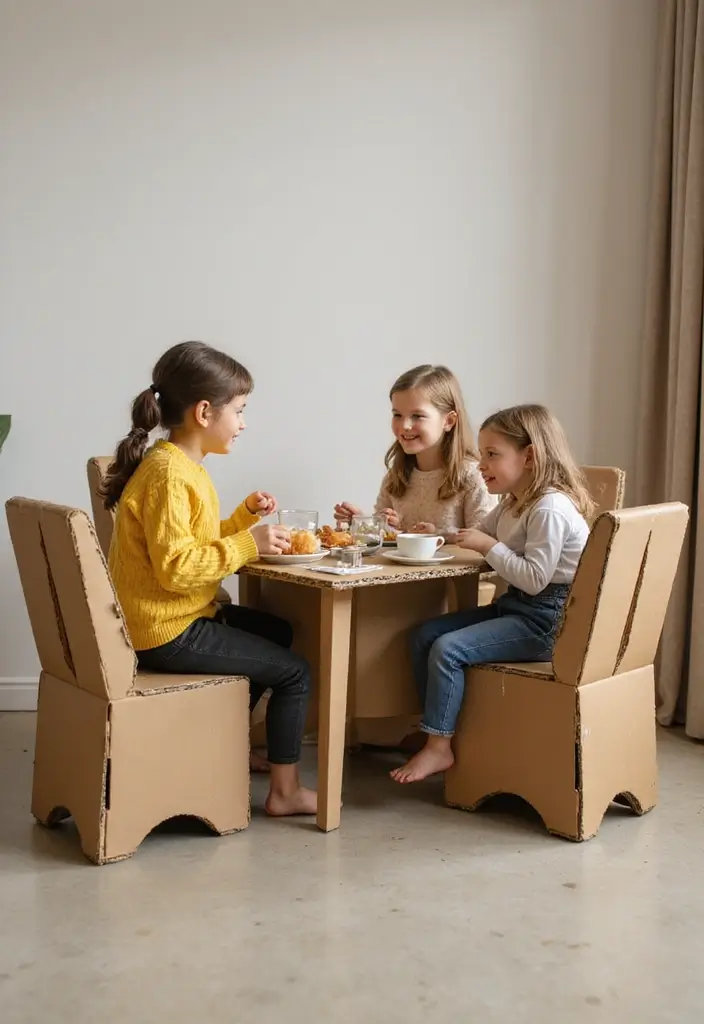
Cardboard Furniture You and Your Kids Can Build
Here is why this works. A small chair or table made from cardboard gives kids a sense of pride. It also teaches simple design and how things go together. Your child can use the piece for pretend play right away.
Here is how to do it.
– Gather large cardboard pieces. Look for sturdy boxes from appliances or furniture. Avoid thin sheets.
– Collect kid-safe tools. Scissors with adult help, tape, glue, markers, and paint. A little masking tape helps hold edges.
– Plan a simple design. Measure your child’s height and seat depth. Sketch a basic shape on the cardboard.
– Build the frame. Cut shapes, fold edges, and tape them tight. Add cross braces or extra tabs to boost strength.
– Check safety. Round any sharp corners with gentle sanding. Make sure the base is wide so the furniture won’t tip.
– Decorate. Let your child paint and add cushions or stickers. Make it look like real furniture.
– Use and share. Set up a tea party, reading corner, or helper desk. This turns play into practice in planning and steps.
– Store and reuse. When you’re done, flatten the pieces. They’re ready for the next build.
Next steps. Try a family set—chair, table, shelf. You can add wheels or try different shapes to fit a pretend shop or studio.
@media(max-width:480px){
17. Cardboard Treehouse
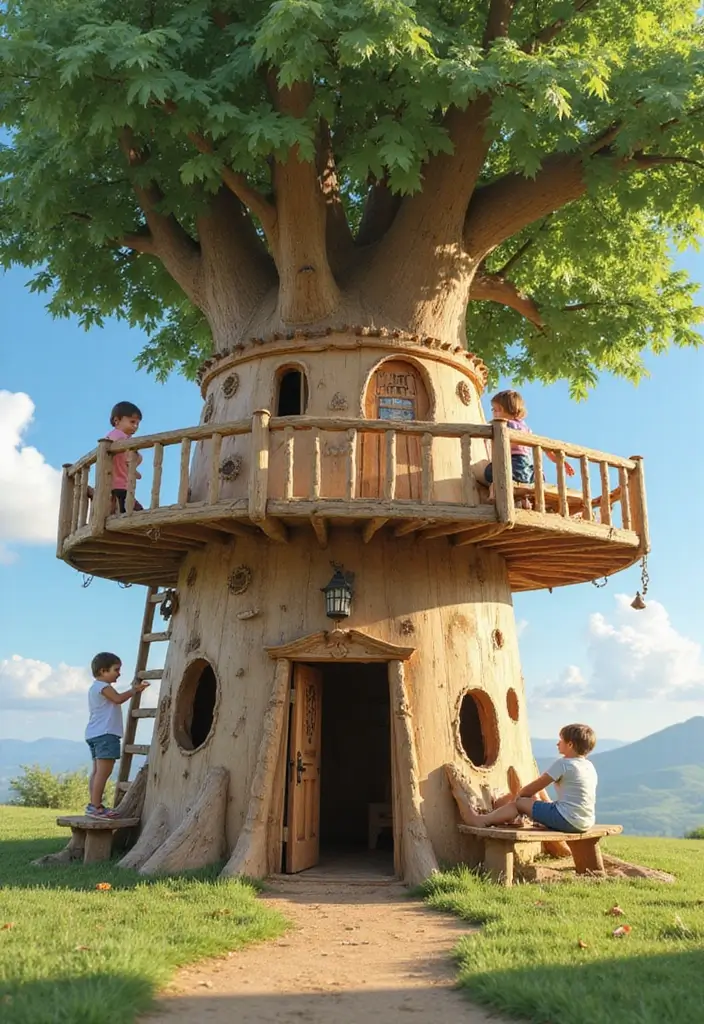
Need a simple project that sparks hours of pretend play? A cardboard treehouse fits. It uses a single big box and invites kids to build a tiny home where stories can grow. Here is why this idea works.
What you need
– A large cardboard box
– Safety scissors and tape
– Markers, crayons, and colored paper
– String and a small paper mailbox
– Optional decorations like cut leaves and paper flowers
How to build
– Open the box and flatten it so you have a sturdy base.
– Cut out windows and a door to make space for pretend doors to open.
– Draw a tree trunk along the box edge and sketch leaves around the openings.
– Decorate with leaves, flowers, and a mailbox slot to send quick notes in pretend
games.
– If you have extra boxes, place them side by side and tape them to make a two‑story treehouse.
– Add a ladder or ramp using folded cardboard strips so little builders can climb.
– Smooth any rough edges with tape so hands don’t snag.
Play ideas
– Create a family or village that lives up in the treehouse.
– Let the kids tell a new story each day about their tiny world.
– Use it as a reading nook or quiet space for quiet moments and imagination.
Tips and safety
– Tape down all edges and corners for a safe play area.
– Keep sessions short if the box starts to bend, and swap in a fresh box later.
– Store the treehouse flat when not in use to save space.
Next steps: add a second level, string a pretend clothesline, or place a plush friend‑calendar inside to guide daily adventures.
18. Cardboard Musical Instruments
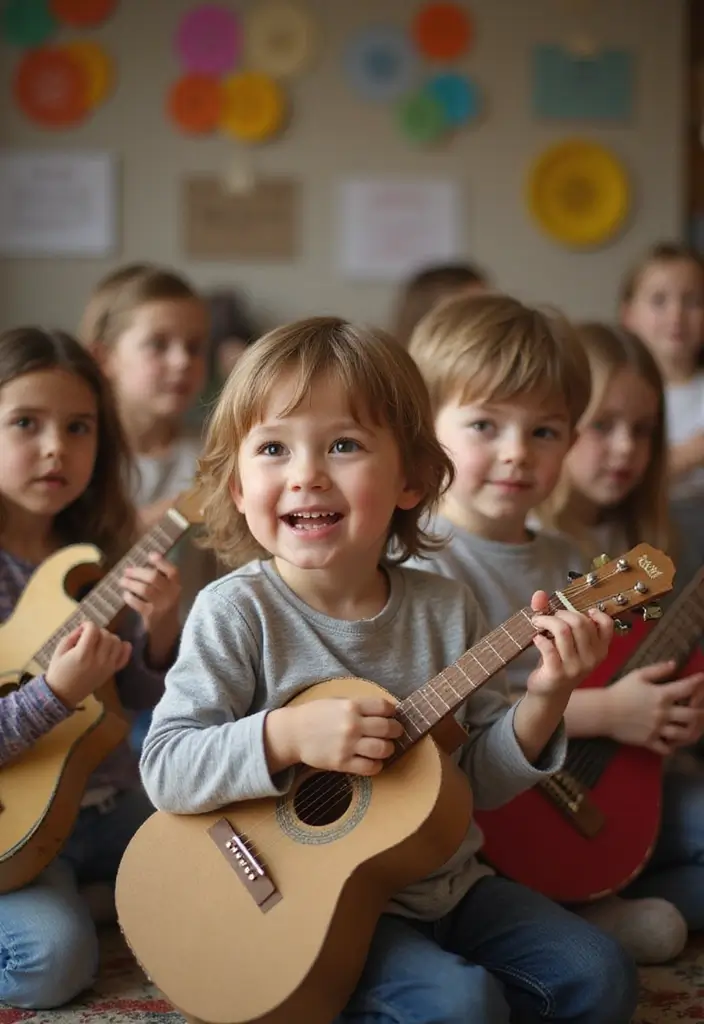
Want a simple way to bring music into playtime? Cardboard musical instruments let kids build and play at the same time. With just boxes, tubes, tape, and a splash of color, you turn a pile of scraps into a tiny band. This activity builds rhythm, focus, and pride in their own sound.
What you’ll need:
– A cardboard box for drums or a guitar body
– Cardboard tubes for necks or rattles
– Rubber bands or elastic string
– Tape, scissors (kid-safe), markers, paint, stickers
– Optional: small marbles or beans for maracas
Here’s how to do it:
1. Pick a kid-friendly instrument to start. A drum uses a box, a guitar uses a box as the body and a tube as the neck, and a maraca uses a tube with beads inside.
2. Decorate first. Let kids paint, doodle, and apply stickers. A colorful instrument is more fun to play.
3. Assemble. Stretch rubber bands across the box to make strings, or tape the neck tube to the body. Seal beads inside a tube for a shake sound.
4. Play with care. Tap, strum, shake. Notice how size and materials change the sound.
5. Put on a tiny concert. Gather family for a five-minute show. Play along with a song and clap to the beat.
6. Tie it to learning. Try simple rhythms, tempo, and call-and-response games.
Cardboard instruments offer a friendly way to combine craft time with music time, helping kids express themselves through sound.
@media(max-width:480px){
19. Cardboard Wall Art

You want wall art your kids can make and be proud of. Cardboard wall art adds color and personality to any room. It uses simple materials and a big smile on the finish. Here is a practical way to do it.
What you’ll need
– Recycled cardboard scraps and a sturdy backing
– Acrylic or tempura paint, brushes
– Scissors or a craft knife with supervision
– Glue, tape, and a few fasteners
– Markers for fine lines
– Optional: fabric scraps, yarn, buttons, glitter
Let’s break it down.
Steps to make it
– Plan a theme you love, like nature, animals, or family initials
– Cut shapes from the cardboard. Keep it simple first
– Paint large color blocks and let them dry
– Add details with markers and mixed media. Try a fabric leaf or a yarn border
– Glue pieces onto a backing to form a mural or separate art pieces
– Hang on a wall using removable strips or nails, depending on the space
Here is why this works. It teaches planning, patience, and pride. Kids see the room change with their hands. It also lowers clutter by using extra boxes
Next steps. Pick a theme, gather supplies, and start tonight
You can do this with a kid helper.
20. Cardboard Wheelbarrow

Want a simple project that blends play with nature? A cardboard wheelbarrow gives kids a real feel of work and care. Build it from a big box and a few easy supplies. Then use it to move pretend plants, seeds, or toys around the yard. It’s a small win for outdoor fun and responsibility.
Here is why this project helps. It builds hand strength and focus. It sparks imagination.
What you’ll need
– A large cardboard box for the body
– A circle of cardboard for the wheel (or a bottle cap)
– A short rod, straw, or wooden skewer for the axle
– Tape and glue
– Scissors or a box cutter with adult help
– Paint, markers, and stickers for decoration
Steps
1. Cut the tub shape from the big box. Leave the bottom intact so it can hold pretend plants.
2. Make two short handles on the back side. Slide them into slots or tape them on firmly.
3. Make a wheel. Cut a circle from the extra cardboard. Punch a small hole in the center.
4. Attach the wheel to a front edge with a short axle. Use a brad or sturdy tape so it spins if you like.
5. Decorate. Let paint dry before you play.
Play ideas
– Use it to carry small plants or toy pots in a real garden setup.
– Pretend you are a gardener or a builder during playtime.
– Set up a mini garden day and care for real plants with your wheelbarrow nearby.
Next steps: test it in dry weather, reinforce weak spots with extra tape, and clean up after play.
@media(max-width:480px){
21. Cardboard Race Track
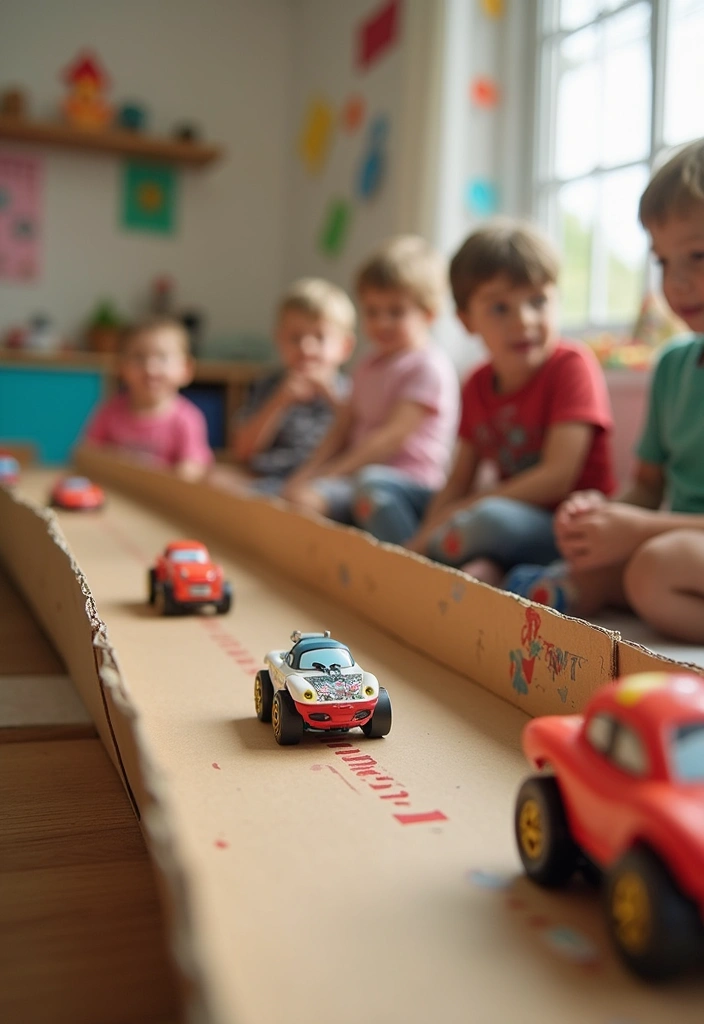
Want a play idea that turns a simple box into a track your kids can race on all day? A cardboard race track fits indoors and out. It uses common scraps and sparks real hands-on fun.
Here is how you can make it.
What you need
– A large piece of cardboard
– Scissors for a grownup, and kid-safe tools for kids
– Tape or glue
– Markers or paint for color
– Extra cardboard scraps for lanes and ramps
Build the track
1) Draw a winding path on the cardboard.
2) Cut it out, then add strips to create lanes and guard walls.
3) Use a small piece of cardboard to prop up one or two ramps.
4) Mark a finish line and decorate with simple road signs.
Play ideas
– Invite a friend for a friendly race day and cheer for every lap.
– Time each run and compare speeds with different cars.
Tips
– Let paint dry well before racing to avoid smudges.
– Store the track flat when not in use so it stays smooth.
Next steps: find a flat space, lay out where the track will go, and start the first practice run.
@media(max-width:480px){
22. Cardboard Circus Tent
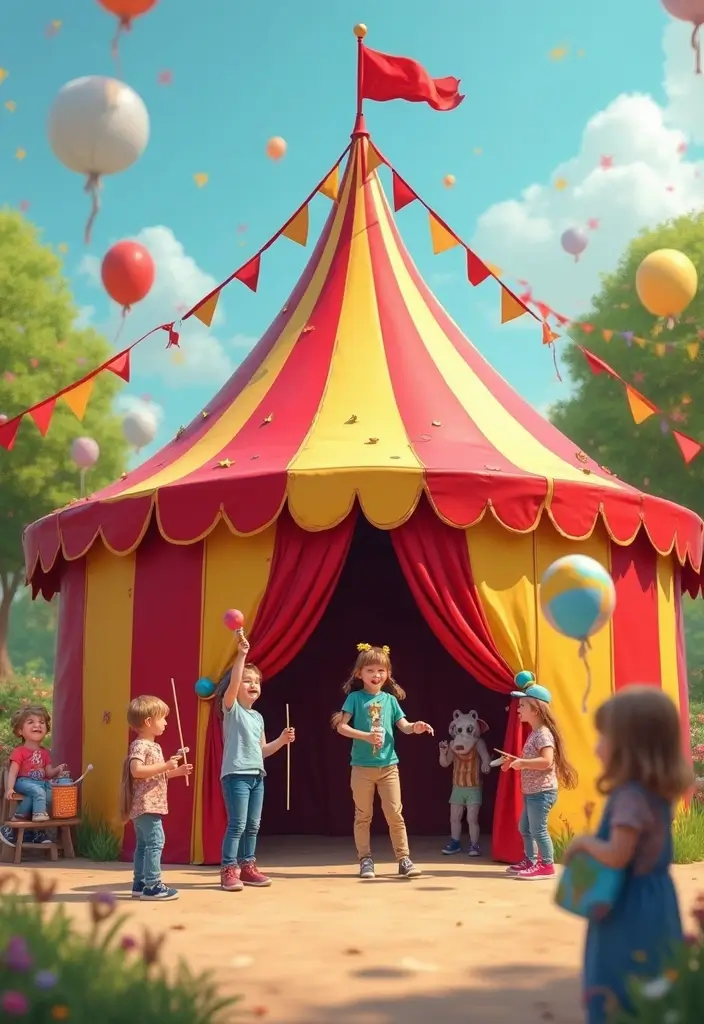
Your DIY Cardboard Circus Tent
If you want a quick, affordable way to spark big play, a cardboard circus tent fits. It gives kids a stage and a cozy space all in one.
Here is how to build it, step by step:
– Find a sturdy, large box and open it flat.
– Cut out a rounded peak at the top to form the tent roof.
– Make a wide doorway by trimming a front flap and securing the sides so it stays open.
– Paint in bright circus colors. Use red, yellow, and blue. Add stripes with masking tape for clean lines.
– Decorate with shiny stars, paper pennants, and bold patterns.
– Craft tiny acts or animals from smaller cardboard pieces. A lion, a clown, a acrobat, or a ringmaster brings the show to life.
Next, turn the tent into a stage or a reading nook:
– Host a mini circus day for family or friends with simple acts and kid-friendly treats.
– Let kids choreograph their own acts or skits and take turns performing.
– Slide in a stack of books and use the tent as a cozy reading corner during quiet time.
Safety and care matter. Smooth any rough edges. Use washable paints. Supervise younger kids during cutting. When not in use, fold or flatten the box to store neatly.
Why this works: it boosts storytelling, teamwork, and fine motor skills. It’s a flexible space for pretend play and DIY cardboard box crafts you can repeat with new themes.
@media(max-width:480px){
23. Cardboard Art Easel
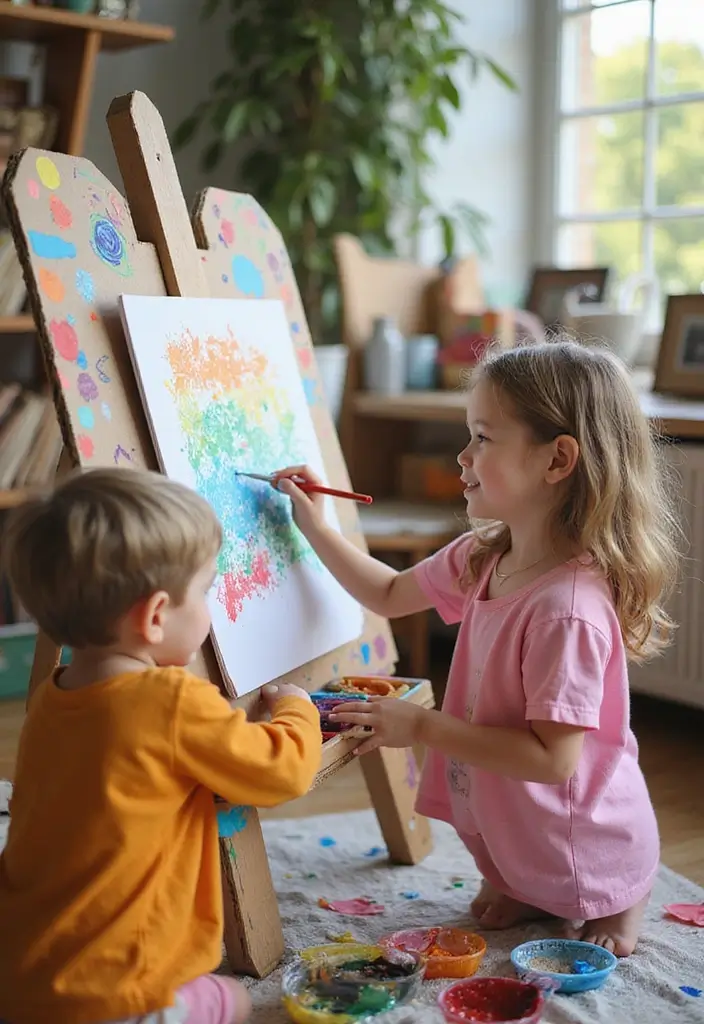
Here is why a cardboard art easel helps. It gives kids a specific space to paint, draw, and share their work. This setup stays neat, travels easy, and grows with their art. It works with cardboard, paper, and small canvases too.
What you need
– Large cardboard sheets
– Tape
– Scissors (adult help)
– Washable paints and markers
– A tray or lid for color
How to set it up
1) Cut a tall back piece that can stand on the floor.
2) Cut a wide board to hold paints and paper.
3) Tape the pieces together for a sturdy easel.
4) Let kids decorate the frame with names, stripes, or dots.
Ways to use
– Outdoor art day: set the easel outside. A breeze and birds make a calm art spot.
– Themed challenges: pick a subject like space, animals, or seasons.
– Home gallery: lean finished works on a wall or clip them to show progress.
Tips for success
– Start with a short, fun session.
– Wipe spills quickly with a damp cloth.
– Keep paints in a tray to prevent mixing.
Cleanup is quick and easy, so you can pack it away between projects.
Next steps: move the easel around your home, host a small family show, and try a new theme each week.
@media(max-width:480px){
24. Cardboard Kitchen Garden

Cardboard Kitchen Garden
Here is why you should try a cardboard kitchen garden with your kids. It turns a simple box into a tiny green space and teaches responsibility at the same time.
Next steps:
– Pick sturdy cardboard boxes and clean them.
– Line the bottom with a thin plastic liner or a tray to hold soil without soaking the cardboard.
– Fill each box with potting soil. Add a small handful of compost if you have it.
– Choose a few easy seeds. Lettuce, beans, herbs, or radishes grow fast. Sow them according to the seed pack.
– Decorate the sides with drawings, stickers, or stamps. Let your child stamp their name on a garden sign.
– Plant and water. Show your kid how to water gently so the soil stays moist but not soggy.
– Track growth in a garden journal. Date germination, note leaf color, and sketch changes.
– Learn plant needs. Talk about sun, water, soil, and air. Compare how each plant acts in the same box.
– Tie in a sustainability talk. Reuse boxes, recycle scraps, and watch how tiny gardens help nature.
What you gain: patience, creativity, and a real sense of nature near your kitchen. The cardboard garden is simple, fun, and full of learning.
@media(max-width:480px){
@media (max-width: 600px) {
.normal-quiz-iframe { min-height: 570px !important; height: 570px !important; }
}
25. Cardboard Science Lab
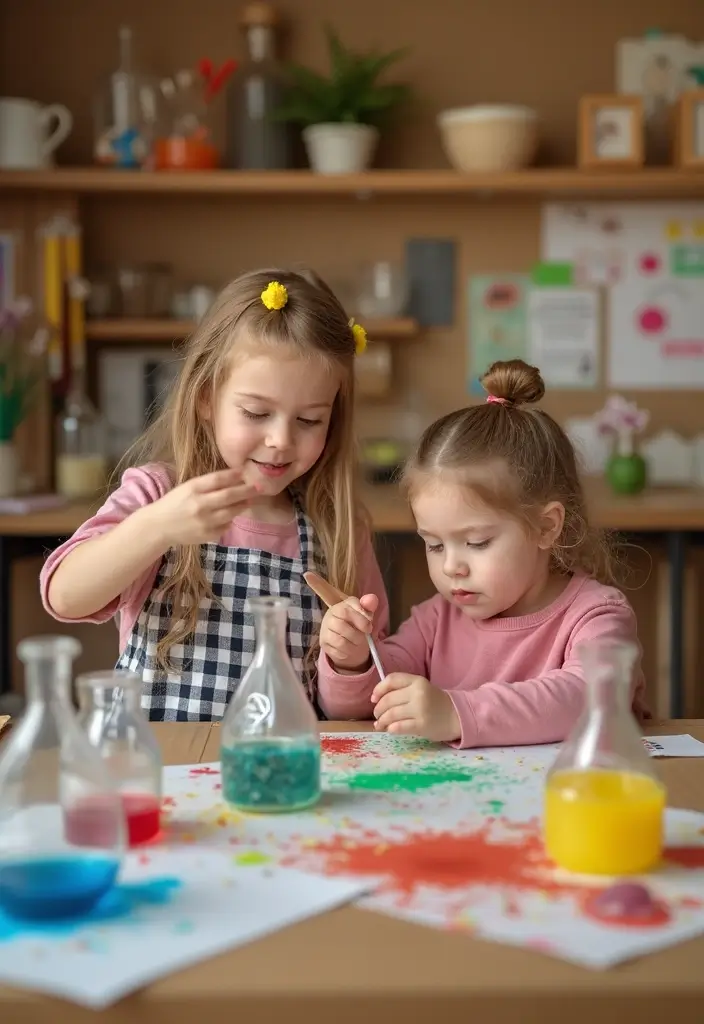
Here is why a cardboard science lab is a smart pick for your home. It sparks curiosity and builds thinking skills without bossy gadgets. You turn a plain box into a place where big ideas fit inside. Great for quick, screen-free play. You can reuse the same box for many projects.
Set up your cardboard lab
– Use a large box and cut out sections to form 3 or 4 simple workstations.
– Let kids decorate with science-themed drawings and labels.
– Keep the workspace stable and easy to clean.
What you’ll need
– Baking soda, vinegar, food coloring, colored water.
– Plastic cups, spoons, droppers, and a tray to catch spills.
– Paper towels and a notebook for notes.
Play and learn
– Create experiment guides or prompt kids to invent their own tests.
– Encourage recording questions, steps, and results in a lab log.
– Let curiosity lead you through topics from biology to chemistry.
Tips for success
– Start small with quick fizz tests and simple reactions.
– Set a clean-up routine so kids take responsibility.
– Use the lab to explore real-world science, like how mixtures work or how colors mix.
Next steps
– Add new props or different liquids to keep the lab fresh.
– Rotate stations so you test many ideas over time.
See how fun it is when you learn by doing. This setup grows with your kid and stays ready for the next science idea ahead.
@media(max-width:480px){
Conclusion

Crafting with cardboard is not just a fun way to recycle; it opens up a world of imagination and creativity for kids.
These 25 cardboard crafts for kids allow them to explore new ideas while developing skills in crafting, problem-solving, and storytelling. Whether it’s building a castle or creating art, each project serves as a springboard for countless adventures and playtime fun.
So gather those boxes, unleash creativity, and watch your child’s imagination soar!
Note: We aim to provide accurate product links, but some may occasionally expire or become unavailable. If this happens, please search directly on Amazon for the product or a suitable alternative.
This post contains Amazon affiliate links, meaning I may earn a small commission if you purchase through my links, at no extra cost to you.
Related Topics
cardboard crafts
eco-friendly crafts
kids activities
DIY projects
creative recycling
easy crafts
imaginative play
fun family projects
indoor activities
hands-on learning
cardboard toys
art projects for kids