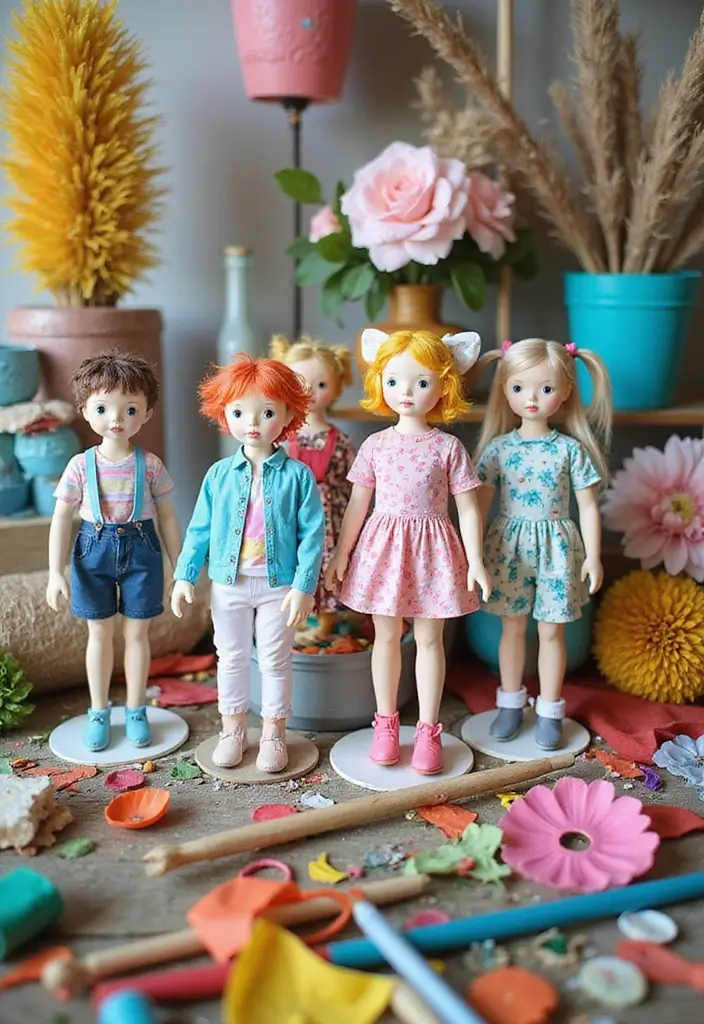
I put this post together because I want easy crafts that spark imagination without a big mess. Kids crave hands-on projects they can start and finish quickly. Paper doll crafts fit that need and bring color to any afternoon.
If you are a parent, grandparent, teacher, or caregiver who loves simple, affordable activities, this one is for you. You care about crafts your kids will actually finish. You want projects that fit into a busy day and leave time for stories and play.
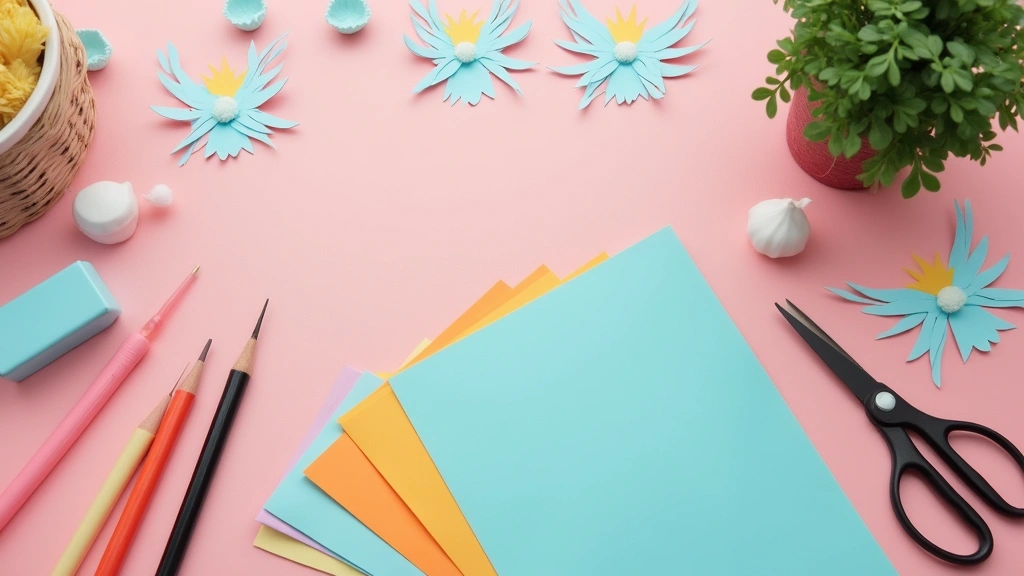
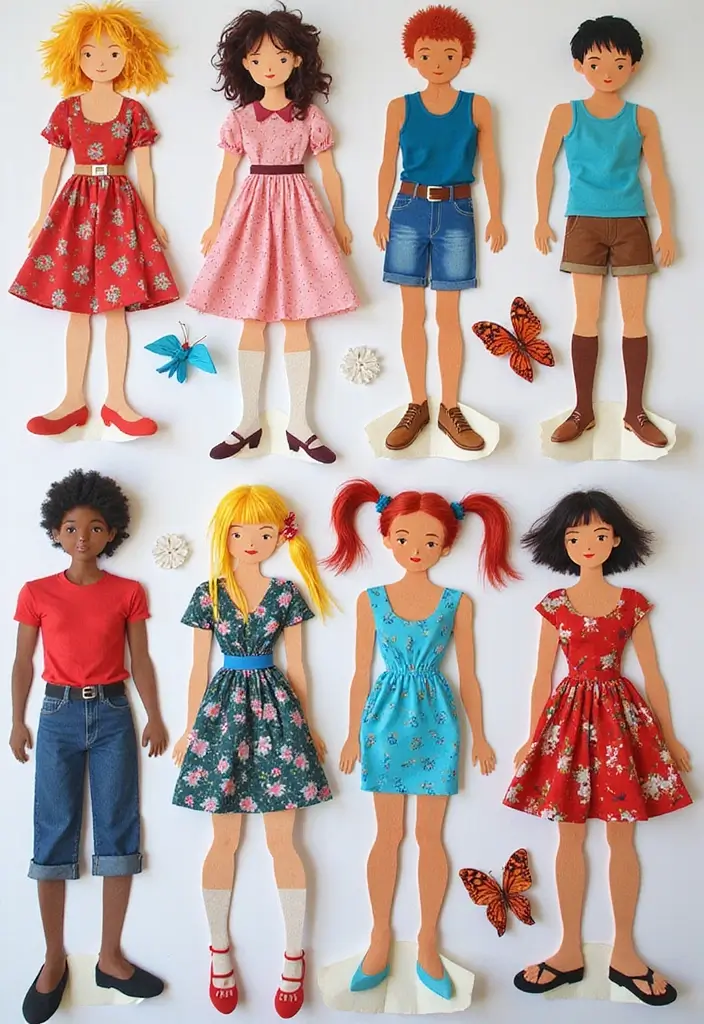
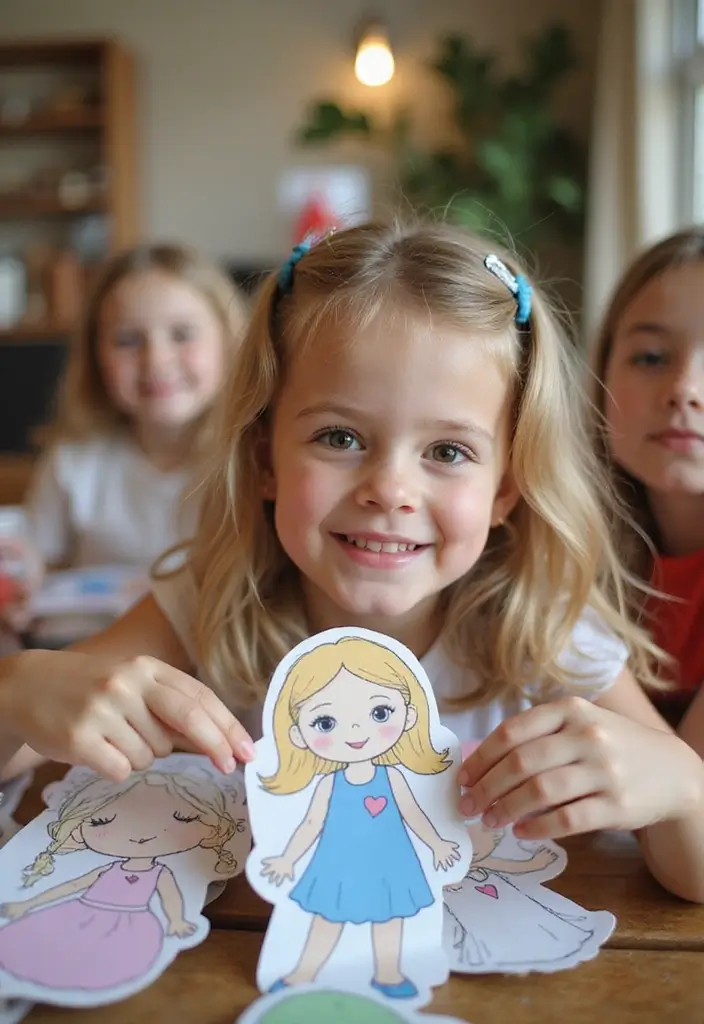
Here you will find 25 paper doll crafts that are doable and fun. Each idea comes with quick steps and cheap materials. The projects let kids design outfits, mix colors, and tell tiny stories.
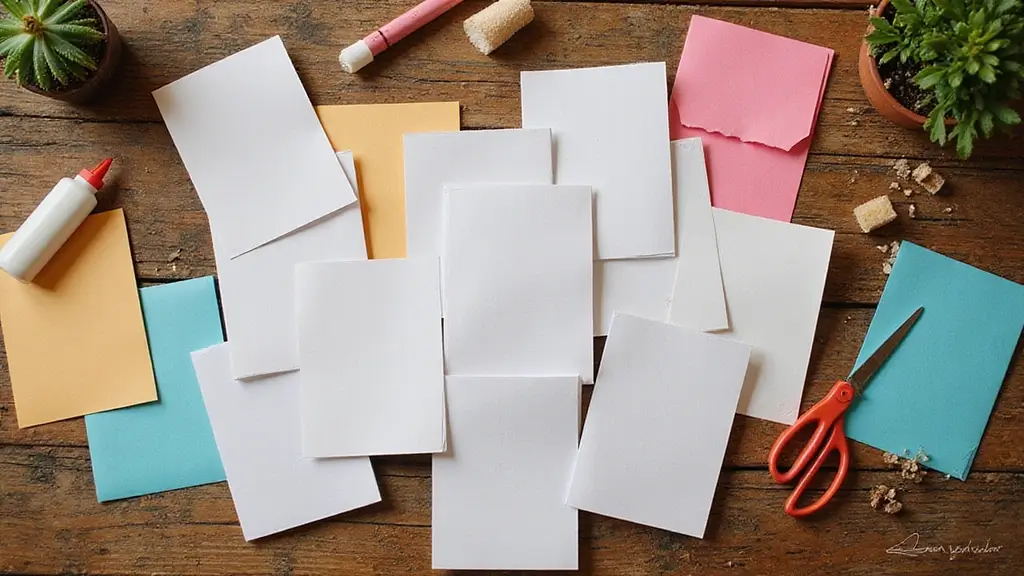
Grab basic supplies like paper, kid-friendly scissors, glue sticks, markers, and tape. Optional bits such as washi tape, fabric scraps, or stickers can add texture. These projects are beginner friendly and easy to adapt for small hands.
These crafts boost skills too. Little hands work on cutting, gluing, and color matching. Kids practice following simple steps and planning outfits for their dolls.
Think of these as party activities, rainy day fixes, or classroom stations. You can mix and match ideas to fit time slots from 10 minutes to a half hour. The post shares tips for quick setup and easy cleanup.
Beyond fun, these dolls invite storytelling and pretend play. Kids can create a cast of characters, scenes, and adventures. That makes the activity more than just cutting and coloring.
Next steps are simple: gather basic supplies, pick a few projects, and set up a small work area. Print or draw templates, cut shapes, and let kids go. With a simple plan, you can finish several crafts in one afternoon.
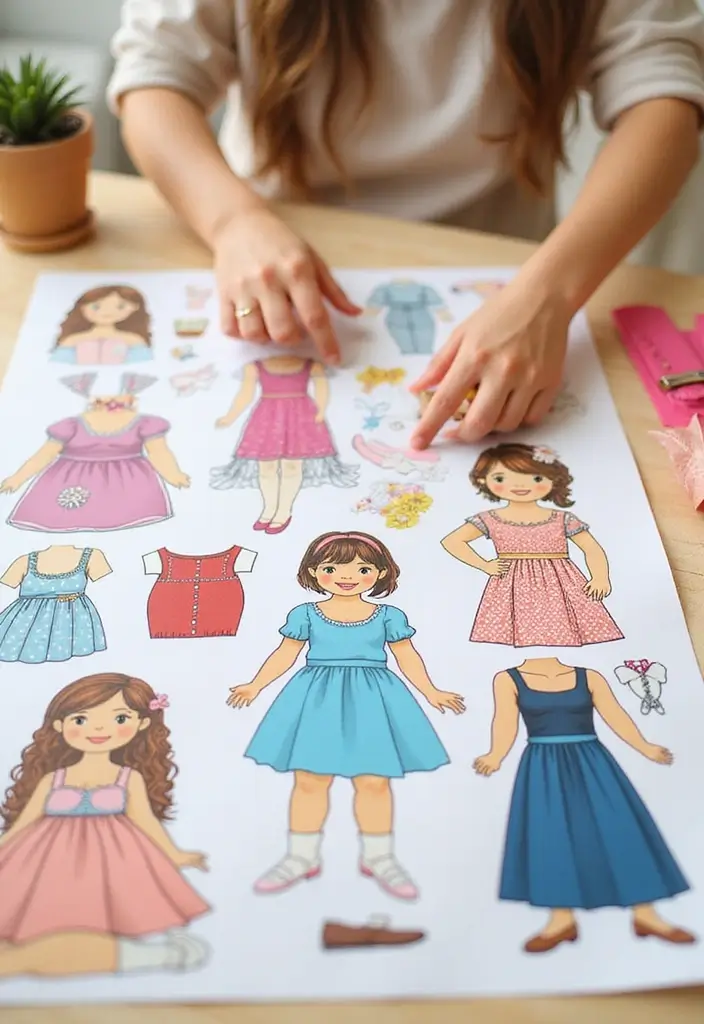
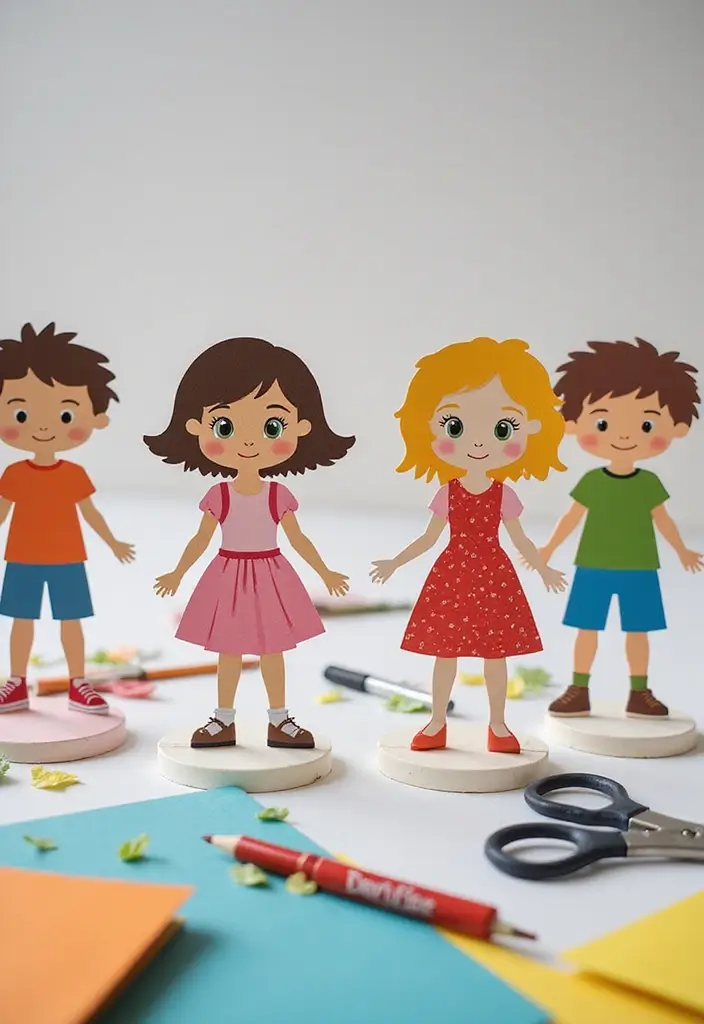
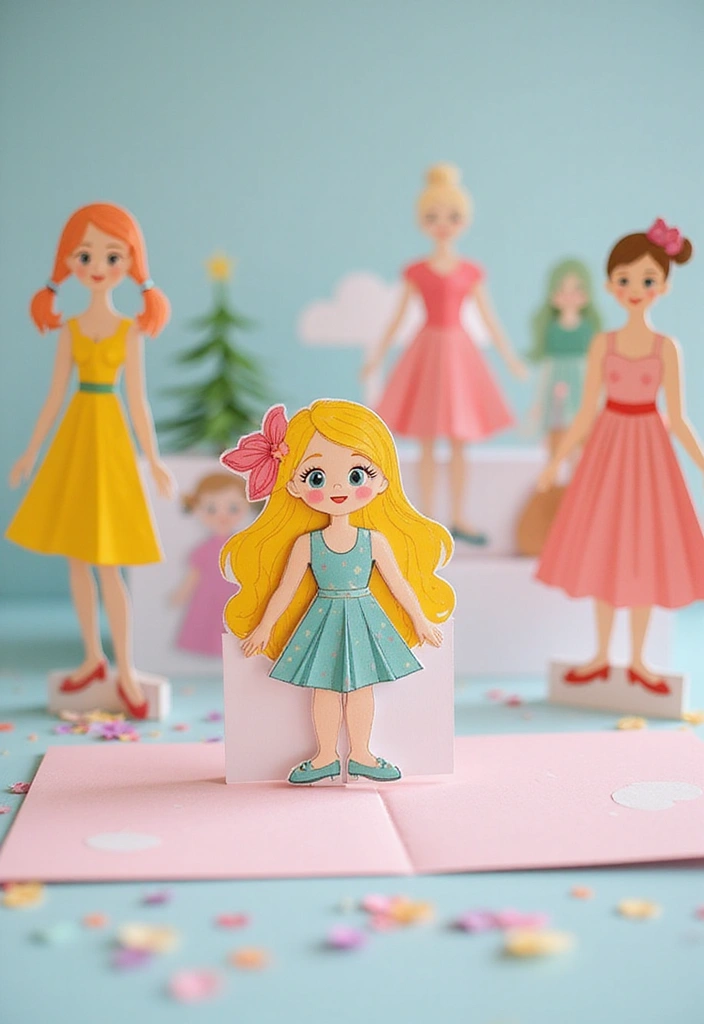
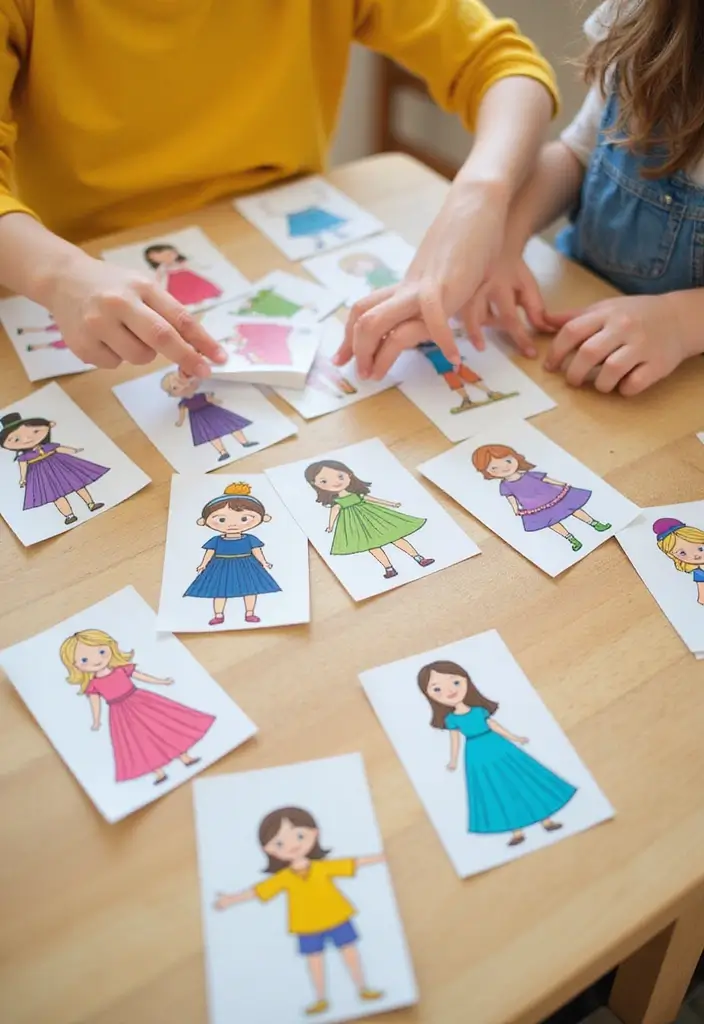
1. Classic Paper Doll Templates
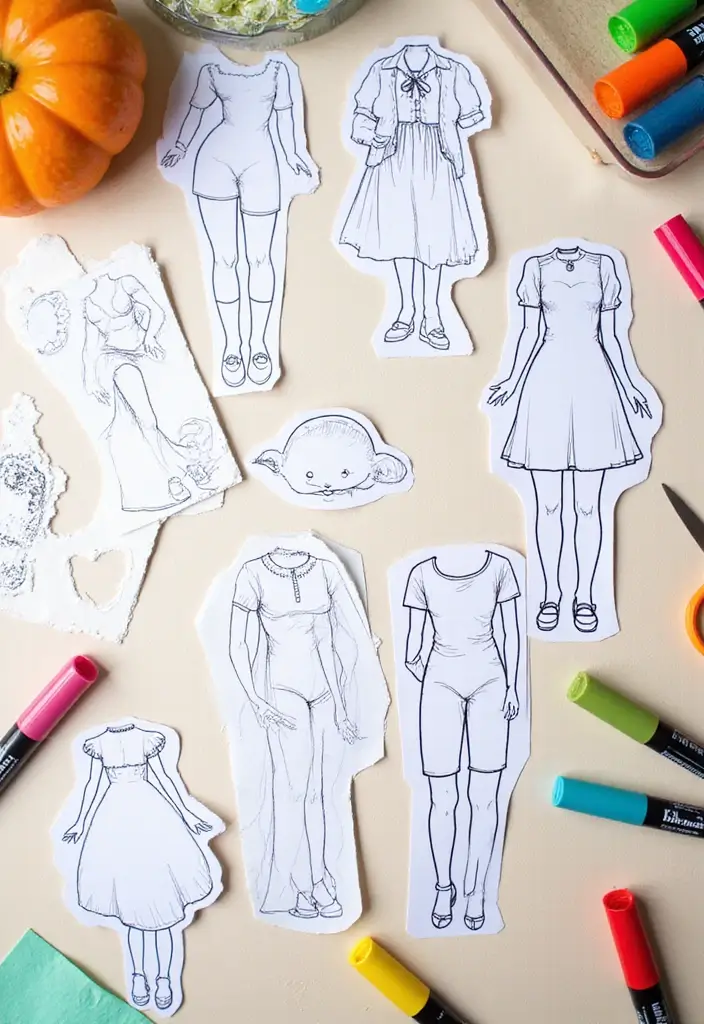
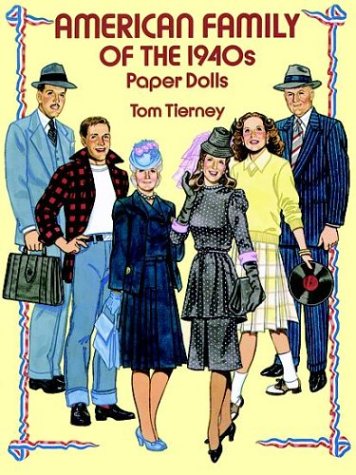
If you want a craft that is easy for kids and helps them learn, start with classic paper doll templates. These sheets show styles from different eras, from Victorian dresses to modern outfits. Kids can connect with history while they create. Printing, coloring, and cutting stay simple, so imagination can run free for hours.
What you need: Printable templates, safety scissors, colored markers or pencils, and glue. Keep a smooth, flat workspace, and a scrap paper for trimming.
Here is how to make them:
– Pick a template and print a few copies.
– Let your child color the dolls and add accessories with markers and colored paper.
– Cut out the doll and the outfits with kid-safe scissors, following the lines.
– Glue extra clothes or props onto a separate sheet so dolls can swap outfits.
To add a learning twist, talk about the era shown on each template. Ask questions like what people wore, what games they played, and what jobs they had. Encourage your child to write a tiny story or perform a short play with their dolls. This simple craft boosts fine motor skills and sparks long, creative play.
Next steps: store finished dolls in a folder or a small binder. Use a cardboard box for a portable theater set. Have fun and let the stories grow.
@media(max-width:480px){
Recommended Products

Return to a simpler time with the Tiger Tribe paper doll kit, unplug and stimulate your imagination as you create just the perfect look for your dolls

Fashion Designer Kit for Girls : Tailor exclusive outfits, style boys and girls in exquisite attire, and let children freely explore their imagination in independent play while effortlessly building confidence.
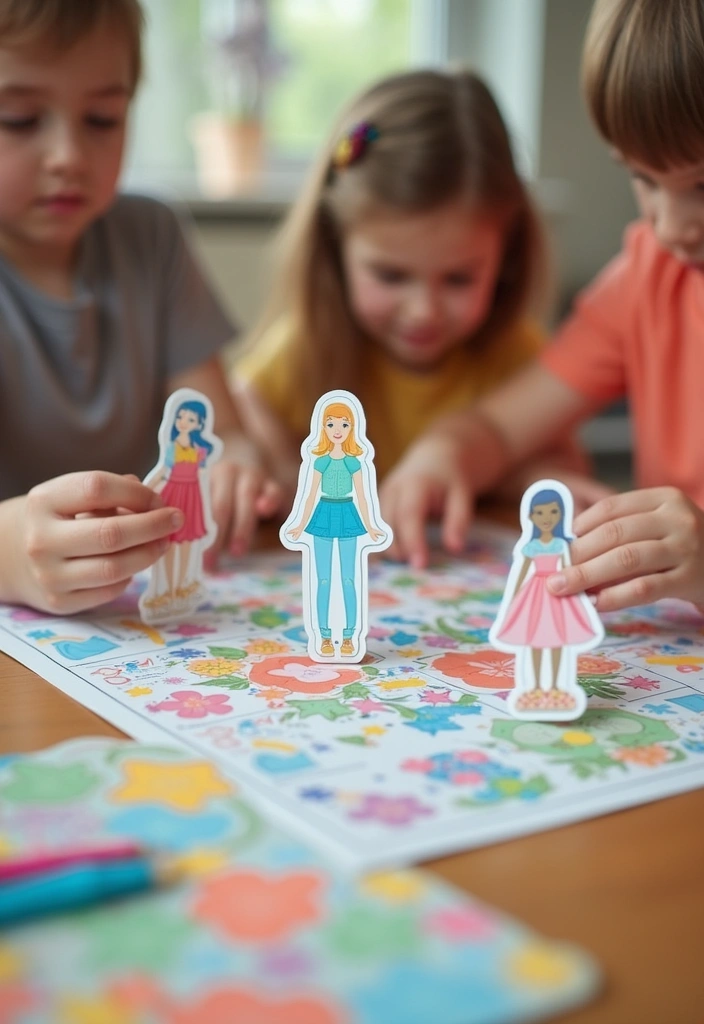
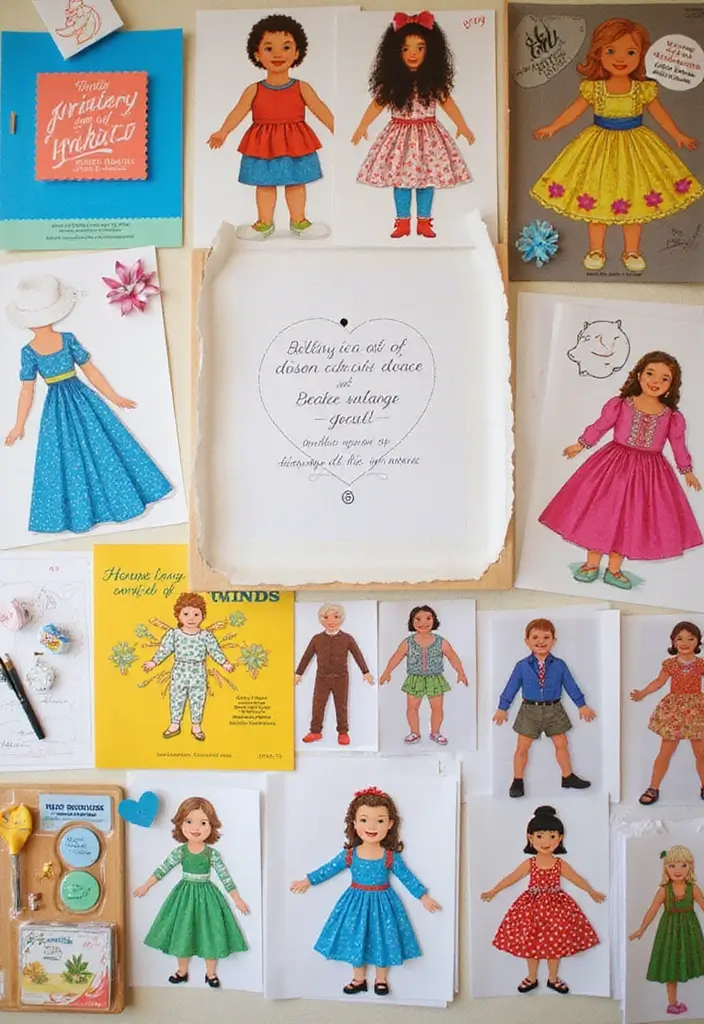
2. DIY Dress-Up Paper Dolls
Need a kid-friendly project that sparks design ideas without a big clean up? Dress-up paper dolls fit the bill. Kids plan outfits, test colors, and learn pattern making while they play. It’s a simple way to reuse fabric scraps and keep creativity alive.
Materials needed:
– Blank paper dolls or printable dolls
– Scraps of fabric and colored paper
– Stickers, buttons, ribbons
– Child-safe scissors, glue sticks
– Markers or crayons
– Optional: small brads for movable joints
Here is how to get started with dress-up paper dolls. Let your child lead the planning and keep the pace relaxed.
– 1) Set up a flat workspace. A table with good light helps accuracy and focus.
– 2) Let your child sketch outfit ideas on paper or on fabric first.
– 3) Cut out the pieces for sleeves, skirts, hats, and more.
– 4) Glue or tape fabric and paper pieces to the doll. Try layering for depth.
– 5) Add embellishments like stickers or tiny buttons for shine.
– 6) Style the dolls and hold a mini fashion show to celebrate each look.
Here is why this approach works. It builds early design sense, boosts fine motor skills, and teaches simple pattern work. Next steps: store the dolls in a craft tray, swap outfits, and invite a quick show for family. It’s a playful way to turn scraps into stories.
@media(max-width:480px){
@media (max-width: 600px) {
.normal-quiz-iframe { min-height: 570px !important; height: 570px !important; }
}
Recommended Products
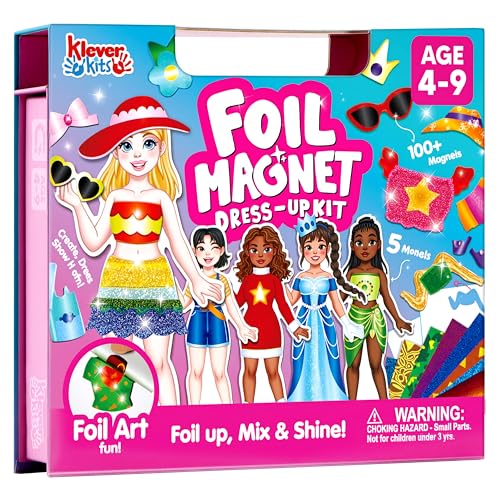
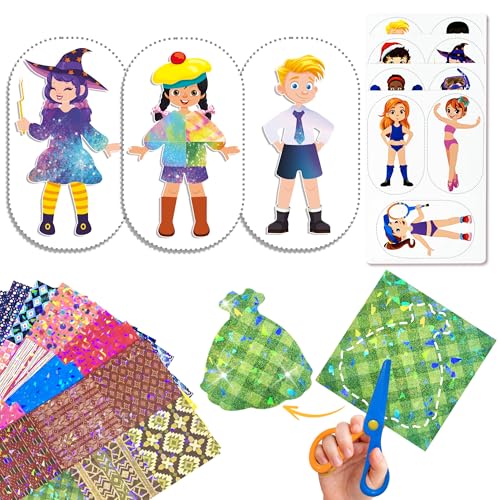
Foil Art Meets Magnetic Fashion: Sparkling foil art meets dress-up excitement! This unique 2-in-1 kit lets kids double their creativity as they design dazzling outfits using shiny foil sheets and mix and match magnetic fashion pieces. It’s a magical all-in-one set that inspires endless imagination, artistic play, and creative confidence.

ENDLESS FASHION COMBINATIONS - Unleash creativity with over 100 pre-cut clothes and accessories. Mix and match to create unique outfits for 3 sturdy cardboard dolls, offering limitless styling possibilities.

3. Paper Doll Storybooks
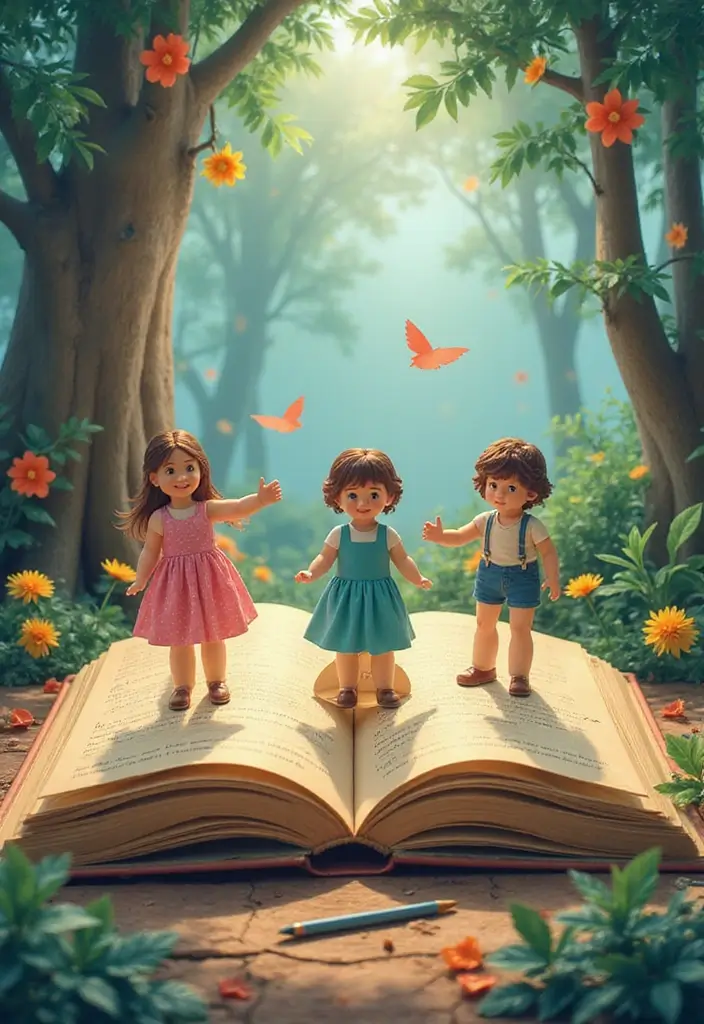
Are you chasing a craft that blends stories with hands-on art? A paper doll storybook fits the bill. You guide kids to design characters and then write short scenes that bring them to life. Each page becomes a new part of the journey, with the dolls moving through adventures.
Tools required:
– Cardstock for pages
– Markers for color
– Paper doll templates
Here’s how to build it.
– Start with a small stack of cardstock to make a neat book. Bind the pages with staples or a simple stitch.
– Let kids plan a tiny plot first, then draw and cut out their own paper dolls.
– Place a doll on each page and sketch a scene around it. On the next page, add another scene. Keep stories short so they finish with pride.
This project builds writing skills and fuels imagination. Kids can add speech bubbles, describe how a character feels, or write a line of dialogue. They illustrate the pages with markers, making color pop and texture shine. After finishing, hold a read-aloud session. Hearing their own words helps with confidence and fluency.
Next steps: keep a small booklet for future tales, reuse templates, and try scenes like a park, a farm, or a space station.
@media(max-width:480px){
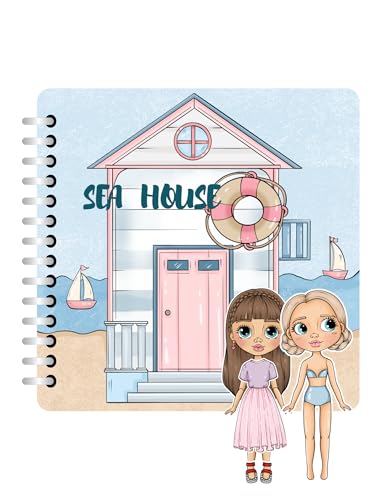
4. Seasonal Paper Dolls
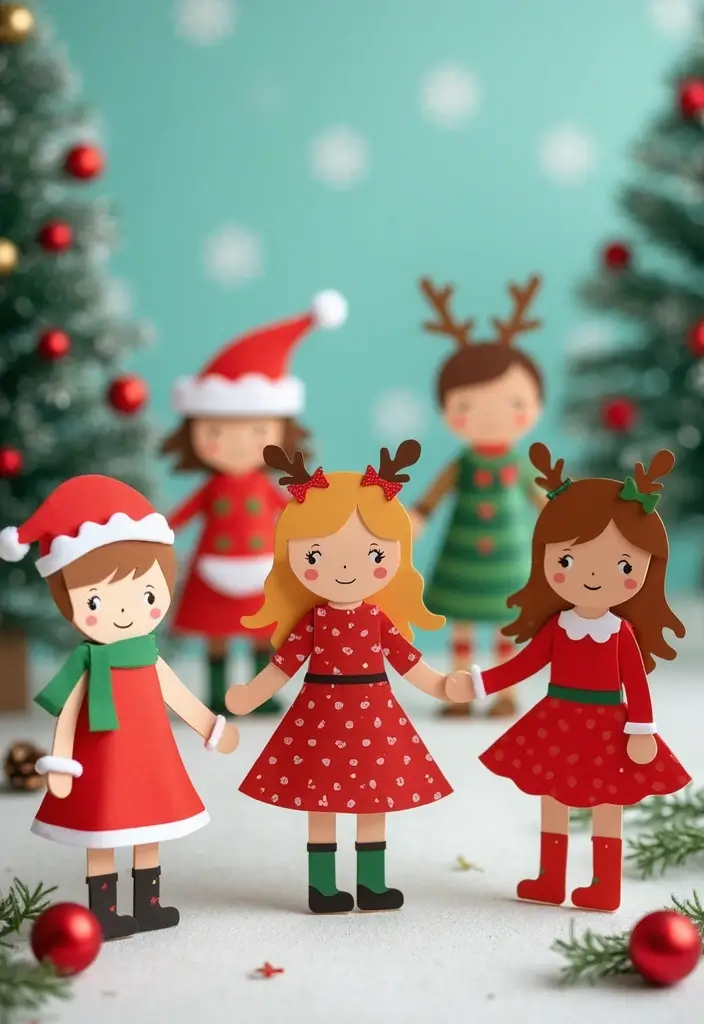
You want a craft that stays fun through the year. Seasonal paper dolls give kids a chance to learn about holidays and seasons without extra stress. They’re simple to make and easy to display.
What you’ll need: Seasonal templates, construction paper, scissors, glue, markers, and a few decorations like stickers, buttons, or fabric scraps.
Here’s how to get started:
– Pick a season or holiday. Halloween, Christmas, spring festivals, or a beach day.
– Print or trace the seasonal templates. Cut out a base doll and dress pieces.
– Decorate with colors that fit the theme. Try stripes for a witch’s robe or red-green for elves.
– Tie on simple tabs so outfits switch on and off. Kids love swapping looks.
– Create a small display. String dolls on a line or set them in a mini gallery.
Why this works:
– It teaches traditions and stories in a hands-on way.
– It builds fine motor skills and focus.
– It gives you ready-made seasonal decor you can rotate.
Next steps: Make a year-round display wall or shelf. Tape or pin new outfits as the seasons change. Snap photos to build a kid-made gallery. Invite friends or siblings to add outfits too.
@media(max-width:480px){
5. Interactive Paper Doll Puzzles
You want a craft that grows thinking while kids have fun. Try interactive paper doll puzzles. These puzzles mix cutouts with dress-up play, so every session feels new.
Materials needed: Cardstock, scissors, and colored pencils.
Each puzzle piece shows outfits and facial features. Kids mix and match to build new dolls.
This activity builds problem solving as they check if pieces fit. They also get room to show their style with color and detail.
– Step 1: Cut out a full set of doll pieces on sturdy cardstock.
– Step 2: Color each piece with pencils to give faces and outfits personality.
– Step 3: Mix pieces, then try to assemble a doll. If a piece doesn’t fit, try a different outfit or face.
– Step 4: Try a friendly challenge by seeing who can make the most unique look.
Next steps: set up a puzzle corner and invite a mini contest.
Tips to extend the craft:
– Laminate pieces for reuse.
– Print extra outfits and styles.
– Store pieces in a folder or small box.
@media(max-width:480px){
6. Paper Doll Family Sets
Want a quick, fun way for kids to see how families work? Build a whole paper doll family and tell their stories. It gives kids a chance to learn through craft.
What you’ll need:
– Family templates (printable or drawn)
– Colored pencils or markers
– Scissors and glue
– Card stock or sturdy paper
– Optional outfits and tiny accessories
How to make your paper doll family
1) Choose a template and color each family member.
2) Cut out the dolls with care and set them on a table.
3) Create outfits by drawing clothes or gluing on scraps.
4) Dress each person with a look that fits their role or mood.
5) Make a short scene. Use the dolls to act out feelings like kindness or sharing.
Why this helps
Kids learn empathy by thinking about home life. Story prompts push talk about family diversity and respect. It’s a simple, hands-on way to practice listening.
Tips for best results
– Keep a small scrap box for clothes and accessories.
– Let kids decorate hair and skin tones to reflect real families.
– Save versions of the set to compare changes over time.
Next steps
Try mixing in pets or neighbors in tiny outfits to broaden the scene. Use the dolls during playtime, story time, or a simple classroom activity.
Have fun crafting.
@media(max-width:480px){
@media (max-width: 600px) {
.visual-quiz-iframe { min-height: 995px !important; height: 1100px !important; }
}
Recommended Products
ENDLESS CREATIVITY: This paper dolls cardstock die cut set vintage-inspired paper dolls, accessories and embellishments for scrapbooking layouts, cards, gift tags and more
Activity Book Contents: Beautifully illustrated fold-out dollhouse book with two reusable paper dolls, matching outfits, accessories, and a cozy room setting
7. Paper Doll Adventure Maps
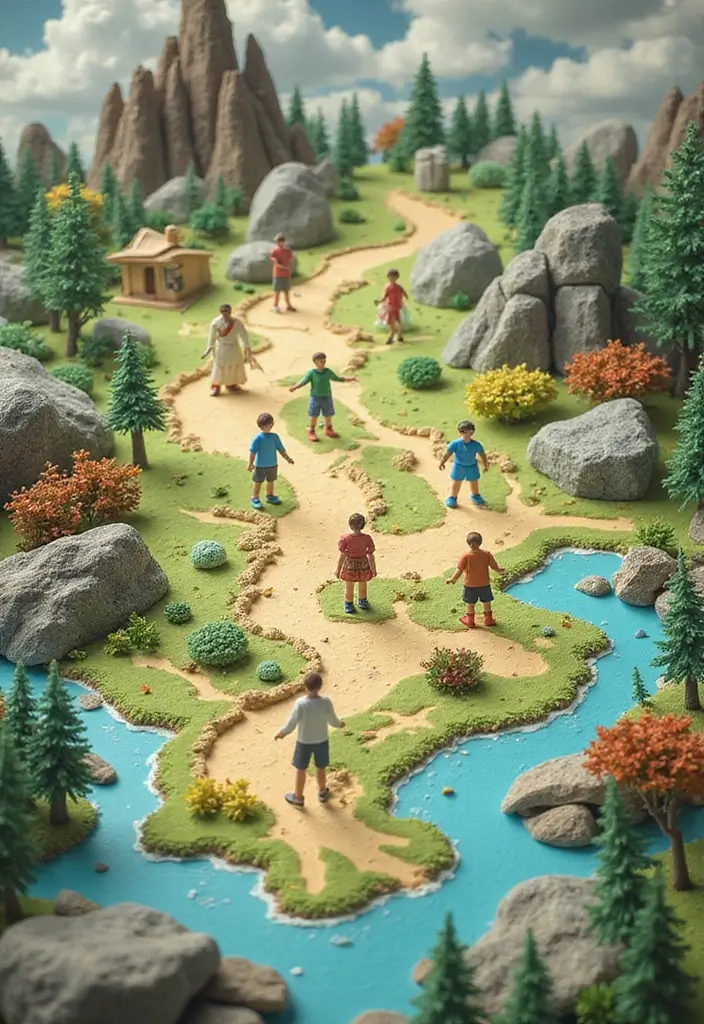
Want to make paper doll adventures come alive? Try paper doll adventure maps. Kids build a landscape where their dolls go on quests. This simple idea blends art, geography, and storytelling. You set the stage; they fill it with color and tales.
What you need:
– Large sheets of paper
– Colored markers
– Stickers
– Optional: crayons, scissors, a ruler, tape
Here is how you do it:
– Plan a route and the scenes you want.
– Draw a big map with places like forests, cities, oceans, or even a moon base.
– Color each area.
– Add trees, roads, buildings, rivers, stars.
– Place your dolls and draw a bold path that shows where they travel.
– Add labels and a title.
– A simple compass helps too.
Here is why it helps: it sparks imagination and boosts storytelling. Kids learn basic geography as they name places and routes. They practice describing the journey, which builds confidence and focus. Use the map to start chats about travel, different cultures, and taking care of nature.
Next steps: invite your child to share a short adventure based on the map. Let a mini gallery happen at home. Switch maps for seasons or weather and watch ideas grow. Keep a set of stickers handy for new adventures.
8. DIY Shadow Box Dioramas
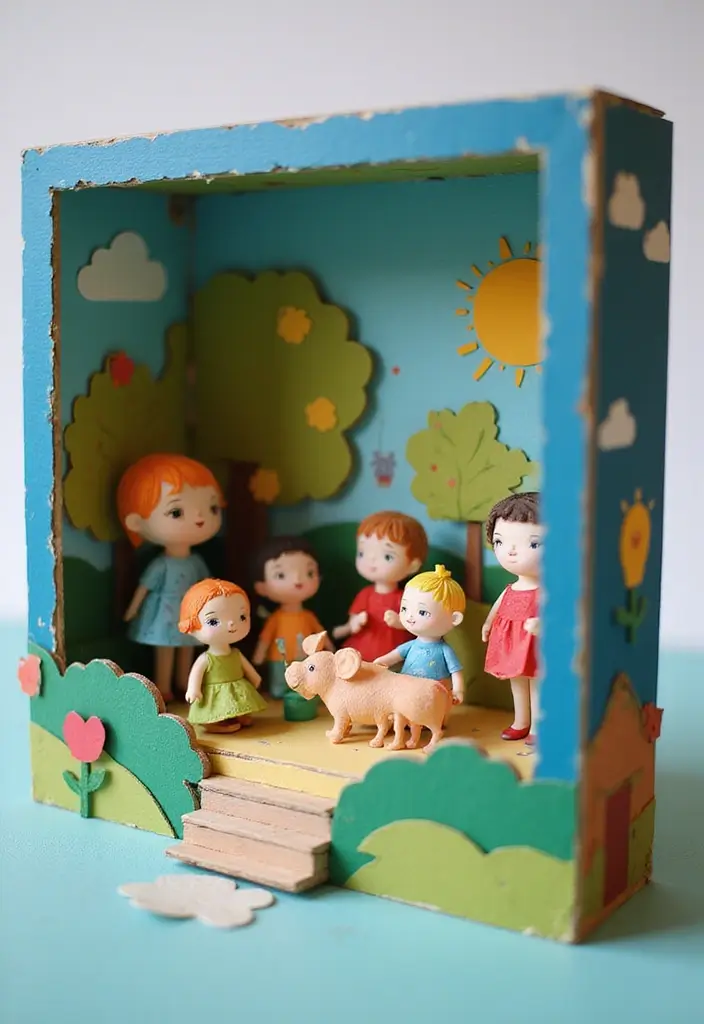
Here is why you should try DIY shadow box dioramas. They turn flat scenes into tiny worlds you can walk into with your eyes. You get to tell a story, build the scene, and move dolls in front of a real backdrop.
Materials
– Shadow box frames
– Colorful paper, scissors, glue
– Thick paper or foam for layers
– Small dolls or paper figures
– Button, fabric bits, beads for details
Plan your scene
Pick a moment from your story. Decide foreground, middle ground, and background. Think about color and mood. Do you want a sunny park or a cozy room with a lamp?
Steps
1) Cut three or more paper layers to create depth.
2) Glue each layer inside the frame at different heights.
3) Add dolls and tiny props on each layer. Use foam tape to lift items a little.
4) Build a simple background on the back panel, then place the scene inside the box.
5) Seal and stand the box where you can tell your tale.
Tips and ideas
– Try a day-night switch by using bright paper for day and dark paper for night.
– Add texture with felt grass, string lights, or fabric curtains.
– Use the diorama as a prop for a story or a tiny display on a shelf.
– Rotate scenes to reuse frames for different stories.
Next steps: share your scene with friends or use it in a puppet show. It trains hands and sparks imagination.
9. Collaborative Paper Doll Mural
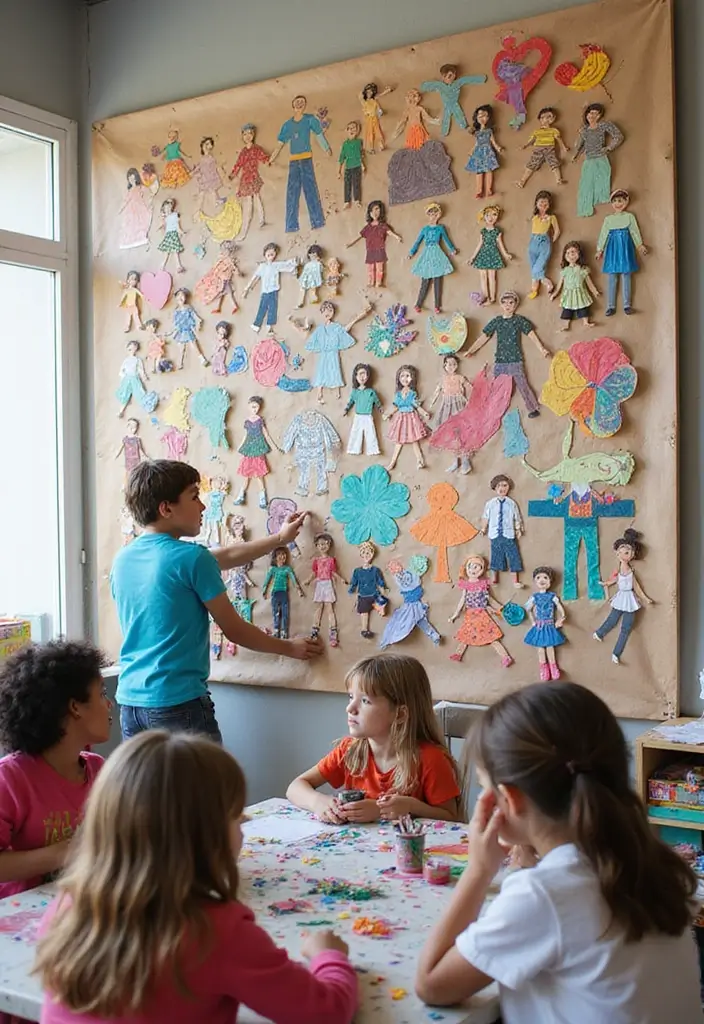
Are you looking for a big art project that lots of kids can join? A collaborative paper doll mural fits a classroom wall, a library corner, or a gym hallway. It builds teamwork and lets creativity shine. You’ll see idea sharing turn into a real scene you can walk by and talk about.
Materials needed:
– Large sheets of paper or a long roll of mural paper
– Markers in many colors
– Glue sticks or tape for attaching dolls
– Scissors, ruler, and extra paper for outfits and scenery
– Optional: stickers, yarn, buttons for texture
Here is why it works. You set a simple story or journey. Each child brings a paper doll that fits the tale. The group moves from plan to paint, with kids helping place and connect dolls along the path. The result is a single, giant piece that shows teamwork, patience, and pride.
How to run it:
1) Decide on a story, journey, or scene you want to tell.
2) Have every child design one paper doll that fits the idea.
3) Lay out the mural, then place dolls in order on the page.
4) Add connecting lines, backgrounds, and little details that link the dolls.
5) Glue everything down and display it where families can see it.
Next steps: snap photos, talk about the choices, and rotate roles so everyone helps. This project beautifies a space and gives kids a shared memory they can reference for weeks.
@media(max-width:480px){
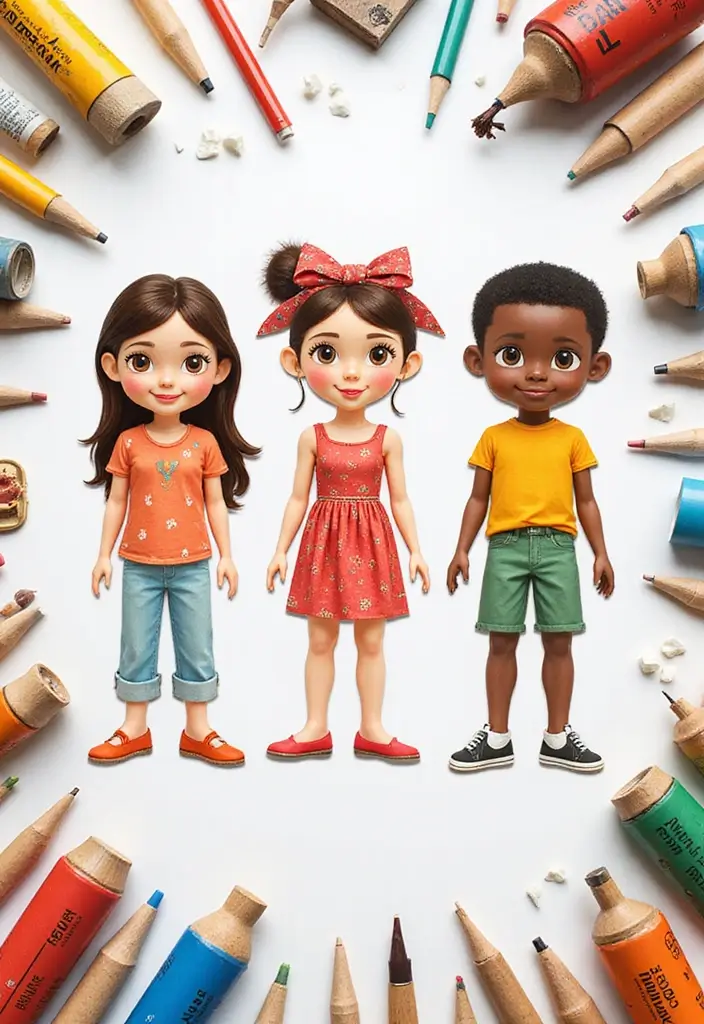
10. Personalized Paper Dolls
You want a craft that feels personal and keeps kids excited. Personalized paper dolls do that. Kids can copy themselves or a friend and tell a story in color.
What you need:
– Blank doll templates
– Mirrors
– Markers, pencils, scissors, glue
– Fabric scraps, stickers, trims
Here is how to start. Pick a model. It could be you, a friend, or a character you love. Look in the mirror to notice features you want to copy. Lightly trace those traits on the template. The aim is a personal touch, not perfect art.
Next, add hair, skin tone, and clothes. Choose colors that fit the vibe. If drawing is hard, copy shapes or use stickers for faces. Glue on fabric to make real outfits. Finish with a small story card that explains who the doll is and what they love.
Make a simple gallery. Hang dolls on a string or pin them to a board. Let kids tell the stories behind each doll to family. It builds pride and calm confidence. Start today by grabbing supplies and drafting your first personalized paper doll.
@media(max-width:480px){
11. Paper Doll Animation
Want a fun way to bring paper dolls to life? Paper Doll Animation merges hands-on crafts with simple tech, giving you a new way to tell stories. It’s easy to start, and you’ll learn as you go.
Required tools: A smartphone or tablet, a basic animation app, a handful of paper dolls, and tiny props or backgrounds.
Here is why it works. Small, repeatable moves make a scene feel alive, and kids see how frames create motion. Let’s break it down and get you moving.
Steps to make your animation:
1) Plan a tiny story. Keep it short and clear.
2) Create a simple stage. Use a sheet of paper as ground and a colorful background.
3) Pose your dolls for the first frame.
4) Take a frame in the app.
5) Move the dolls a little and shoot the next frame.
6) Repeat until your story feels complete.
7) Add captions or a short soundtrack if you want.
8) Share your film with family in a mini home festival.
Tips for better results:
– Use bright, steady light from a window or lamp.
– Bump the phone on a small stand or stack of books to keep shots steady.
– Make small moves for a smoother look; big jumps look jerky.
– If your app has onion-skin or ghost mode, use it to line up the next pose.
Next steps: try a new scene next weekend. Mix in colors, hats, or talking mouths on paper cutouts. Your stories can grow with your dolls.
@media(max-width:480px){
12. Nature-Inspired Paper Dolls
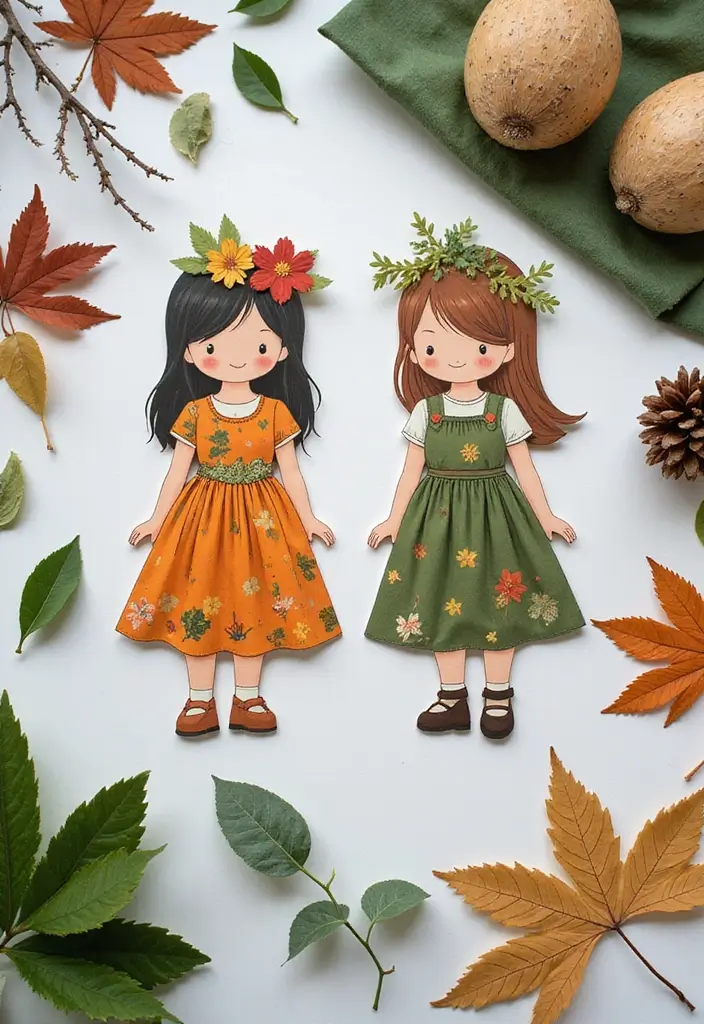
Nature outside can be a classroom. With nature-inspired paper dolls, you dress dolls using leaves, petals, and tiny sticks. It is simple to do and easy to keep kids curious.
– What you need: paper doll templates, glue, and natural materials found outside. Pick clean leaves, soft petals, and no rough twigs. Have a safe work area and a flat surface.
Here is why this works. It sparks imagination and teaches care for the world around us. You can talk about where each piece came from and why we treat nature with respect. It also shows how art and science fit together.
– Steps to try:
1) Let your child choose a doll body from a template.
2) Lay out natural pieces to form outfits—leaf capes, petal skirts, twig belts.
3) Glue pieces on with small dabs in the center so they stay put.
4) Press gently and let glue dry.
5) Create a tiny nature scene behind the dolls for a neat display.
Tips to make it last:
– Dry materials first if they are damp.
– Use clear glue for a neat, clean look.
– Keep the display indoors or in a sheltered spot to avoid weather damage.
Next ideas: Build a forest, garden, or shoreline backdrop. Add plant names on small cards to spark science talk. Have a mini show where you share what you learned about ecology and caring for Earth.
Next steps: Gather supplies, head outside, and start crafting. When you finish, set up a small shelf and tell stories about your nature dolls.
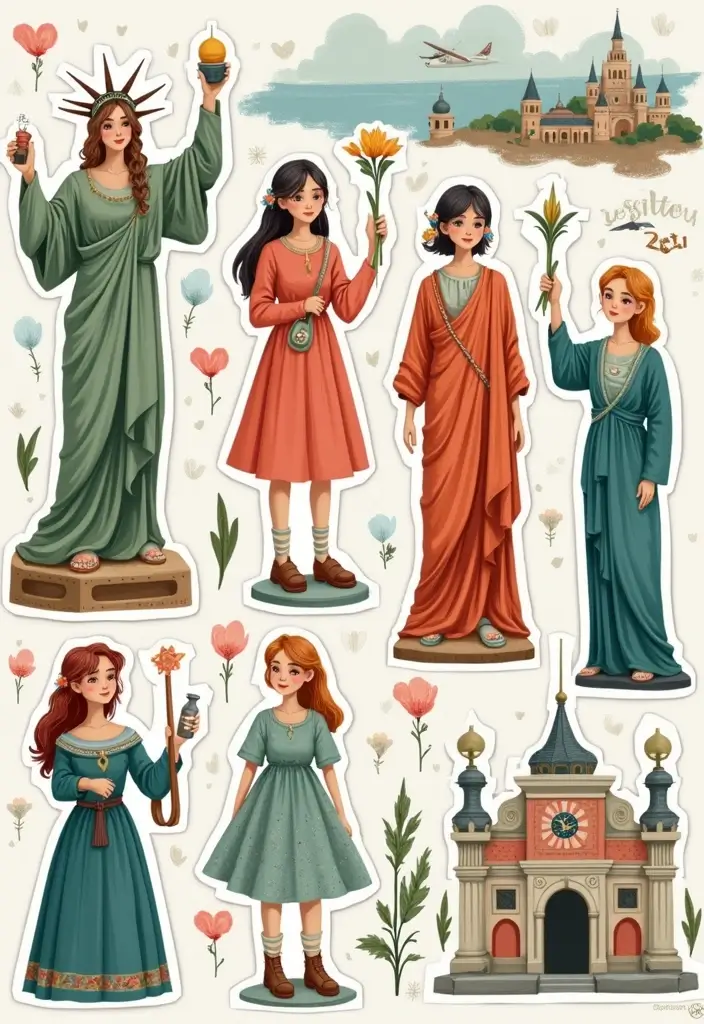
13. Cultural Paper Doll Projects
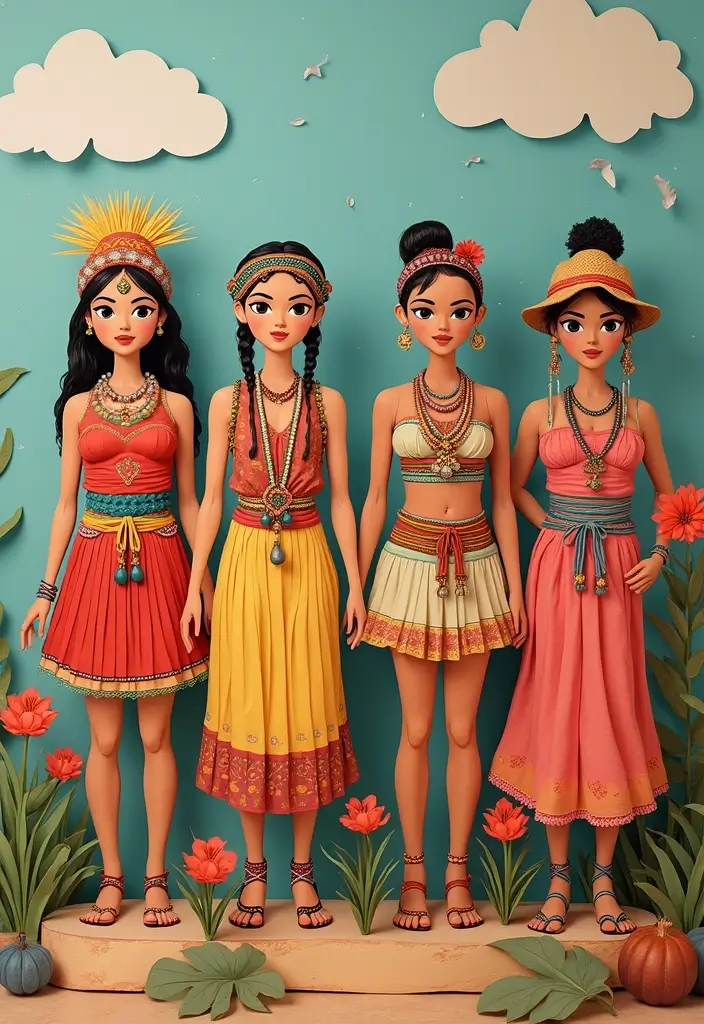
You want a craft that teaches kids about the world without losing the fun. Cultural Paper Doll Projects make that possible. Kids create dolls in traditional outfits, learn a bit about the people behind the clothes, and feel proud of what they make. This activity sparks curiosity and builds respect for different cultures.
What you need: Cultural templates, colored paper, fabric scraps, markers, glue, kid-safe scissors, and small decorations that hint at real traditions. Use printables you find online or draw your own simple dolls to start.
Here is why this works. Next steps help you organize the lesson.
– Choose 2 or 3 cultures to focus on.
– Print a simple doll template or draw one that’s easy to cut.
– Let kids cut, color, and dress the dolls using paper and fabric pieces.
– Add tiny details like beads, ribbons, or printed patterns to show a culture’s style.
– Write a short fact card for each doll so the display teaches as they play.
Let’s break it down. Then set up a small gallery: family members can guess where each doll comes from, and kids can share one fact they learned.
Benefits show up quickly. The project improves fine motor skills, questions spark interest, and kids practice empathy through stories and colors. It’s a practical way to connect art, geography, and daily life.
@media(max-width:480px){
14. DIY Pop-Up Paper Doll Cards
You want a card that feels personal and fun. A pop-up paper doll card does both. The doll rises when the card opens, turning a simple note into a small moment. Here is how you can make one your kids will be proud to hand out.
What you’ll need:
– Cardstock for the card base
– Scissors
– Markers or colored pens
– Glue or tape
– Optional: colored paper, crayons, stickers
Step-by-step
1) Plan a theme. Pick a friend’s hobby, like soccer, music, or reading. Simple colors help the message read clearly.
2) Draw a friendly paper doll on cardstock. Keep the shapes big enough to cut cleanly.
3) Cut the doll out, then add a tiny tab on the back. This tab will anchor the doll to the pop-up strip.
4) Make the pop-up strip. Cut a narrow strip, fold it twice to form a small hinge, and glue it inside the card.
5) Attach the doll to the hinge with the back tab. When you close the card, the doll stays flat; when you open it, the figure lifts.
6) Decorate the outside. Use bold markers and simple patterns so the wow moment is clear.
7) Add a message inside. A short note makes the gift feel thoughtful.
Test and gift. Let the card lie flat first, then fold it gently for mailing or hand-off.
Next steps. Try different dolls and scenes. Host a mini card swap where kids trade their pop-up dolls and cheer each other on.
@media(max-width:480px){
15. Interactive Paper Doll Games
You’re looking for a kid-friendly activity that blends crafting with real play. Interactive paper doll games make that possible. They turn simple dolls into players in a mini world you design.
Benefits Playing this way strengthens sharing, teamwork, and quick thinking. Kids set rules, test ideas, and adjust as they go. The games grow with each session, keeping interest high.
Materials needed Paper dolls, game board templates, and basic craft supplies. Add color pencils, stickers, or tokens to customize.
– Step 1: Let kids imagine a game world for the dolls. They pick a goal and a fun setting.
– Step 2: Help them write simple rules that are fair and easy to follow.
– Step 3: Create the board. Use templates or draw paths with pencils.
– Step 4: Decide how to move. Use dice or cards to drive actions.
Next steps Make a family game night a regular thing. Invite friends over and share the games your kids made. Keep the rules simple and the play friendly. This approach teaches planning, cooperation, and good sportsmanship, all while keeping crafts and play together. Keep a tidy play space and store boards in a folder. Ask kids to explain one rule to a friend today.
@media(max-width:480px){
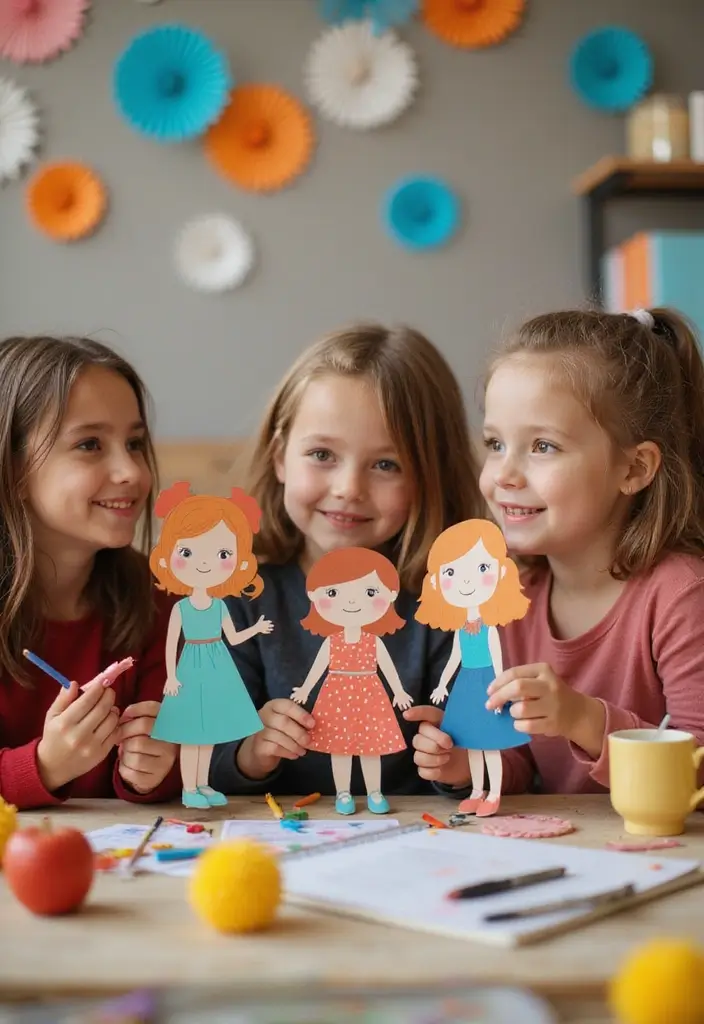
16. Paper Doll Fashion Design
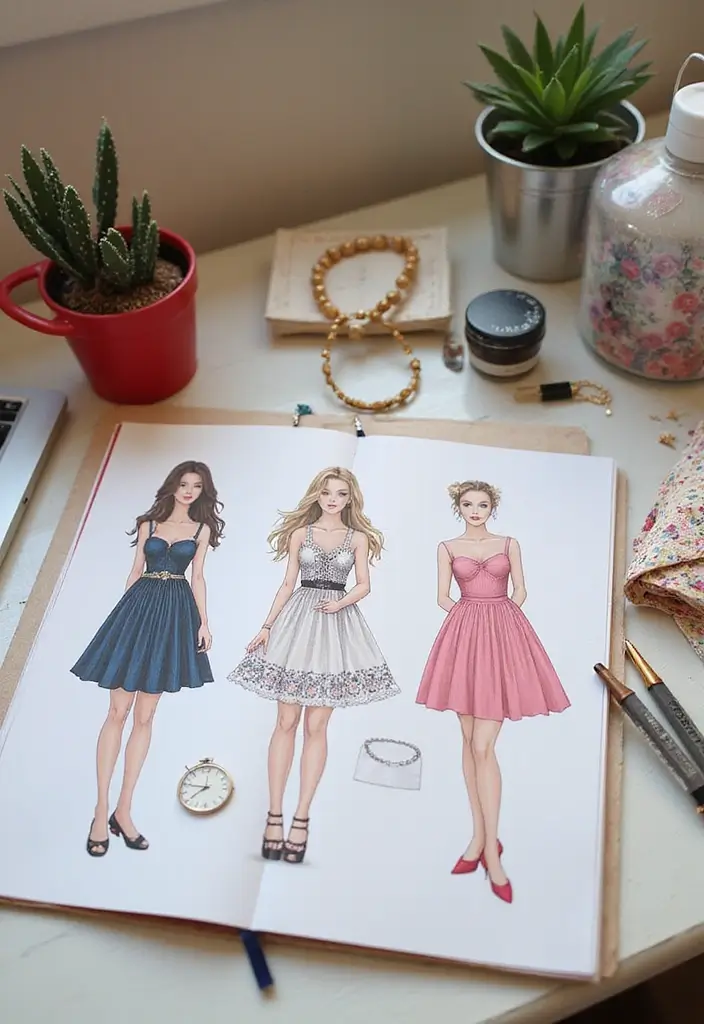
You want kids to feel like real designers. Paper doll fashion lets them plan outfits, pick colors, and see ideas come to life.
What you need: Fashion templates, a paper doll, fabric swatches or patterned paper, colored pencils, scissors, glue, and a ruler.
This activity builds color sense and ideas about fabric, without sewing.
Choose a look. Use the template as a base. Draw a quick outfit on the blank space.
Hands-on steps:
– Pick a color family. Match two to three colors that work well together.
– Sketch a dress, skirt, or jacket on the template.
– Add small details like buttons, belts, or pockets with pencil or paper cutouts.
– Cut fabric swatches or paper patterns to fit the outfit. Glue them where you want texture.
– Check the scale. The clothes should fit the doll like a real garment, not too big or small.
Try a home mini fashion show. Kids parade their dolls, share color choices, and talk about a fashion era.
Next steps: save the best designs, test new textures, and mix bold patterns with calm tones.
@media(max-width:480px){
Recommended Products

6 Mannequins Display More Designs: The newest fashion designer kits for girls includes 6 mannequins for display, along with detailed instructions and tutorial videos for making clothing styles. The set also comes with several clothing templates. A perfect fashion design kit for girls ages 8-12 who love creativity.

Fashion-plate rubbing kit lets young designers show their flair

🎀 Creative Fashion Studio with Real Fabric:Inspire young designers with a complete fashion studio! Our kit includes 6 reusable EVA mannequins, a pack of real fabric accessories in various colors and textures, 2 safe poke-in tools, and 6 display stands. Children can design stylish outfits with genuine cloth materials, learning texture and pattern matching hands-on.
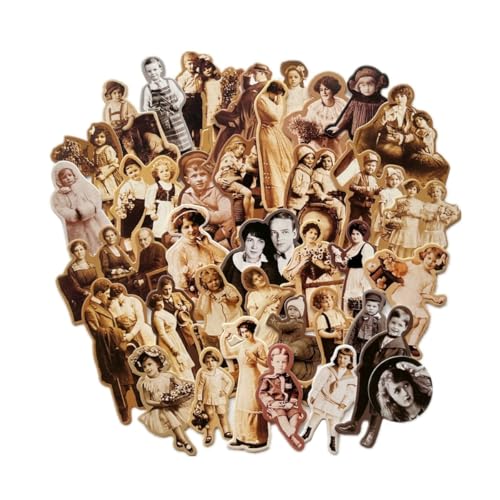
17. Upcycled Paper Dolls
You want something fun that helps the planet. Upcycled paper dolls fit the bill. They use scraps from magazines, newspapers, cardboard, and any old bits you have. No fancy kit needed.
What you’ll need
– Reused paper materials
– Scissors
– Glue
– Optional extras: fabric scraps, ribbon, buttons
Start by choosing a doll body. Fold a page into a simple shape. Cut out a head, arms, and dress from different scraps. Glue pieces on. Add patterns from magazine pages. Let it dry.
Kids can design outfits. Use color blocks to create a dress, cape, hat. Try layering for depth. Make hair with painted paper strips. Add a face with markers or colored pencils.
Turn this into a learning moment. Explain how reusing scraps cuts waste. Keep it short and friendly.
Next steps: display the dolls on a string or pinboard. Or turn them into ornaments for a gift. You can make a mini family of dolls using many scraps, then swap with friends to waste less.
Safety and tips: handle scissors with care. Help younger kids. Use a plain workspace. Use a glue with a quick dry time.
Wrap-up: this craft builds creativity and teaches care for the Earth. You get unique dolls and less trash.
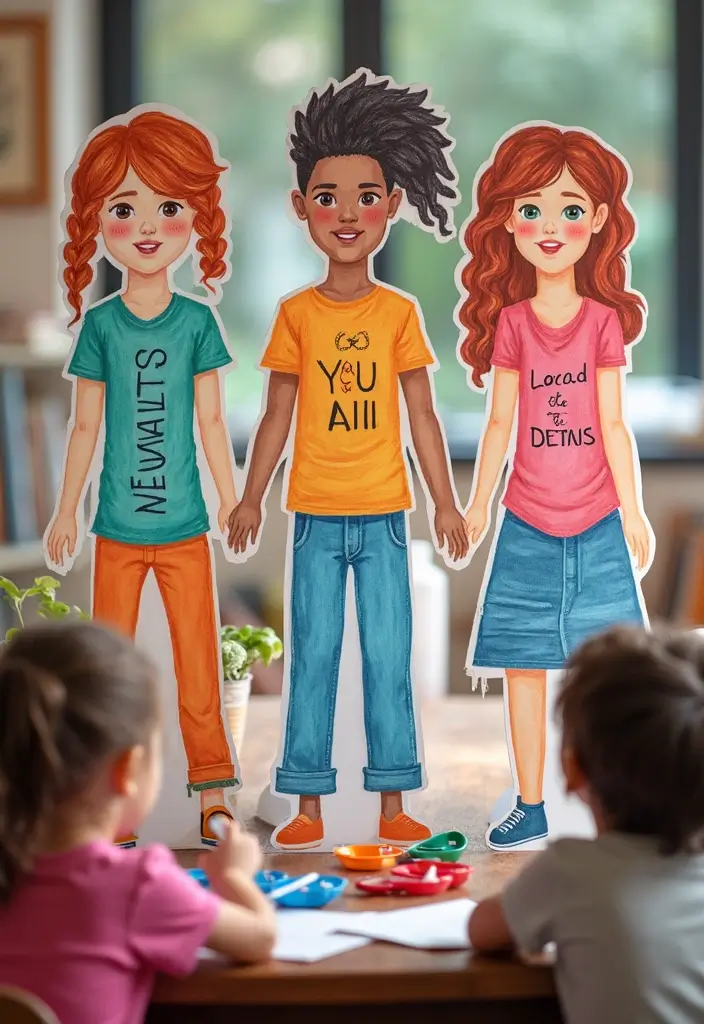
18. Paper Doll Friendship Chains
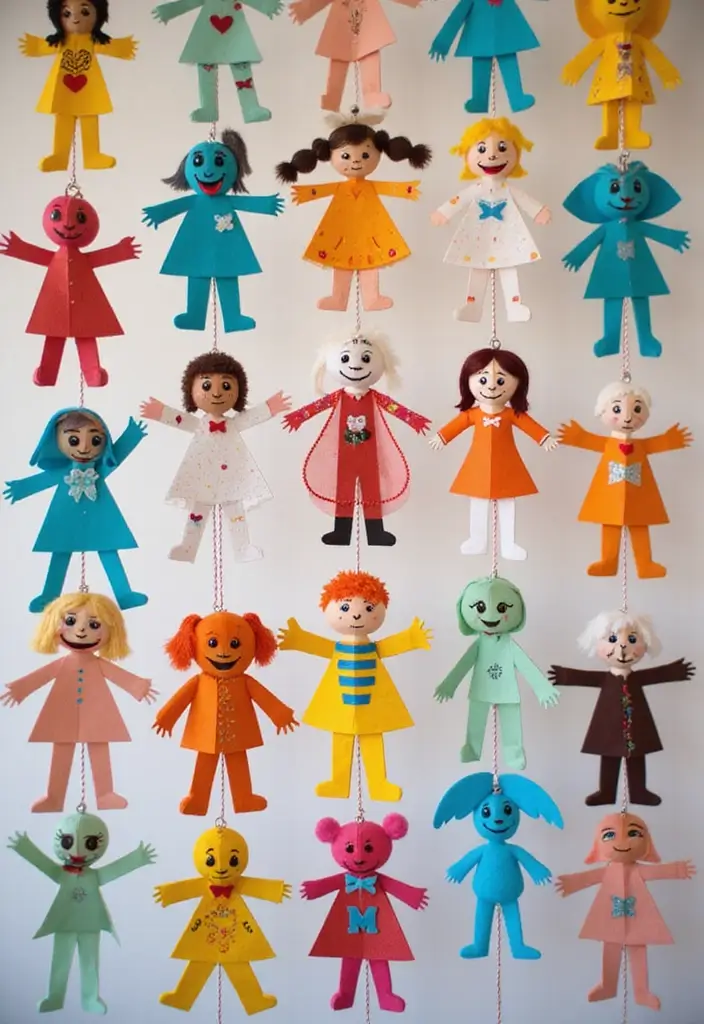
You want a simple, shared craft that kids can do together and proudly display. Paper Doll Friendship Chains fit that need. The chain shows teamwork and gives you a bright reminder of friends at play. Here is why it works and how to do it well.
– What you need:
– Colorful paper
– Scissors
– Markers
Here’s how to make it. Start with several paper dolls. Each doll should be about the same size. You can draw faces or tiny outfits to add a personal touch. Decorate with bold colors, stripes, or stickers. Let kids pick their favorite patterns to reflect their style.
– Make a small slot near each doll’s hands. A tiny cut about a quarter inch long works well. Do this on both hands so the chain can link smoothly. If you prefer, you can punch a tiny hole near the wrist instead.
– Link the dolls one by one. Slide the next doll’s arm through the slot or hole in the previous doll. When you place them side by side, it will look like the dolls are holding hands. This is the heart of the chain.
– Keep adding dolls to grow the chain. You can make a short chain for a classroom door or a long one for a hallway display. Each new doll adds color and friendship to the line.
– When you are done, hang the chain where everyone can see it. It works on a wall, a door, or a bulletin board. School hallways, classrooms, and homes all become cozy when the chain is up.
Here is why this approach helps kids. It turns a simple craft into a team project. Each child contributes a decorated doll. The linking step teaches sharing space and patience. The finished chain becomes a talking piece about friendship. Next steps are easy.
– Tips for success: Use thick paper so tabs and slots stay strong. Let kids color first, then cut to keep lines neat. If a doll tears, swap it for a quick new one. Glue can help keep pieces in place if you want extra security.
– Proactive ideas: Try a mini chain in a backpack frame or a welcome banner in the classroom. Invite kids to write a tiny note of thanks on the back of a doll. That adds a personal touch to the chain.
– Frequently asked questions: How long should the chain be? Long enough to cover a wall, but not so long it drags on the floor. Do we need glue? Tape or glue sticks help keep the joints sturdy. Can younger kids join? Yes, with extra help for the initial linking step.
Next steps. Gather supplies and pick a day for the craft session. Set up a decorate-and-link station. Have a quick show-and-tell after the chain is finished so everyone shares what friendship means to them. This project delivers a clear, tactile reminder that friends hold the chain together.
@media(max-width:480px){
19. Animated Paper Doll Theatre
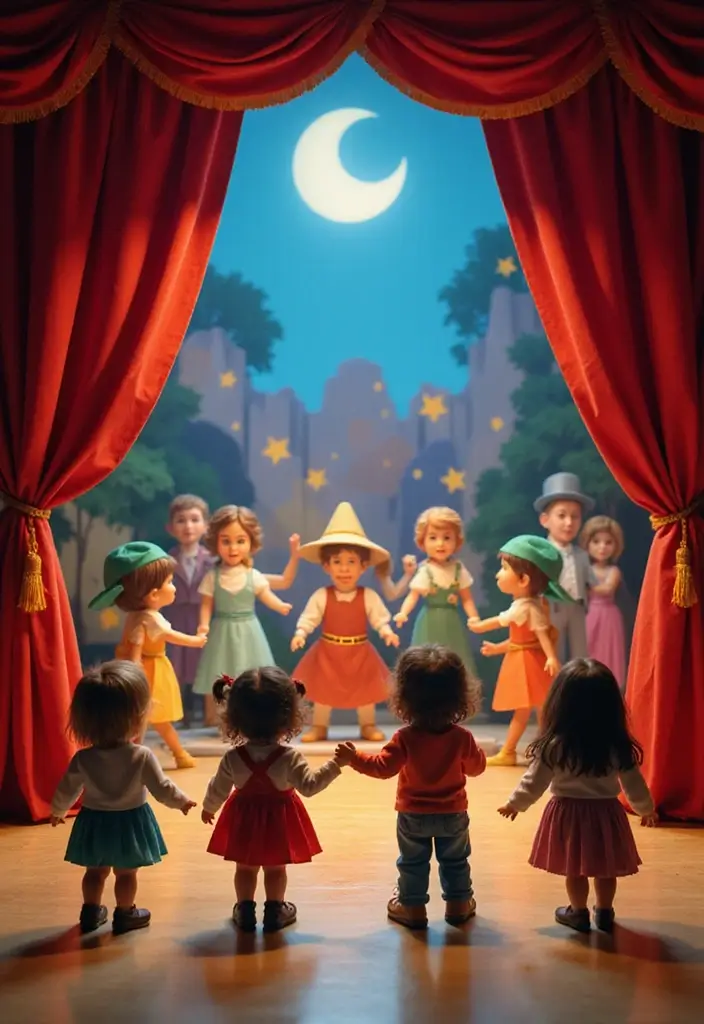
Here is a playful way to spark creativity with an animated paper doll theatre. You build a tiny stage, bring dolls to life, and run mini shows that mix art with story.
Materials you need:
– Cardboard or thick poster board
– Paper dolls and extra paper for outfits
– Glue, scissors, tape
– Markers, crayons, paint
– Ribbons, fabric scraps, felt
– A simple backdrop (drawn or painted)
Next, set up your stage. Cut a small theater frame from cardboard. Draw a simple backdrop like a sky, a house, or a park. Attach it with tape so the scene stands on a table.
Now make your cast. Color or cut new outfits for each doll. Add tiny props, like a hat or chair. Practice by moving the dolls in front of the backdrop and saying lines.
Let kids write tiny scripts. Short lines and clear actions work best. Use a voice for each character and keep stage directions simple. Rehearse a few scenes, then perform for family.
Here is why you should try it. It builds teamwork, speaking skills, and planning. It also helps kids think through problems and cheer each other on. For extra fun, add a quick stop-motion moment or a new scene each week.
Next steps. Take photos of the shows or keep a little script archive for future plays.
@media(max-width:480px){
20. Paper Doll Calendar
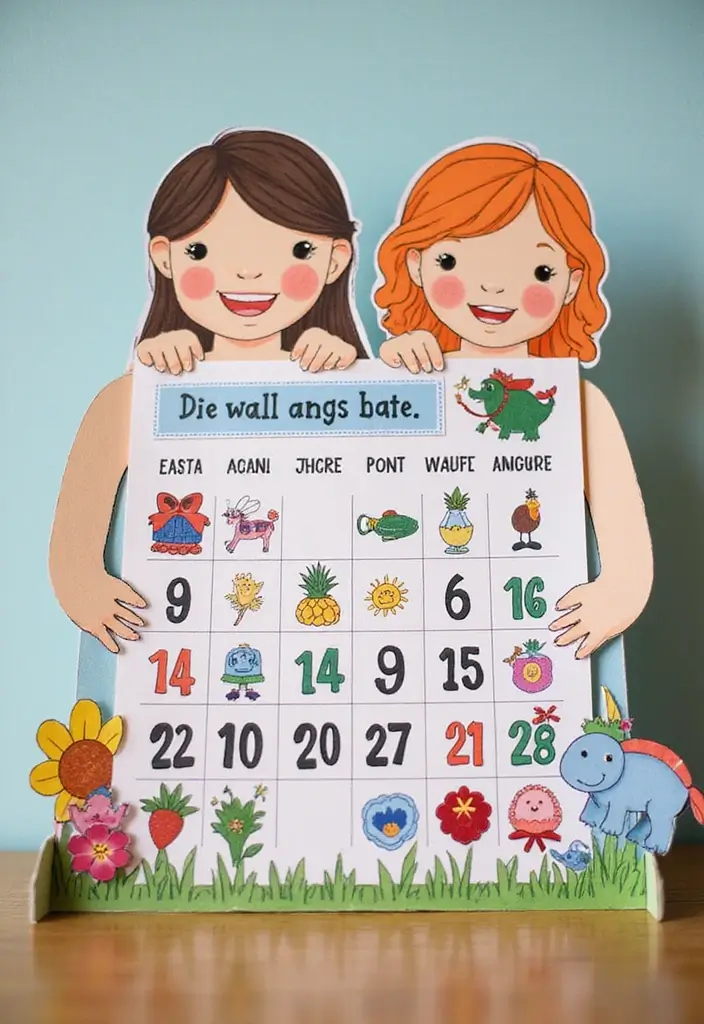
You want a simple, fun way to learn how time works. A paper doll calendar makes time feel real. Kids create a calendar that shows a doll for each month.
What you’ll need: Blank calendar templates, markers, and paper doll designs. Optional extras include stickers, crayons, string, and tape.
Here is how to set it up. Print or draw a blank calendar. Let your child pick a doll for every month. Have them decorate each month to match the season or a holiday. Add a few important days like birthdays and family events. Attach the doll to the month with glue or tape, or pin it in a binder.
This project teaches more than counting days. It helps kids learn the order of the months and the change in weather. It builds organization and planning skills. It also gives you a ready-made way to track family activities.
Tips to keep it handy. Laminate the calendar or put it in a binder. Use color for each season. Hang it where the family can see it.
Variations you can try. Make a small version to carry in a backpack. Use a magnetic board so you can move days easily. Reuse the calendar next year by adding new months and dolls.
21. DIY Paper Doll Puppets
If your kids love crafts but want more life in their art, try DIY paper doll puppets. These little figures become the stars of a tiny show you can put on at home.
Why it helps: puppets spark stories and improve speaking. When your child moves a puppet, ideas flow. They practice talking clearly and staying curious.
Materials needed
– Paper dolls
– Popsicle sticks
– Glue or tape
– Scissors
– Markers or crayons
– Yarn for hair and strings
– Fabric scraps, felt, or stickers
– Optional: magnets or small clothespins for props
How to make
– Choose a doll and set it on a table.
– Glue a popsicle stick to the back so the puppet can be held.
– Decorate with color, hair, and clothes using markers, yarn, and scraps.
– Let the glue dry a bit.
– Create a simple script with a friend or family member. A short scene is perfect.
Show time ideas
– Hold a mini puppet show day in your living room.
– Use a cardboard box stage and a plain backdrop.
– Have kids take turns, then switch roles to keep it fun.
– Record a quick video so kids can watch their performance later.
Tips and care
– Keep supplies organized in a bin.
– Clean glue sticks and scissors after use.
– Clean the puppets gently so they last.
Next steps
– Gather your supplies.
– Pick a favorite story.
– Put on a tiny show and cheer each other on.
22. Paper Doll Matching Game
Struggling to find a quick, screen-free activity that sharpens memory and sparks imagination? A paper doll matching game can be just the thing. It’s simple, engaging, and small enough to travel anywhere.
What you’ll need
– Blank paper doll templates
– Markers, crayons, or colored pencils
– A few friends or family members to join
– A small box or pouch to store finished pairs
Here is how you set it up and play. Lay the templates face down on a plain surface. Each player picks a sheet and adds a doll or an outfit with color and detail. Shuffle the cards again and spread them out in a grid. On your turn, flip two cards. If they match, keep them in your pile and take another turn. If they don’t, flip them back and wait for your next chance.
Next steps can mix things up. Try themed outfits like pirates, space explorers, or seasonal clothes. Set a gentle timer for fast rounds to add a light challenge. Invite a friend to trade templates after a few rounds to keep ideas fresh.
Why this helps you. It builds memory and concentration. It boosts fine motor control as you color inside lines. It also teaches turn-taking and friendly talk. Want a smooth session? Limit rounds, praise effort, and keep a small prize on hand for fun.
Grab your markers, start a round, and watch everyone relax, create, and cheer each other on.
23. Story-Driven Paper Doll Craft Kits
Are you looking for a craft that kids actually finish and that helps them read along the way? Story-driven paper doll craft kits fit the plan. Each kit gives you doll templates, matching outfits, and a handful of story prompts. Kids pick a prompt, color and cut, then dress the doll. They weave a story as they assemble. It blends making with reading, so kids stay curious instead of losing interest.
What you’ll need:
– Pre-packaged or homemade kits with templates, paper dolls, fabric scraps, stickers, yarn
– Simple story prompts on cards
– Kid-safe scissors, glue sticks, markers or crayons
– Optional props like buttons, felt pieces, tiny hats
How it works
Let’s break it down. Pick a prompt, color and cut the doll, then dress the outfits. Add props and act out a quick scene. The prompts spark ideas, not fear. You can jot a line or two on the back of the prompt to capture the tale.
Next steps
– Run a mini craft session, 20 to 30 minutes per child
– Host a 5-minute story swap so kids hear others’ ideas
– Create a small story gallery wall for the week
With these steps, your story kits become a friendly, shared activity that kids love.
Recommended Products

Quantity:45PCS die-cut printed pieces,No Adhesive, A gathering of clipped printed vintage paper dolls

No Stickers, Just Pure Creativity – Made from thick, high-quality cardstock, these vintage paper dolls offer a smooth texture and a satisfying weight in hand. Each figure features vivid, realistic printing for added depth and charm. With no adhesive backing, you’re free to arrange, glue, and customize as you wish—perfect for crafting without limits.
![Cut out Paper Dolls and Crafts Kawaii Coloring Book: Spooky Halloween Edition Men& Women Costume [Vol.9]: Freely Mix and Match: Fashion Paper Dolls: ... Out Paper Dolls and Crafts Kawaii The Series)](https://m.media-amazon.com/images/I/51m8CFwB5OL._SL500_.jpg)
24. Paper Doll Calendar Adventurers
Here is why this works: Paper Doll Calendar Adventurers turns a simple calendar into a journey. Your child designs a paper doll that visits a new place each month, so time feels alive.
– Materials needed: Calendar templates, paper dolls, markers, scissors, glue, and some extra supplies like stickers or fabric scraps for outfits.
Plan first. Pick 12 places your child wants to learn about. It can be a country, a city, or a landmark. Draw a simple doll. Make easy outfits that fit the spots. Leave room for new looks as the year goes on. Keep it simple at first and grow later.
Make a monthly page. On each page show the place with a simple scene. Add a tiny map line, a flag, or the landmark. Color the sky, streets, and rooftops. Let the doll wear a new outfit as needed.
Add a quick study bite. Let kids search for one fact about the place. Write it in a small box near the page. This turns craft time into a mini geography lesson.
Finish by sharing. Hang the completed calendar on a wall or bulletin board. It becomes a live map of their travels, sparks questions, and a keepsake.
Next steps: try themes like famous rivers or world festivals. Use different templates and let the adventures grow.
Have fun with it.
25. Paper Doll Activism
You want kids to turn ideas into art that matters. Paper doll activism gives them a safe stage. They pick a cause and tell its story with cloth, color, and small props.
What you’ll need:
– Blank templates or sturdy paper
– Markers, crayons, colored pencils
– Glue, scissors, scraps, and fabric bits
– A quiet table and a supportive, patient atmosphere
How to do it:
– Pick a cause. Keep the topic simple. Ask what message the doll should share.
– Build the doll. Draw a simple body, cut it out, and dress it with colors and symbols.
– Add a story. A short caption or speech bubble explains the idea.
– Prepare a display. Show the doll on a small stand or pin it to a wall. Give each child a brief moment to share their thoughts.
– Reflect on what worked and what could be better. Note ideas for next dolls.
Why this helps:
Here is why this works.
– It gives kids a voice in a calm, creative way.
– They practice explaining ideas clearly and respectfully.
– They see how art can start care and talk among friends.
Next steps:
– Host a mini gallery at home or in class. Let each child explain their doll.
– Keep dolls for a future project or a class debate.
@media(max-width:480px){
Conclusion
Crafting with paper dolls offers endless possibilities for creativity and learning! These interactive projects engage children while enhancing their fine motor skills, storytelling ability, and creativity.
Try these ideas at home or in the classroom to inspire a love for crafting and learning. What’s your favorite paper doll project? Share your creations and stories with others, and keep the crafting spirit alive!
Note: We aim to provide accurate product links, but some may occasionally expire or become unavailable. If this happens, please search directly on Amazon for the product or a suitable alternative.
This post contains Amazon affiliate links, meaning I may earn a small commission if you purchase through my links, at no extra cost to you.
Related Topics
paper doll crafts
interactive crafts
DIY projects for kids
educational activities
seasonal crafts
creative play
family crafts
personalized dolls
easy DIY
crafting with kids
upcycled crafts
storytelling crafts