Creating beautiful butterfly crafts can be a delightful way to spend time with your kids. As spring arrives, so does the urge to embrace nature and creativity, and what better way to do that than by making colorful butterfly crafts? This post is crafted to inspire you and your little ones with fun and eco-friendly DIY butterfly crafts that use just paper and paint. You’ll find that these activities not only foster creativity but also teach kids about the beauty of butterflies and the importance of caring for the environment.
If you’re a parent, teacher, or caregiver seeking engaging and creative activities for children, you’ve landed in the right spot. These DIY butterfly crafts are perfect for kids of all ages, whether you’re looking for a rainy day project or a fun outdoor activity. Each project is designed to be simple and enjoyable, allowing children to express themselves while developing their fine motor skills.
Expect an array of 17 enchanting butterfly craft ideas that are not only beautiful but also offer valuable opportunities for learning about colors, shapes, and the great outdoors. From painted butterfly rocks to toilet paper roll butterflies, each craft is unique, fun, and requires minimal supplies. So, roll up your sleeves and get ready to spread your creative wings with these vibrant DIY butterfly crafts!
Key Takeaways
– You will discover 17 creative and eco-friendly butterfly crafts that use simple materials, perfect for kids’ art projects.
– These DIY butterfly crafts help enhance children’s fine motor skills and creativity through hands-on activities.
– Every craft idea highlights unique techniques, such as painting, stamping, and using recycled materials.
– This guide encourages family bonding time and provides a fun way to learn about butterflies and nature.
– Each project comes with easy-to-follow instructions to ensure a seamless crafting experience for kids and parents alike.
How To Choose The Right Butterfly Craft Project
Choosing the perfect butterfly craft for your kids can be a fun process. Here are some points to consider when picking a project:
1. Age Appropriateness: Consider the age of the children involved. Some crafts may require more adult supervision due to the use of scissors or paint, while others can be handled independently by older kids.
2. Available Materials: Take stock of the materials you already have at home. Many crafts use common household items like paper, paint, and recyclables. This can save time and money.
3. Crafting Skill Level: Evaluate the skill level of the kids. Some projects may be more intricate and require advanced techniques, while others are simple and quick, making them ideal for younger kids or beginners.
4. Learning Opportunity: Choose crafts that also offer educational value. Projects that involve colors, shapes, or even the life cycle of butterflies can enrich the crafting experience.
5. Time Commitment: Consider how much time you’re willing to spend. Some butterfly crafts can be completed in under an hour, while others may take more time, allowing for deeper exploration and creativity.
Pro Tip: Always have a backup plan! Prepare an alternative craft if the first one proves to be too challenging or if supplies run out.
How Do Butterfly Crafts Work?
Butterfly crafts can be a wonderful way to engage kids’ creativity while learning about nature. Here’s how you can get started with these fun projects:
1. Gather Materials: Collect all necessary supplies such as paper, paint, glue, scissors, and any decorative items like glitter or stickers.
2. Choose a Craft Idea: Select a butterfly craft from our list. From painted rock butterflies to paper plate creations, each idea comes with its unique flair.
3. Follow Instructions: Each craft will have step-by-step instructions. Make sure to read through them together to understand the process before starting.
4. Create and Enjoy: Allow the kids to take the lead in creating their butterfly masterpiece. Encourage them to express themselves and innovate with colors and designs.
Best for: Engaging children in hands-on activities that promote creativity and learning about the natural world.
How To Use Eco-Friendly Materials for Butterfly Crafts
Using eco-friendly materials in your butterfly crafts is a great way to teach kids about sustainability. Here’s how you can do it:
Tools You’ll Need:
– Recycled paper (such as old newspapers, magazines, or cardboard)
– Non-toxic paint
– Natural elements (like leaves or flowers)
– Adhesives like glue or tape
– Scissors (adult supervision may be required)
1. Step 1: Gather Recyclables: Start by collecting items that would otherwise be discarded. Old newspapers, egg cartons, and toilet paper rolls can be transformed into beautiful butterfly crafts.
2. Step 2: Plan Your Design: Discuss with the kids how they want their butterflies to look. Encourage them to think about colors, patterns, and any natural elements they might want to include.
3. Step 3: Create the Base: Use the recycled paper or materials to create the base of the butterfly. This could be cutting out shapes or assembling pieces to form the wings.
4. Step 4: Add Color and Details: Let the kids paint or decorate their butterflies using non-toxic paints and materials. You can also add glitter or natural items like leaves for a more textured look.
5. Step 5: Display Your Art: Once the crafts are complete, find a special place to display them. You can hang them in windows, use them as garden decorations, or create a butterfly-themed art gallery at home.
⏱ Time: ~1-2 hours | 💡 Tip: Set up a crafting station outdoors for a fun, messy experience!
1. Painted Butterfly Rocks
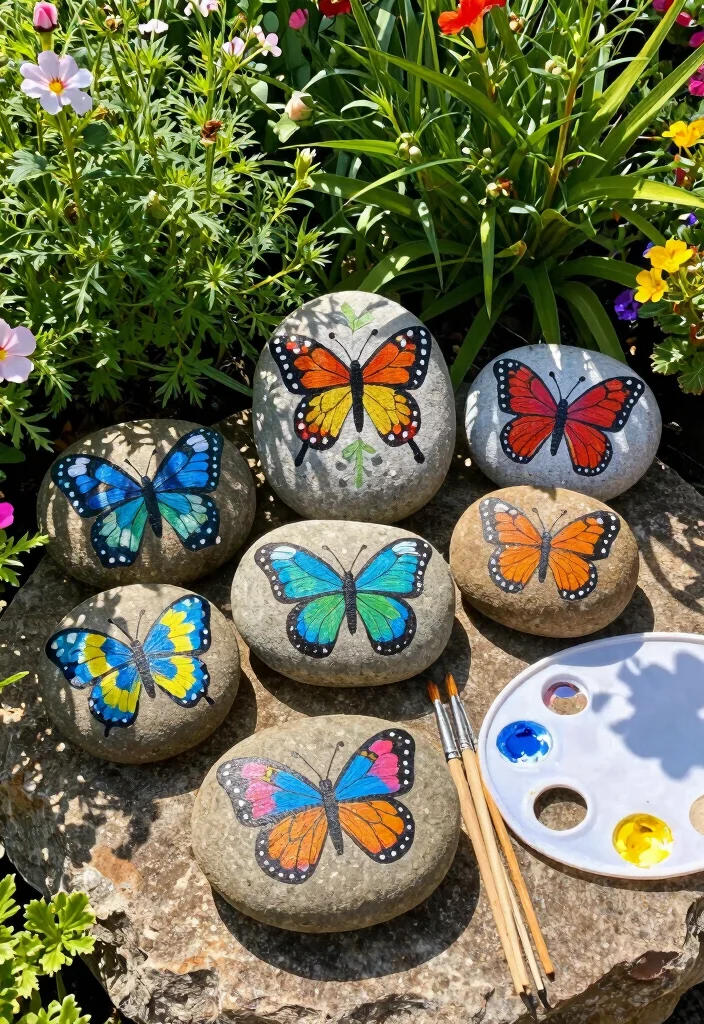
Turn ordinary rocks into eye-catching butterfly art that brightens any space! This fun craft invites kids to venture outdoors, searching for smooth stones to paint. With eco-friendly paints, they can create vibrant butterfly designs that make delightful garden decor or heartfelt gifts for loved ones. It’s a wonderful blend of creativity and nature, giving children a sense of accomplishment as they showcase their artistic flair.
To start, gather a variety of smooth rocks and let the creativity flow. Encourage kids to think outside the box by experimenting with different colors and patterns. These painted rocks not only beautify gardens but also instill pride in the young artists.
Key materials for this craft:
– Smooth rocks
– Non-toxic acrylic paints
– Paintbrushes
– Sealant (optional)
Creative steps to follow:
1. Find smooth stones from your backyard or on a nature walk.
2. Clean and dry the rocks thoroughly.
3. Paint colorful butterfly designs, letting creativity run wild!
4. Allow the paint to dry completely, and consider sealing them for outdoor use.
5. Display your beautiful butterfly rocks or gift them to friends and family.
Through this craft, kids will experience the joy of creation while adding charm to their surroundings!
2. Paper Butterfly Garlands
Transform your space into a whimsical wonderland with charming paper butterfly garlands! This craft is perfect for kids who love to cut and fold, providing an excellent opportunity to develop fine motor skills. By using recycled paper, children learn the importance of eco-friendly practices while enjoying the creative process. Decorate the butterflies with paint, stickers, or glitter for an extra touch of fun! These garlands make fabulous decorations for bedrooms, playrooms, or parties.
Start by collecting various paper materials and let kids’ imaginations soar as they create their butterfly garlands. This simple craft not only beautifies a space but also fosters creativity and resourcefulness.
Essential materials include:
– Recycled paper or colored cardstock
– Scissors
– String or twine
– Glue (optional)
– Stickers, glitter, or watercolors for decoration
Steps to make your garland:
1. Cut butterfly shapes from recycled paper.
2. Decorate each butterfly with paint, stickers, or glitter.
3. Punch holes at the top of each butterfly.
4. String them together with twine, arranging as desired.
5. Hang your beautiful garland in your chosen space!
This craft not only enhances creativity but also promotes the joy of reusing materials!
3. Toilet Paper Roll Butterflies
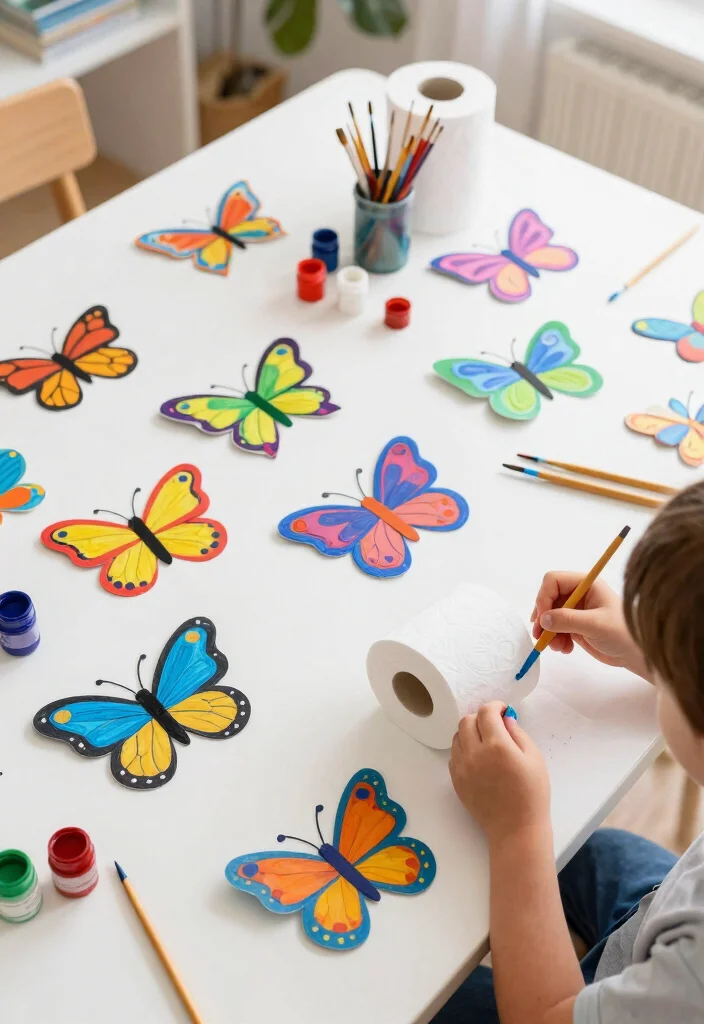
Give new life to empty toilet paper rolls by crafting delightful butterfly creations! This engaging project is a fantastic way to recycle while sparking creativity. Kids can decorate the rolls using paints or markers, turning them into charming butterflies with just a bit of imagination. Adding pipe cleaners for antennae makes these butterflies perfect for display or imaginative play. This eco-friendly craft encourages resourcefulness and artistic expression.
Begin by gathering materials and let kids explore their artistic side through this fun recycling activity. Encourage them to think creatively about how to turn everyday items into art.
Materials you’ll need:
– Empty toilet paper rolls
– Non-toxic paints or markers
– Pipe cleaners
– Scissors
– Glue (optional)
Steps to create your butterflies:
1. Choose a couple of toilet paper rolls to work with.
2. Paint or color the rolls in vibrant designs. Let them dry completely.
3. Cut the rolls in half to form wings.
4. Twist pipe cleaners into antennae and attach them to the top of each roll with glue.
5. Assemble the wings by securing the halves to the roll with glue.
This craft combines creativity with sustainability, making it a perfect project for budding artists!
4. Coffee Filter Butterflies

Transform ordinary coffee filters into stunning butterflies with a splash of color! Kids will enjoy coloring the filters with markers and then spritzing them with water to create beautiful tie-dye effects. Once dry, folding them and adding pipe cleaners for antennae results in delightful hanging decorations. This craft is perfect for developing fine motor skills and allows children to experiment with colors and patterns in a fun way.
Start by gathering coffee filters and let kids’ creativity shine as they explore different designs. This simple yet captivating craft emphasizes the joy of color mixing and artistic expression.
Materials required for this project:
– White coffee filters
– Washable markers
– Spray bottle with water
– Pipe cleaners
– Scissors (optional)
Follow these steps to create your butterflies:
1. Lay several coffee filters flat on a surface.
2. Use markers to create colorful designs on the filters.
3. Lightly spray the filters with water to blend the colors beautifully.
4. Allow the filters to dry thoroughly.
5. Once dry, pinch the center of the filter and fold to form wings.
6. Twist a pipe cleaner around the center to create antennae.
These colorful coffee filter butterflies will brighten any space while teaching kids about creativity and color mixing!
5. Egg Carton Butterflies
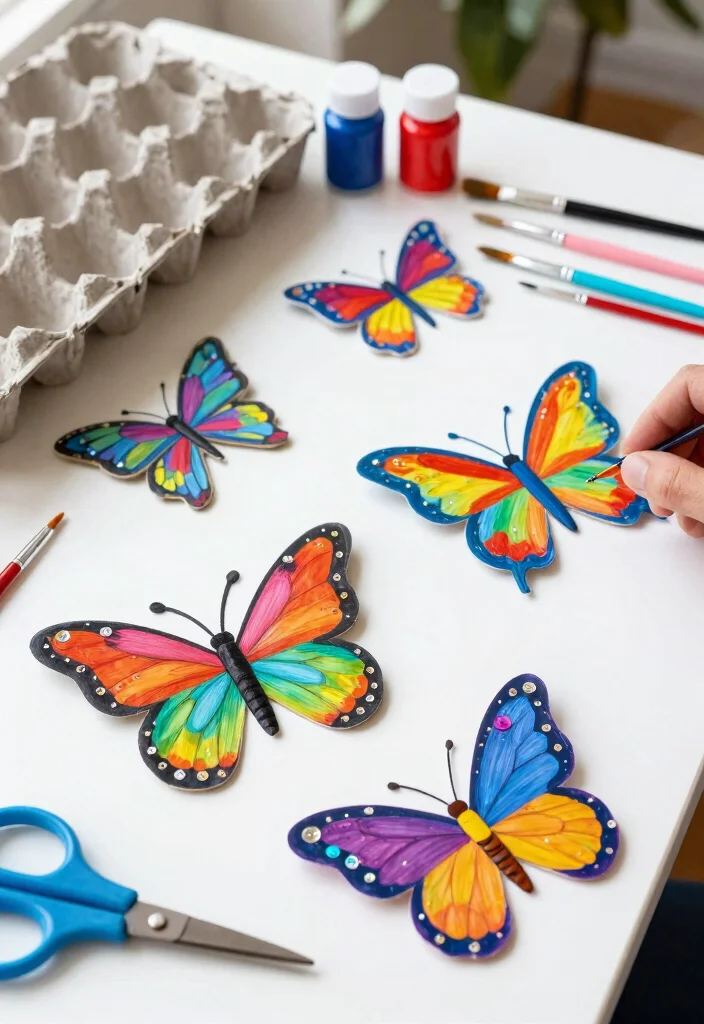
Reimagine egg cartons as playful butterfly crafts that are both fun and eco-friendly! This creative project involves cutting egg cartons into sections and painting them to resemble butterfly bodies and wings. Kids can explore a variety of colors and even add embellishments like sequins or glitter for a sparkly touch! This easy craft encourages imaginative thinking while repurposing materials that might otherwise go to waste.
Start by gathering empty egg cartons and let kids unleash their artistic flair. This project nurtures creativity while teaching the importance of recycling.
Materials you’ll need:
– Empty egg carton
– Non-toxic paint
– Scissors
– Decorative embellishments (like glitter, sequins, etc.)
– Pipe cleaners or string for hanging
Steps to create your butterflies:
1. Cut the egg carton into two or three cups for each butterfly.
2. Paint each section in vibrant colors and allow them to dry.
3. Add sequins or glitter for extra flair and sparkle.
4. Use pipe cleaners to create antennae, twisting them onto the painted carton.
5. Hang them as delightful decorations or use them in imaginative play.
This craft encourages kids to see the beauty in everyday materials while fostering creativity!
6. Paper Plate Butterflies
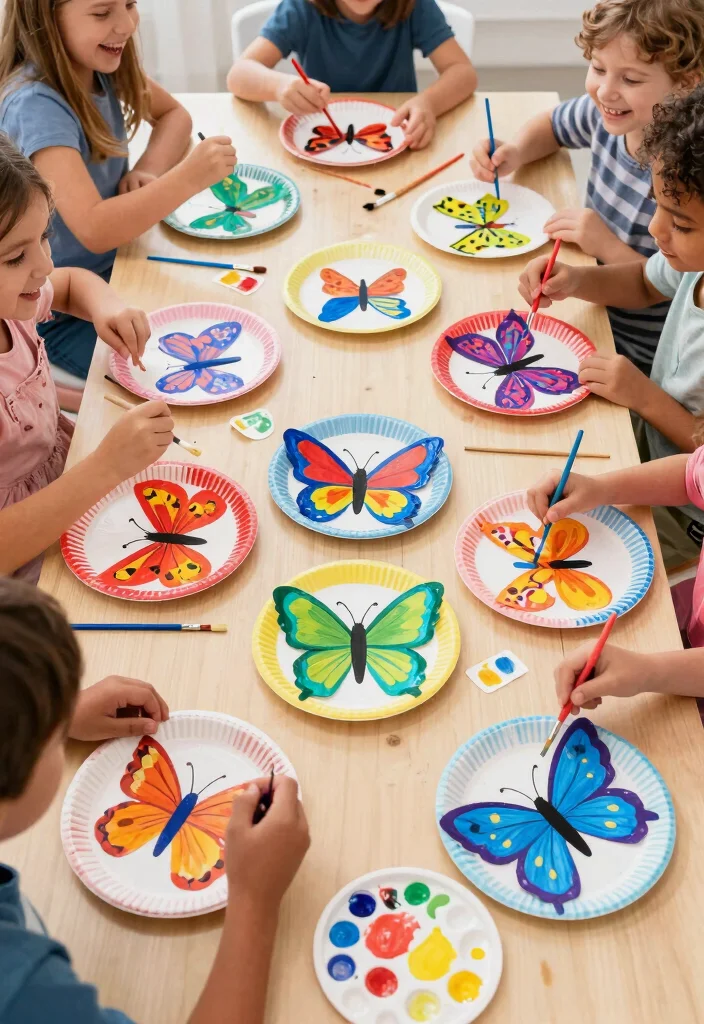
Unlock the versatility of paper plates by transforming them into beautiful butterflies! This craft allows kids to paint or color their plates in any way they choose before cutting them into wing shapes. It encourages playful exploration of colors and designs, making it an excellent choice for group activities or parties. Once decorated, kids can attach the butterflies to straws or sticks for puppetry or decoration.
Start by prepping paper plates and let children express their creativity in a fun and engaging way. This adaptable project is perfect for various ages and skill levels, fostering imagination and artistic expression.
Materials needed:
– Paper plates
– Non-toxic paints, markers, or crayons
– Scissors
– Glue
– Straws or sticks (optional)
Steps to create your paper plate butterflies:
1. Begin by painting or coloring the paper plates in vibrant shades.
2. Allow the plates to dry, then cut them in half to form wings.
3. Create a body for the butterfly using leftover paper or a straw.
4. Glue the wings to the body and let dry completely.
5. Use the straw or stick to make it into a puppet!
This project fosters a fun and imaginative atmosphere while allowing kids to create their own unique butterflies!
Did you know diy butterfly crafts kids can spark creativity fast with paper plates? On average, kids try 3 color combos before settling on wing designs, turning simple plates into bright, shareable Paper Plate Butterflies for party decor.
7. Cute Clothespin Butterflies
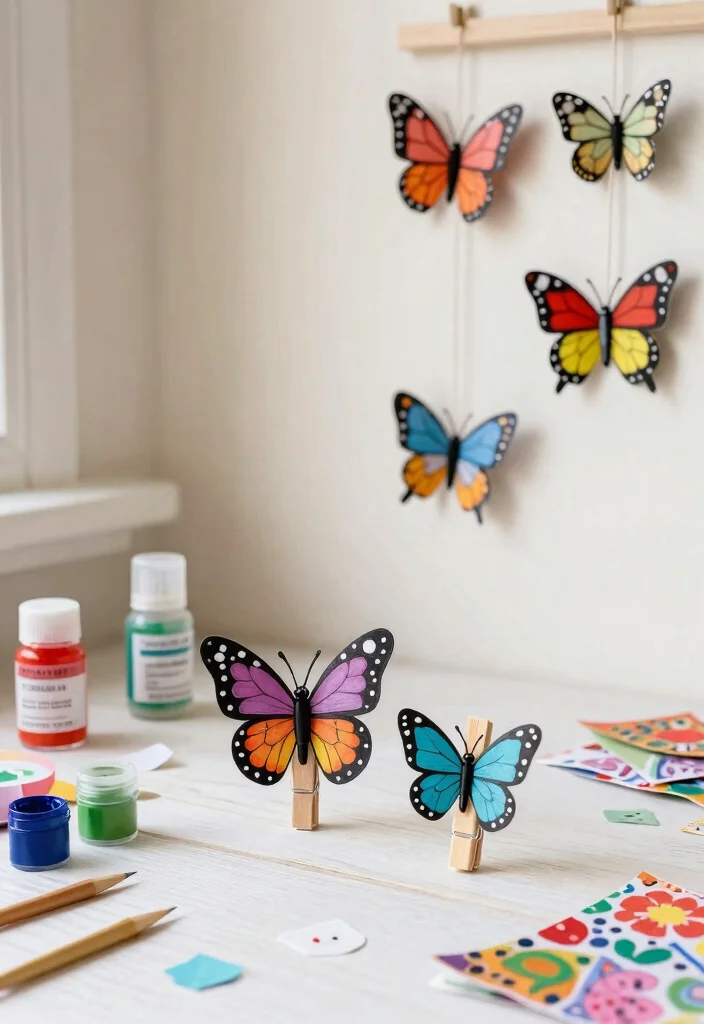
Turn ordinary clothespins into adorable butterflies with a splash of creativity! Kids can paint the clothespins in bright colors and then attach paper or fabric wings. This craft not only serves as a fun art project but also helps develop fine motor skills as children manipulate small parts. Once completed, these butterflies can be used for imaginative play or as cheerful decorations around the house.
Begin by gathering supplies and encouraging kids to explore their artistic talents. This simple project demonstrates how everyday items can be transformed into delightful art.
Essential materials include:
– Wooden clothespins
– Non-toxic paints
– Craft paper or fabric
– Glue
– Scissors
Follow these steps to create your clothespin butterflies:
1. Paint the clothespins in cheerful designs and allow them to dry.
2. Cut out wings from paper or fabric in fun shapes.
3. Glue the wings to either side of the clothespin.
4. Let the glue dry completely before using them for decoration or playful activities.
This charming craft encourages kids to tap into their creativity while developing practical skills along the way!
Fun fact: DIY butterfly crafts for kids can turn ordinary clothespins into joyful wings in minutes, using recycled paper or fabric. This simple activity boosts fine motor skills, sparks creativity, and leaves you with charming clothespin butterflies for playful decor.
8. Nature Print Butterflies

Celebrate the beauty of nature by creating stunning butterfly prints with leaves and flowers! This eco-friendly craft encourages kids to explore the outdoors while gathering materials for their art. Using non-toxic paint, children can create beautiful nature prints that resemble butterfly wings. This activity teaches kids about the importance of natural materials while allowing them to express their creativity through art.
Start by collecting various leaves and flowers, and let kids unleash their artistic potential in this unique craft. It’s a wonderful way to merge creativity with an appreciation for the environment.
Materials needed:
– Leaves and flowers
– Non-toxic paints
– White paper
– Paintbrushes or sponges
Steps for creating your nature print butterflies:
1. Collect leaves and flowers from your garden or a local park.
2. Use paintbrushes or sponges to apply paint onto the leaves or flowers.
3. Press the painted side onto white paper to create a beautiful print.
4. Allow prints to dry completely before displaying them.
5. Optionally, shape the prints into butterfly shapes for added fun.
This craft beautifully combines art with nature appreciation, making it a fantastic learning experience!
9. Splatter Paint Butterflies
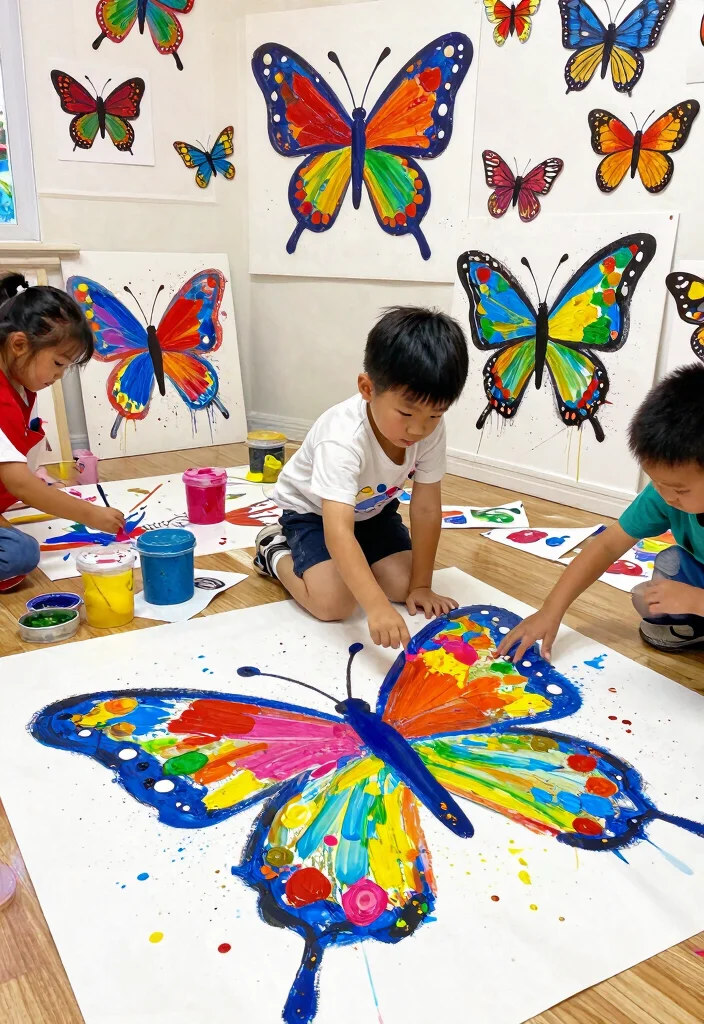
Prepare for a colorful explosion with splatter paint butterflies! This lively craft encourages kids to embrace their creativity and let loose with vibrant colors. Using various shades of non-toxic paint, children can create stunning butterfly designs through splatter techniques. This method not only results in eye-catching art but also helps develop sensory and motor skills while having fun.
Gather your materials and let kids explore this energetic craft. It’s a guaranteed hit that produces unique butterfly art for display around the house.
Materials required:
– Large sheets of white paper
– Non-toxic paints
– Old toothbrush or paintbrush
– Containers for paint
Steps to create your splatter paint butterflies:
1. Pour different colors of paint into containers.
2. Use a toothbrush or paintbrush to splatter paint across the paper, covering the entire page.
3. Allow the paint to dry completely.
4. Once dry, fold the paper in half to create a symmetrical butterfly shape.
5. Cut out the butterfly and display it proudly!
This lively craft is sure to inspire creativity and produce a colorful masterpiece!
Splatter painting proves that diy butterfly crafts kids can turn imagination into color. Let them dab, flick, and splatter—non-toxic paints keep it safe while vibrant wings come alive. Pro tip: lay down a big sheet and celebrate every colorful butterfly with pride!
10. DIY Butterfly Stamps
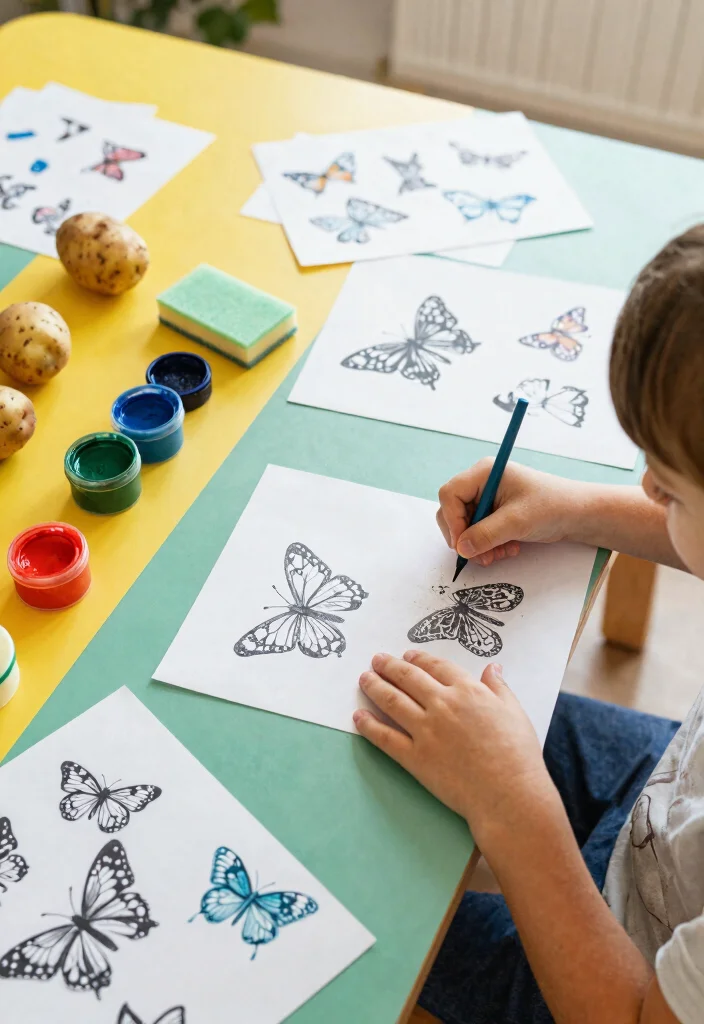
Create beautiful stamped butterfly art with this fun and simple craft using everyday items! Kids can use potatoes or sponges to make butterfly stamps, learning about symmetry while crafting. This project encourages experimentation with colors and designs, making it both educational and entertaining. These stamps are perfect for creating butterfly-themed cards, wrapping paper, or simply for fun art projects.
Start by gathering materials and guiding kids through this creative stamping activity. It’s a great way to foster artistic exploration while having a blast.
Key materials:
– Potatoes or sponges
– Non-toxic paints
– Paper
– Knife (for adult use)
Steps to make your butterfly stamps:
1. Cut a potato or sponge in half to create a stamp.
2. Dip the cut side into paint and press it onto paper to create a butterfly shape.
3. Allow the paint to dry before using the stamped paper for cards or decoration.
4. Encourage kids to experiment with colors and patterns for unique designs!
This craft enhances creativity while introducing kids to the fun of printing and design!
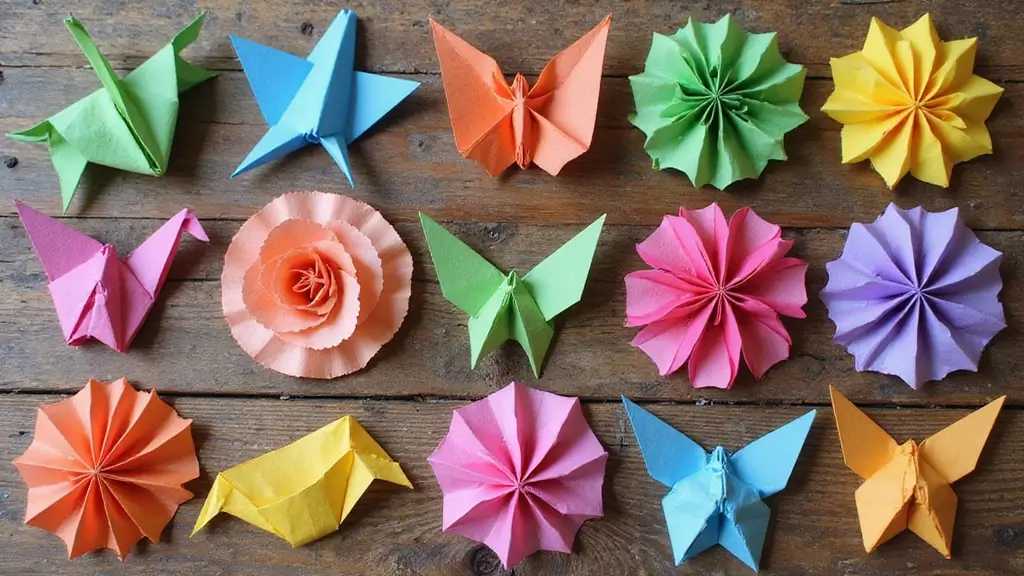
11. Origami Butterflies
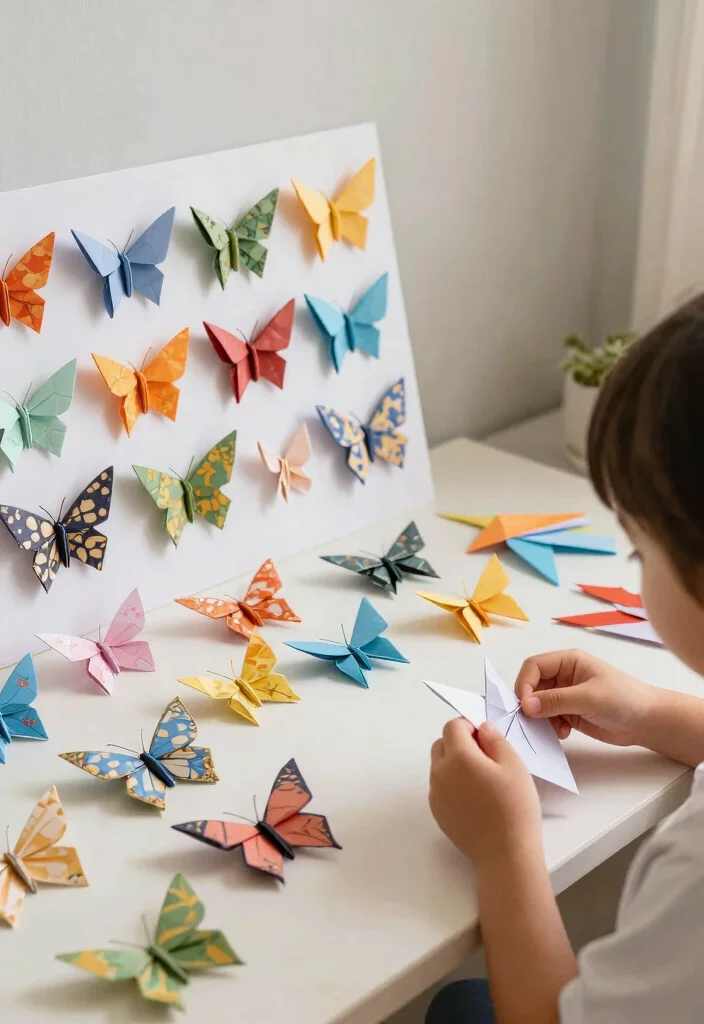
Introduce your kids to the captivating art of origami with beautiful paper butterflies! This craft offers a fantastic opportunity to teach folding techniques while allowing children to express their creativity. Using colorful origami paper or even recycled paper, kids can create stunning butterflies that can be displayed or gifted. Once they master the basic folds, they can experiment with different designs for added fun.
Gather your materials and let kids dive into this engaging craft that combines art and skill. It’s a wonderful way to encourage patience and precision while crafting.
Essential materials needed:
– Origami paper or recycled paper
– Instructions for folding (available online or printed)
Steps to create your origami butterflies:
1. Start with a square piece of origami paper.
2. Follow step-by-step instructions to fold the paper into butterfly shapes.
3. Once completed, kids can decorate their butterflies with markers or stickers!
4. Display the finished butterflies around the house or gift them to friends!
This stellar craft enhances fine motor skills while introducing kids to a global art form!
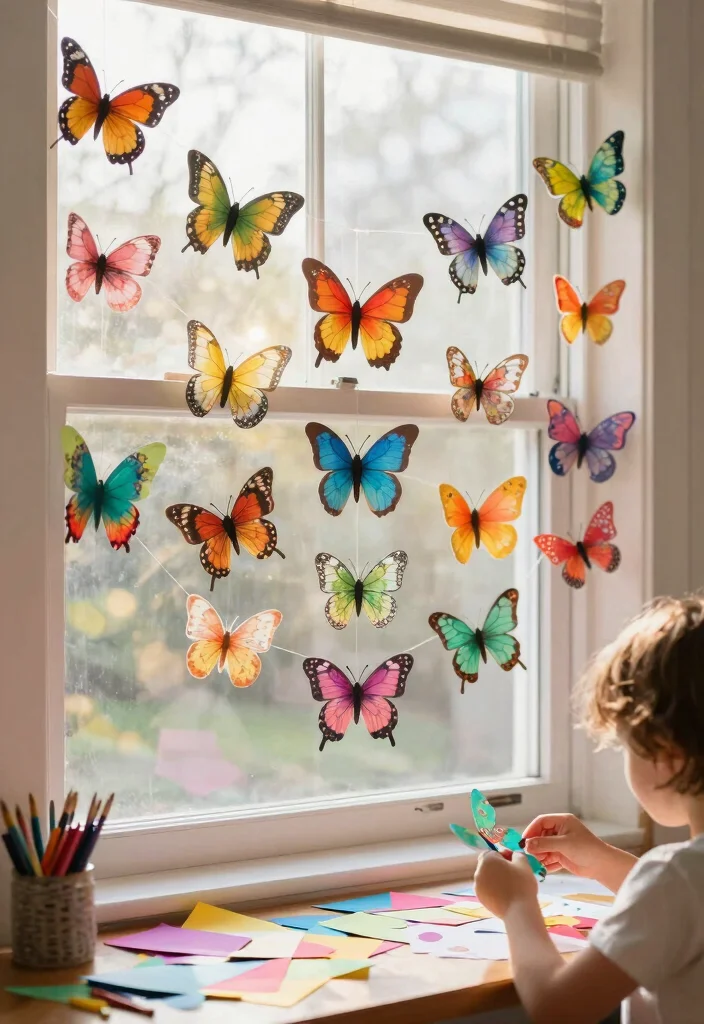
12. Tissue Paper Butterflies
Create beautiful, delicate butterflies using tissue paper that bursts with color! This easy craft encourages kids to explore layering techniques while crafting. Simply cut tissue paper into butterfly shapes and glue or fold them together. These colorful creations can be used for decorations, window displays, or as part of educational projects about butterflies. It’s a simple yet impactful way to promote creativity and color exploration among children!
Gather your materials and let kids’ imaginations take flight with this exciting craft. It’s perfect for sparking creativity and enhancing fine motor skills.
Materials you’ll need:
– Tissue paper in various colors
– Scissors
– Glue
– Pipe cleaners for antennae (optional)
Steps for making tissue paper butterflies:
1. Cut tissue paper into butterfly shapes, layering them for added dimension.
2. Glue the layers together, allowing kids to experiment with color combinations.
3. If desired, twist pipe cleaners into antennae and attach them to the butterflies.
4. Use the butterflies for decorating rooms or imaginative play!
This craft uniquely utilizes fragile materials to create vibrant, beautiful art!
13. Butterfly Handprints

Capture your child’s creativity with fun and memorable butterfly handprints! This craft is a delightful activity that creates a cherished keepsake. Kids can dip their hands in non-toxic paint and press them onto paper to form butterfly shapes. Once dried, they can add details with markers or paint, turning their handprints into whimsical butterflies. This activity promotes fine motor skills and creativity in a simple yet meaningful way.
Prepare your workspace with the necessary materials and get ready for a colorful experience. This craft is perfect for family art sessions, creating lasting memories on paper.
Key materials needed:
– Non-toxic paint
– Paper
– Brushes for paint application
– Markers for detailing
Steps to create butterfly handprints:
1. Set up a workspace with paper and paint.
2. Dip your child’s hands in paint and press them onto the paper to create the wings.
3. Allow the print to dry before adding details like the body and antennae with markers.
4. Frame the final piece as a cherished memory!
This charming craft connects creativity with special moments, leaving lasting impressions!
14. Finger-painted Butterflies
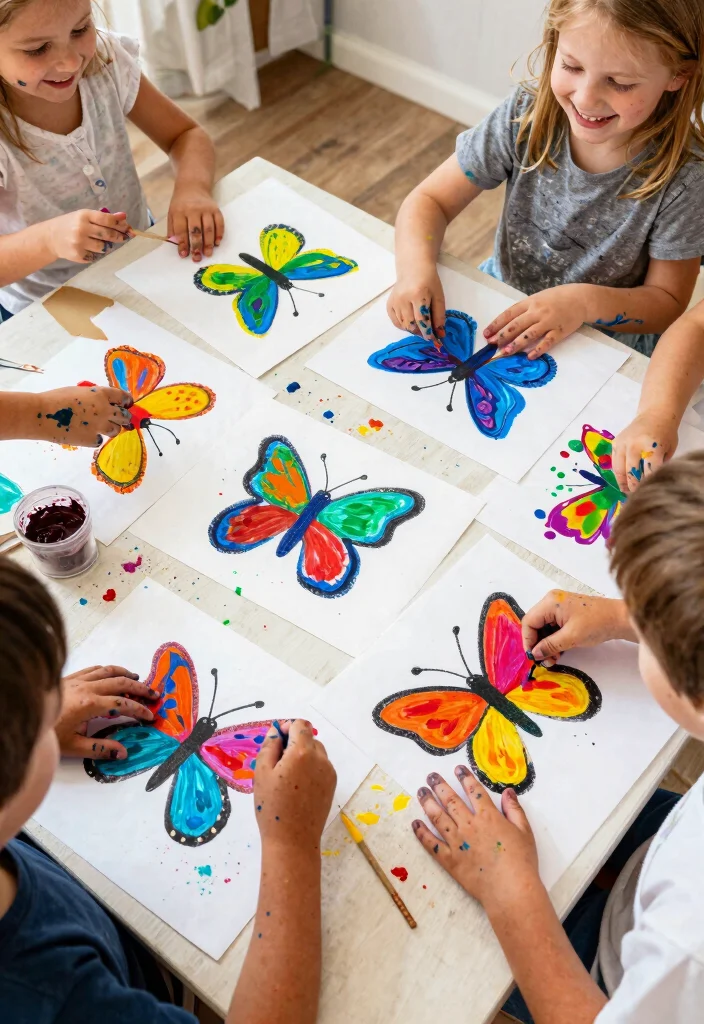
Introduce your little ones to the delightful world of finger painting with butterfly art! This sensory craft is perfect for younger kids, allowing them to use their fingers to create colorful butterfly designs. They can freely explore different colors and patterns, resulting in vibrant, unique creations. Once finished, these butterflies can be used for decorations or even turned into greeting cards. This activity enhances creativity while offering a fun, tactile experience that kids will cherish.
Set up a playful workspace with the necessary materials and let kids dive into the colorful world of finger painting. It’s a fantastic way to encourage self-expression and artistic exploration.
Materials you’ll need:
– Non-toxic finger paints
– Thick paper or cardstock
– Markers or crayons for detailing
Steps to create finger-painted butterflies:
1. Prepare a space with paper and finger paints.
2. Allow children to use their fingers to create butterfly shapes, encouraging abstract designs.
3. Once dry, kids can add details and embellishments with markers or crayons!
4. Use the final pieces for decoration or as heartfelt gifts for others.
This delightful craft promotes creative expression while allowing kids to revel in the joy of finger painting!
15. Watercolor Butterflies
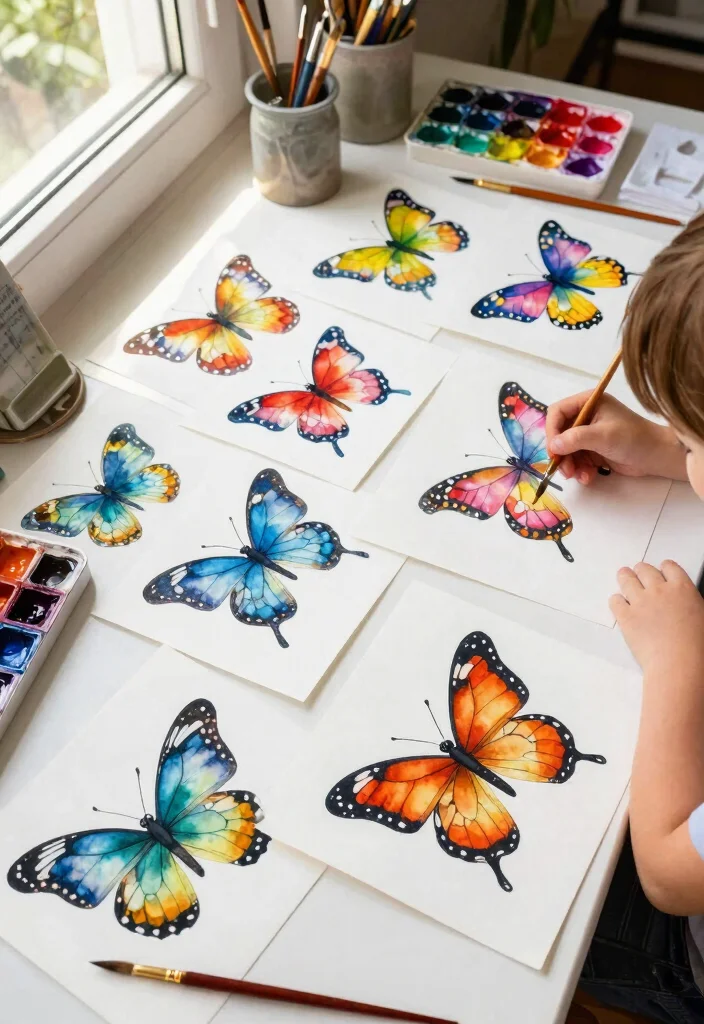
Explore the enchanting world of watercolors with captivating butterfly artwork! This craft allows kids to delve into the fluidity of watercolors while creating stunning butterfly designs. They will love watching colors blend and bloom on paper as they craft beautiful silhouettes. This project inspires creativity while teaching kids about color mixing and the effects of water-based art. These watercolor butterflies can be displayed or gifted to family and friends, showcasing their artistic talents.
Gather your supplies and let kids enjoy the magical experience of painting with watercolors. It’s a fantastic way to engage their artistic senses and encourage experimentation.
Required materials:
– Watercolor paper or thick paper
– Watercolor paints
– Brushes
– Water
Steps to create watercolor butterflies:
1. Draw butterfly shapes lightly with a pencil on the watercolor paper.
2. Using watercolors, fill in the shapes, allowing colors to blend and flow.
3. Encourage kids to experiment with different techniques, like using salt or alcohol for unique textures.
4. Once dry, cut out the butterflies and display them as beautiful decorations.
This craft combines art with playful experimentation, resulting in an enjoyable and memorable experience!
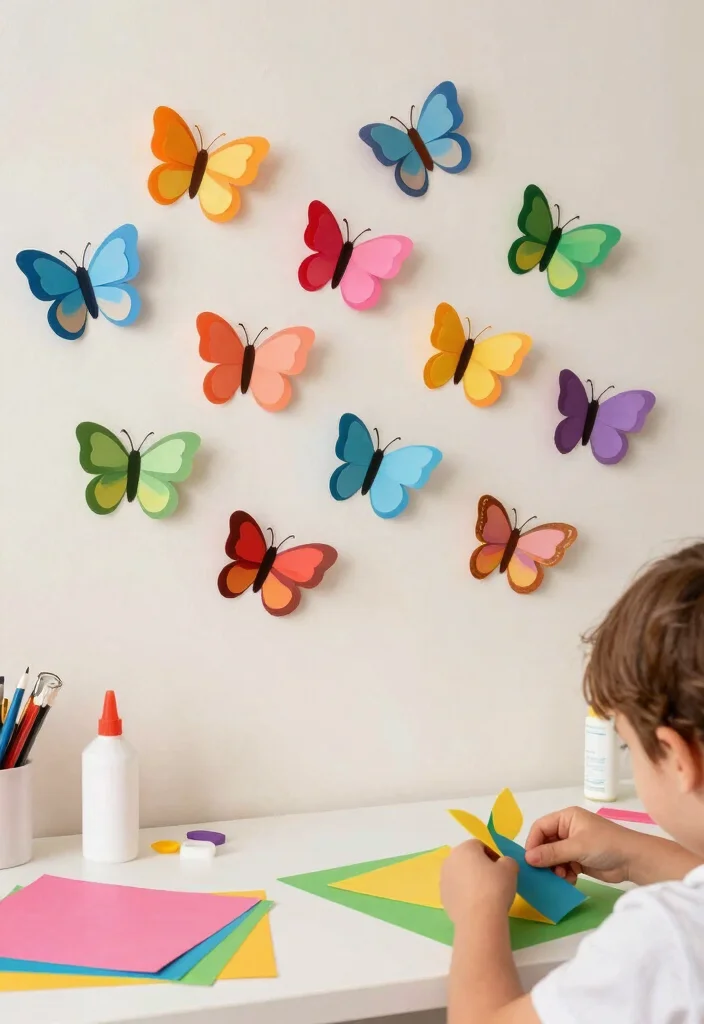
16. 3D Paper Butterflies
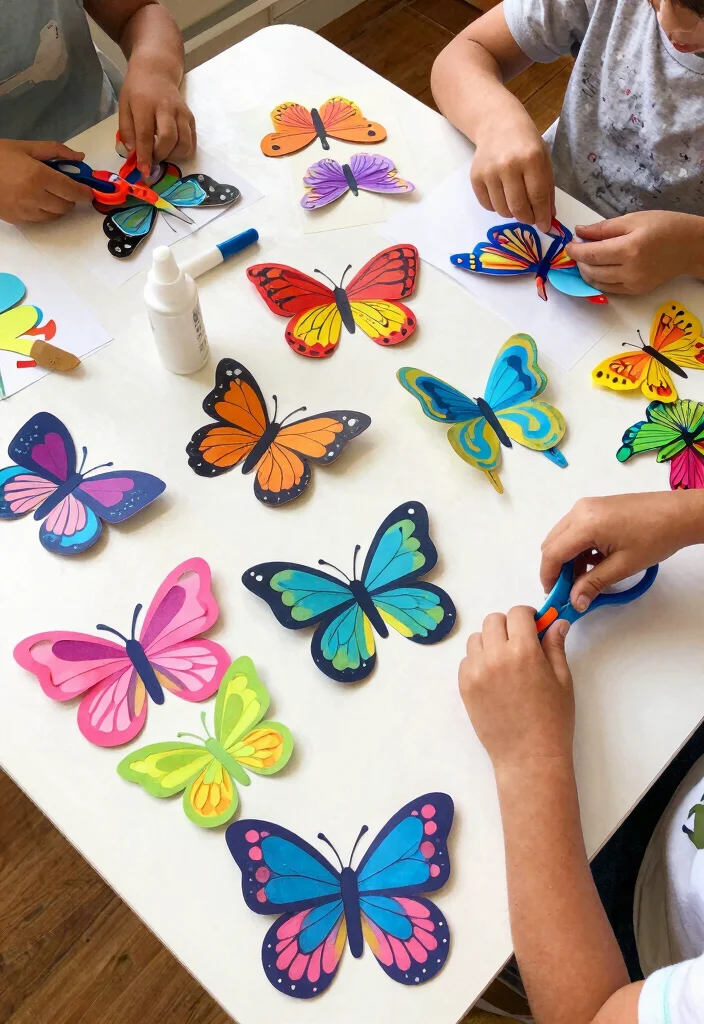
Bring your butterfly crafts to life with stunning 3D paper butterflies! This exciting project allows kids to construct butterflies that have depth and dimension. Through simple folding techniques, children can create breathtaking 3D butterflies that can serve as decorations or gifts. This craft encourages creativity and imagination, making it a hands-on activity that kids will truly enjoy. They will love the challenge of crafting these beautiful creatures that appear to flutter right off the page!
Gather your materials and let kids dive into this engaging craft that produces beautiful art pieces. It’s a fantastic way to enhance their artistic skills and creativity.
Materials needed:
– Colored paper or cardstock
– Scissors
– Glue
– Pipe cleaners or string for hanging (optional)
Steps to create 3D paper butterflies:
1. Cut butterfly shapes from colored paper, ensuring separate pieces for wings and the body.
2. Fold the wings up to create a 3D effect.
3. Attach the wings to the body using glue.
4. Optionally, decorate with pipe cleaners for antennae or additional embellishments!
This craft creates beautiful, dimensional pieces that kids can display, making their art even more special!
17. Butterfly Shadow Boxes
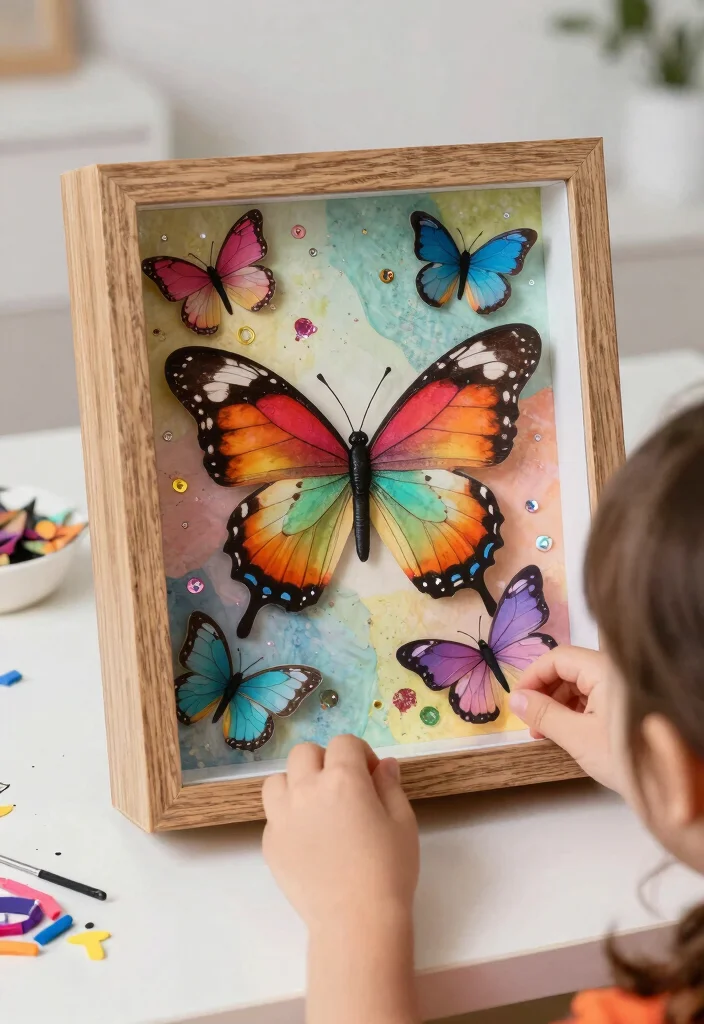
Elevate your butterfly crafts with enchanting shadow boxes that capture creativity! This craft combines art with a touch of 3D design, allowing kids to create a layered butterfly scene. Using cardboard boxes, paper butterflies, and various decorative materials, children can craft beautiful shadow boxes that showcase their artistic flair. This project is perfect for older kids who want to explore depth and storytelling in their creations. The result is a stunning piece of art that can be displayed and cherished for years to come!
Prepare your materials and encourage kids to let their imaginations soar as they design their shadow boxes. It’s a wonderful way to merge creativity with storytelling.
Required materials include:
– Cardboard boxes
– Colored paper or cardstock
– Scissors
– Glue
– Decorative items (like sequins, glitter, and natural materials)
Steps to create your butterfly shadow boxes:
1. Start by preparing the cardboard box, cutting it to a desired size.
2. Decorate the inside with colored paper or paint.
3. Create and decorate paper butterflies to place inside the box.
4. Layer the butterflies with glue, securing them in various positions for a 3D effect.
5. Add any additional decorative items to enhance your shadow box.
This craft sparks creativity and storytelling, resulting in a beautiful piece that brightens any space!
Conclusion

These 17 beautiful DIY butterfly crafts are perfect for kids to explore their creativity while engaging in fun eco-friendly projects.
From painted rocks to intricate origami, each craft not only nurtures artistic expression but also promotes sustainability through the use of recycled materials. Encourage your little ones to embrace their imaginative side, and watch as they create delightful butterfly masterpieces that can be cherished for years to come! Let these crafts inspire joy, learning, and beautiful moments in your home.
Note: We aim to provide accurate product links, but some may occasionally expire or become unavailable. If this happens, please search directly on Amazon for the product or a suitable alternative.
This post contains Amazon affiliate links, meaning we may earn a small commission if you purchase through our links, at no extra cost to you.
Frequently Asked Questions
What materials are best for diy butterfly crafts kids projects using paper and paint?
For diy butterfly crafts kids projects, pick kid-friendly, mess-light supplies and keep it simple to boost confidence.
Start with recycled paper or cardstock, non-toxic paints or markers, glue, scissors, and a few lightweight decorations like tissue paper or colored foil.
Pre-cut simple butterfly shapes to make the crafting quick and fun for younger kids, and let them add features with markers, collage pieces, or pipe-cleaner antennae.
This approach works well with paper crafts for kids and butterfly craft ideas that are easy to finish and eco-friendly.
How can I create eco-friendly butterfly crafts for kids using recycled materials?
Eco-friendly butterfly crafts for kids shine when you repurpose everyday materials.
Gather recycled cardboard or cereal boxes for wings, old magazines or tissue paper for color, bottle caps for the body, clothespins for handles, and non-toxic glue or tape.
Cut wings from scraps, decorate with paper pieces, then assemble with a fastener to let wings flap.
Avoid glitter and harsh dyes; use natural dyes or colored pencils. This approach hits eco-friendly, paper crafts for kids, and fun butterfly activities while staying safe and engaging.
What are some easy butterfly craft ideas suitable for different age groups?
For toddlers, try big, bold shapes with sponge painting on a single sheet, then add simple antennae with pipe-cleaners.
Preschoolers enjoy coffee-filter butterflies colored with markers and then sprayed with a little water to blend colors, or tissue-paper collage wings.
Older kids can tackle more intricate options like origami butterflies, folded-paper wings, or a small painted wings mural using butterfly craft ideas that stretch their fine motor skills. This fits well with paper crafts for kids and DIY art projects.
How can I blend painting activities into DIY art projects with butterfly themes?
Blending painting activities into butterfly-themed DIY art projects is easy when you mix exploration with structure.
Try sponge stamps or dab-and-blend for wing patterns, watercolor washes for soft backgrounds, and salt-texture or marbling for extra texture in the wings.
Use kids painting activities that emphasize color mixing and creativity while keeping the process relaxing and mess-friendly. Finish with a body made from recycled paper tubes or bottle caps to complete the DIY art projects.
What are fun butterfly activities that teach kids about nature while crafting?
Combine the crafts with nature-learning for extra impact. Have kids draw or assemble a simple butterfly life cycle poster, go on a quick nature scavenger hunt for leaves and flowers, and compare real butterfly wings to their paper versions.
Finish with a short fun butterfly activities gallery walk and discuss where butterflies live, what they eat, and how we can help protect pollinators.
Related Topics