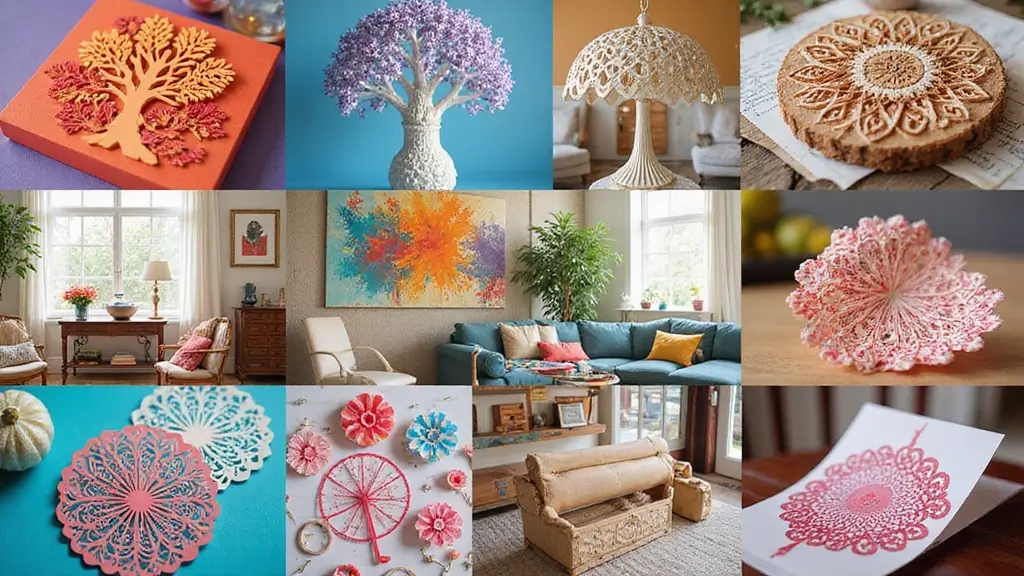
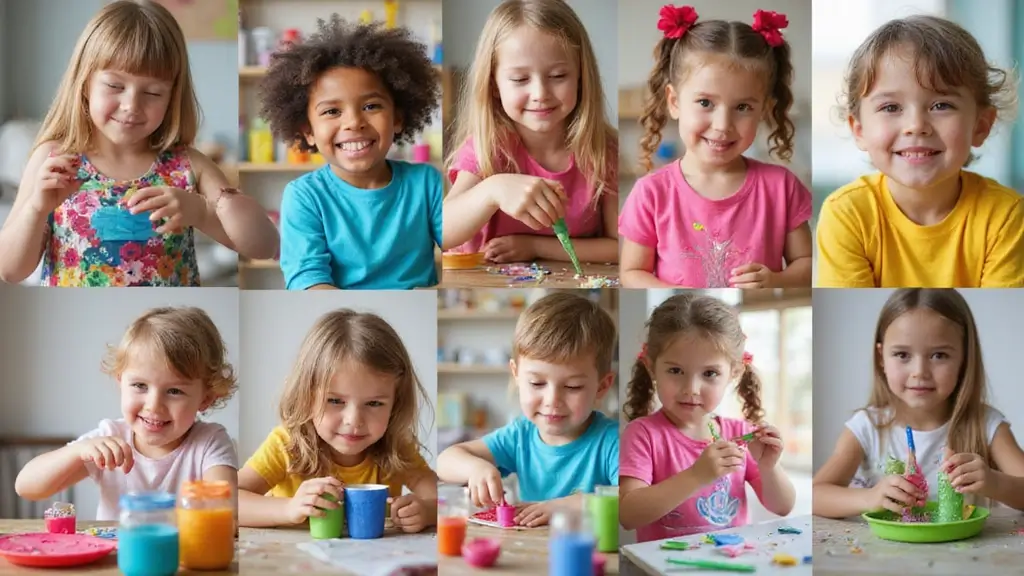
Back to school season has me craving crafts that spark curiosity without slowing down a busy day. This is Why I made this post: quick, reliable ideas that actually work in real classrooms. I created it after watching students light up when they touch, build, and make something with their own hands. So I pulled together 25 school crafts DIY ideas that make classroom time creative. They use simple materials and fit inside a standard class period.
Who it’s for: If you teach, coach, or homeschool and you care about student engagement, this one is for you. You want activities that are quick to set up and easy to adapt. You care about hands-on learning, teamwork, and showing what students know. You also want materials that won’t break the budget. This collection fits those needs.
Here is What you’ll get: 25 DIY ideas for school crafts that are cheap, quick to prep, and simple to run. Each idea comes with practical tips for materials, steps, and quick variations. You’ll find options for math centers, reading corners, science bins, and daily warmups. The setups use common supplies like paper, tape, scissors, and markers. They stay open-ended so students can add their own touch. You can mix, match, and repurpose scraps into something useful.
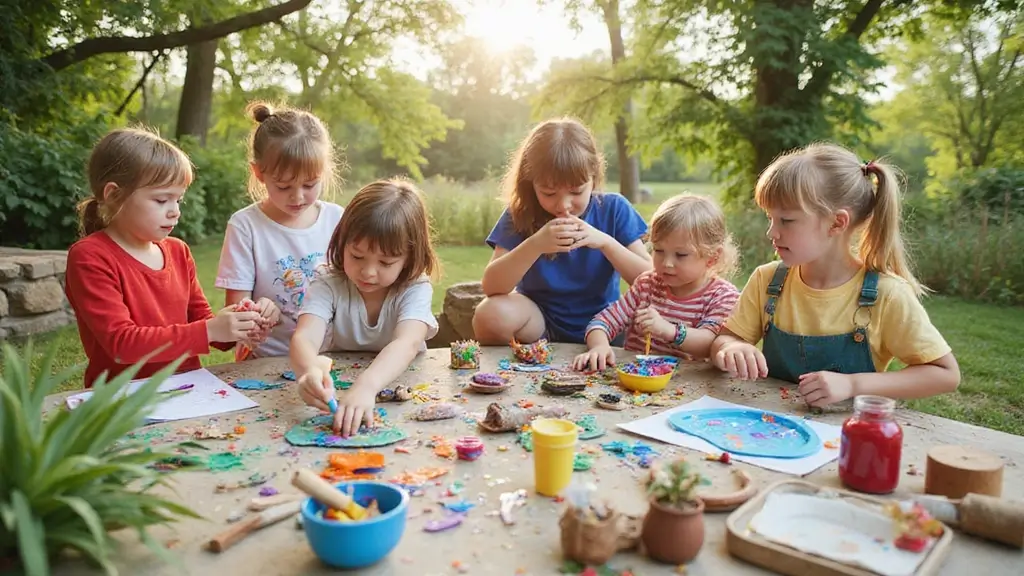
These crafts do more than fill time. They build fine motor control as little fingers pinch, cut, and glue. They boost focus when students work in small teams. They expand language when kids explain their steps. They celebrate success with quick share-out moments. They help students try new ideas without fear of failure.
Next steps to make it work: start with 1 or 2 crafts each week to see what fits your class. Set up a small craft station with a bin of supplies. Keep a simple checklist and a timer. Let students take turns guiding a buddy through a step. Reuse scraps and containers to stretch the budget. Note what works and tailor ideas for age and skill level.
Give one idea a try this week and watch the room change. If you try it, tell me what happened in the comments. I will keep this guide fresh by adding tweaks and new ideas as you share what works. This is a practical resource for busy classrooms that want to stay creative.
1. Recycled Paper Mache Projects
You want a classroom craft that’s fun, easy to run, and Earth friendly. Recycled paper mache fits. It uses scraps, dries strong, and looks nice when kids paint. Here’s how.
– Materials: old newspapers or scrap paper, flour, water, a pinch of salt, a balloon or mold, tape, paint, brushes.
– Glue recipe: mix equal parts flour and water until smooth. A pinch of salt helps stop molding. This glue is cheap and easy.
– Prep the paper: tear scraps into thin strips; smaller pieces lay smoother.
– Shape: blow up a balloon or set up a bowl as a mold. Tape the base to stay put.
– Layer: dip a strip in glue, wipe off the extra, and lay it on the mold. Repeat to build thickness.
– Dry and reveal: once dry, pop the balloon or lift the form to see a sturdy shell.
– Finish: paint with colors, add patterns, and seal with a light coat.
– Classroom tips: teamwork helps a lot. Work in groups of three or four. Assign roles like cutter, dryer, painter, and helper to keep rhythm.
– Learning ties: math, science, and art with color and texture.
Next steps: plan a mini gallery so students show their work. It adds purpose to the craft.
@media(max-width:480px){
2. DIY Seed Bombs

Here is why seed bombs fit into a busy classroom. They are simple to make and reward kids with living gifts from the soil. You get a hands-on project that links science, nature, and care. Let’s break it down.
What you need
1) 1 part clay
2) 1 part compost
3) 1 part wildflower seeds
4) Water
Optional: sand for grip, gloves, and a tray
How to make seed bombs
In a bowl, mix clay, compost, and seeds in equal parts.
Add water little by little until the mix sticks together.
Roll the mixture into small balls, about the size of a marble.
Set them on a dry surface and let them dry for 24 to 48 hours.
Planting and care
Find a bare patch or garden bed. Drop or press a bomb into the soil. Water gently after planting.
The clay shields the seeds until rain comes. In a few weeks, tiny greens push through.
Classroom tips
Choose native wildflowers to avoid weeds that spread too fast.
Make several batches and store in a paper bag or box until use.
You can have students log when they plant, water, and what sprouts.
Next steps: try different seed mixes, compare how fast they grow, and share results with the class.
@media(max-width:480px){
3. Eco-Friendly Crayons

Eco-Friendly Crayons: Turn Crayon Scraps Into Colorful Art
Here is why this project fits your classroom needs: it cuts waste, saves money, and sparks creativity. You get bright, one-of-a-kind crayons that kids will love to use. The process is simple and hands-on, and it teaches recycling with real shine.
What you’ll need
– Old crayon bits, paper removed
– Silicone molds for fun shapes
– A shallow baking sheet
– An oven set to 250°F
– A tray to carry the molds
Let’s break it down
1) Break the crayon pieces into small bits and drop them into the molds. Small pieces melt faster and mix into new colors.
2) For cool patterns, sort by color first or layer a few colors in a cavity.
3) Place the molds on the baking sheet. This keeps spills from touching the oven rack.
4) Bake at 250°F until all pieces melt. This usually takes 10–20 minutes. Check once in a while.
5) Remove the tray with oven mitts. Let the crayons cool in the molds until they harden.
6) Pop them out gently. Cool completely before use.
Tips for success
– Use a clean area and wipe away wax dust.
– If a color leaks, let it harden, then trim with a paper knife.
– Store in a box so students can pick their favorite shapes.
@media(max-width:480px){
4. Bottle Cap Art
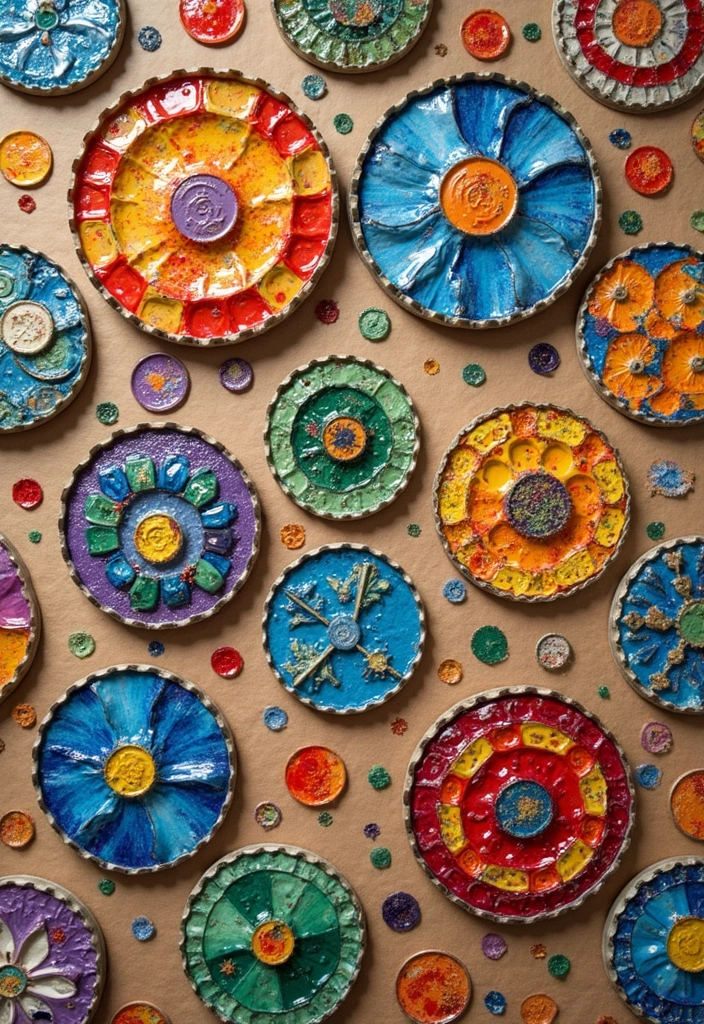
Here is a project that blends recycling with art and fits a busy classroom. Bottle cap art lets kids turn everyday leftovers into bright pieces they can be proud of. You get to see color, texture, and pattern in one easy craft.
– Materials you need: bottle caps in many sizes and colors, a sturdy base like canvas or thick cardboard, white glue or hot glue, a small brush or toothpick for tiny spots, a protective covering for desks, and magnet strips or string for display.
– Plan your design: think in clusters, lines, or simple shapes. Bold patterns pop on a plain background. If you want a word or name, map out each letter first.
– Build your piece: start by placing caps without glue to test fit. Then glue them down edge to edge. Use small caps to fill gaps and bigger caps for emphasis. Press gently until they stick.
– Dry and display: let the glue dry fully. Hang the art around the classroom or gift it to families. A clear finish or a glue mat can help caps stay in place longer.
– Next steps: try a themed set. Create a color family mosaic, a letter collage, or a small animal scene. You’ll train your eye for design while teaching recycling.
@media(max-width:480px){
5. Nature Collages
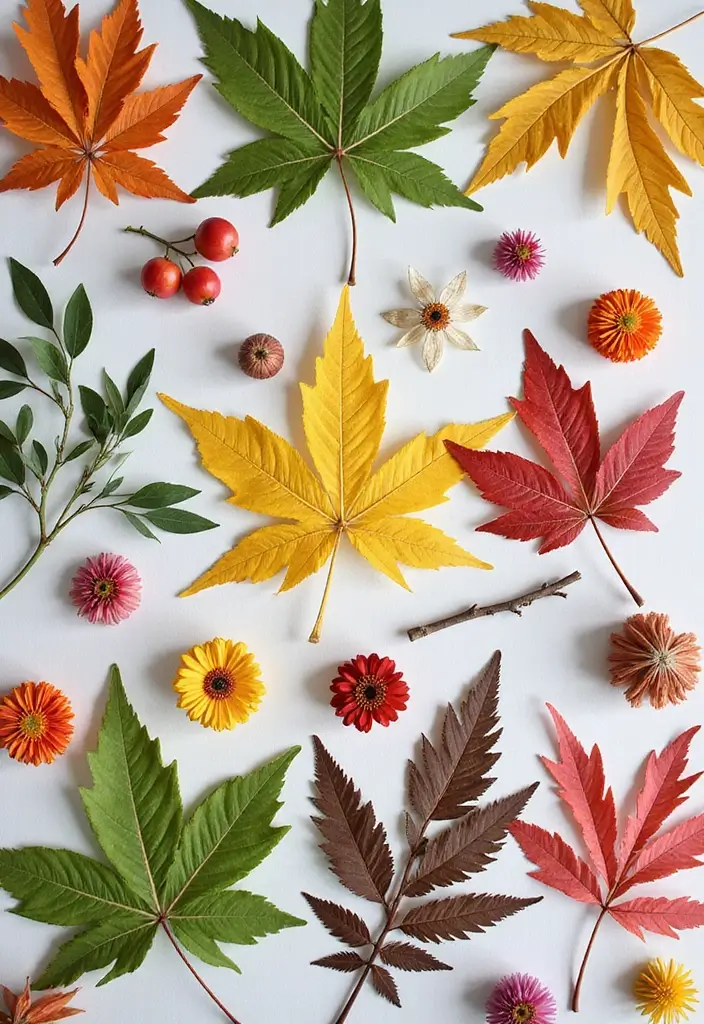
Want a craft that makes the outside feel close to your desk? Try nature collages in your classroom.
Why it works
Here is why this fits a busy day. It blends science and art. Students observe, pick pieces, and tell a story with texture. It uses simple materials. It fits into a single class period.
What you need
– Leaves, flowers, small twigs, seed pods, and any safe natural items you find outside
– Paper or a canvas as the base
– White glue or glue sticks, and scissors
– Crayons, markers, or kid-friendly paints
– Optional: Mod Podge or a clear sealant for a glossy finish
How to do it
1) Take a nature walk to collect items.
2) Let pieces dry a moment and choose a base sheet.
3) Arrange items on the page to plan color, balance, and space.
4) Glue everything down, then press to set.
5) Add drawings or paint to finish the piece.
6) If you want extra protection, cover with Mod Podge.
Tips for success
– Pick a theme, like autumn colors or a pond habitat.
– Label items with small notes to link art and science.
– Let kids rotate pieces for several tiny collages, or make one big class piece.
– Display finished work to spark pride and talk about nature.
Variations
– Create a wall mural with several collages in a row.
– Turn collages into greeting cards or bookmarks.
– Use digital photos of items if weather is bad, then glue prints.
– Try a texture collage with cloth, sand, or fabric scraps.
Frequently asked questions
– How long does it take? Plan for about 30–45 minutes of work.
– Do you need Mod Podge? Not required, but it helps seal the art.
– Can you reuse materials? Yes. Save sturdy pieces for new projects.
Next steps
Plan a short nature walk, gather safe materials, and reserve a writable space. Then run a 20-minute collage center and wrap with a quick sharing circle.
@media(max-width:480px){
@media (max-width: 600px) {
.normal-quiz-iframe { min-height: 570px !important; height: 570px !important; }
}
6. Upcycled T-Shirt Tote Bags
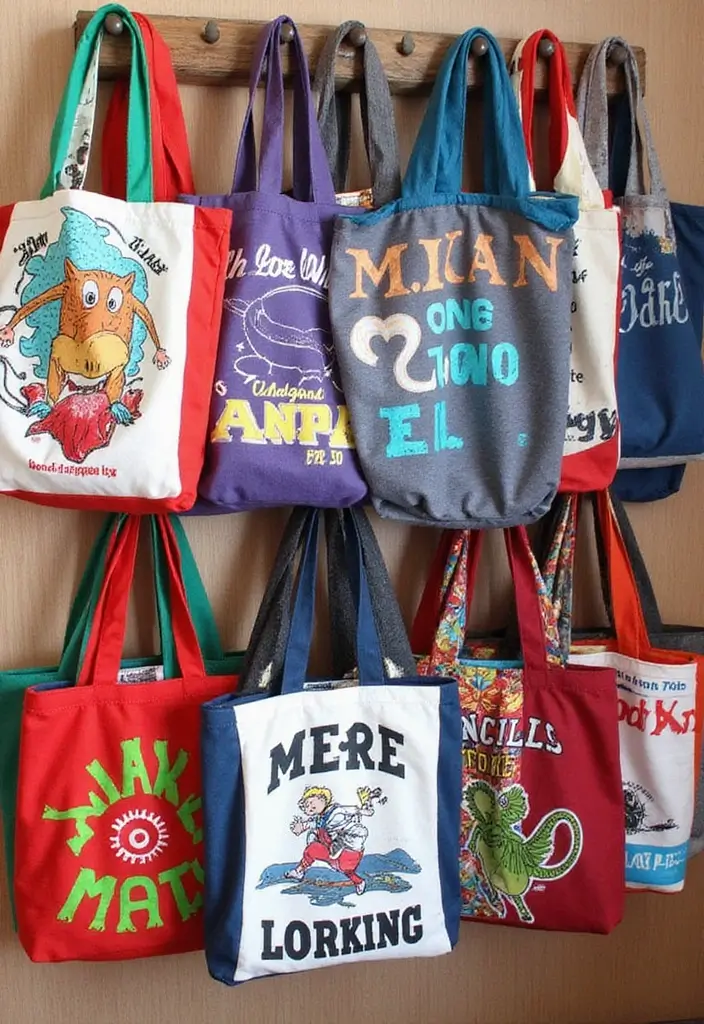
You need a quick, cheap craft that uses what you already have. This no-sew tote bag project fits a busy class. It shows students how to turn waste into something useful and tangible. The finished bag can carry books, art supplies, or a library visit.
Here is why it works:
– It uses old t-shirts, keeping fabric out of the trash.
– It needs little time and no sewing, so kids stay focused.
Next steps:
– Pick a shirt that’s clean and sturdy. A larger tee usually works best today.
– Cut off the sleeves and the neck. Leave the body intact.
– Turn the shirt inside out. Tie the bottom hem with two simple knots to form a bag.
– Turn it right side out and test the depth. If you want more space, add another knot.
Decorate the bag with fabric markers, stencils, or tape and paint. Let kids show off their style.
Tips:
– Pre-wash shirts to stop color bleed.
– Use bright markers for a clear, bold look.
This approach fits classroom schedules and teaches a real skill in a friendly, hands-on way.
It’s a sturdy, kid-friendly project you can reuse for months.
Ask for a quick gallery show when you finish.
@media(max-width:480px){
7. Eco-Friendly Paints
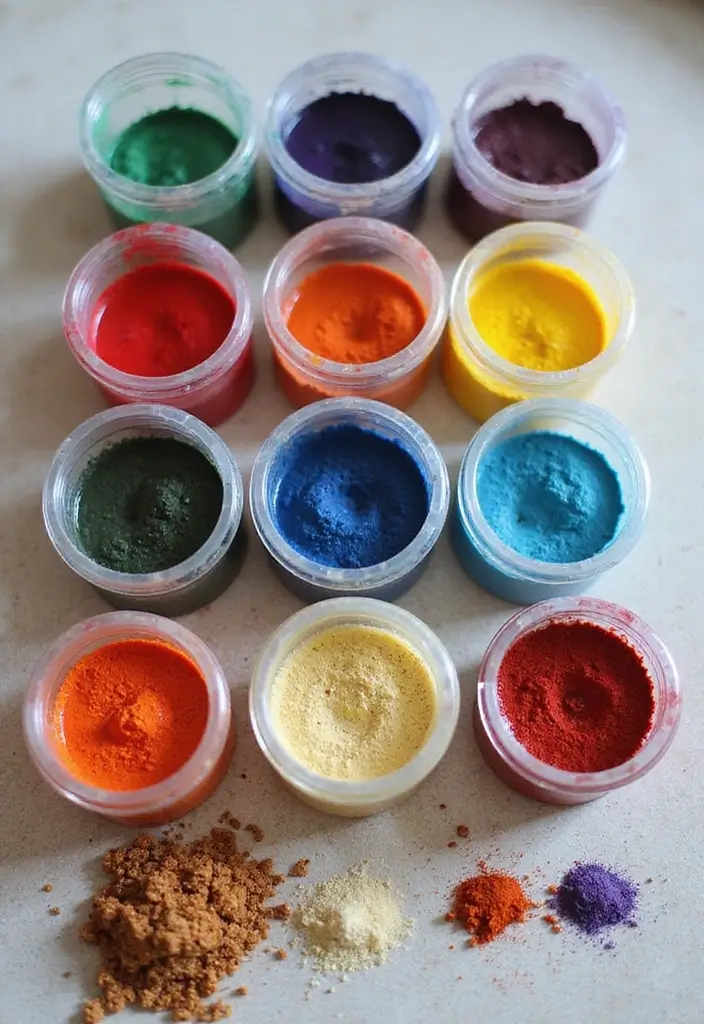
You want paints that are safe, cheap, and easy for kids. Eco-friendly paints hit all three. They blend art with science and use ingredients you can trust.
Here is why this works. Natural dyes come from foods you already have. Beet juice makes red. Turmeric yields yellow. Spinach juice turns green. Berry juices add blue or purple. Powdered spices add extra shades. The mix smells clean and stays safe for little hands.
Let’s break it down. To make your own paint:
– Mix 1 cup flour, 1 cup salt, and 2 cups water in a large bowl.
– Split the mix into small containers for each color.
– Add natural dyes to each container. Try beet juice for red, turmeric for yellow, spinach for green, berry juice for blue, and a pinch of spice for warmth.
– Stir until smooth. If it’s thick, add a splash of water.
Use the paint on sturdy paper or cardboard. It dries soft and matte and washes out of clothes in cold water. Store leftovers in labeled jars with lids.
Tips for success. Stir before use. Keep containers closed when not in use. Let kids mix colors to learn about color blending.
Limitations to expect. Hues fade in sun. Texture varies with flour. It’s simple, not premium, but it teaches sustainability.
@media(max-width:480px){
8. Pine Cone Bird Feeders
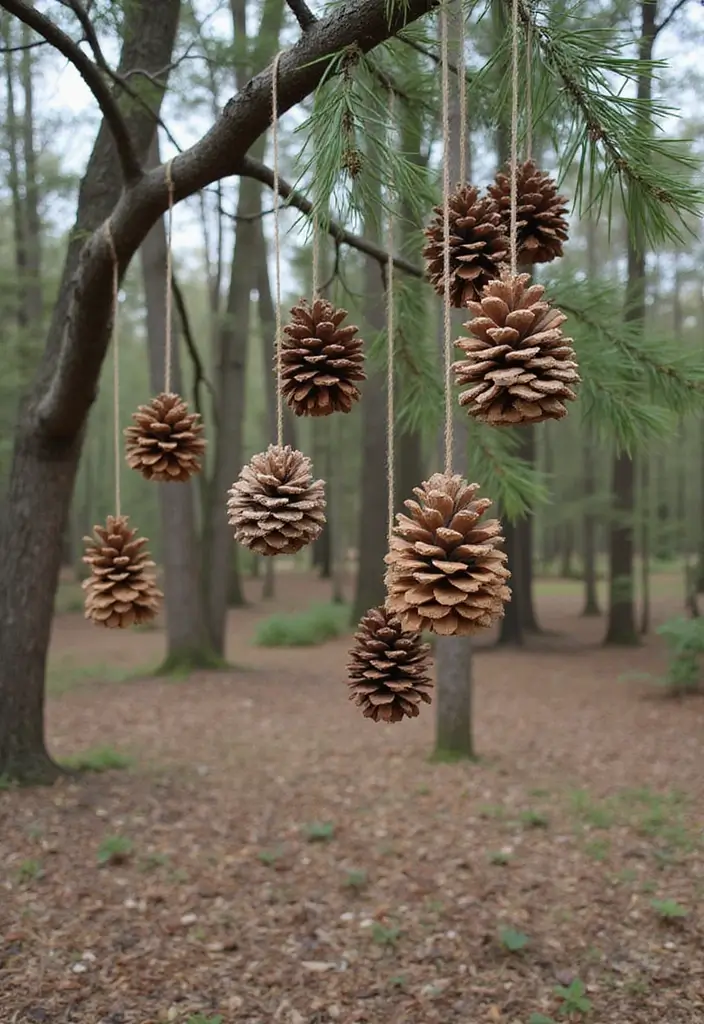
You need a craft that helps kids connect with birds. Pine cone bird feeders do that. They bring wildlife, habitat talk, and hands-on learning into one easy activity.
What you need
– Pine cones
– Peanut butter or sunflower butter (peanut allergy safe)
– Birdseed
– String or twine
– Scissors or a blunt knife
How to make them
– Spread a thin layer of butter on a pine cone
– Roll the cone in birdseed so it sticks well
– Tie a loop of string near the top for hanging
– Hang the feeder from a tree branch or place it on a windowsill display
Here is why this works. Kids learn by doing. They see how birds find food and where they live. The visits at the feeder spark questions about local habitats and the seasons.
Tips and cautions
– If peanut allergy is a concern, use peanut-free butter
– Protect the feeding area with a tray or paper to catch spills
– Check the weather; rainy days can muddy seeds and slow birds
Next steps
– Observe and record which birds visit
– Create a simple chart or drawing to track changes
– Try different seed mixes or add a sunny clip for variety
@media(max-width:480px){
9. Recycled Paper Beads

You want a cheap, kid-friendly craft that teaches recycling. Recycled paper beads fit the bill. They make bright bead jewelry and show how waste can become art.
Here is a simple path you can follow:
– Gather old magazines, scrap paper, and any colorful sheets you have.
– Cut the paper into triangles, or try small rectangles for a different look.
– Roll from the wide end to the point, gluing as you go to keep the shape.
– Let the beads dry, then seal with varnish or a clear finish for shine and strength.
– String the dried beads on thread or yarn to create a necklace or bracelet.
This project builds hand skills and lets kids see waste turn into useful crafts. It’s fast to finish and fits a short class period.
It also invites you to talk about recycling as you work.
Tips you can use:
– Use glossy pages for bold colors.
– Vary bead sizes by changing triangle sizes.
– Try a glue with a slow dry time so you can adjust as you roll.
– Finish with a thin coat of spray sealant for shine.
Next steps: experiment with different papers, mix bead colors, and design a simple bracelet as a class project.
@media(max-width:480px){
10. DIY Wind Chimes
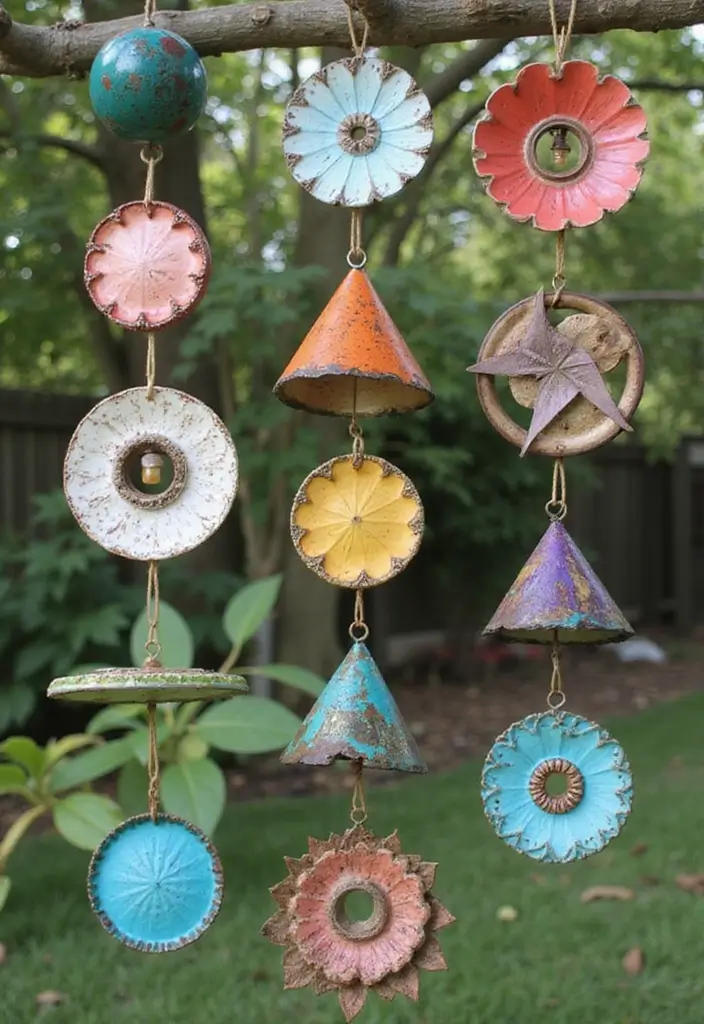
If you want a calm, hands on project for your class, wind chimes fit. They use simple materials and teach how wind makes sound.
What you need
– Gather bamboo sticks, shells, or old keys.
– Use strong string or fishing line.
– Choose a hanger or loop from a stick.
– Have scissors or kid safe clippers ready.
– Add a small bead or washer for spacing if you have one.
How to build it
– Tie each piece to the hanger with a simple knot.
– Leave space so parts can move when wind blows.
– Add a bead near the knot for a neat finish.
– Hang the chimes where a breeze can reach them.
What you learn
– You hear different sounds from different shapes and lengths.
– Short pieces sound higher and long pieces sound lower.
– Try changing where you attach pieces to change the tune.
Tips and safety
– Smooth any rough edges to keep fingers safe.
– Use sturdy strings so pieces don’t fall.
– Let students record what they hear and compare sounds.
Why it helps
– This project blends craft with science and music.
– It sparks curiosity about materials and time spent outdoors.
@media(max-width:480px){
11. Fabric Scrap Art
You’re looking for a classroom craft that reuses materials and sparks kids’ creativity. Fabric Scrap Art fits that need. It gives students a hands-on chance to explore texture and color while they plan and mix patterns.
What you need
– Fabric scraps in different colors and textures (cotton, denim, felt, satin)
– A sturdy base like a canvas or thick poster board
– Clear school glue or glue sticks
– Small embellishments such as buttons, threads, or beads
Steps
– Collect scraps and sort by color or texture to start.
– Lay pieces on the base to plan the look first.
– Glue the scraps down, press firmly, and let it dry flat.
– Add tiny details with buttons, threads, or a simple stitch if a kid is ready.
This creates a tactile art piece that can hang in the hallway or go home with a student. Here is why this works: it builds fine motor skills, helps with color sense, and teaches careful planning. It also shows reuse in a simple, kid-friendly way.
Next steps
– Keep a fabric scrap bin in the classroom for quick projects.
– Try seasonal themes or mix several works into a class wall mural to highlight teamwork.
This is a simple start that grows with your class for many lessons ahead.
@media(max-width:480px){
12. DIY Watercolor Pencils

Want a simple, budget-friendly project that fits a busy classroom? DIY watercolor pencils blend hands-on art with a quick science lesson. You mix color with wax, set it in a mold, then paint with a wet brush to see real watercolor effects. Students learn color blending while handling the materials and tools.
What you need
– 2 tablespoons melted wax
– 1 tablespoon pigment or powdered watercolor color
– Small pencil molds or silicone molds
– A safe heat source and a cup for melting
– A pencil sharpener and a damp brush
Steps to make
1) Warm the wax until it flows. Stir in the pigment until the shade looks bright.
2) Pour the mix into the pencil molds. Let it sit until it firms up.
3) Pop the pencils out and sharpen to a fine point.
4) Dip a brush in water and test on paper. Watch how the color blooms with the moisture.
Tips and practical notes
– Use a little pigment for pale washes, more for bold color.
– Chill the molds before filling if the room is warm.
– Clean molds between colors to keep shades clean and true.
Why this helps learning
– Color blending happens in front of you, not in a book.
– The project builds fine-motor skills as students pour, trim, and test pencils.
– It ties into lessons on color wheels, layering, and watercolor effects.
Next steps
Try a quick color-wheel activity next. Have students compare shades and record what changes when they use more water or pigment.
@media(max-width:480px){
13. Salt Dough Creations

You’re after a classroom craft that is easy to run, fun to do, and yields real keepsakes. Salt dough fits that need. It uses simple ingredients and sparks creativity. Plus, it teaches a tiny bit about baking science as kids shape, bake, and decorate.
What you need
– 2 cups flour
– 1 cup salt
– 1 cup water
– Food coloring (optional)
– Rolling pin, cookie cutters, or plain hands for shaping
– Paints, brushes, markers
– Clear sealant or Mod Podge for a lasting finish
Here is why these basics work. The flour and salt combine to a sturdy dough. Water helps it come together. Color adds a lot of excitement without extra fuss.
Steps
1) Mix flour, salt, and water until a smooth dough forms. If you want color, add a few drops of food coloring now.
2) Knead for 5–7 minutes. Roll out the dough and cut shapes, or shape by hand. Aim for about 1/4 inch thick.
3) Bake at 250°F for about two hours. Check every 30 minutes if your shapes are large so they don’t crack.
4) Let cool fully. Then paint, decorate, and seal with a clear finish to help colors last.
Next steps: turn your pieces into hanging ornaments, name plaques, or little gifts for friends and family. The end results are as unique as your classroom.
Tips to boost impact
– Add texture with stamps or a fork pressed into the dough.
– Use washable paints first, then finish with a sealant.
– Store dough in a sealed container if you have extra.
– Keep a few tiny pieces for quick, spontaneous creations during class.
@media(max-width:480px){
14. DIY Clay Planters

Need a simple, hands-on project that blends art with nature in your classroom? DIY clay planters fit. They let students explore plants while making something they can care for.
Here is how you do it:
– Mix 2 cups flour, 1 cup salt, and 1 cup water to make air-dry clay.
– Knead until smooth, then shape the clay into small pots or plant holders.
– Let them dry completely. This can take several hours or overnight.
– Once dry, paint and decorate with bright colors and simple patterns.
– Add tiny plants or succulents for a living finish.
Pro tips for best results:
– Work on a wide tray to catch spills and keep desks clean.
– Before the clay dries, poke a small hole with a skewer if you plan to grow real plants.
– Use safe, non-toxic paints and a simple sealant to help the colors last.
– Write each creator’s name on the bottom to build pride and ownership.
Why this works in class:
– It links art and science as students watch growth and care for a plant.
– It builds fine motor skills through shaping, smoothing, and painting.
– It provides affordable, personal decor or gifts for classrooms, students, and families.
Quick setup idea:
– Run a short clay station and rotate groups so each student finishes a planter.
@media(max-width:480px){
15. Upcycled Cd Art
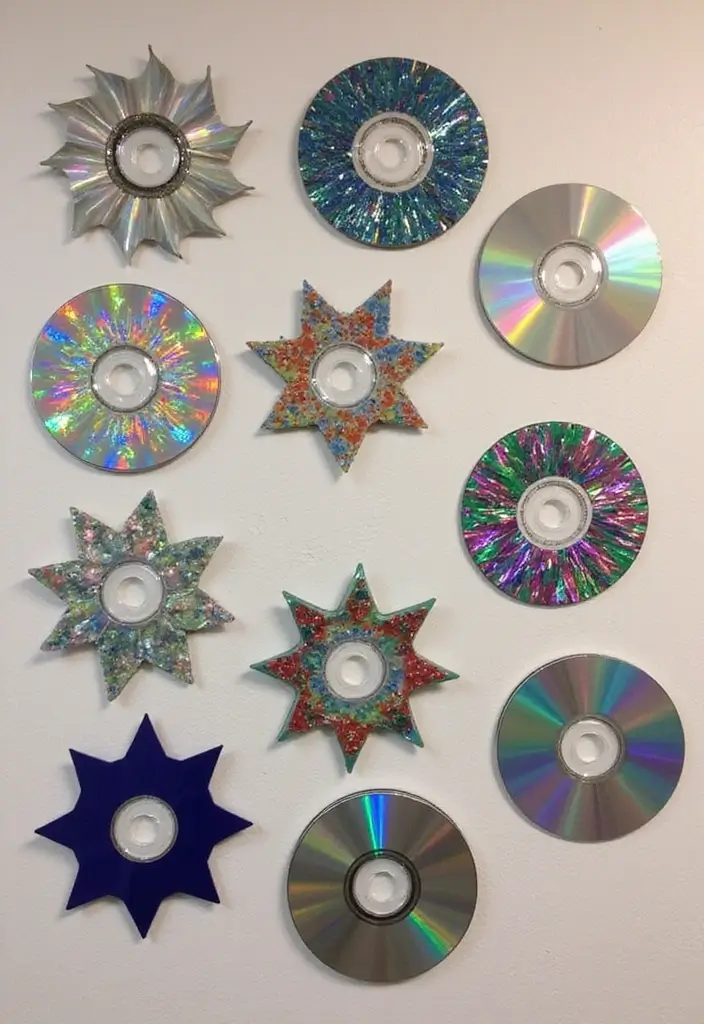
You want a fun, affordable art project for your class. Upcycled CD art uses items you already have and teaches kids to reuse. The shiny surface makes classroom art catch the eye.
What you’ll need
– Gather old CDs you would recycle.
– Ask an adult to help you cut shapes or use the CD as a base.
– Decorate with paint, markers, beads, foil, or paper scraps.
– Turn the pieces into wall art or a hanging mobile.
Next steps
To finish, seal the colors with a clear spray so they last. Let each layer dry before you add more. Try a simple frame or a string to hang the piece from the ceiling or wall.
Keep edges smooth and safe. Work with an adult when cutting CDs.
You can group several CD art pieces to make a classroom gallery. Try seasonal shapes or a rainbow arc to spark interest. A wind chime made of disks at different lengths adds a gentle sound and extra shine.
This craft shows how small scraps can become bright pieces of art. You reuse, you create, you inspire.
Optional extras: add simple shapes from colored paper to layer color. This makes each CD art piece feel unique. Share the art with friends to show off your reuse skills.
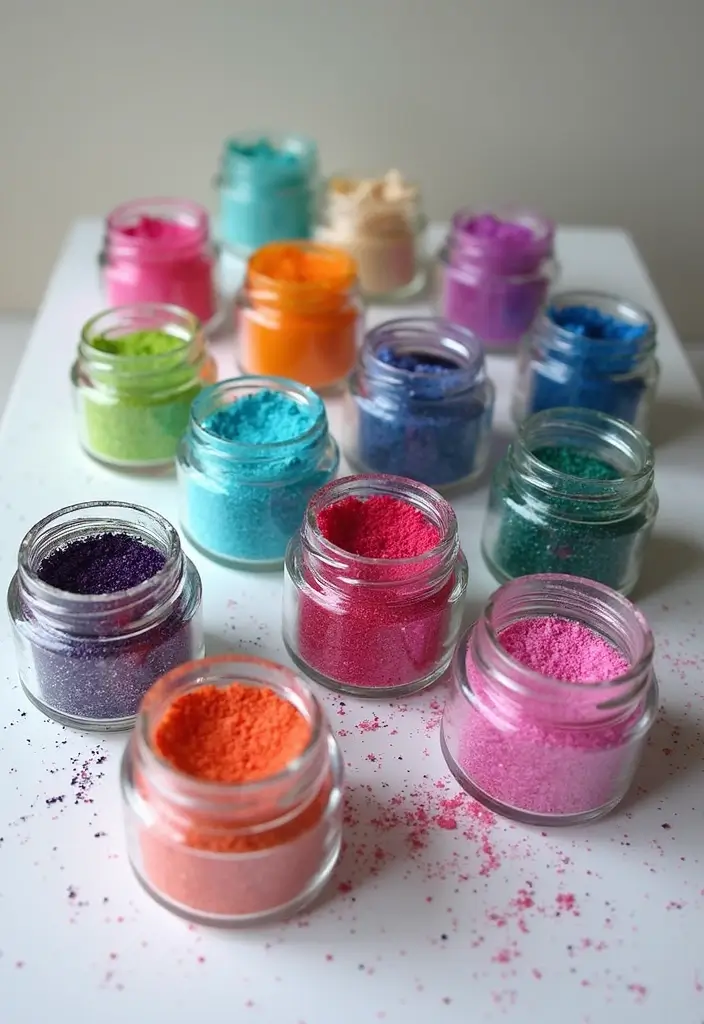
16. DIY Rainbow Jars
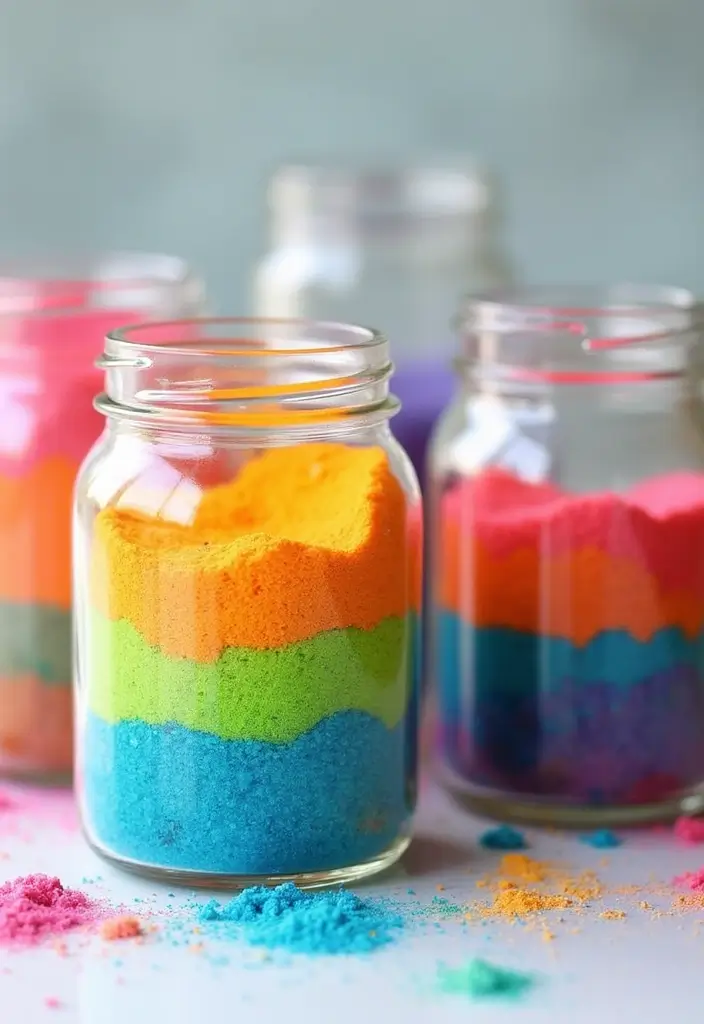
If you want a classroom craft that pops and teaches, try a DIY Rainbow Jar. It blends art, science, and patience. You will end with a colorful display that brightens desks.
Here is why this works in class.
Materials
– Clear jars with lids
– Colored sand or salt in six hues
– A small spoon, a funnel, or folded paper
– A label (optional)
How to build your rainbow jar
– Plan the color order: red, orange, yellow, green, blue, violet.
– Fit a tiny funnel or folded paper at the jar opening.
– This helps drop sand slowly.
– Start with the first color. Pour a thin layer, then let it settle.
– Add the next color. Pour along the side so it sits on top without blending.
– Repeat until the jar fills. Leave a little space at the top.
– Seal the lid and add a label if you like.
Tips for success
– Pour slowly to keep edges clean.
– Let each layer settle before the next pour.
– If colors blend, wipe the rim and start a fresh jar.
– Use dry sand or salt for crisp lines. Humidity can blur layers.
Classroom uses
– Use the jars to teach color names and order.
– Measure how tall each layer is and compare.
– Create display jars for a bulletin board or math corner.
@media(max-width:480px){
17. DIY Nature Rubbings

Need a simple, kid-friendly art activity that helps students notice the world around them? DIY Nature Rubbings give you a fast, hands-on way to explore texture and plants at once. It’s easy to start and you can scale it for different ages.
Here is why it works: you turn a plain sheet of paper into a textured map of the outdoors. Kids observe shapes, lines, and patterns, then translate them with color. The process builds fine-motor skills and boosts focus. Best of all, it feels like a mini treasure hunt each time.
What you’ll need
– Paper (drawing or newsprint works well)
– Crayons or colored pencils
– Leaves, bark, pine needles, seeds, fabric scraps, or any textured item from nature
– A flat surface you can tape items to
Let’s break it down
– Pick a texture. Place the item under the paper.
– Hold a crayon or pencil flat and rub along the paper’s surface. You’ll reveal the texture underneath.
– Try different textures and colors. Layer rubbings to create a tiny collage.
– Label what you found. Add the leaf name or texture type to build science notes.
Next steps
– Create a class gallery by sharing rubbings on a wall or in a book.
– Compare textures from different seasons. Do leaves look different when they’re dry or wet?
– Try color contrasts. Lighter paper with dark rubbings stands out.
Tips and common questions
– Can I do this indoors? Yes. It works well on a classroom table or a cozy reading corner.
– How do I keep leaves from ripping? Use sturdy paper and press the leaf flat before rubbing.
– Any cleanup needed? A quick wipe of the table and a small bin for scraps keeps it tidy.
Limitations to know
– Some textures are better than others. Have a mix ready.
– Leaves fade as days pass. Work with fresh textures for best results.
This activity is simple, flexible, and kids love seeing art grow from nature. It pairs well with science prompts and can become a regular, calming craft station.
@media(max-width:480px){
18. DIY Sensory Bottles
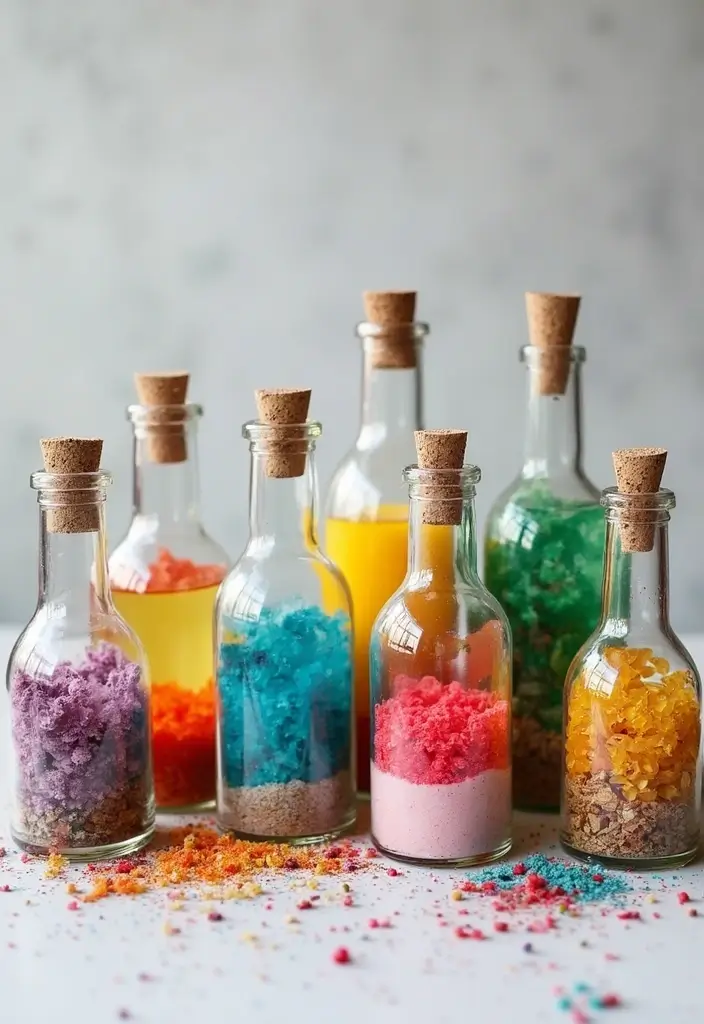
Is your class craving a calm, hands-on break that fits a busy day? DIY sensory bottles offer a simple, quiet activity that students enjoy. They spark focus and show cause and effect as the bottle moves from fast swirls to slow glimmers.
Materials
– Clear plastic bottle with a tight lid
– Water
– Glitter or small beads
– Food coloring or liquid dye
– Clear glue or hot glue for sealing
– Optional: glycerin or baby oil for slow motion
Steps
– Fill the bottle with water and a drop of dye to tint it
– Add glitter and beads for texture
– Put the cap on and seal it well with glue. Let it dry
– Shake the bottle and watch the swirls slow and color settle
Tips and variations
– Use glycerin or baby oil to slow movement and extend focus time
– Mix color schemes across bottles for a soothing rainbow set
– Label each bottle for quick rotation during breaks
– Keep pieces large enough to avoid choking and always supervise
Why it helps
– It gives a quick, tactile break without leaving your classroom
– Kids learn cause and effect as they shake and observe
– It doubles as a zen tool during tests or transitions
Next steps
– Start with 3 bottles, then grow to a small kit of 6 for stations
@media(max-width:480px){
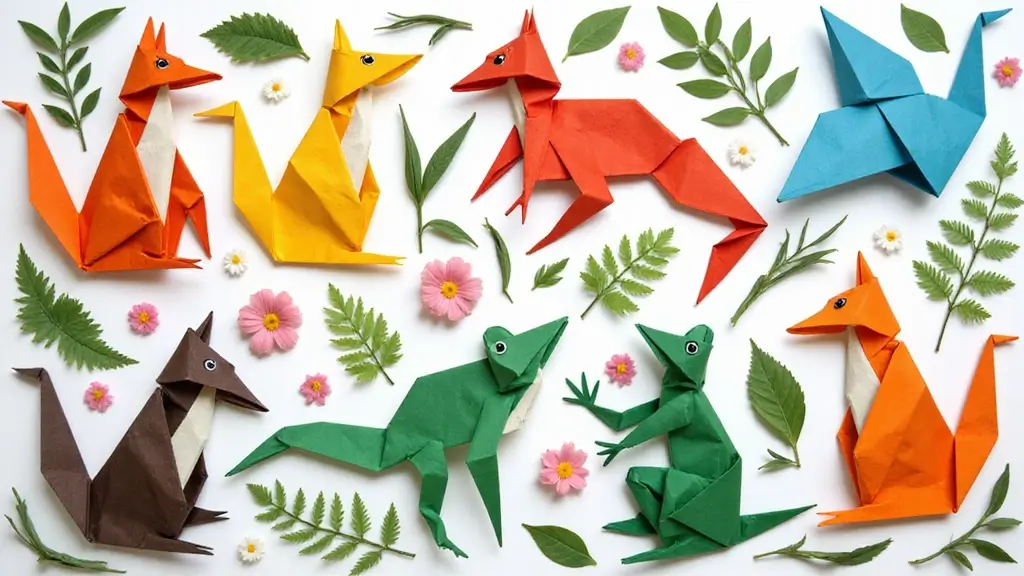
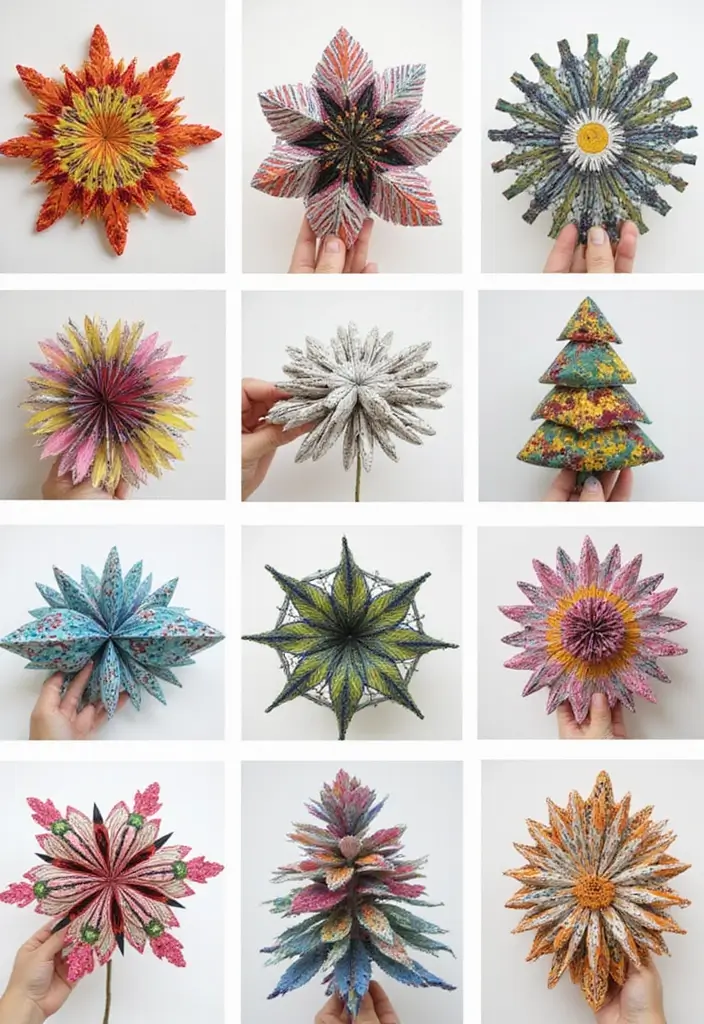
19. DIY Origami Projects
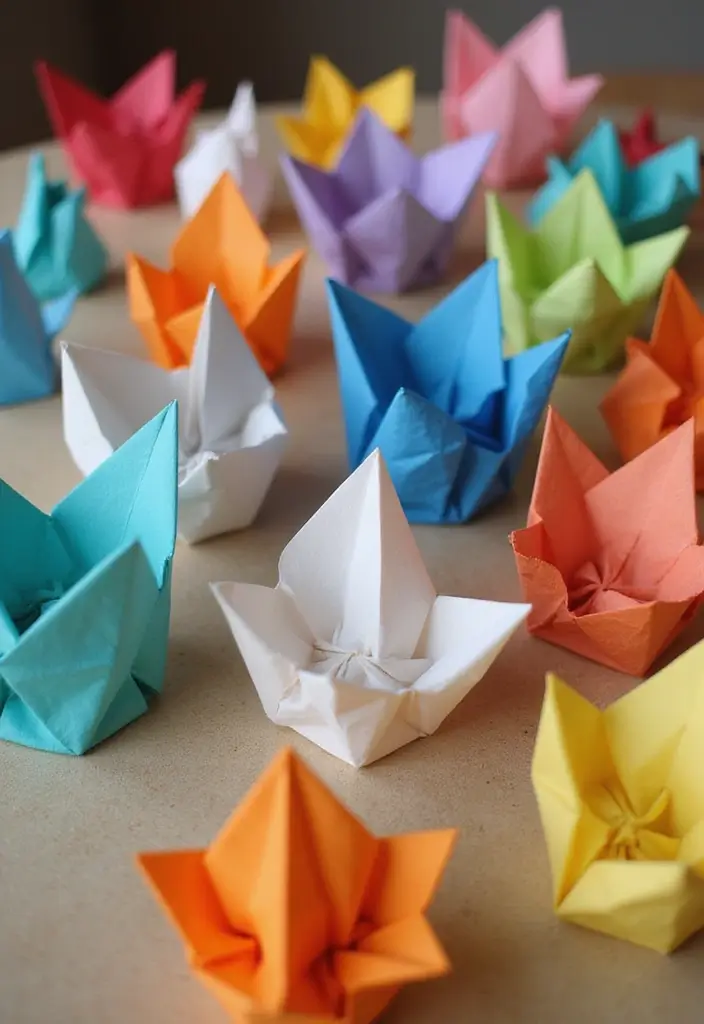
You want a craft that fits a short class time and leaves kids with real pride. Origami fits that need. With just paper, your students can make birds, boats, and blooms. The process builds steady hands and careful thinking. Finishing a shape gives a clear sense of achievement.
What you need
– Colorful origami paper or any square sheet for folding.
– A clean, flat workspace so folds stay crisp.
– Simple guides or diagrams to show the steps.
Getting started
– Begin with a single square sheet to practice.
– Learn two basic folds first, then try a simple design.
– Pick a kid-friendly model like a crane, boat, or flower.
– When a figure is done, add color with markers or stickers.
Design ideas
– Crane
– Boat
– Flower
– Frog
– Butterfly
Tips for success
– Move slowly and line up edges to keep folds neat.
– Use light pressure to crease, then flip with calm hands.
– For younger kids, start with bigger sheets.
– If a step is hard, pause and retry with a simpler move.
Display and sharing
– Create a wall display by pinning finished pieces on a string or board.
– Turn a few pieces into a classroom mobile for a corner.
Common questions
– How long should a session last? About 15 to 25 minutes, depending on age.
– How can you help kids who get stuck? Break the steps into tiny moves and praise effort.
@media(max-width:480px){
20. DIY Glitter Jars
You want a simple tool that helps kids slow down and name their feelings. A glitter jar does that. It stays bright and fun, yet it shows how calm and focused you can feel. This little bottle fits in any classroom or home calm corner.
What you learn
Glitter jars teach mindfulness in a clear, hands on way. Kids see how thoughts drift and settle, like sparkles sinking in water. They also practice breath and patience during a calm moment.
What you need
– A clean jar with a tight lid
– Water
– Glitter (lots of it for a bright swirl)
– Clear glue or glycerin (optional, to slow the glitter)
How to make it
– Fill the jar three quarters with water.
– Add glitter generously.
– If you have it, add a small drop of clear glue or a splash of glycerin to thicken the liquid.
– Seal the lid tightly and tighten.
– Shake the jar and watch the glitter swirl.
How to use it in class
– When a student feels overwhelmed, invite them to shake the jar and watch the glitter fall.
– Have them take four slow breaths as the scene settles.
– Ask simple questions: What color does the glitter remind you of? What feeling is there now?
– Use it as a quick, repeatable calm routine.
Tips and limits
Keep spare lids handy. Use a transparent jar for easy viewing. This tool helps, but it won’t solve every moment—pair it with talking and a calm plan.
@media(max-width:480px){
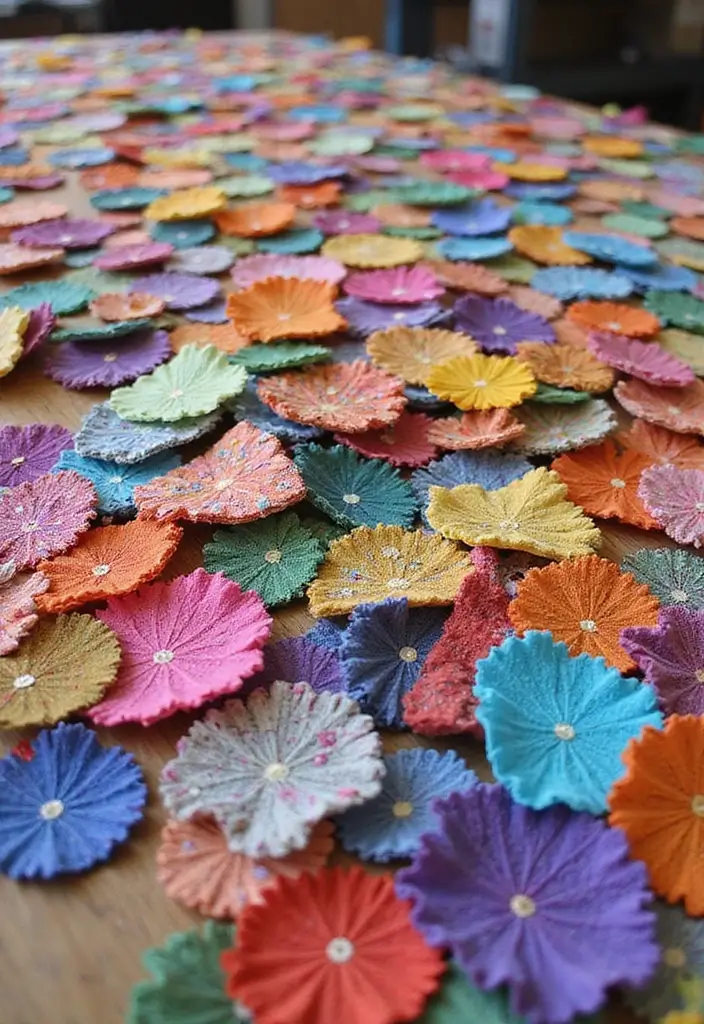
21. DIY Flower Pressing
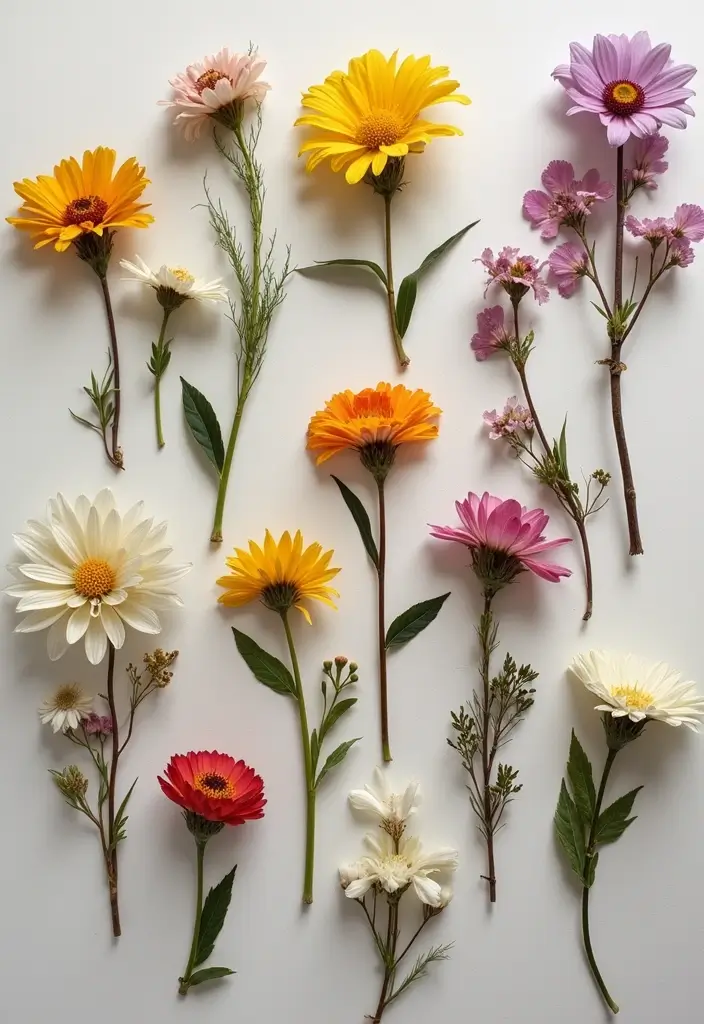
You want a simple way to save tiny pieces of nature and turn them into classroom art. Pressing flowers does just that with little mess and bright color.
What you need
– Fresh flowers (small blooms work best)
– Two sheets of plain paper and a clean plate or board
– A heavy book or two
– Optional: cardboard to spread the weight evenly
Here is why you’ll love this project. Pressed flowers stay flat and keep their soft tones. They make easy wall art, neat bookmarks, or thoughtful cards for friends.
Steps
– Pick blooms in the morning after the dew dries.
– Remove extra stems and leaves.
– Place each flower between two sheets of paper.
– Set the papers on a flat surface, then stack the plate and heavy books on top.
– Leave for 5 to 7 days. Check if the papers feel dry.
– When dry, gently peel the flowers and set them into a frame or onto a card.
Ways to use pressed flowers
– Frame a small bouquet for a nature display in your room
– Make lightweight bookmarks by gluing or laminating between clear sheets
– Add tiny petals to handmade greeting cards
Tips for best results
– Keep your press in a warm, dry spot away from direct sun
– Use clean paper to avoid stains
– Change the papers if moisture appears
@media(max-width:480px){
22. DIY Suncatchers

If you want color and light in your room, suncatchers are a simple, fast craft. They turn ordinary windows into a moving art show and give students a sense of accomplishment in one class.
Here is why this works. The materials are easy to gather, and the steps are clear. Kids get to make decisions about color, shape, and pattern, which keeps them engaged.
Materials
– Clear plastic sheets or wax paper, cut into kid-friendly shapes
– Window-safe markers or tissue paper
– Scissors appropriate for students
– Tape or string to hang pieces
– Glue sticks or small amounts of liquid glue for tissue layers
Steps
– Cut the sheets into simple shapes like stars, hearts, or circles
– Decorate with markers, or glue tissue pieces to create bright patches
– Layer colors to make light-catching sections
– Punch a hole near the top and tie on string for hanging
Color and placement ideas. Hang in sunny windows for the best glow. Watch colors shift as the sun moves. Try seasonal shapes, or pair two pieces for a bigger design.
Next steps: display the suncatchers where students can see them, rotate designs periodically, and invite kids to sign their work.
@media(max-width:480px){
23. DIY Friendship Bracelets

You’re looking for a classroom craft that’s easy to run, quick to learn, and gives students a sense of pride. DIY friendship bracelets fit that need. They build focus, fine motor skills, and a small gift that friends can share. You guide the steps, and kids see a real result fast.
Here is why this works in class: bracelets can be made in simple patterns, you can pair students to work together, and materials are affordable. Patterns like diagonals, simple braids, and the fishtail bracelet stay beginner friendly. Embroidery floss keeps color choices bright and smooth to knot. You’ll also find you can add beads for a little sparkle if you want.
What you need
– Embroidery floss or thin yarn in multiple colors
– Scissors
– Tape, a clipboard, or a small pegboard to hold the work
– Beads (optional)
Getting started
– Cut strings to the right length. For most wrists, 12 to 18 inches per strand works well.
– Tie the strings to your work surface so they stay flat while you braid or knot.
– Pick a pattern. Start with a simple forward knot or a two-color diagonal stripe.
– Learn the basic moves. A forward knot goes right over left, a backward knot goes left over right.
– Build the bracelet by repeating the knots until you reach the desired length. If you like a bead, slide it in during the design.
– Finish with a secure knot and trim the ends. You can add a small loop or an adjustable tie to fit different wrists.
Tips for success
– Keep knots even. Pull gently but firmly so the bracelet lies flat.
– Use color groups you enjoy. Try bold contrasts or soft blends.
– Work with a partner to design matching bracelets. You win twice: you share and you learn.
– Keep a scrap string in your pocket for quick fixes if a knot slips.
Common questions
– How long does it take? A simple bracelet usually takes 30 to 60 minutes.
– How do you finish? Tie off with a secure knot, wrap the ends, and trim.
– How can you personalize it? Add a bead, initial bead, or a tiny charm.
Next steps? Gather supplies, pick a starter pattern, and try a quick practice bracelet. You’ll see students gain confidence as their colors come together and friends trade bracelets they made themselves.
@media(max-width:480px){
@media (max-width: 600px) {
.visual-quiz-iframe { min-height: 995px !important; height: 1100px !important; }
}
24. DIY Nature Scavenger Hunt

Want a nature break that blends exploration with art? A DIY nature scavenger hunt helps kids see their surroundings in new ways. It ends with a finished artwork.
Here is how to set it up
– Pick a safe outdoor area and a clear time limit.
– Make a simple scavenger list: leaf, smooth rock, pinecone, flower, feather, seed pod, curved stick.
– Give each child a bag, a pencil, a magnifier, or a phone to snap photos.
– Set gentle rules: stay on paths, respect plants, and only collect tiny samples if allowed.
The hunt begins
During the hunt, kids search, compare textures, and talk about what they notice. When you are back inside, lay out the finds and let art begin.
– Create art from the finds: a collage, leaf rubbing, or a tiny nature mural.
– Use colors and shapes from what you found to tell a story or describe a scene.
Tips to smooth the process
– Pair students and assign roles like collector, photographer, or recorder.
– Add quick prompts: What surprised you? Which item was most interesting?
– Safety first: wash hands after, avoid harming plants.
Variations
– Do a color or texture hunt, or a scent hunt with careful sniffing.
– Try an indoor version with labeled photos of outdoor finds.
@media(max-width:480px){
25. DIY Story Stones
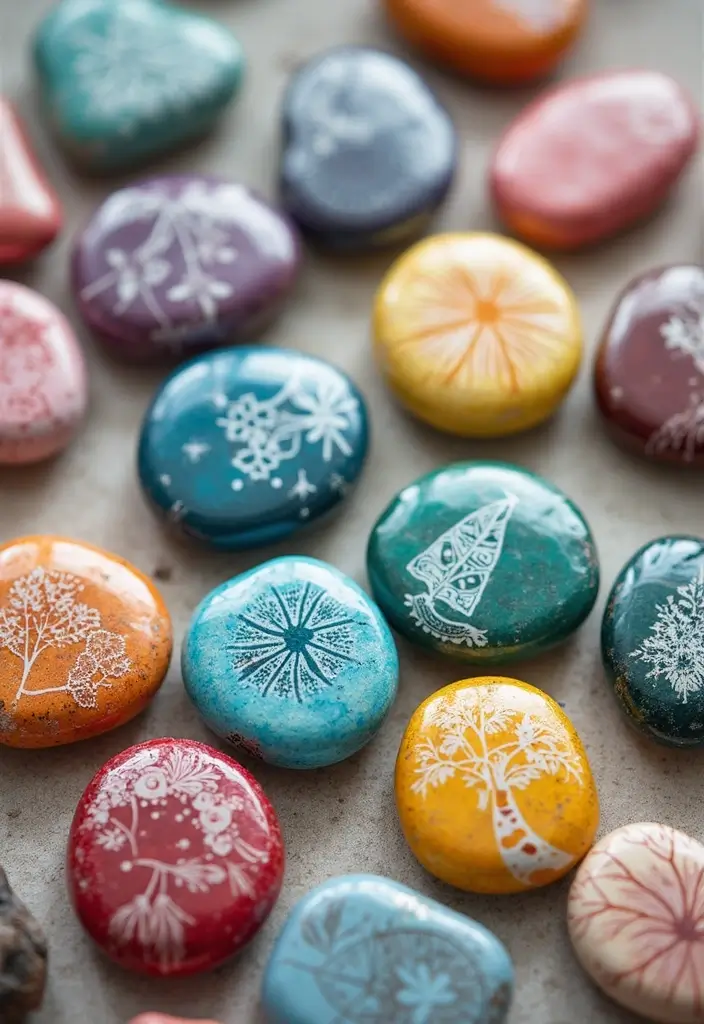
Story stones give kids a hands-on way to tell bigger tales. If you want a calm, creative activity that fits literacy time, this works well.
Here is why it works: kids tap into imagination with a tiny, colorful world in their hands.
What you need
– Smooth stones from a park, riverbank, or craft shelf
– Acrylic paint or permanent markers
– Optional clear sealant
– A small tray or cloth bag for storage
Step-by-step
– Clean the stones and let them dry.
– Paint or draw images or words on each stone.
– Let the art dry completely before use.
– Keep stones in a labeled bag or tray for quick access
Play ideas
– Let one child start a story. Others add stones and lines to keep it going.
– Use themes like animals, places, actions, or weather.
– Add simple prompts on some stones: “Once,” “Then,” “Suddenly.”
Classroom tips
– Use story stones during reading time or writing minutes.
– Create a story circle in your reading corner.
– Keep a small set handy for quick, focused storytelling.
Safety tips
– Supervise younger kids to prevent choking hazards.
– Pick stones that fit your group.
Next steps: Try a 10-minute story stones session this week and adjust prompts to fit your class.
Conclusion
These 25 eco-friendly school crafts DIY ideas are not only fun but also enrich classroom experiences by fostering creativity and a sense of responsibility toward the environment.
Each craft promotes hands-on learning and is perfect for igniting students’ imaginations.
Consider incorporating these projects into your classroom activities to make learning more dynamic and enjoyable!
Note: We aim to provide accurate product links, but some may occasionally expire or become unavailable. If this happens, please search directly on Amazon for the product or a suitable alternative.
This post contains Amazon affiliate links, meaning I may earn a small commission if you purchase through my links, at no extra cost to you.
Related Topics
school crafts DIY
eco-friendly crafts
classroom activities
hands-on learning
creative projects for kids
recycled materials
budget-friendly crafts
quick crafts
nature-inspired art
DIY art supplies
fun educational crafts
upcycled projects