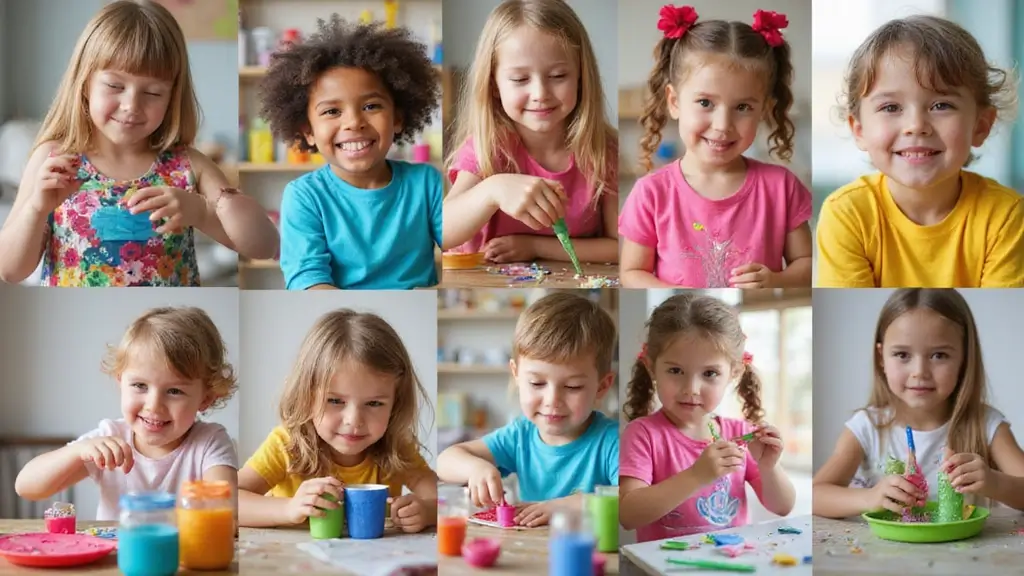
I put this post together because I want easy, safe crafts that spark joy for toddlers and keep mess under control. When I watch my little one explore colors and glue, I crave activities that are quick to set up and gentle on tiny hands.
If you’re a parent, grandparent, or caregiver who values simple steps, kid-friendly supplies, and adorable results, this is for you. You want projects that hold attention just long enough for a smile and an easy cleanup.
You’ll get 26 DIY crafts for toddlers that are safe, simple, and adorable. Each idea uses common materials like paper, glue, and washable paint, with clear steps you can follow in minutes. You’ll find tips for setup, cleanup, and ways to adapt the activities for different ages.
These crafts grow with kids, from simple tearing and sticking to more detailed ideas as they get bigger. They use safe materials and washable colors, so you can let them explore without worry.
Here is how to use this guide. Pick one or two crafts to start, set up a small tray, and let your toddler lead. I include tips for safer glues, easy cleanup, and quick setup tricks that really work.
Ready to dive in? Try a few this week and note which ones your child loves. These 26 crafts are meant to brighten days, build small skills, and end with adorable keepsakes you can treasure.
1. Nature Collage
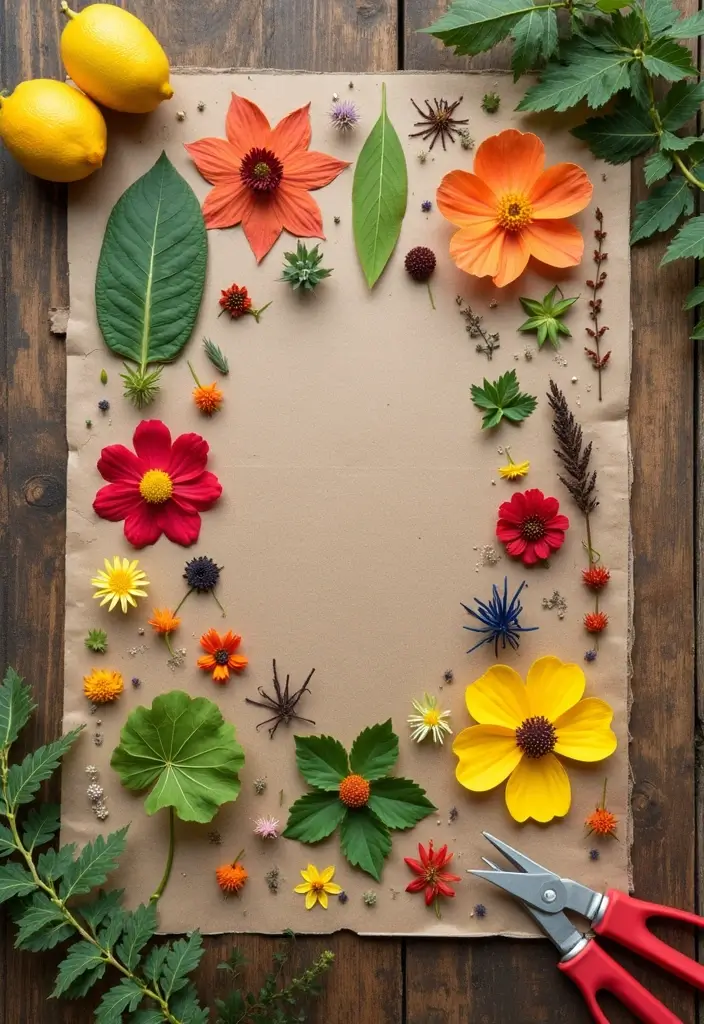
– Nature collage for toddlers This small art project turns a walk into an outdoor studio. You collect leaves, twigs, and flowers, and your child creates a bright scene. It helps little fingers grip and place pieces. It teaches colors, textures, and how nature shifts with the seasons.
– What you need
– Cardboard or thick paper as a sturdy base
– Leaves, twigs, flowers, pinecones, and seed pods
– Non-toxic glue or a glue stick
– A shallow tray to sort materials
– Optional: crayons or markers for a quick background
– Set it up and start
Choose a flat surface. Lay the base down. Show your child how to dab glue on the pieces, not the page. Let them arrange items first, then press gently to secure. Let the collage dry.
– Learning and fun in one
This activity builds fine motor skills and focus. Talk about colors, textures, and parts of nature. Your toddler gains confidence as they decide where items go. It becomes a keepsake from an outdoor moment.
– Seasonal twist
Pick a season and swap in items that fit. Fall brings warm leaves; spring brings soft greens and flowers. Rotate materials as the year goes by.
– Next steps
Keep a small nature kit ready. After your next walk, use it for a quick collage session.
@media(max-width:480px){
2. Paper Plate Animals
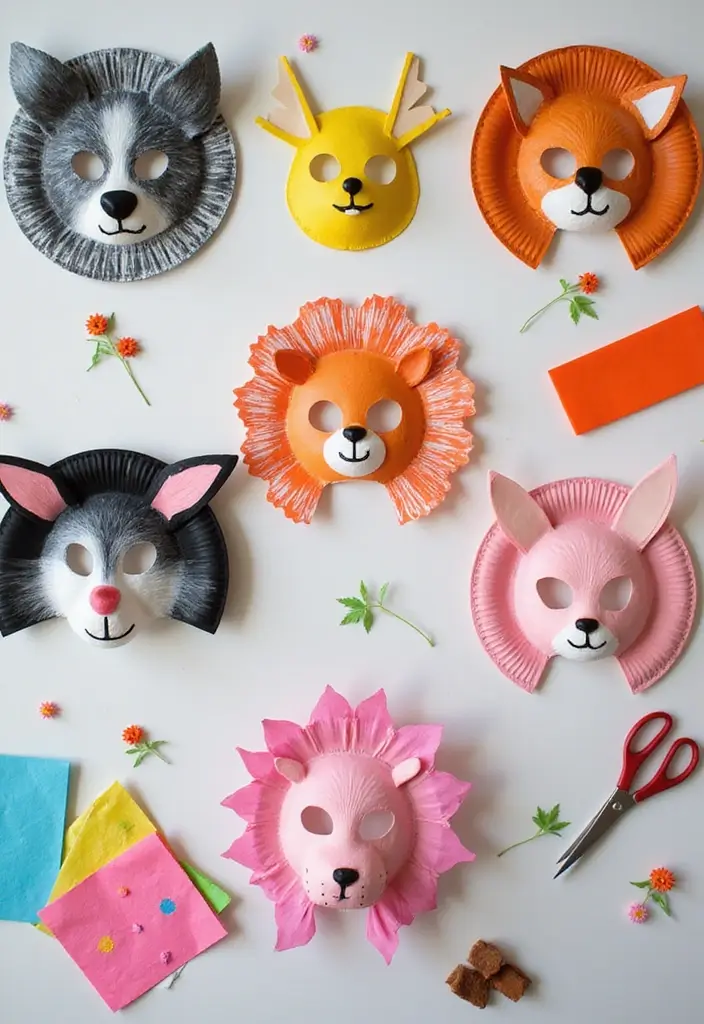
You want a craft that is easy for toddlers and feels special. Paper plate animals fit that need. They turn a simple plate into a friendly mask your child can wear.
Here is why this works: it uses simple supplies, invites big and small hands, and sparks pretend play.
– Gather supplies: paper plates, non toxic markers, fabric scraps, glue, and a safe string for a strap. Add a few shiny stickers if you like.
– Let your child decorate. They pick colors, draw eyes, and add ears. Talk about the animal.
– With your help, cut two eye holes. Then make two side holes and tie a string for a strap. Show how to slide it on.
– Play and imagine. Have a parade or tell a tiny story.
– After play, clean up together. Put scraps in the recycling bin and save some for next time.
Creative Tip: Use recycled paper and natural dyes for a fully sustainable craft.
This activity builds fine motor skills as little hands place decorations. It invites kids to express themselves and try new animal ideas. It is quick, safe, and charming at home.
@media(max-width:480px){
3. Egg Carton Caterpillar
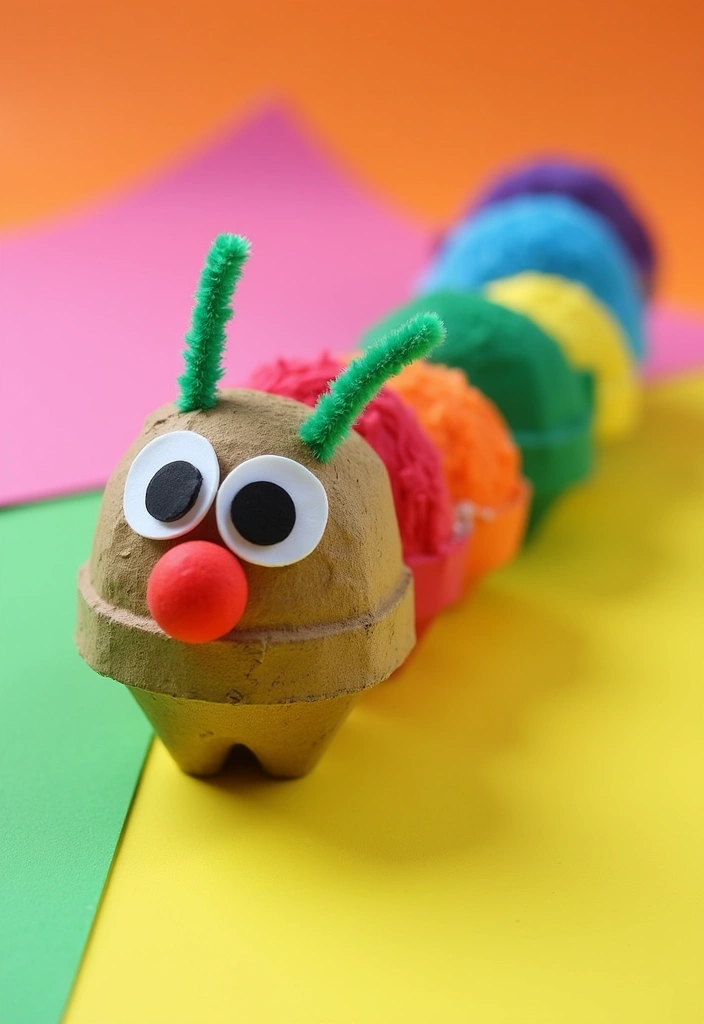
You want a craft that is simple, safe for little hands, and kind to the planet. The egg carton caterpillar fits. It turns a common waste item into a friendly bug kids love. Your toddler can paint, glue, and see the caterpillar grow.
What you’ll need
– One empty egg carton, cut into 4–6 rounded sections
– Non-toxic paints or markers
– Googly eyes or small paper eyes
– Pipe cleaners or yarn for antennae
– Glue, tape, and a little patience
– Optional: markers for tiny details
Steps to make your egg carton caterpillar
1) Cut the egg carton into round body segments, keeping them attached so the caterpillar can bend a bit.
2) Let your child paint each segment a different color.
3) Add eyes and a smile. Twist a pipe cleaner into tiny antennae, or draw them.
4) Glue on eyes and antennae. Add dots or stripes for texture if you like.
5) Let dry, then press gently to check the parts stay stuck.
Learning and safety
– This task teaches color names and counting as you line up the segments.
– It shows how recycling can make new things.
– Use washable paints so clean up is quick.
Activity boost
– Next steps: host a mini caterpillar parade. Kids can march and share one fun fact about caterpillars or butterflies.
If you want a longer caterpillar, add more segments before you start.
@media(max-width:480px){
4. DIY Nature Paints

You want a safe, simple art project for your toddler. DIY nature paints use colors from fruits, vegetables, and plants. They’re easy to make and kind to the planet. Your child will see where color comes from and have real fun at the same time.
What you need
– Fresh produce for color: berries for red, spinach for green, beets for purple, and carrots or carrot juice for orange
– Water for thinning paint
– Small bowls, spoons, brushes, or your toddler’s fingers
– Paper, cardboard, or sturdy craft paper
– A towel or apron for mess
How to make nature paints
– Step 1: Mash the produce to release the color
– Step 2: Add a little water and mix until paint-like
– Step 3: Set a painting area and let your child use brushes or fingers to explore
– Step 4: Rinse brushes and wipe hands between colors
Safety and cleanup
– Use ripe, clean produce and supervise your child at all times
– Watch for small bits that could be a choking risk
– Store colors in covered cups in the fridge for up to 2 days; throw out any color that smells off or grows mold
– Clean tables and clothing with warm soapy water; color fades with soap
Learning twist
– Talk about the color names as you paint. Sniff the fresh scent of each ingredient and notice textures. Ask your child what new color happens when you mix red with green. It’s a simple way to spark curiosity and color sense.
More ideas
– Try a yellow tint with a ripe mango or turmeric in a tiny amount
– Keep a small gallery of finished art to celebrate color growth over time
@media(max-width:480px){
5. Rock Painting
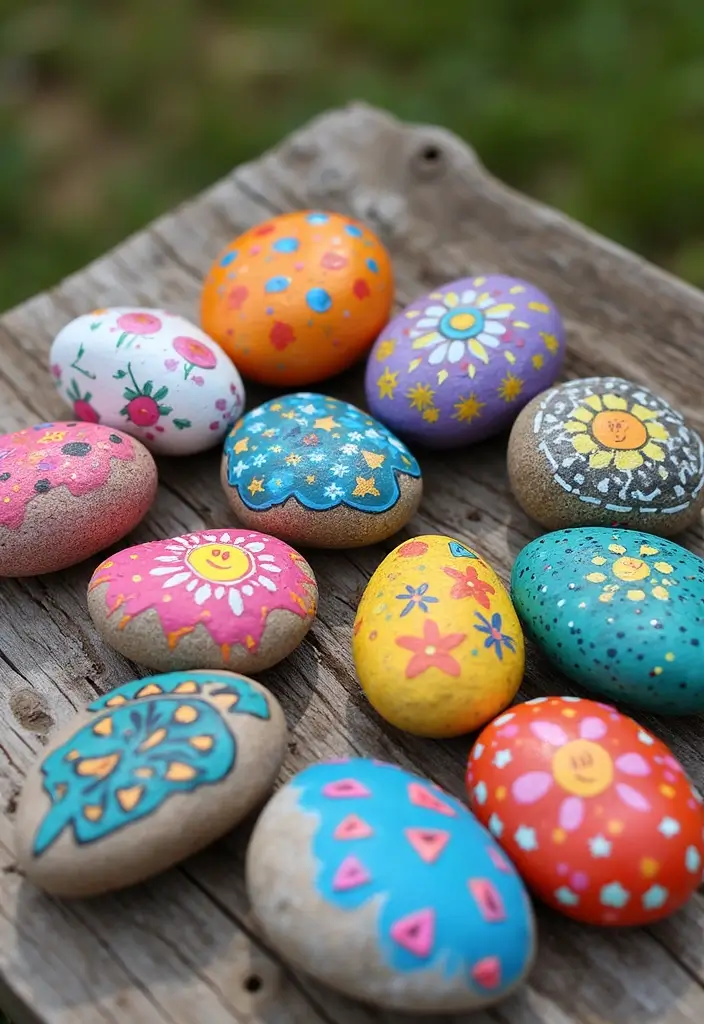
If you want a toddler-friendly project that is safe and easy, try rock painting. It sparks creativity without a long setup. Here is how to do it well.
– What you need
Smooth stones come from your yard or a park.
Use non-toxic acrylic paints and safe brushes.
Have water, paper towels, and a clean drying area.
Optional sealant can help rocks last longer outside.
– How to do it
Wash the stones with soap and water, then dry them completely.
Set up a small palette with two to four colors and a cup of water for rinsing.
Let your child paint with big, simple strokes and easy shapes.
Start with a light layer so colors pop and stay bold.
– Creative ideas
Paint a cat, a fish, a flower, or a rainbow with simple shapes.
Add patterns like dots, stripes, or swirls for texture.
Try simple words like “yay” or “smile” in large letters.
– Drying and finishing
Let rocks dry fully in a warm, airy spot before handling.
If they will stay outside, seal with a kid-safe sealant after drying.
– Uses
Place painted rocks in a garden bed for color.
Use them as paperweights on a desk or shelf.
Hide a few rocks on a walk for a tiny treasure hunt.
Give a painted stone as a small gift.
– Quick tips
Supervise to keep tiny pieces away from mouths.
Clean brushes right after work and dry them flat.
Keep sessions short to match your toddler’s attention.
Store paints and rocks in a labeled bin for next time.
– Bonus: Rock painting party
Invite two or four friends and share ideas.
Set up a mini gallery where kids display their rocks.
End with a quick show and tell so everyone feels proud.
Next steps: pick a rock, set up a painting corner, and start today.
6. Leaf Rubbing Art

Want a calm, creative activity your toddler can handle? Leaf rubbing art fits the bill. It blends nature with color and gives small hands a bright result.
What you need
– Leaves from your yard or park (pick different shapes and sizes)
– Thick drawing paper or cardboard
– Crayons or colored pencils (washable helps with cleanup)
– A little tape or a clip to hold the leaf steady
– A flat workspace
How to do it
Here is why it works: the leaf’s raised veins press onto the paper with a simple rub.
– Place a leaf under the sheet of paper and hold it in place.
– Rub the side of the crayon over the leaf, not the tip.
– Use slow, gentle strokes and then try longer lines.
– Try two or three colors to make a rainbow leaf.
– Lift the paper to reveal the print, then add more leaves to make a mini gallery.
Tips you can use
– Use textured paper for stronger prints.
– Layer rubbings on one sheet for a collage.
– Secure the paper to the table so it doesn’t slide.
Learning moments
– Talk about the tree the leaf came from and how leaves change with the seasons.
– Ask your child to compare shapes and patterns.
Next steps: keep a small herb or leaf journal and save your favorite rubbings as tiny cards.
@media(max-width:480px){
7. Sensory Nature Bins
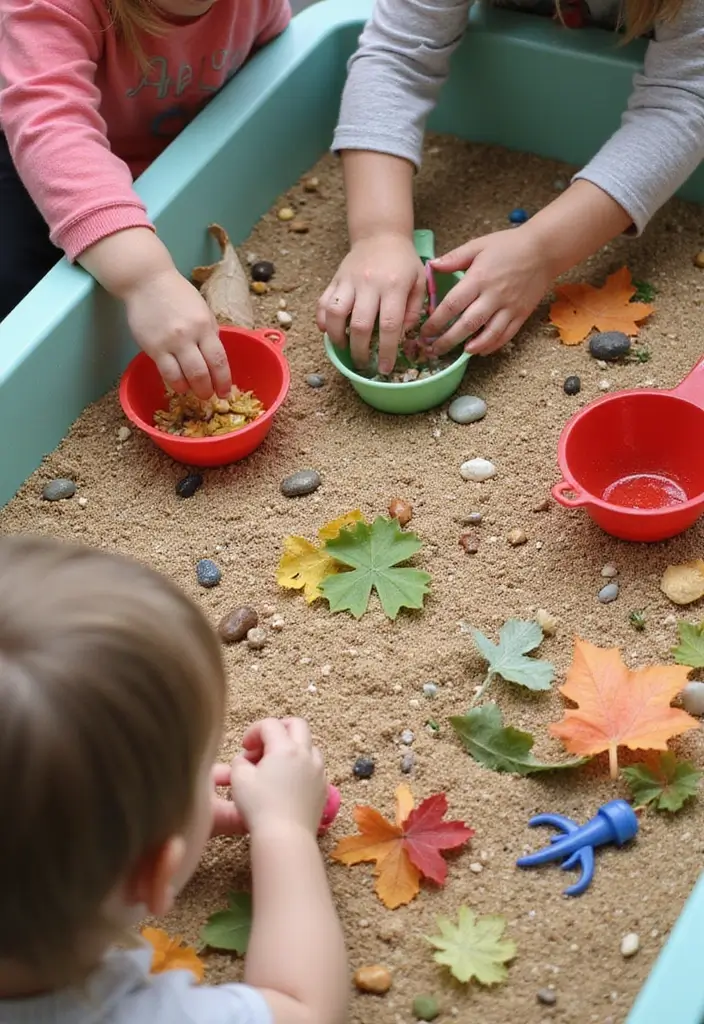
If you want a safe, engaging activity for your toddler that builds thinking and small-muscle skills, sensory nature bins are a great choice. They turn simple natural items into a tiny world your child can explore with hands and eyes. This kind of play sparks curiosity and focus without screens.
What you’ll need
– A shallow bin or tray to keep everything contained.
– Natural materials like sand, dirt, leaves, pinecones, and small stones.
– Kid-friendly tools such as scoops, small shovels, cups, and a magnifying glass.
– A few small toys or animals to spark pretend scenes.
– A mat or towel for easy cleanup and a calm play zone.
How to set it up
– Place the bin on the mat in a quiet area.
– Fill it with your chosen natural materials.
– Add the tools and a couple of toys.
– Keep a simple cleanup plan so you both know what to do after play.
Play ideas
– Let your child scoop, pour, and move textures around.
– Use the magnifier to inspect textures up close.
– Describe what you see to build language and memory.
– Ask simple questions like, “Which leaf feels rough?” and listen to the answer.
– Mix in quick seasonal prompts to keep it fresh.
Seasonal twists
– Spring ideas: fresh leaves, fern fronds, and soft dirt. Check for allergies first.
– Autumn ideas: pinecones, smooth stones, and acorn tops.
– Winter ideas: dried grass, chunky bark pieces, and cotton balls for snow.
Safety and cleanup
– Supervise at all times and keep small parts out of reach for younger toddlers.
– Choose items larger than a marble to reduce choking risk.
– Wash hands before and after play.
– Wipe the bin and mat, then store everything in a sealed container.
Next steps: try a quick sensory nature bin today. Notice how your child names textures and ideas, and adapt the setup to your home rhythm.
@media(max-width:480px){
8. DIY Bird Feeders

You want a kid-friendly craft that helps wildlife and fits into a busy day. DIY bird feeders do both. They are safe, simple, and fun to watch. Here is how you can make a pine cone feeder with peanut butter and birdseed.
Here is why this works. It uses things you probably already have. It makes a quick craft with little mess. Kids love to see birds land and peek at the seeds. It also sparks questions you can answer together.
– Gather your supplies: a pine cone, a spoon or knife, peanut butter or sun butter, birdseed, and a piece of string.
– Have a plate ready to catch loose seeds.
– Spread peanut butter or sun butter all over the pine cone in a thin, even coat.
– Roll the cone in the birdseed until well coated.
– Tie a loop of string to the top and knot it securely.
– Hang the feeder on a sturdy branch in your yard or garden.
– Watch and learn: notice which birds come to feed and talk about how they help the garden.
Next steps: if allergies or squirrels are a concern, switch to sun butter and use a strong hanger or place it higher.
@media(max-width:480px){
9. Flower Pot Painting
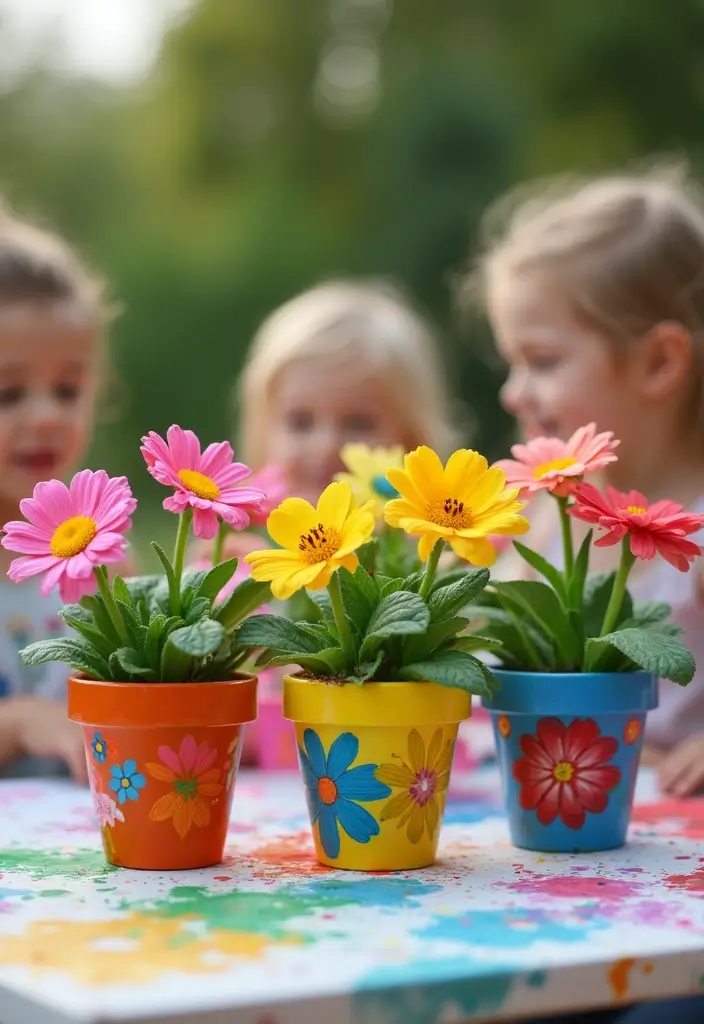
Here is why you should try this. You want a craft that is safe, quick, and joyful for toddlers. Flower pot painting hits all three. It brightens your space and sparks little imagination.
What you need
– Terracotta pots
– Non toxic acrylic paints
– Small brushes and a sponge brush
– Water cup and paper towels
– Clear non toxic sealant (optional)
How to do it
– Wipe the pots clean. A simple wipe helps paint stick.
– Pick a bright base color. Let your child cover the pot.
– Add designs. They can paint shapes, stripes, or tiny letters. Encourage them to draw a sun or a flower.
– Let it dry. Dry time is about 20 minutes to an hour.
– Add a sealant if you have it. This protects color in sun and rain.
– Plant after rain or dry. Fill with soil and a small herb or flower.
What your child learns
– Fine motor skills from brushing and pinching
– Color names and patterns
– Pride when they see their pots on display
Gardening tip
– Marigolds or basil grow well in beginner pots. Place the pots where kids can water them and watch tiny roots grow.
Need ideas? Try stripes in two shades. You can reuse old pots by repainting their exteriors.
@media(max-width:480px){
10. DIY Musical Instruments
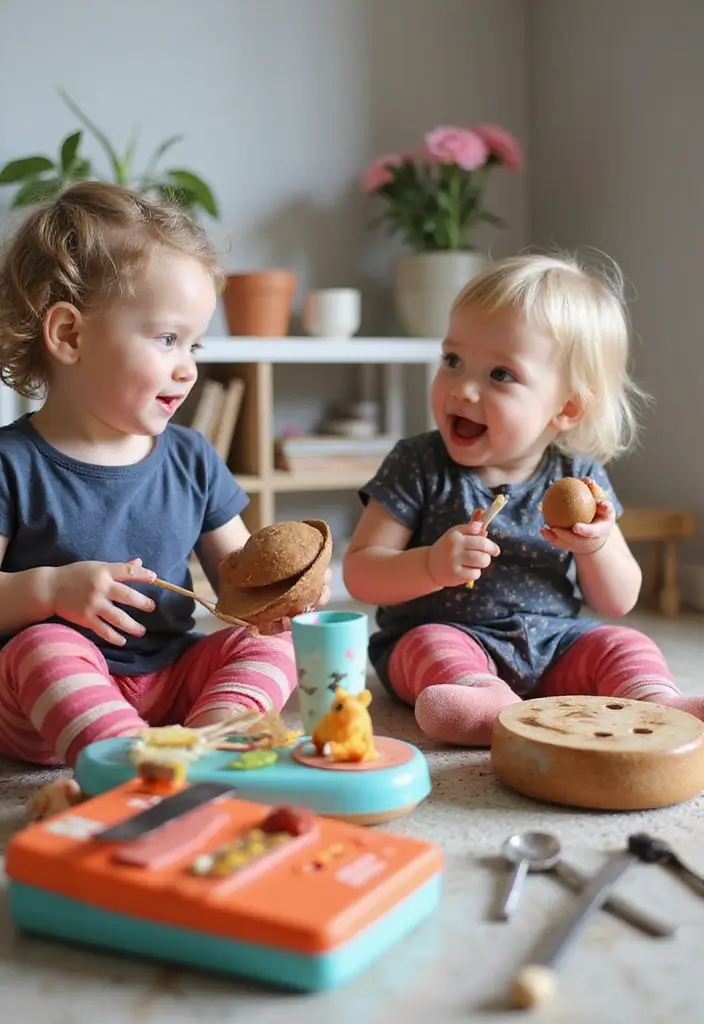
Stuck at home and need safe, simple play? You can build tiny, kid-friendly instruments from things you already have.
Here is how to do two quick crafts that sound good. Let’s break it down.
– Shaker bottle
Choose a clean plastic bottle.
Fill it with a small handful of rice or beans.
Secure the lid tightly.
For extra safety, wrap the lid with tape.
Let your toddler shake to make music.
This helps toddlers hear rhythm and learn about sound.
– Cardboard box guitar
Take a small cardboard box.
Stretch several rubber bands across the top.
Let your child press and strum.
Try bands at different tensions for high and low tones.
Label each string to help counting and memory.
Keep strings loose enough so little fingers can move safely.
Safety tips
Always supervise during play.
Choose sturdy bottles and big lids.
Seal lids with tape if needed.
Pick materials that stay away from the face.
Performance idea
Plan a tiny concert for family.
Let the kids show off their tunes.
Applaud and cheer to boost confidence.
Play a short set and switch instruments.
@media(max-width:480px){
11. Recycled Art Sculpture
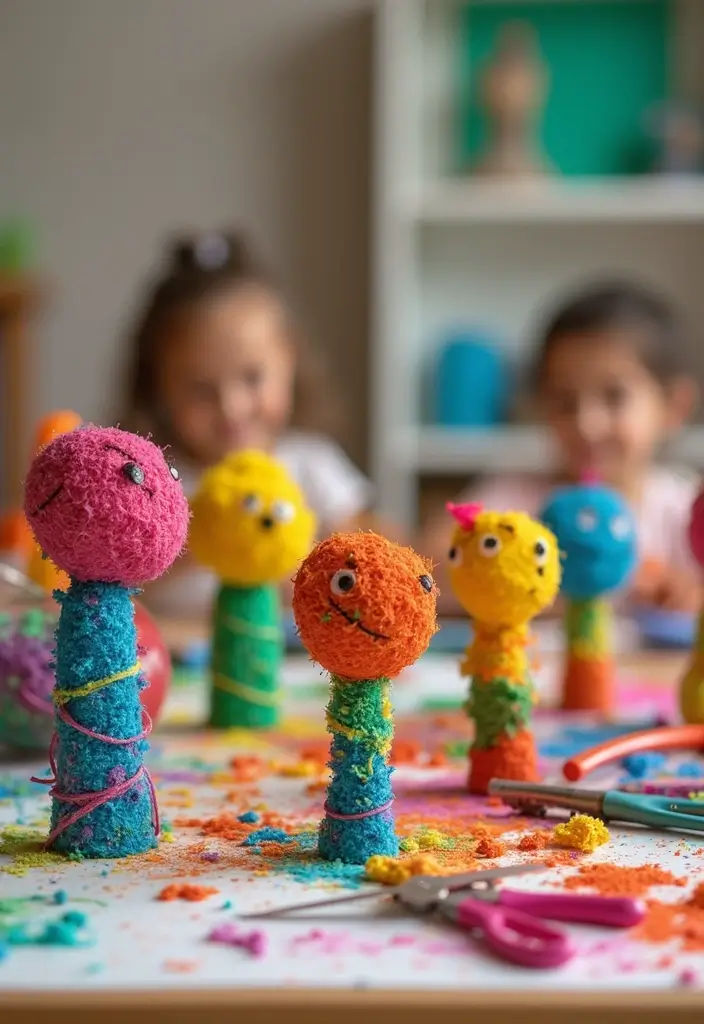
Recycled Art Sculpture
You want a craft that is safe for toddlers and good for the planet. This idea fits. Recycled art sculptures use scraps to spark new ideas and big smiles.
Here is what you need to gather:
– Cardboard tubes
– Bottle caps
– Small boxes and lids
– Fabric scraps and foil
– Clean plastic pieces
– Kid-friendly glue or glue sticks
– Tape and a flat work surface
Set up a simple station. Let your child pick pieces. They press, glue, stack, and balance them into robots, animals, or abstract shapes. The goal is to explore textures and colors, not to make a perfect statue. You’ll hear the soft crunch of cardboard and see colors spread as glue dries clear.
Here is why it works. The activity builds fine motor skills as little hands grip parts. It teaches how to recycle by turning junk into art. It also boosts focus and imagination during the building process.
Teamwork tip
Try a group sculpture. Have several kids add pieces to one large figure. Give each child a shared base to keep the sculpture stable. This creates cooperation and social skills.
Next steps: display the sculpture, talk about what each piece represents, and snap a photo to remember the day. When it’s done, recycle the parts and start a new project.
@media(max-width:480px){
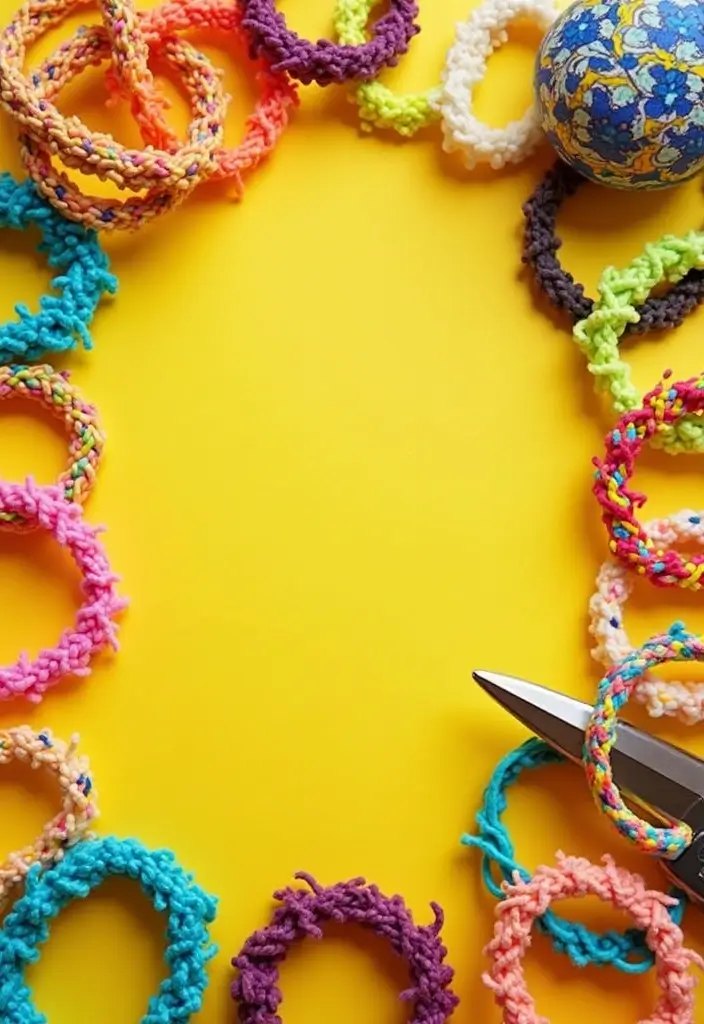
12. DIY Friendship Bracelets
What you need
– Soft yarn in bright colors, kid-friendly scissors, and space to work.
– Tape or a small table helps keep strips in place.
– Use 4 to 6 strips, about 12 inches long.
Set up
– Fold the strips in half and knot them to make an anchor.
– Tape the knot to the table so little hands stay steady.
How to do it
– Let your child pick colors.
– Show a basic knot or braid.
– A simple forward knot works well: cross the left strand over the right, then pull the left under.
Patterns
– Toddlers love bright, random color mixes.
– Try a striped look by using one color at a time.
– You can also braid two or three strands for a thicker bracelet.
– For extra flair, try a chevron or zigzag by repeating two colors.
Safety and goals
– This builds fine motor skills and hand strength.
– It also teaches color choice, patience, and sharing.
– Short sessions keep attention.
– Do not use small beads or charms.
Variations
– Swap colors often, add loops, or finish with a small ribbon tassel for extra flair.
Sharing idea
– Host a bracelet swap among friends to celebrate creativity and caring.
– Take photos of their work to share with family.
@media(max-width:480px){
13. Cloud Dough Creations
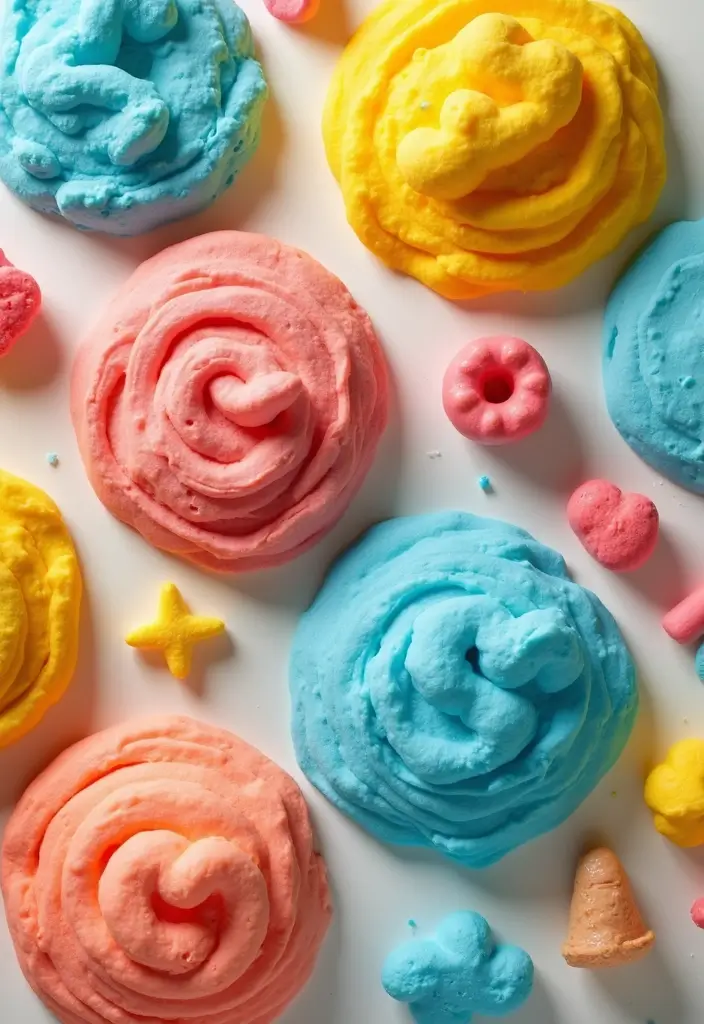
If you want a safe, soothing sensory activity for toddlers, cloud dough fits the bill. It’s soft, squishy, and easy for small hands to mold.
Here is why it works well for little ones. The texture invites touch and encourages hand movements. Shape, pinch, and roll help build fine motor skills while sparking imagination. Kids learn by exploring and pretending, not just sitting still.
What you need
– 2 cups flour
– 1 cup vegetable oil
– Optional: a few drops of kid-safe food coloring or a tiny splash of vanilla extract for scent
How to make
– In a large bowl, mix the flour and oil until the dough forms.
– If it feels dry, add a teaspoon of oil; if it sticks too much, add a pinch of flour.
– Stir in color a drop at a time until the shade looks right.
Ways to play
– Roll, press, and cut with cookie cutters to make quick shapes.
– Give kids small tools to stamp, dig, or draw patterns in the dough.
– Add a tiny pretend scene like fluffy clouds or ice caves to boost storytelling.
Safety and cleanup
– Play on a mat or tray to catch messes.
– Wipe hands and surfaces with a damp cloth when you finish.
– Store the dough in an airtight container for a few days.
Next steps: set up a simple, shared play space and invite a friend to join. This keeps the session short and fun.
@media(max-width:480px){
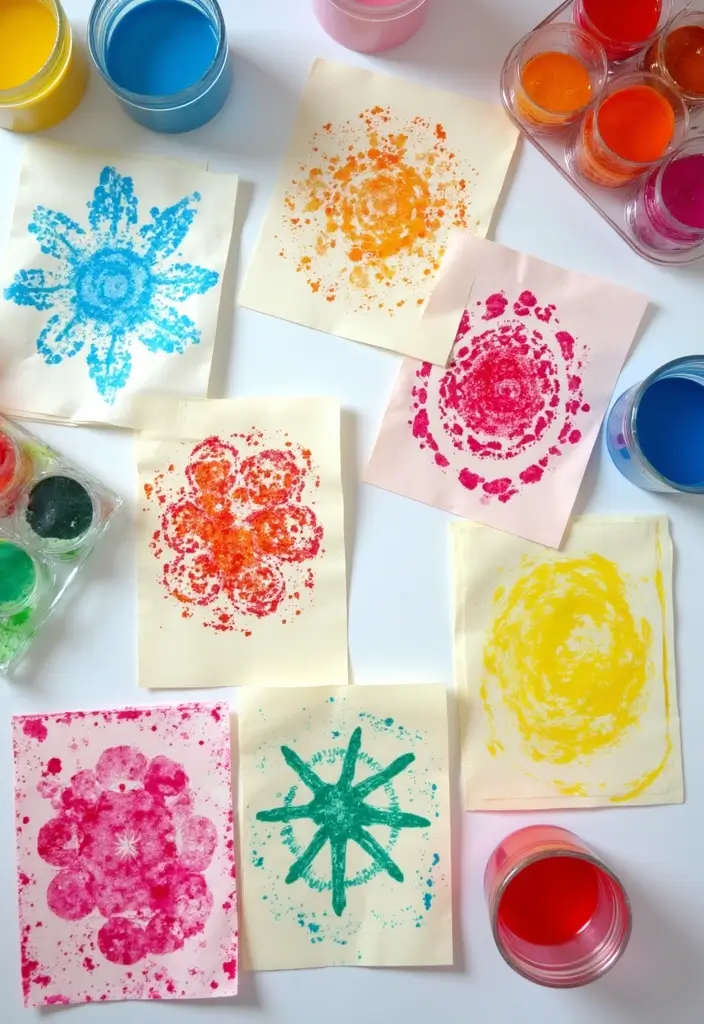
14. DIY Stamps from Vegetables

DIY Stamps from Vegetables
Here is why this veggie stamping activity helps you and your toddler. It turns simple produce into art. It builds little hands’ grip, focus, and color sense. It also opens a friendly talk about healthy foods.
What you need
– Potatoes, carrots, and bell peppers
– Non toxic paint or stamp pads
– Thick paper or cardboard for a sturdy print
– A shallow tray or dish for paint
– A safe knife or kid-friendly tool for adults
How to do it
1. Wash the veggies. For potatoes, slice them in half to make a flat stamp. For peppers, press the cut edge to draw rounded shapes. Keep shapes large and easy to press.
2. Pour a small amount of paint into the tray. Dip the flat side of the veggie stamp. Tap off the excess.
3. Press onto paper. Lift straight up to leave a clean print. Move across the page to make a bright mix of colors.
4. Talk as you stamp. Name colors, shapes, and the veggies. Turn it into a mini health lesson.
Ways to level it up
– Mix colors to create new prints.
– Build patterns like stripes or a simple checkerboard.
– Let your child arrange stamps first, then color inside the shapes with markers.
Cleanup is fast with water and soap. Your child gains pride from making real art with produce.
@media (max-width: 600px) {
.visual-quiz-iframe { min-height: 995px !important; height: 1100px !important; }
}
15. Glittery Slime Fun

Are you after a safe activity your toddler can help with? Glitter slime fits. It blends play and texture and cleans up easily.
What you need
– White school glue
– Water
– Baking soda
– Few drops of contact lens solution
– Glitter
– Food coloring
Here is why this works
Glue makes a stretchy base, and water thins it so hands blend it. Baking soda helps with the texture, and the contact lens solution cures the slime as you knead. Glitter adds sparkle that toddlers love. You can mix colors for extra fun.
How to make it
1) In a bowl, pour equal parts glue and water. Stir until smooth.
2) Add a pinch of baking soda and mix well.
3) Drip in contact lens solution, few drops at a time, until the mix thickens into slime.
4) Stir in glitter and, if you want, a drop of food coloring.
5) Knead with clean hands for a minute or two. The slime will stretch and squish as you play.
6) If it sticks, add a bit more solution; if it feels too sticky, a touch more glue and water.
Safety note
Always supervise toddlers with small parts and set up a clean workspace.
@media(max-width:480px){
16. DIY Suncatchers
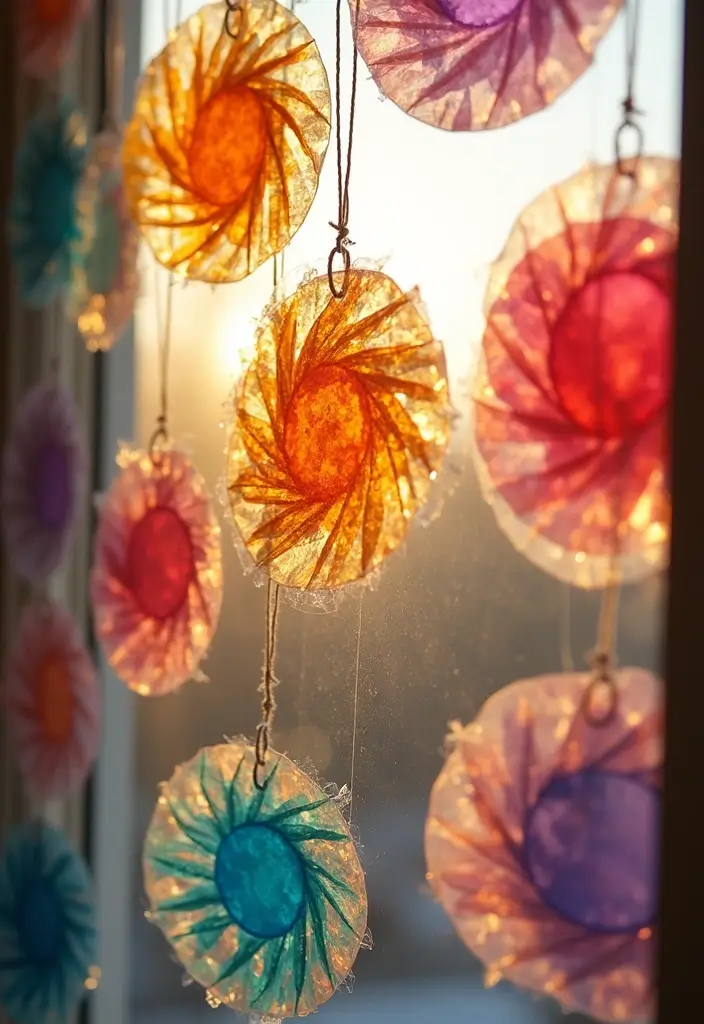
Want a quick, safe craft that lights up your windows? DIY suncatchers fit the bill. They use clear plastic, tissue paper, and simple glue. Your toddler can make bright art the sun loves to touch.
– What you need
Clear plastic sheets or transparency film
Tissue paper in several colors
White glue or glue sticks
Kid-friendly scissors
String, yarn, or a thin ribbon
Tape or a hole punch
– How to make them
Cut the plastic into shapes you like or keep them square.
Let your child tear tissue paper into small pieces or cut little shapes.
Spread a thin layer of glue in the area where the tissue will go.
Place tissue pieces on the glue and press gently.
Keep adding pieces until the design feels full.
Let the suncatcher dry completely before moving it.
Punch a small hole or tie a piece of string for hanging.
– Why this is good for kids
It builds color recognition as kids choose colors.
It boosts fine motor skills when they tear and place pieces.
It teaches patience as they wait for glue to dry.
It sparks curiosity about how light changes art in the sun.
– Tips for success
Use bright colors for more glow.
Work on a protected surface with a tray of glue to catch spills.
Ask questions like, “What color next?” to keep the conversation flowing.
– Display ideas
Hang near sunny windows.
Space different shapes for a little window gallery.
Rotate pieces seasonally to keep the project fresh.
@media(max-width:480px){
17. Cardboard Box Playhouse
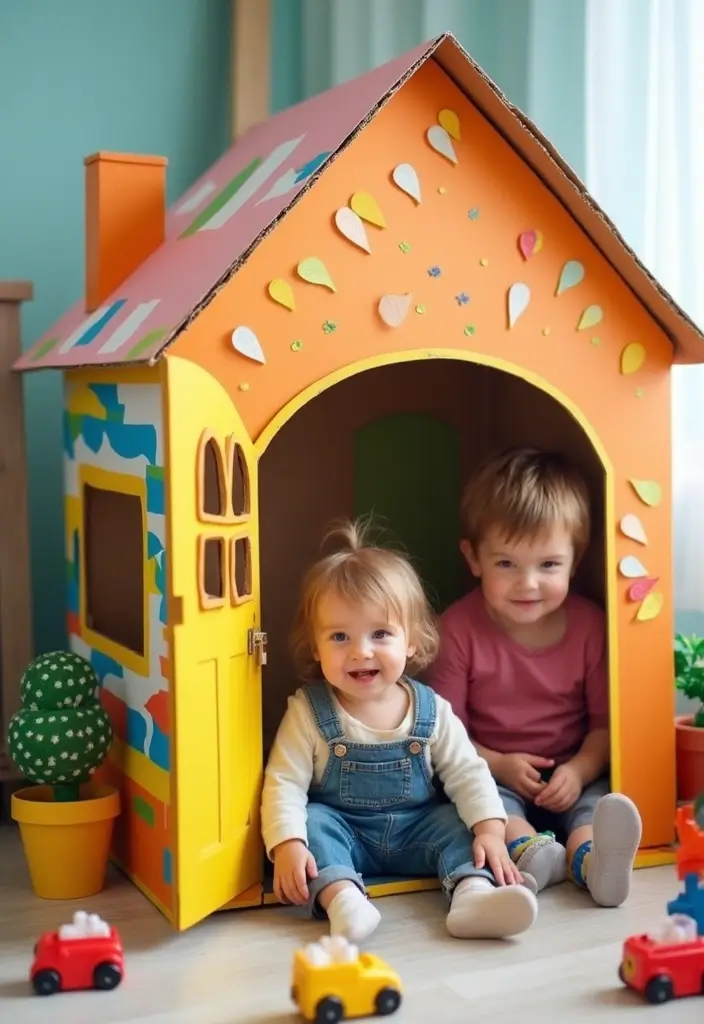
Cardboard Box Playhouse
Here is why this simple craft fits your needs. A box is cheap, easy to handle, and safe for toddlers. It gives your child a big space to imagine. That makes it a smart upcycling choice.
– Choose a sturdy box that is roomy enough for your child to sit inside.
– With your help, cut a door and a window where your child wants them. Keep edges smooth and safe.
– Decorate the outside with non-toxic paints or markers. Use bright colors and friendly shapes.
– Add inside touches such as a small pillow, a blanket, or a curtain. A pretend mailbox or toy phone can spark scenes.
Let kids drive the play. They can turn the box into a cozy home, a rocket, or a castle. The project builds teamwork and shows how upcycling saves junk from waste.
– Theme playdate idea: invite friends for a costume parade. The box becomes a stage for pretend adventures.
Next steps: keep the space tidy and safe. Use kid-friendly supplies, supervise scissors, and take short breaks if hands tire. Your toddler gains a cozy play nook, and you gain a reusable, low-cost toy.
18. Handprint Art

If you want a craft that captures your toddler’s growing hand and gives you a keepsake, handprint art fits. It stays safe, is easy, and feels personal.
What you need:
– Non-toxic, washable paint
– Thick paper or cardstock
– A shallow tray for paint
– Wipes or a damp cloth
– A marker or pencil for labels
Set up and safety:
– Protect the area with a simple mat.
– Check paints are labeled safe for kids.
– Talk through the steps so your child stays calm.
Make the prints:
– Put a small dab of paint on the tray.
– Let your child press their hand onto the paper, then lift straight up.
– If you want two prints, use a new color for the second hand.
Turn it into art:
– Add simple features to become an animal, like eyes and a smile.
– Draw a trunk at the bottom to make a tree, with leaves on top.
– Create flowers by adding petals around the fingertips.
Preserve:
– Let the art dry completely.
– On the back, write your child’s name and the date.
– Place the piece in a memory book or frame.
This keepsake grows with them and is easy to store.
Memory-Making Tip: Date and label each masterpiece for a memory book as they grow!
@media(max-width:480px){
19. Bubble Wrap Stamping
You want a quick, safe art idea for your toddler. Bubble wrap stamping fits that need. It adds texture, color, and a moment of discovery.
– Materials you need: bubble wrap, non-toxic paint, paper, and a tray.
– Towels help clean up.
– A small brush can help spread paint.
How to do it:
– Dip the flat side of the bubble wrap into paint to coat the bumps.
– Press the painted bubble wrap onto paper to make a print.
– Lift straight up to reveal the textured pattern.
– Repeat with different colors or sizes for a lively design.
The benefits are clear. Your child hears soft pops as bubbles crackle and sees the print appear. This activity builds sensory awareness and fine motor skills. It also teaches color mixing as you layer hues.
Try variations to keep it fresh. Use small bubbles for tiny prints and big ones for bold shapes. Stamp on fabric scraps for simple fabric art. Lay down a sheet of paper to catch spills.
Tips: keep paints thin so prints stay crisp. Let each layer dry before adding more. Clean up with warm water and soap, then store the stamps flat for next time.
Then hang the finished prints to admire.
@media(max-width:480px){
@media (max-width: 600px) {
.normal-quiz-iframe { min-height: 570px !important; height: 570px !important; }
}
20. Felt Storyboards

You want a simple, safe craft that keeps play calm and creative. A felt storyboard does just that. With a few colors and soft pieces, you invite your toddler to tell stories.
Here is why this works. It sparks talking as little voices describe what’s happening. It builds focus when they move shapes from scene to scene. And it stays tidy, so you can end a session without a big cleanup.
What you need
1) Grab colored felt sheets.
2) Get a large felt board or a sturdy mat you can pin shapes to.
3) Use blunt scissors for adult cuts of simple shapes.
4) Add Velcro dots or low-tack fasteners to let pieces stick and release easily.
5) Keep a small box or bag for the pieces you cut or collect.
Set up in minutes
Place the felt board where your child can reach it. Cover the board with a simple background like blue for sky or green for grass. Cut a few basic shapes: a sun, tree, person, animal. Attach Velcro to the backs of shapes and to the board. Let your child place the pieces and start a story.
Play ideas
Encourage your child to describe what’s happening as pieces move. Ask simple questions like, “Where is the puppy going?” and “What comes next?” Swap in favorites from books or cartoons. Change a scene to end a story on a new note. Use the shapes to practice colors and simple actions.
Care and storage
Wipe pieces gently with a dry cloth. Store pieces in a labeled box so you can pull them out quickly for the next session.
Next steps Try a tiny scene today. Watch your toddler build its own tiny world and stories.
21. DIY Kaleidoscopes
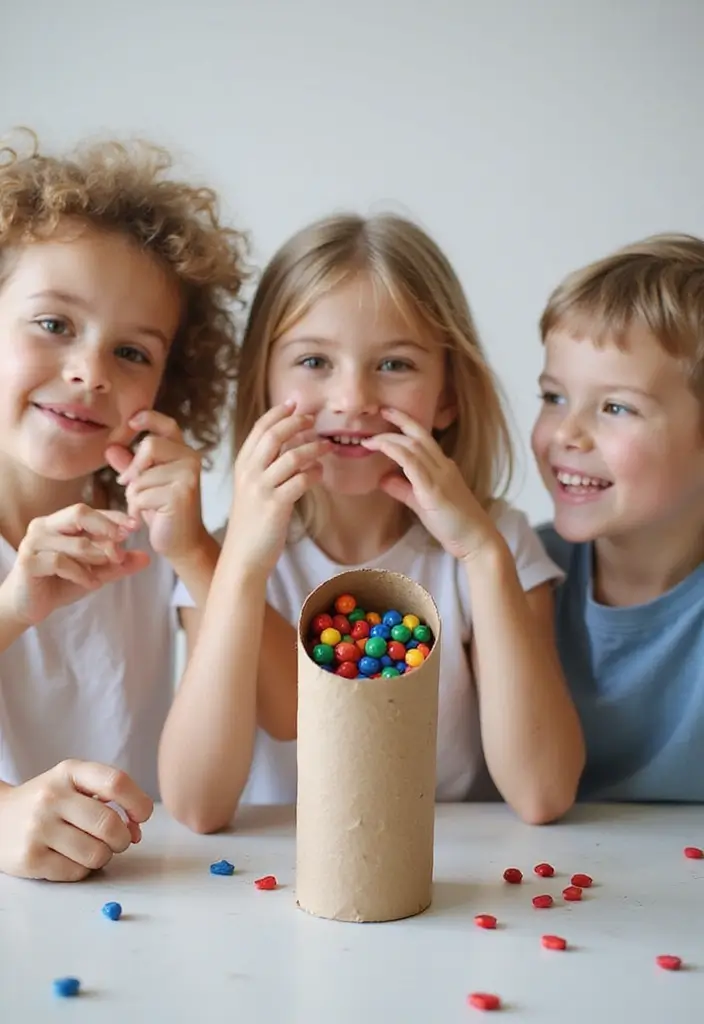
We know you want a craft that is safe, simple, and engaging for toddlers. A DIY kaleidoscope fits. It sparks curiosity about light and color and keeps small hands busy. You’ll show your child how beads can create changing patterns.
– Materials you’ll need: a sturdy cardboard tube, a clear end cap or plastic disk, reflective foil or mirrored craft film, bright beads, tape, scissors, and kid-safe glue.
– How to build:
1) Let your child drop a few beads into the tube. Keep the number small so they can see each piece.
2) Place reflective material at the end and seal it with tape or glue.
3) Cover the other end with the cap or a folded paper disk.
4) Look through the tube and rotate slowly to watch the colors dance.
– Why this helps: Here is why this helps: it teaches light and color. It is safe, sensory, and easy to reset.
– Exploration idea: compare foil versus mirror film. Notice how each makes patterns look different. Mix bead shapes and sizes to find new designs.
– Next steps: clean up together, store the pieces neatly, and display your kaleidoscope views.
@media(max-width:480px){
22. DIY Tie-Dye T-Shirts
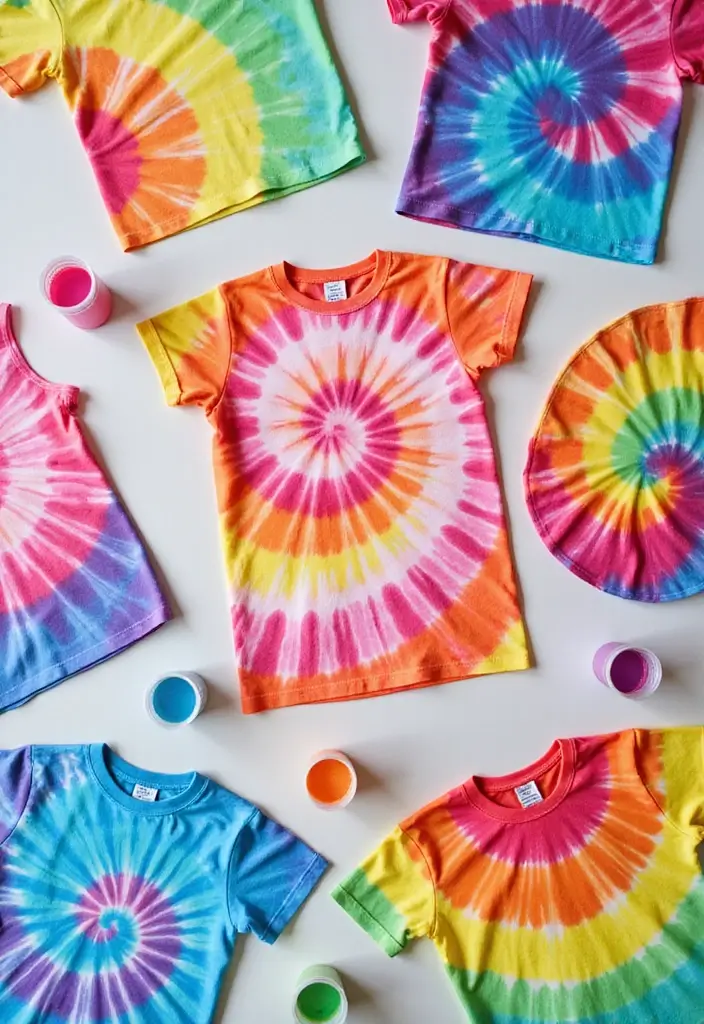
You want a quick, safe way to brighten your toddler’s wardrobe. Tie-dye is perfect. It turns plain white shirts into wearable art your child can be proud of.
Here is why it works. Simple folds and bright colors make a big impact with clean, controllable mess.
Materials
– white cotton shirts
– kid-friendly fabric dye or a tie-dye kit
– rubber bands or string
– gloves and a smock
– a plastic cover or old tablecloth
– cups or squeeze bottles
– water
How to do it
Here is how to do it.
1. Wet the shirt so colors coat evenly.
2. Twist or fold the fabric, then tie with bands.
3. Apply dye to the exposed areas.
4. Wrap the shirt and let it set for 6 to 8 hours.
5. Rinse with cold water until clear, then wash separately.
Tips for cool looks
– Pick two colors per shirt.
– Try a spiral, bullseye, or stripes.
– Use squeeze bottles for neat spots.
– Let kids choose colors and patterns.
Care and safety
Rinse well and wash with cold water. Dry in a shaded spot. Supervise to avoid stains on skin and clothes.
Next steps
Repeat with friends or siblings for a small batch of bright shirts.
@media(max-width:480px){
23. DIY Puppets from Socks

DIY Puppets from Socks
If you want a quick craft that sparks imagination and uses items you already have, give sock puppets a try.
What you need
– clean socks
– buttons for eyes
– yarn for hair
– fabric scraps or felt for clothes
– kid-safe glue
– scissors or a needle and thread (optional for older kids)
– optional markers for extra details
How to make it
– Let your child choose a sock and name a character.
– Help them glue on eyes and add yarn hair.
– Add clothes with fabric scraps or felt. Draw features with a marker if you like.
– Let the puppet dry before playing. Keep sessions short for tiny hands.
– If you sew, use simple stitches and supervise closely. For toddlers, glue-only works best.
Play ideas
– Put on a short puppet show to tell a tiny story.
– Use puppets for pretend play at snack time or bedtime. It boosts hand skills and speaking confidence.
Here is why it helps
– It strengthens fingers and improves grip.
– It builds attention and patience.
– It invites kids to talk, narrate, and share ideas.
Next steps
– Create a small stage at home with a makeshift curtain and a few props for longer play sessions.
@media(max-width:480px){
24. Nature Bracelets
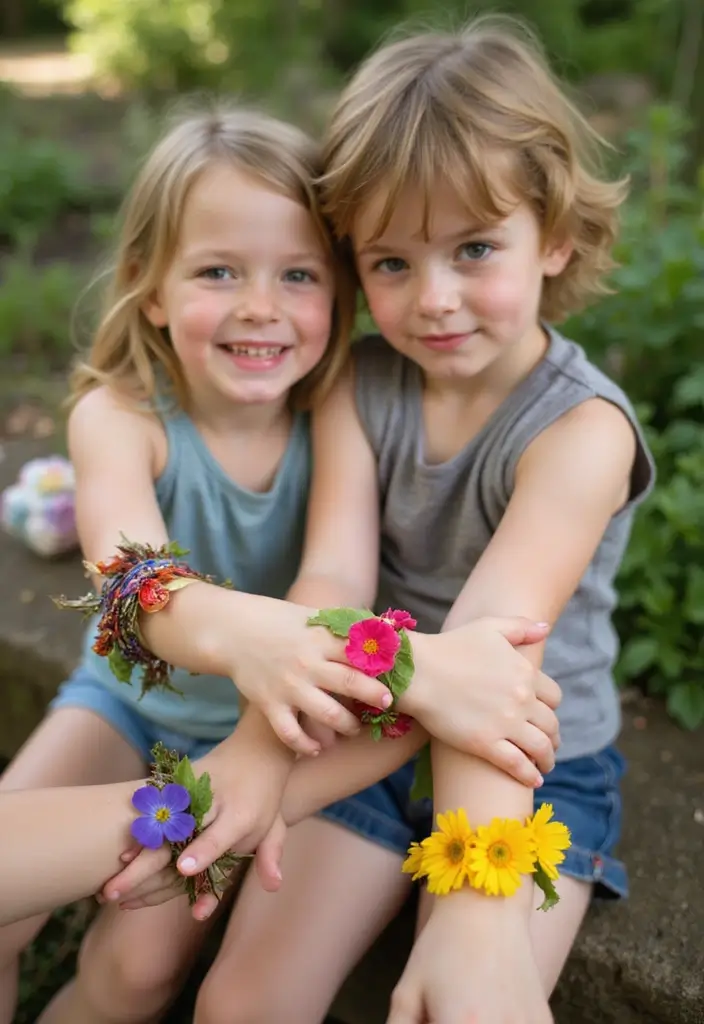
Need a simple craft you can do on a nature walk with a toddler? A nature bracelet is perfect. It lets them collect tiny treasures. They wear a memory from today outside. It is easy to follow. It is safe for little hands.
What you need
– Tape, about 6–8 inches long
– Small nature finds: leaves, petals, seeds, bark bits
– Optional: a marker to write a name on the bracelet
Steps
1) Cut the tape and form a loop with the sticky side facing out.
2) Wrap the loop around the wrist so the sticky side is outward.
3) Let your child press treasures onto the tape, one by one.
4) Press the ends to seal, slip the bracelet off carefully, and wear it.
Safety and care
Choose dry, clean items and avoid sharp edges. Check for skin irritation and remove if redness appears. Keep tape away from lips and eyes.
Nature talk prompts
Name each treasure. Where might it grow? Which plant provided it today?
Next time you head outside, try a new find and make another bracelet.
@media(max-width:480px){
25. DIY Candle Making

Here is why this craft fits toddlers. It is simple, safe with supervision, and very satisfying to finish.
– Beeswax sheets set: Your child rolls sheets into small candle shapes. The wax warms in the hands as they shape it. Put the finished pieces on parchment and let them set.
– Melted crayons version: Break crayons into pieces and melt them in a heat safe container with adult help. The colors swirl as they melt. Pour into small silicone molds and wait for solid.
– Why it helps: This teaches patience as you wait for the pockets to harden. It also shows how heat makes wax change from liquid to solid.
– Gift idea: Make a few mini candles and wrap them with tissue for family gifts.
– Safety and setup: Work at a kid friendly height with a clear space. Keep hot tools away from little hands and have an adult handle the heat.
– Next steps: Gather beeswax sheets or crayons, molds, parchment, and a safe heat source. Pick a color plan and make a small batch together.
– Quick tips: Pre-cut supplies to speed up the session. Let the pieces cool on a flat surface in a cool room.
– Final thought: With practice, your toddler grows confident in creating simple crafts they can call their own.
– Bonus: Kids smile when they finish.
26. DIY Flower Crowns
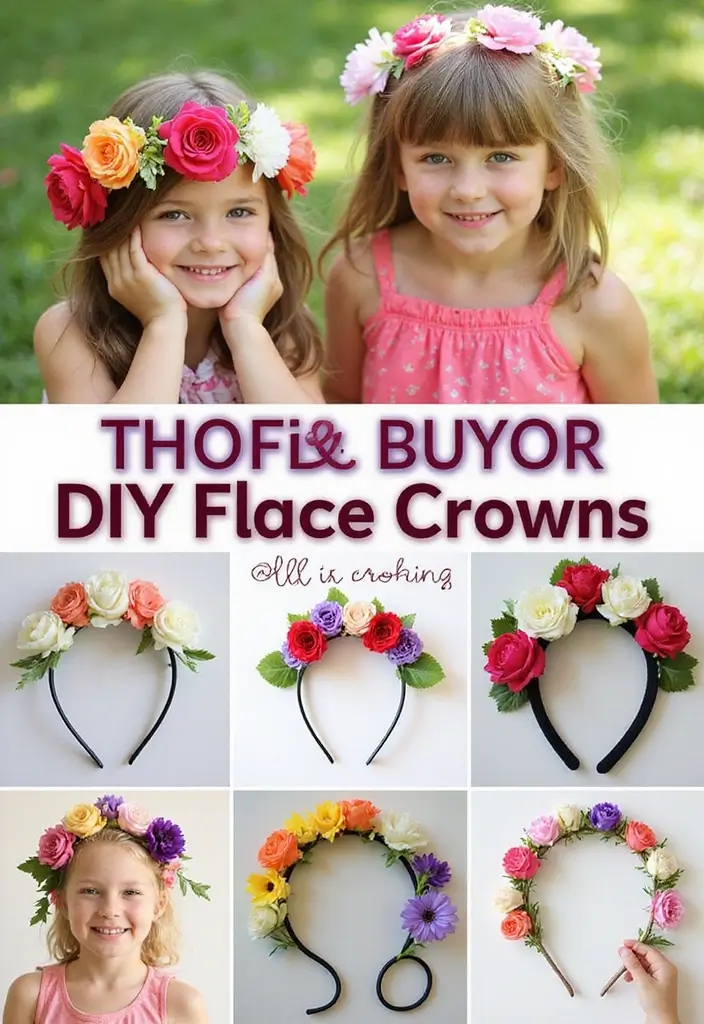
– Why you’ll love this DIY for toddlers It turns simple flowers into wearable art. You can use faux flowers for ease or fresh ones for a real look. Either way, your child gets a proud, creative moment.
– What you’ll need A soft headband or flexible wire base. Fresh or faux blooms. Floral tape or kid-safe glue. Scissors and a ribbon for ties. A small vase to hold real stems before you begin.
– Here is how to do it Cut stems and trim leaves. Leave a short stem so you can tuck blooms into the base. Start at the center and work outward. Place each flower, then secure with tape or glue. Check the fit on your child and adjust as needed.
– Size and safety tips Choose a gentle base so it sits snug but not tight. Avoid sharp wires near the head. Use non-toxic glue. Let the crown dry before wearing.
– Care and storage Real flowers wilt, so make the crown soon before a party. If you use faux blooms, store flat in a box to keep petals from bending.
– Creative ideas Try bold colors or a pastel mix. Add ribbon ties at the back for easy sizing. Plan a garden party where kids wear crowns and play outside.
Conclusion

Crafting is a wonderful way to bond with your toddlers while nurturing their creativity and fine motor skills.
These 26 DIY crafts are not only safe and simple but also eco-friendly, making them perfect for little hands eager to create. From nature-inspired projects to imaginative playthings, there’s no shortage of ways to engage with your young ones. So gather your materials and get crafting—these moments will turn into cherished memories!
Note: We aim to provide accurate product links, but some may occasionally expire or become unavailable. If this happens, please search directly on Amazon for the product or a suitable alternative.
This post contains Amazon affiliate links, meaning I may earn a small commission if you purchase through my links, at no extra cost to you.
Related Topics
diy crafts for toddlers
toddler craft ideas
eco-friendly crafts
easy crafts for kids
safe DIY projects
fun crafts for preschoolers
nature crafts
sensory activities
recycled crafts
simple art projects
creative play
hands-on learning