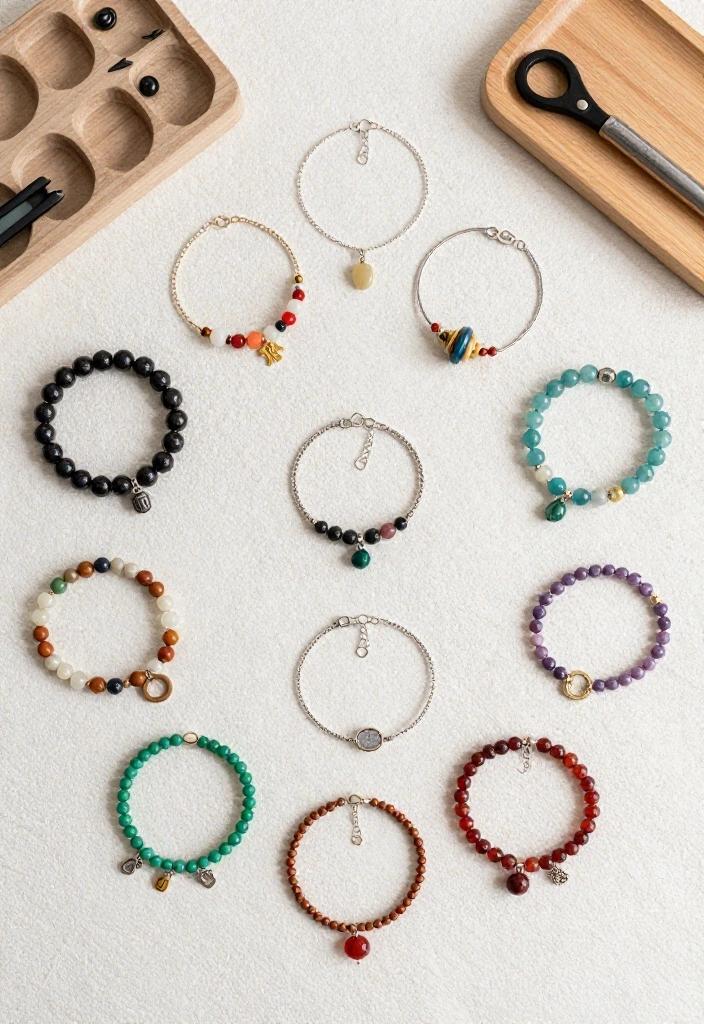
If you’ve been searching for a simple way to express your style, DIY anklet jewelry ideas are the perfect solution. The rise of minimalist and boho aesthetics has made anklets a must-have accessory this season. Whether you’re lounging on the beach, heading to a music festival, or just enjoying a sunny day out, a handmade anklet can add a personal touch to your outfit. This post is designed to spark your creativity and help you craft unique pieces that truly reflect who you are.
This guide is for anyone who loves to get hands-on and create something special. If you’re into DIY projects, jewelry making, or simply want to add a fashionable flair to your wardrobe, you’re in the right place. You don’t need to be an expert; these tutorials are perfect for beginners and seasoned crafters alike. I’ve compiled 16 stylish anklet designs that are not only chic and fun but also easy to make with materials you might already have at home.
Get ready to explore a variety of anklet styles, from simple beaded designs to intricate macrame patterns. You’ll find inspiration to create pieces that can complement any outfit, whether you’re going for a minimalistic look or embracing the boho vibe. So, grab your supplies and let’s dive into these DIY anklet jewelry ideas that will elevate your accessory game.
Key Takeaways
– Discover a range of DIY anklet jewelry ideas, focusing on both minimalistic and boho styles, perfect for any occasion.
– Learn how to craft anklets using various materials like beads, leather cords, and gemstones, making each piece uniquely yours.
– Find step-by-step tutorials that cater to all skill levels, ensuring you can easily create beautiful anklets at home.
– Get tips on selecting the right materials and tools for your anklet making projects, helping you achieve the desired look.
– Embrace your creativity with personalized designs, allowing you to express your individual style through handmade jewelry.
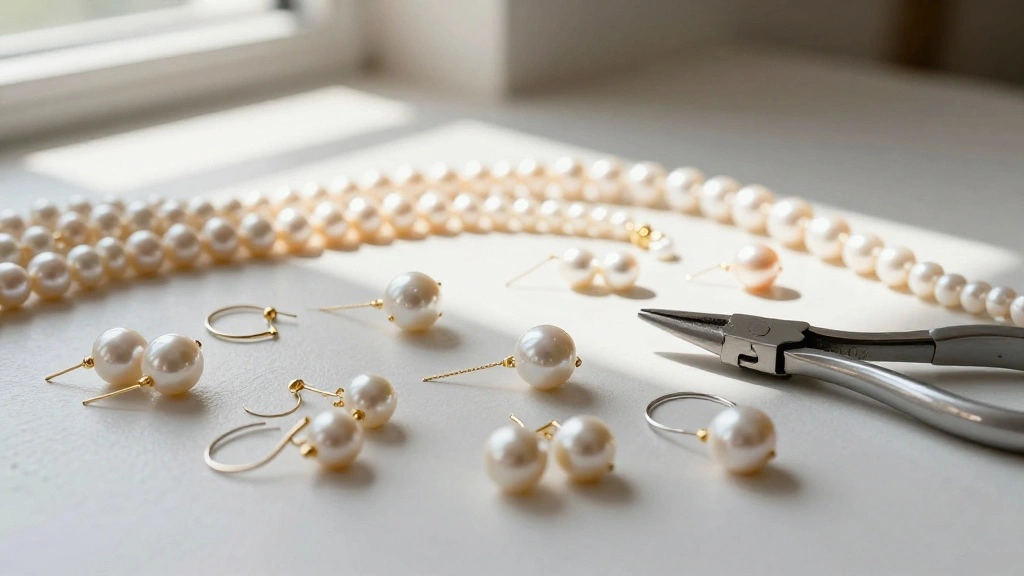
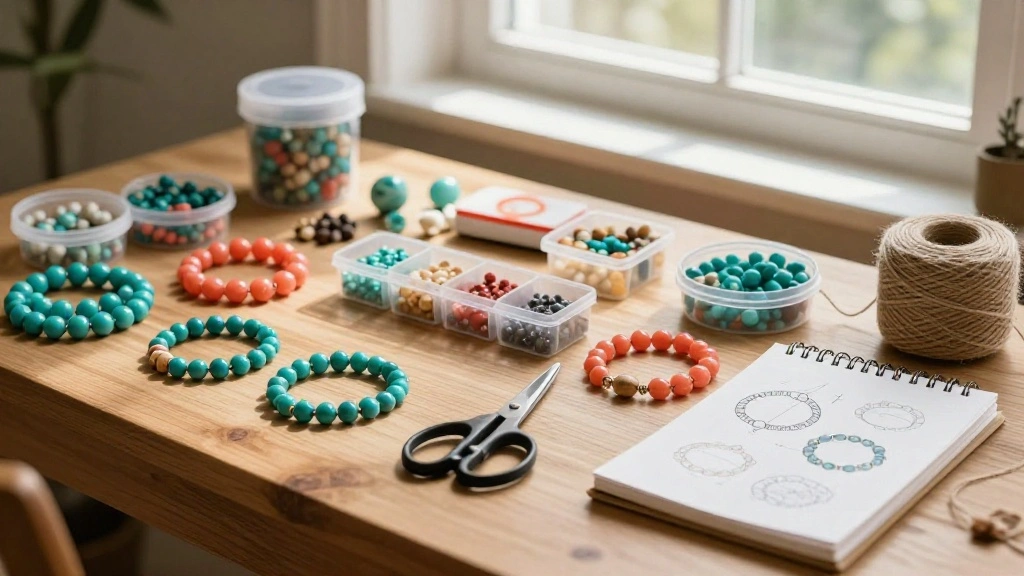
1. Simple Beaded Anklet
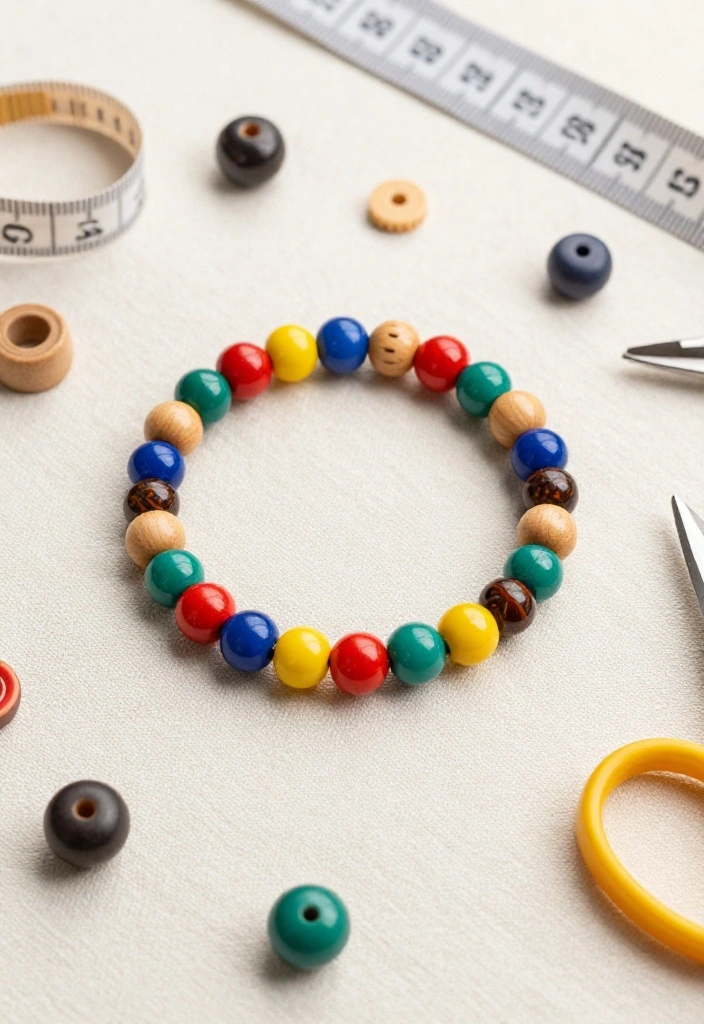
The simple beaded anklet is a timeless accessory that adds a touch of color and personality to your look. With a variety of bead colors and styles, you can create a piece that truly reflects your individual style. This anklet is incredibly versatile, making it a great addition to casual outfits or beachwear alike.
Outfit Pieces:
– Colorful beads (choose from glass, wood, or gemstones)
– Elastic cord (clear or colored)
– Scissors
– Measuring tape
Instructions:
1. Measure your ankle and cut the elastic cord, leaving an extra inch for tying.
2. Begin threading your chosen beads onto the cord in a colorful pattern.
3. Once all beads are threaded, tie a secure double knot and trim any excess cord.
4. Slip on your new beaded anklet and enjoy the compliments!
This anklet is lightweight and comfortable, making it perfect for everyday wear, and it can easily be adjusted to fit any ankle size.
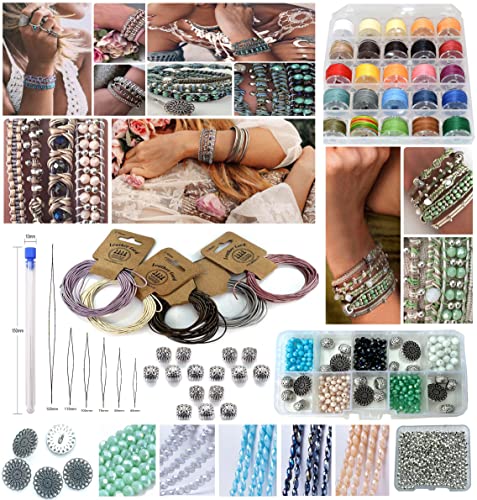
Recommended Products

EASY TO TIE KNOTS: The elastic thread for bracelets is very flexible and can be threaded through both small and large beads, and is suitable for beads of all materials. The bead string is very simple to tie a knot to secure your bracelets and easily hide the knot among the beads

1mm Elastic String: Comes with a roll of 20m/66ft rainbow elastic string with a diameter of 1mm. 1mm fits for most bead size and 20m length is enough for bracelets and necklace jewelry making and the roll is lightweight and portable that you can take it to school or gathering and bead with friends. And easily make craft DIY for various occasions.

WIDELY APPLICATIONS : Elastic string for bracelets , beading, DIY crafting, drawstring bags, bracelets, pony bead jewelry, hair ties and party hat straps.
2. Macrame Boho Anklet
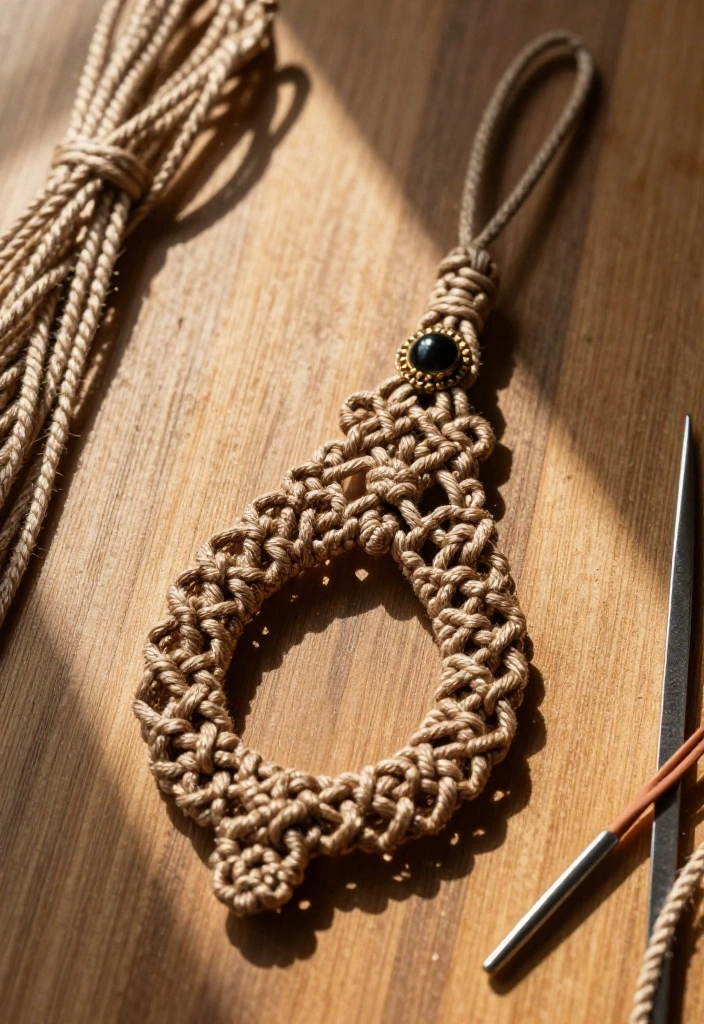
Embrace the bohemian trend with a macrame anklet that showcases your creative side. This design uses simple knots to create a stunning piece that exudes a free-spirited vibe. Choose earthy tones to reflect your natural style or opt for bright colors to make a bold statement.
Outfit Pieces:
– Cotton macrame cord (in colors of your choice)
– Scissors
– Tape or a clipboard for stability
– Optional: beads or charms to enhance your design
Instructions:
1. Cut three lengths of macrame cord, each about 24 inches long.
2. Tie them together at one end and secure with tape or clip them to a clipboard.
3. Start knotting using your favorite macrame technique, ensuring enough length for your ankle.
4. Once you reach the desired length, tie off the ends and add any beads if desired.
5. Trim any excess cord.
This anklet not only looks fabulous but also feels great against your skin, making it perfect for music festivals and casual outings!
Fun fact: A basic macrame anklet can be made with just 3 knots and still handle daily wear. In under 15 minutes you’ll have a chic, boho piece that screams diy anklet jewelry ideas—and you can tailor colors and charms to your vibe.
Recommended Products
Another wonderful set by Sabrikas with everything you need to enable you to make beautiful boho metallic leather Wrap crystal glass Beaded Bracelets. Choose any of the colours from the x25 colour cord set to make it your own unique bracelet. This kit would be perfect for teens to adults – a perfect hobby craft DIY set to either make for yourself or to give as a perfect gift. This has a very detailed step by step video tutorial to guide you through from start to finish.

【Beginner - Friendly - Easy DIY Craft Kits】Our macrame Keychain kits for adults beginners contain step by step instruction book + video tutorials which are easy to learn and perfect for those new to the art of macrame.You wont feel any difficultly to start this macrame DIY craft project

Macrame Wall Hanging Kit: Package contains a wooden stick(40cm), white cotton cord*100m/109 yards, wooden beads*5pcs, a crochet hook and other tools you will need.
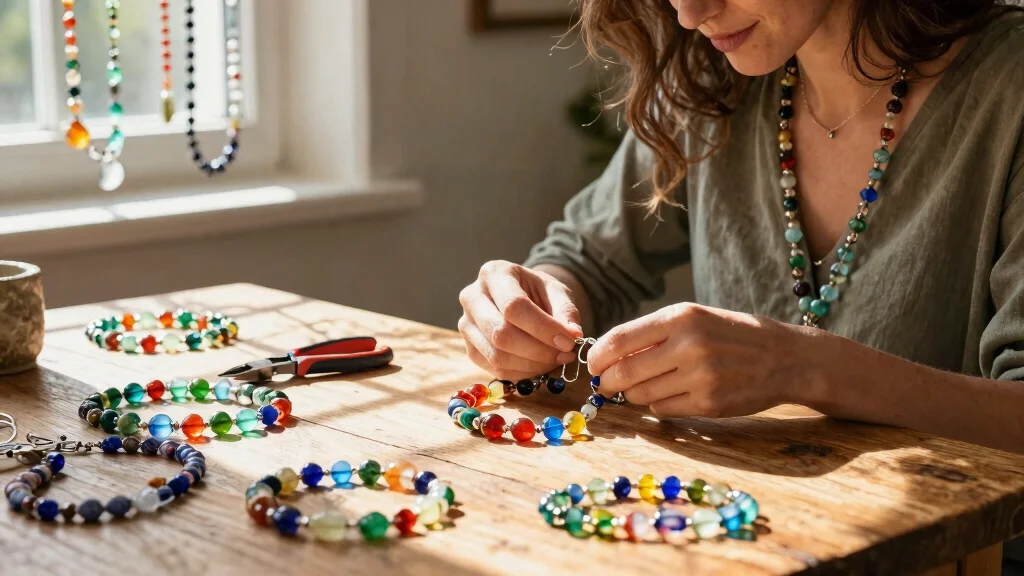
3. Shell & Bead Anklet
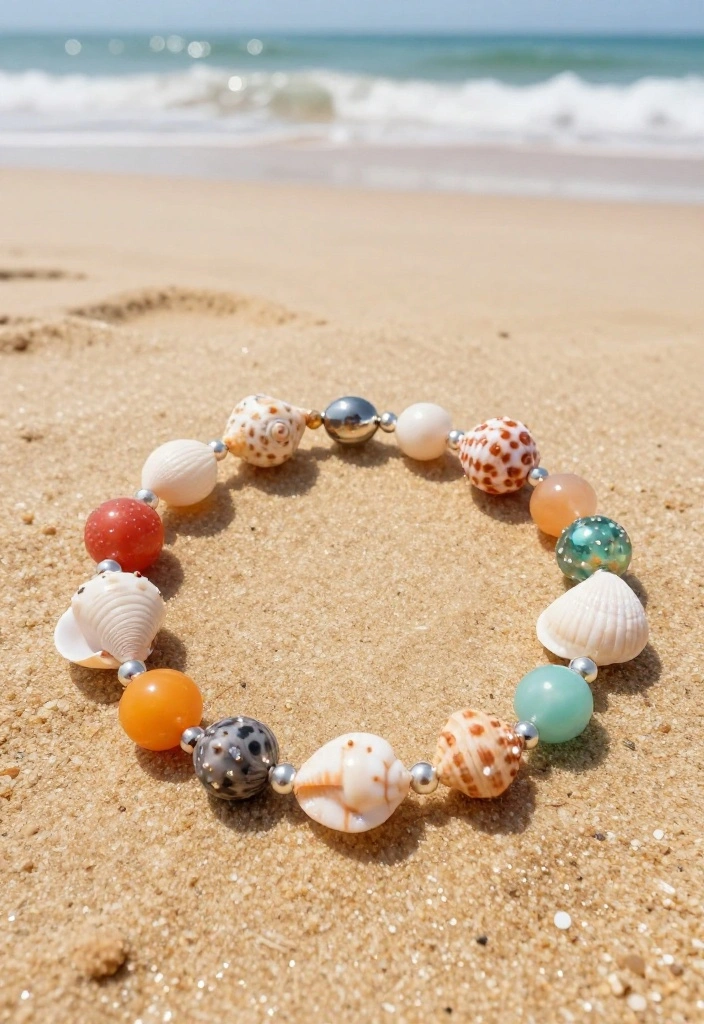
Bring a piece of summer with you all year round with a shell and bead anklet. This whimsical design combines natural elements with colorful beads, creating a fun accessory ideal for beach outings or tropical getaways. It’s a playful piece that captures the essence of carefree days by the sea.
Outfit Pieces:
– Small sea shells (look for a variety of shapes)
– Optional beads (choose colors that complement the shells)
– Elastic string or nylon thread
– Scissors
Instructions:
1. Cut your elastic string or nylon thread to the desired length, adding extra for tying.
2. Alternate stringing shells and beads until you fill the length.
3. Tie a secure knot, ensuring it holds all the shells in place.
4. Trim any excess string.
This anklet is a fantastic conversation starter and serves as a delightful reminder of summer vibes wherever you go!
Recommended Products
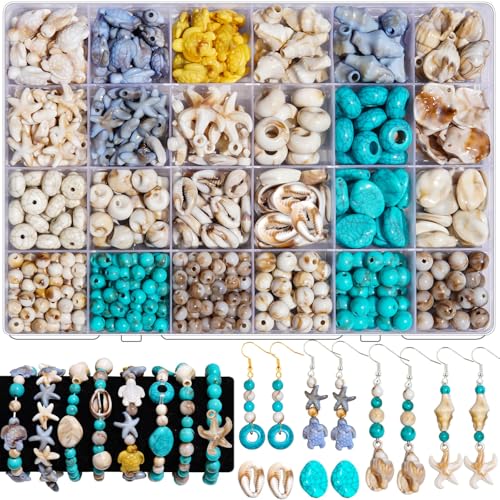
【Enchanting Ocean Bead Set for Summer Creations】 Dive into the serenity of the sea with our Ocean-Themed Bead Kit, featuring 600+ beads in 14 captivating styles like turtle beads, sea shell charms, starfish beads, and smooth conch beads—all nestled in a 24-compartment clear plastic box. These beachy beads shine in turquoise beads, pearly whites, and oceanic blues, perfect for crafting sea shells for necklaces, bracelets, or shell beads for jewelry making.

🌊 【Stunning Ocean-Themed Bead Set】 Dive into creativity with our Summer Ocean Bead Kit! Featuring 24 unique styles—including lifelike seashells, starfish, scallops, and space beads—these 550 beads come in elegant cream and taupe tones for timeless bohemian charm. Perfect for crafting beachy earrings, bracelets, necklaces, and keychains, they instantly evoke a breezy coastal vibe.

【Stunning Ocean-Themed Bead Set】 You will receive a 28-grid ocean bead set, containing 680+ beads in total. Each compartment features lifelike seashell beads for jewelry making, including starfish, scallops, and delicate ocean charms. The elegant cream and taupe tones exude timeless bohemian charm, perfect for crafting necklace designs, bracelet accents, or beach-themed accessories. These refined beads instantly elevate your DIY projects with coastal sophistication.
4. Leather Cord Anklet
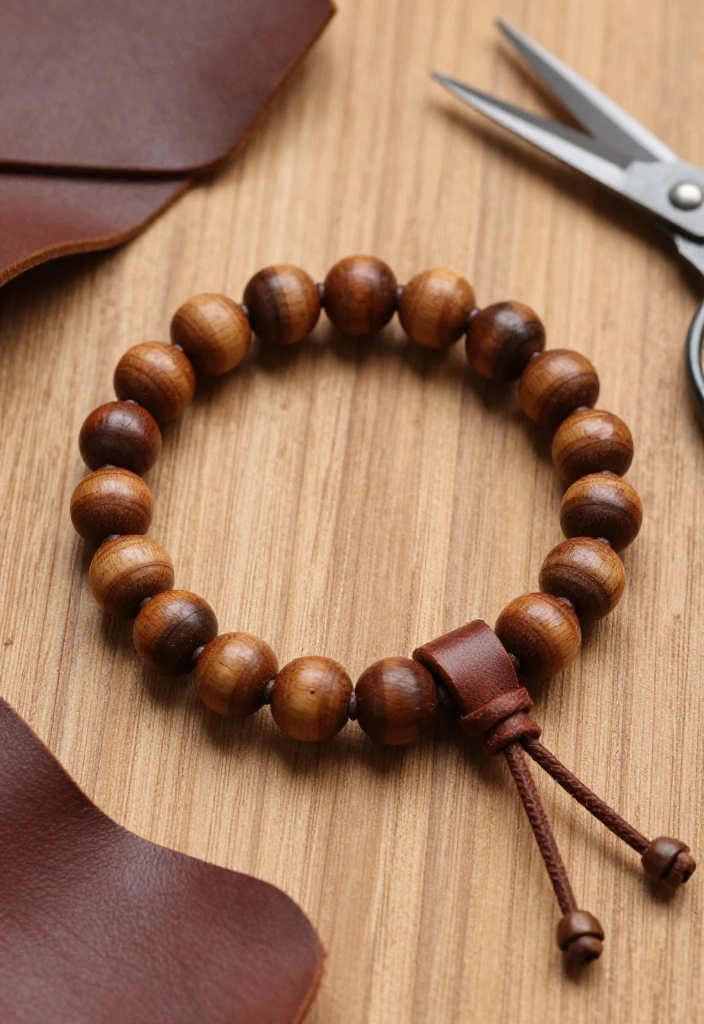
For a rugged yet stylish look, consider a leather cord anklet. This design balances durability with aesthetic appeal, making it an excellent choice for outdoor adventures or casual outings. You can personalize it with beads or charms that resonate with your individual style.
Outfit Pieces:
– Leather cord (about one yard long)
– Optional beads or charms
– Scissors
– Clasp (for a polished finish)
Instructions:
1. Cut the leather cord to your desired length, factoring in overlap for tying.
2. If using beads, string them onto the cord as you go.
3. Tie the ends securely, ensuring it fits comfortably around your ankle.
4. Attach a clasp for a more refined look.
This anklet is sturdy and adds an adventurous edge to any outfit, making it suitable for casual wear or outdoor activities.
Fun fact: Leather cord anklets, when layered with beads, stay rugged and comfy. Lasting 3x longer outdoors than delicate threading makes them ideal for DIY anklet jewelry ideas and weekend adventures.
🎨 Transform Your Space Creatively
Unlock your inner designer with this detailed DIY guide for stunning home makeovers and projects.
5. Colorful Thread Wrap Anklet
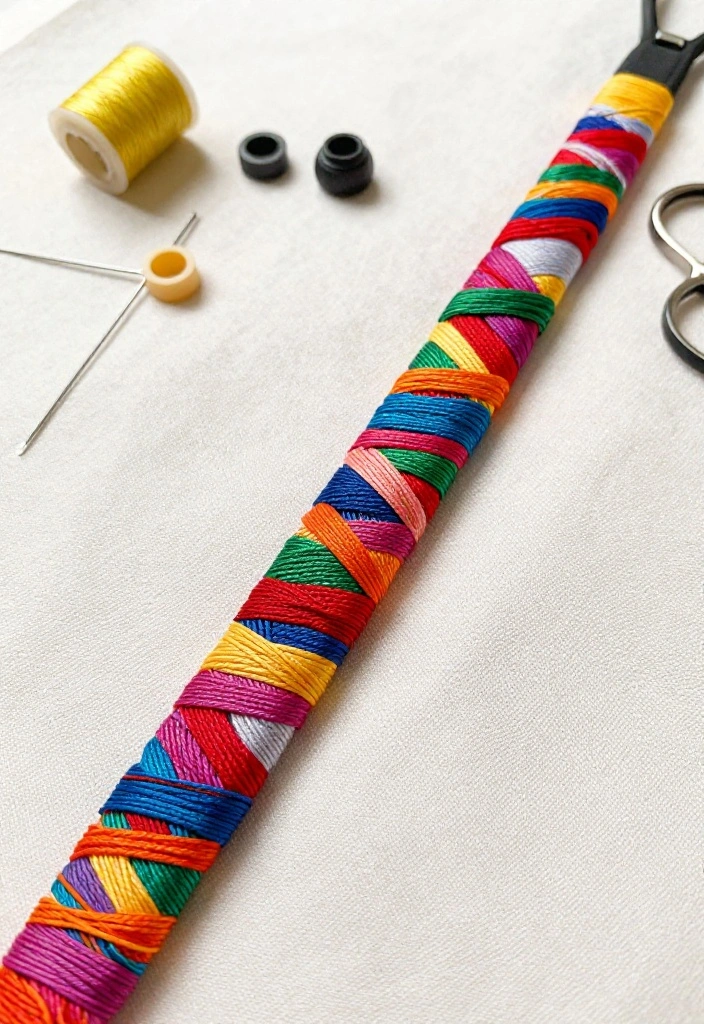
Express your creativity with a colorful thread wrap anklet that showcases your personality! This DIY project invites endless customization, allowing you to mix and match threads to create unique patterns. It’s perfect for layering with other anklets or wearing solo for a vibrant statement.
Outfit Pieces:
– Embroidery thread in a variety of colors
– Scissors
– Tape to secure your project
Instructions:
1. Cut several lengths of thread, each about 36 inches long.
2. Tie the threads together at one end and secure it with tape.
3. Begin wrapping the threads around the base until you reach your desired thickness.
4. Secure the end with a knot and trim any excess thread.
This anklet is playful and bright, making it a fun accessory for any casual outfit!
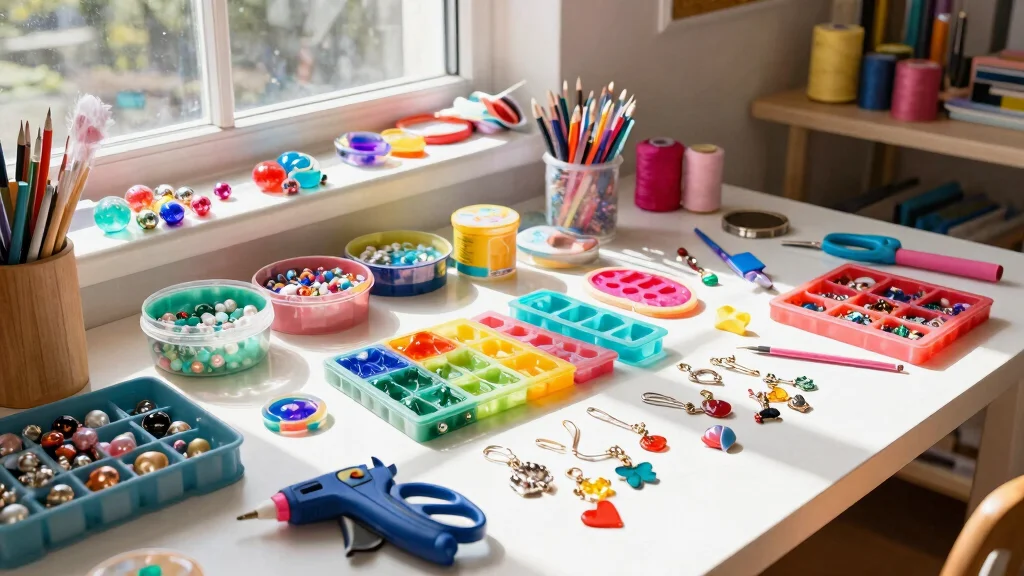
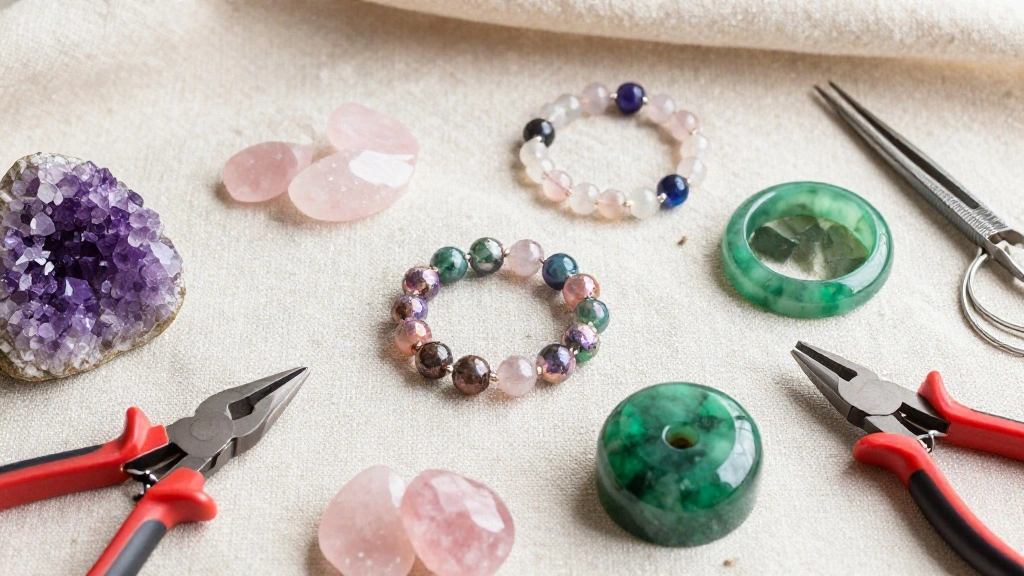
6. Gemstone Chip Anklet
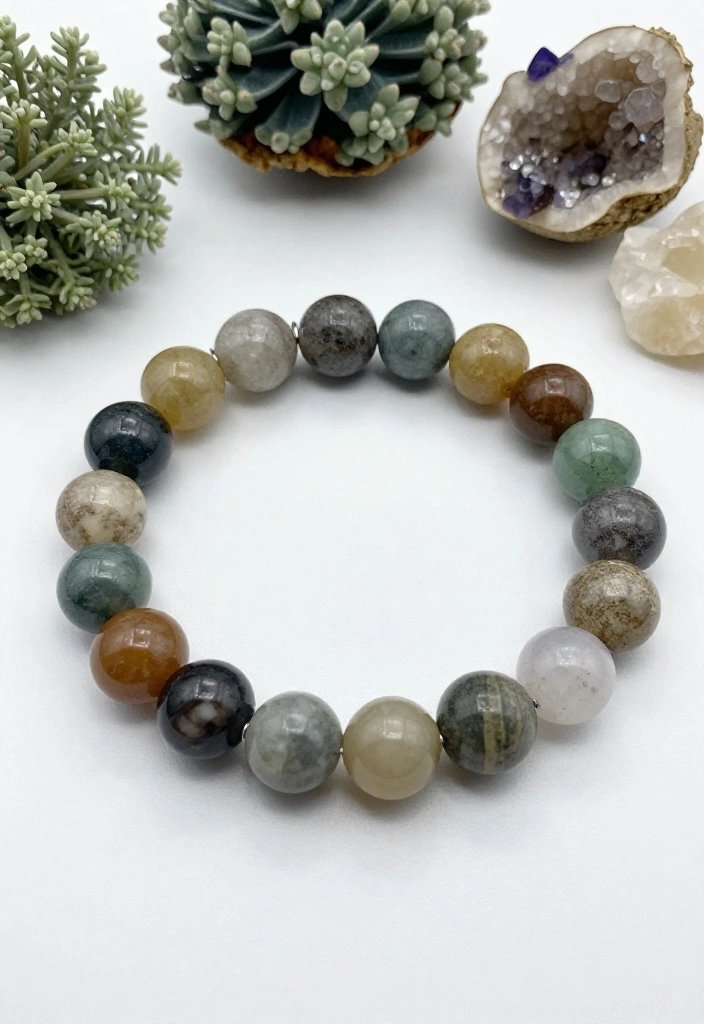
Add a touch of elegance to your accessory collection with a gemstone chip anklet. These stunning pieces not only look beautiful but are also believed to carry various healing properties. Choosing your favorite gemstones turns this anklet into a fashionable statement piece with personal significance.
Outfit Pieces:
– Gemstone chips of your choice
– Beading wire
– Crimp beads
– Wire cutters
Instructions:
1. Cut the beading wire to your desired length, leaving extra for crimping.
2. Start threading the gemstone chips onto the wire.
3. Use crimp beads to secure the ends, making sure all components are tight.
4. Trim any leftover wire.
This anklet adds a touch of luxury and is perfect for both casual and formal occasions.
7. Twisted Rope Anklet
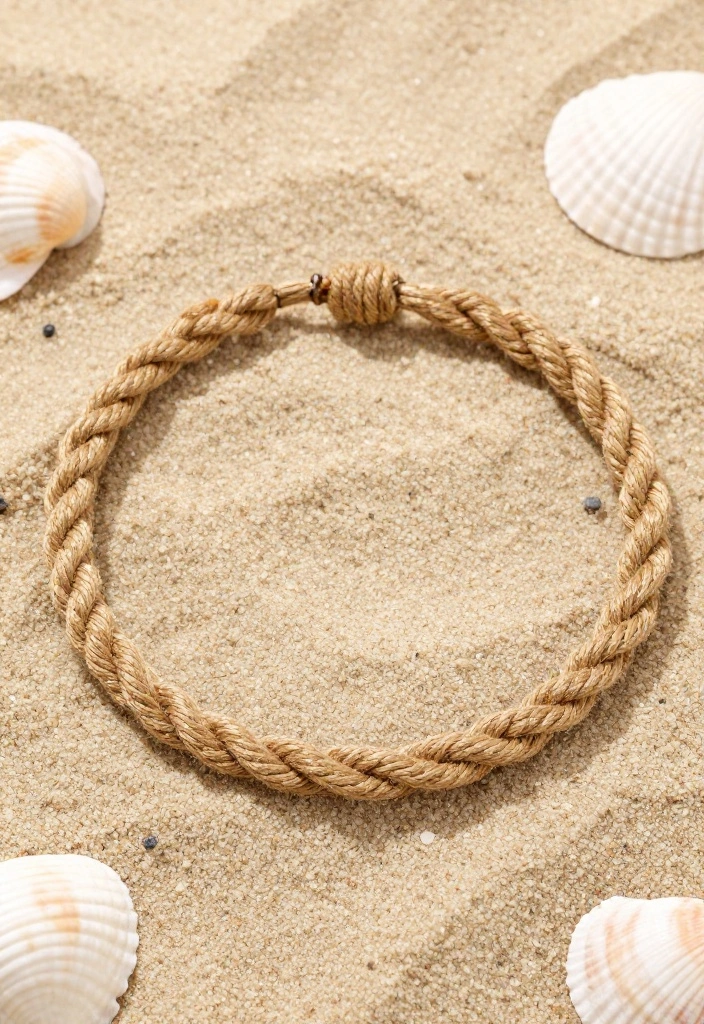
Introduce a nautical flair to your jewelry with a twisted rope anklet. Its braided design feels both chic and casual, making it a wonderful choice for summer outfits or beach days. This anklet is not only stylish but also easy to make, adding a fun touch to any ensemble.
Outfit Pieces:
– Cotton rope or twine
– Scissors
– Tape or a clip for stability
Instructions:
1. Cut three lengths of rope, approximately 18 inches long.
2. Tie them together at one end and secure.
3. Braid the lengths tightly, adding more rope as needed.
4. Tie off the end securely and trim any excess.
This anklet is fun and stylish, perfect for pairing with sandals or going barefoot!
Difficulty Rating & Requirements
Overall Difficulty Rating: Medium
Creating DIY anklet jewelry can be a rewarding experience, but it does require a bit of patience and effort. Many designs, like the macrame boho anklet or the minimalist chain anklet, will require you to have some basic crafting skills. If you’re new to DIY projects, don’t worry! This guide offers ideas suitable for various skill levels, ensuring even beginners can find something they love to create.
Time Estimate:
⏱ Estimated time: 2-4 hours
The time it takes to complete your anklet will vary based on the design you choose. Here’s a rough breakdown:
– Preparation: 30 minutes to gather materials and set up your workspace
– Design Execution: 1 to 2 hours, depending on the complexity of your chosen style
– Finishing Touches: 30 minutes for any final adjustments and clean-up
Skill Requirements:
– Required skills: Basic knotting, beading, and measuring techniques
– Beginner-friendly: Yes! Most patterns are simple enough for beginners to grasp with a little practice
– You can learn skills like knotting and beading as you go, but more advanced techniques, like intricate macrame patterns, may require prior experience.
Tools & Materials Needed:
🧰 Essential items checklist:
– Cord or string: Required for all anklet types (e.g., leather, hemp, or thread)
– Beads: Required for designs that incorporate beading
– Scissors: Required to cut your string or cord
– Measuring tape: Required to ensure a proper fit
– Clasp or closure: Optional for certain styles, especially chain anklets
– Glue: Optional for securing knots or adding beads
– Tassels or charms: Optional for adding personal flair to your design
– Macrame board: Optional, but useful for keeping your work organized and in place
Step-by-Step Overview:
1. Gather Your Materials (30 minutes): Gather all necessary tools and materials based on your chosen design. Make sure everything is ready before you start.
2. Measure and Cut (30 minutes): Measure your ankle to determine the length of the cord needed and cut accordingly. Always add a few extra inches to ensure a comfortable fit.
3. Start Designing (1 to 2 hours): Follow your chosen tutorial step-by-step. This may involve knotting, beading, or wrapping techniques. Take your time to ensure each step is done properly.
4. Finish Up (30 minutes): Once the anklet is complete, check for any loose ends or areas that need securing. This is also a good time to add any optional extras like charms or tassels.
Cost Comparison:
Professional vs DIY:
Hiring a professional jeweler can cost anywhere from $30 to $100 for a simple anklet, depending on materials and design. In contrast, making your own anklet can cost as little as $5 to $20, depending on the materials you choose. If you enjoy crafting or want a unique piece that reflects your personal style, DIY is a great option! If you’re unsure, consider starting with simpler designs to build your confidence before tackling more complex projects.
Recommended Products

【Beginner - Friendly - Easy DIY Craft Kits】Our macrame kits for adults beginners contain step by step instruction book + video tutorials which are easy to learn and perfect for those new to the art of macrame

Instructions: If you are a beginner do not worry, we have prepared instructions for you, so you can easily understand and complete the preparation of the keychain, enjoy the joy of DIY and relax. For an electronic version of the manual, please see the product image

Package Includes:You will receive 1 x Wooden Stick(30cm), 2 x 3mm Beige Cotton Thread (25m), 1 x 3mm Dark Gray Cotton Thread (30m), 6 x Wood Round Beads, 1 x Scissors, 1 x Wooden Comb, 1 x Tape measure, all DIY feather wall hanging accessories are placed in an storage box for easy storage and carrying. This kit is rich in accessories, enough to meet your DIY wall hanging needs.
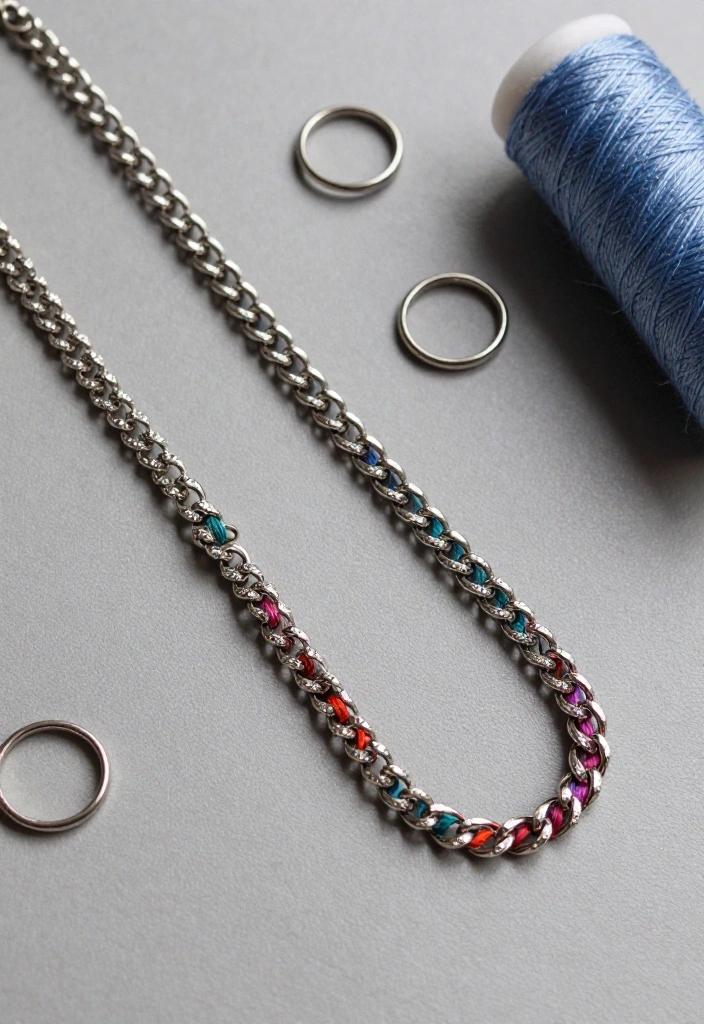
8. Minimalist Chain Anklet
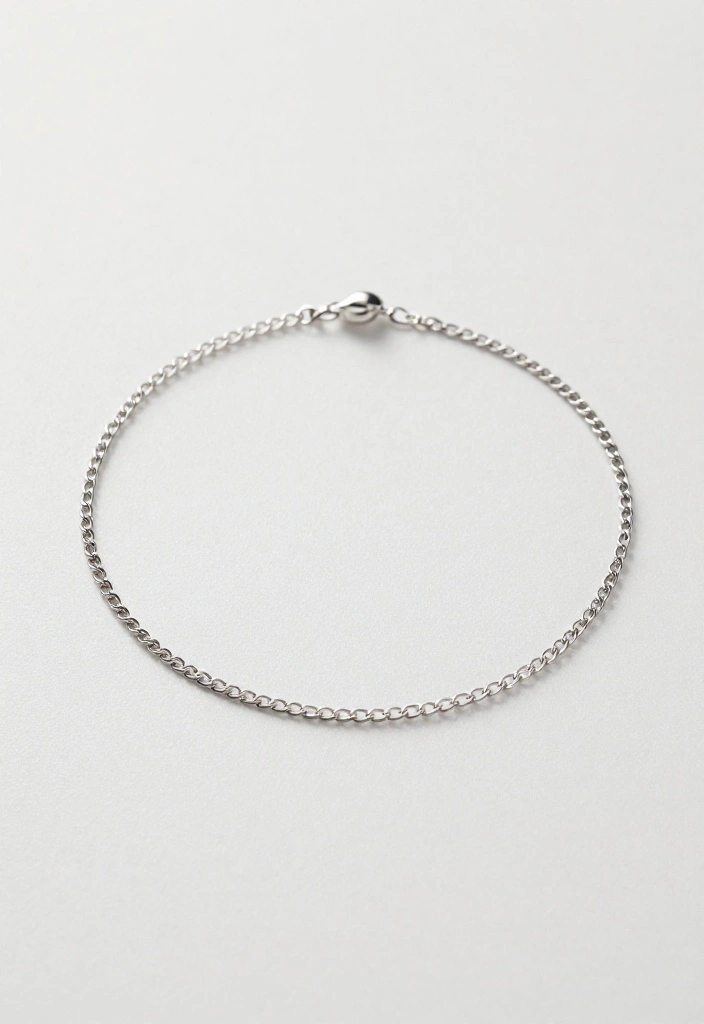
For those who love understated elegance, a minimalist chain anklet is the perfect fit. This simple design can be worn alone for a sleek look or layered with other anklets for added dimension. It’s a versatile piece that complements any outfit beautifully.
Outfit Pieces:
– Fine metal chain (in silver or gold)
– Lobster clasp
– Jump rings
– Scissors or wire cutters
Instructions:
1. Cut the chain to your desired length and add jump rings to each end.
2. Attach the lobster clasp to one end.
3. Ensure the clasp works smoothly and adjust as needed.
This anklet adds a hint of sparkle without overwhelming your look, making it a timeless accessory.
Recommended Products

Paperclip Chain Anklets for Women: Crafted with trending paper clip link design, this 6mm flat stainless steel anklet features seamless closures that glide under socks. Minimalist profile works year-round from office days to weekend adventures.

[Package Information]: You will receive 1 roll (16.4 feet/5 meters) of gold chain for jewelry making, which is decorated with dripping oil beadings, and comes with 10 pieces lobster clasps and 30 pieces jump rings. It is convenient to use these jewelry findings for your jewelry project crafting.

UNIQUE DESIGN: This sterling silver herringbone anklet is your perfect summer jewelry. Minimalist thin snake chain ankle bracelet- Perfect for layering with more anklets, sparkles in the sun, perfect fit for your ankle. This silver chain anklet will really bring you a lot of attention and praise!
9. Pom-Pom Anklet
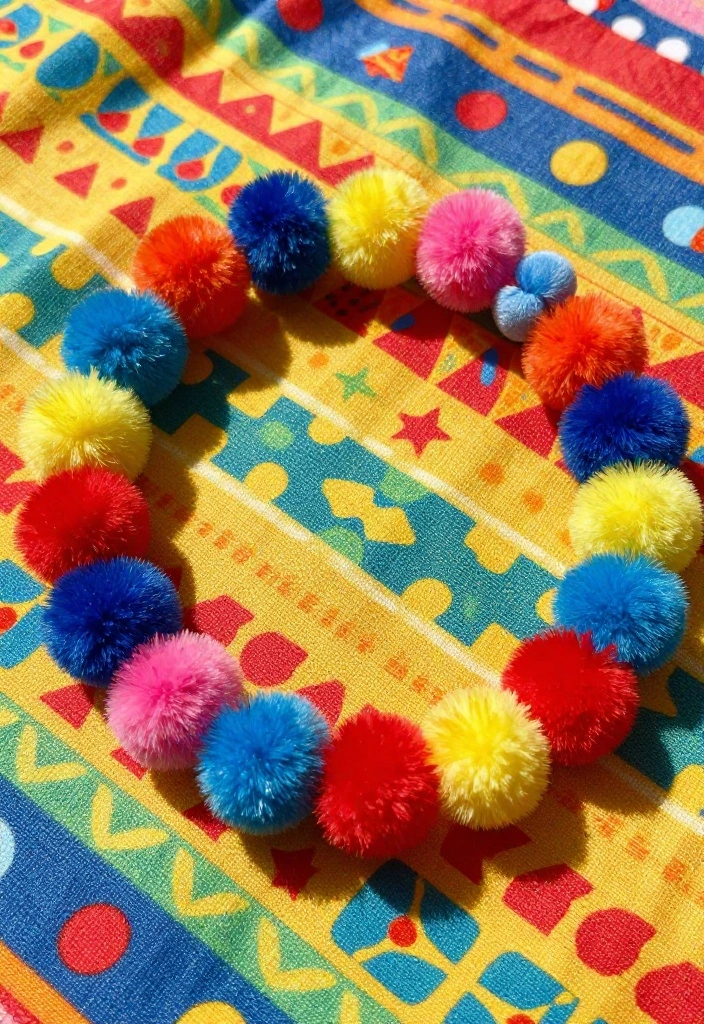
Brighten up your accessory collection with a playful pom-pom anklet! This fun design combines vibrant colors and textures, making it an ideal summer accessory. Its lively aesthetic is sure to elevate any outfit, from casual to festive.
Outfit Pieces:
– Small pom-poms in various colors
– String or elastic cord
– Scissors
Instructions:
1. Cut the string or elastic to fit your ankle.
2. Attach pom-poms at intervals along the string, securely tying them.
3. Tie the ends together to fit.
This anklet is whimsical and adds a splash of joy to your summer wardrobe!
10. Knotted Hemp Anklet
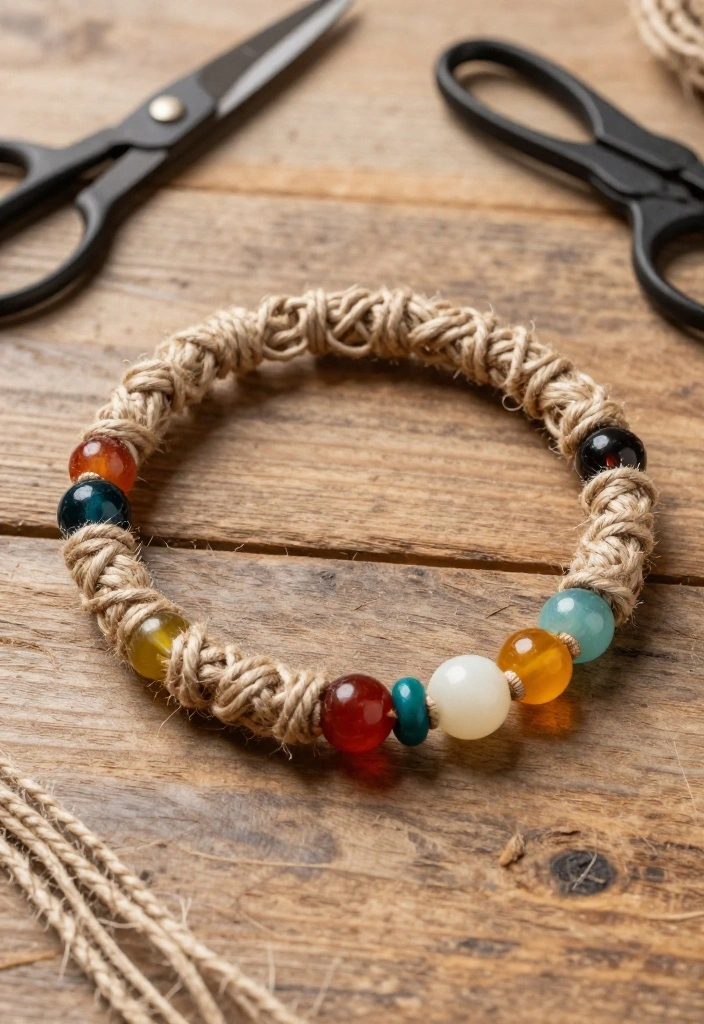
If you love earthy and natural styles, the knotted hemp anklet is a fantastic choice. This eco-friendly material creates a rustic look that pairs beautifully with casual outfits. It’s a simple project that highlights your love for nature and sustainability.
Outfit Pieces:
– Hemp cord (length of your choice)
– Optional beads
– Scissors
Instructions:
1. Cut a length of hemp cord to your desired size.
2. Use simple knots to create a braid, adding beads if desired.
3. Tie the ends securely for a comfortable fit.
This anklet is sturdy and looks great with shorts or sundresses, perfect for casual outings!
11. Floral Wire Anklet
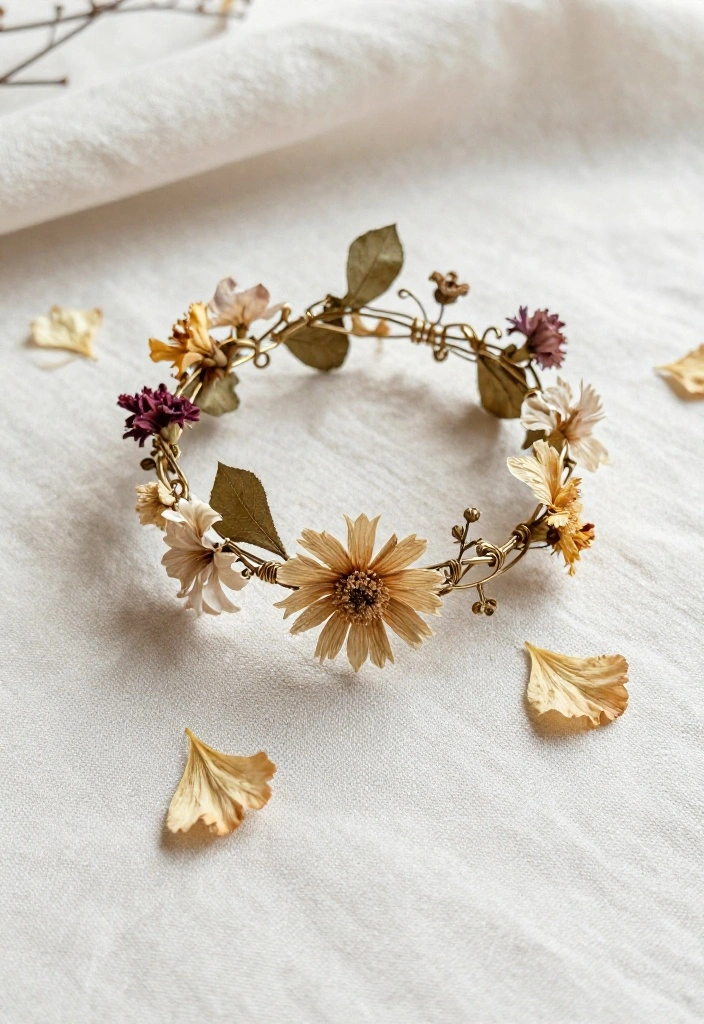
For a truly unique accessory, try crafting an anklet with floral wire! This creative design allows you to incorporate dried flowers or leaves, making each piece one-of-a-kind. It’s an excellent choice for those who appreciate nature’s beauty and want to express it through jewelry.
Outfit Pieces:
– Floral wire (length of your choice)
– Dried flowers or leaves
– Wire cutters
Instructions:
1. Cut the floral wire to your desired length.
2. Shape the wire around your ankle, creating loops.
3. Attach dried flowers or leaves by wrapping them into the wire.
4. Secure the end tightly.
This anklet adds a whimsical charm that is perfect for boho chic lovers!
Fun fact: floral wire anklets let you wear a tiny garden on your ankle—switch blooms with the season. With diy anklet jewelry ideas, you can customize length and choose dried flowers or leaves for a one-of-a-kind piece.
12. Vintage Button Anklet
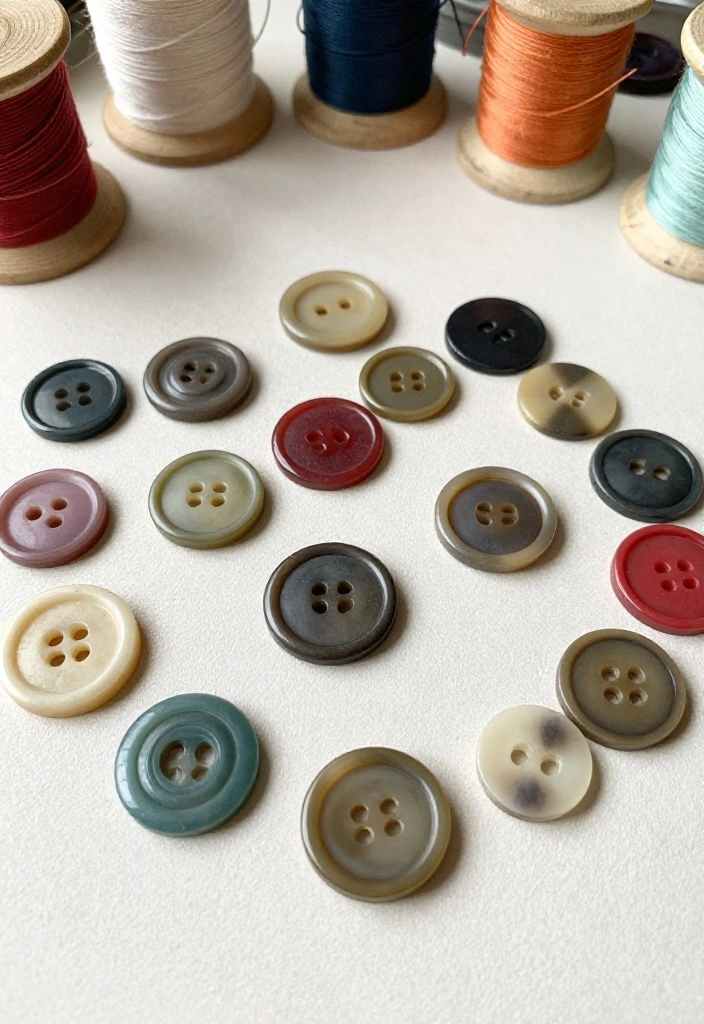
Breathe new life into vintage buttons with this charming anklet! This project is perfect for those who love to repurpose old items and create something personal. Each button tells a story, making this anklet a unique accessory that showcases your style.
Outfit Pieces:
– Assorted vintage buttons (variety in sizes and colors)
– Twine or string
– Scissors
Instructions:
1. Cut the twine or string to your desired length.
2. Thread the buttons onto the string, varying the arrangement as you like.
3. Tie the ends securely.
This anklet is nostalgic and adds a personal touch to any outfit, perfect for casual wear!
13. Chain and Thread Combo Anklet
Create a striking anklet by combining chain with colorful thread for a beautiful mix of textures. This design allows for plenty of creativity, making it a fantastic choice for those who love to express themselves through their accessories. It’s perfect for layering or wearing on its own.
Outfit Pieces:
– Metal chain (your preferred length)
– Colorful embroidery thread
– Scissors
– Jump rings
Instructions:
1. Cut the chain to your desired length, then cut double that length of thread.
2. Attach the thread to the chain using jump rings for a layered look.
3. Tie off the ends of the thread securely.
This anklet is trendy and modern, making it ideal for everyday wear!
14. Tassel Anklet
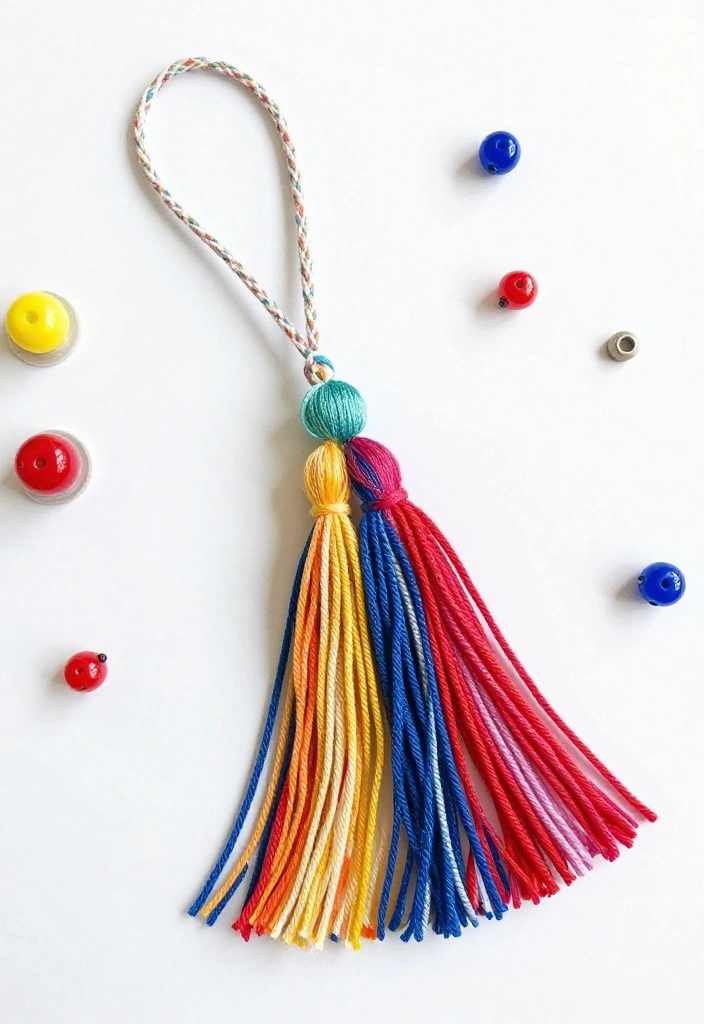
Bring some fun to your jewelry with a tassel anklet! This flirty design adds movement and playfulness, making it an ideal accessory for summer outings. The tassels can be complemented with beads to create a vibrant piece that elevates any look.
Outfit Pieces:
– Thread for creating tassels
– Elastic cord
– Scissors
Instructions:
1. Make small tassels by wrapping thread around a piece of cardboard.
2. Secure the tops and cut the end loops.
3. Attach the tassels to the elastic cord, alternating with beads if desired.
4. Tie the cord to fit your ankle.
This anklet is lively and perfect for beach days or music festivals!
15. Personalized Name Anklet
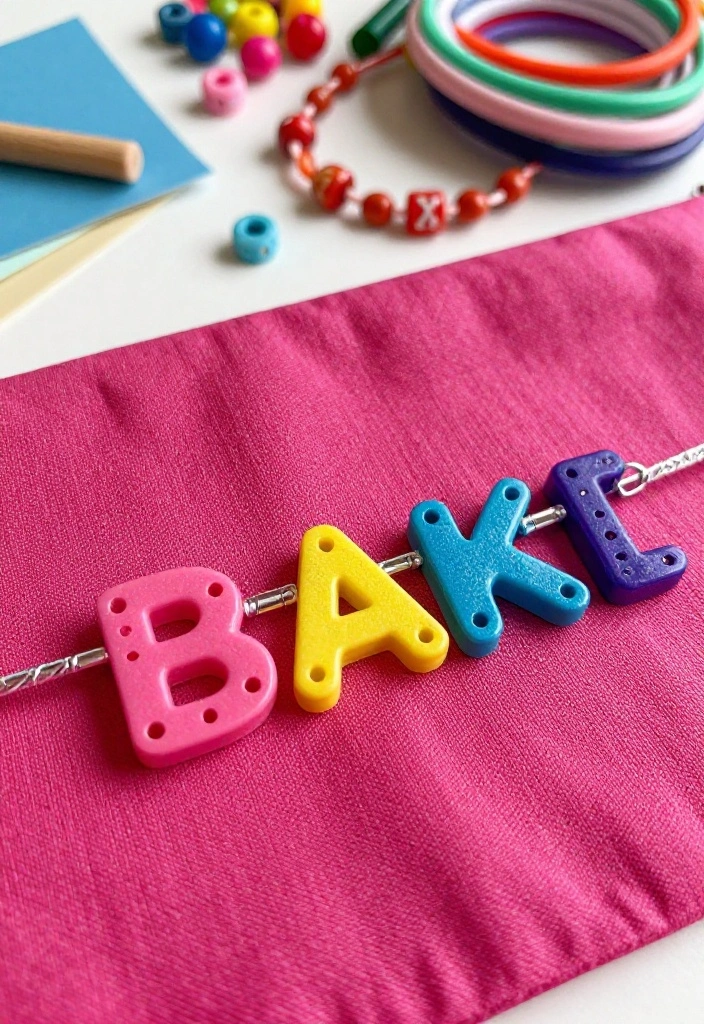
Showcase your individuality with a personalized name anklet! This trendy accessory can feature your name, initials, or a meaningful word, creating a personal touch in your jewelry collection. It’s a fun way to express who you are through your style.
Outfit Pieces:
– Letter beads (in your choice of colors)
– Elastic cord
– Scissors
Instructions:
1. Cut the elastic cord to your desired length, leaving extra for tying.
2. Thread the letter beads onto the cord to spell out your name or chosen word.
3. Once finished, tie a secure knot and trim any excess cord.
This anklet is a unique way to express yourself and makes a great gift for friends!
16. Mixed Media Anklet
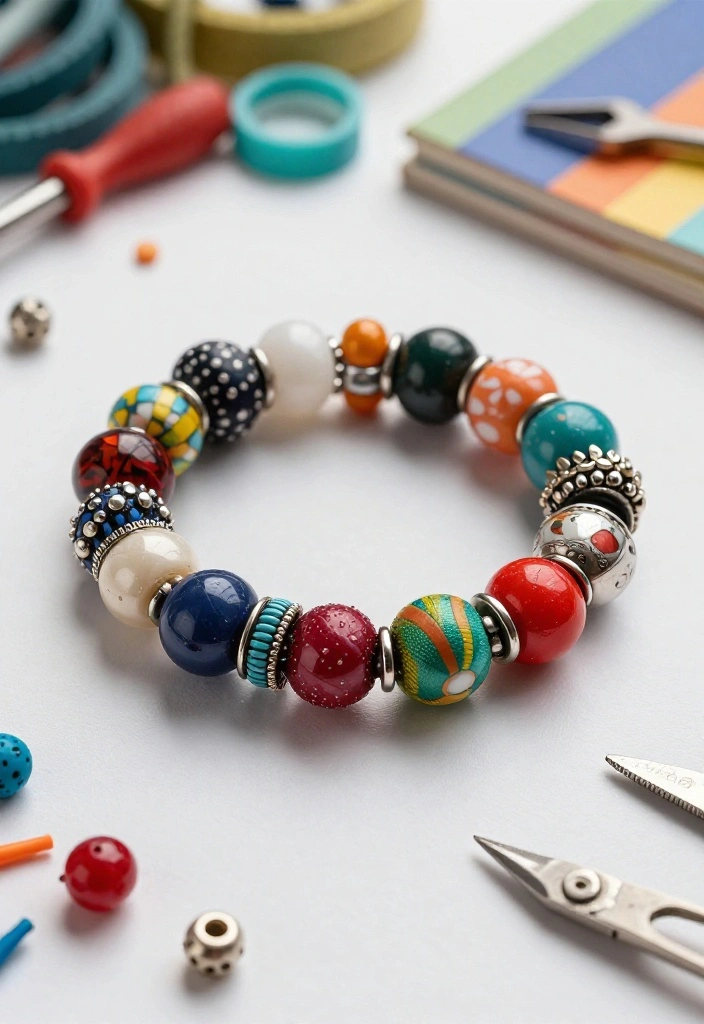
Unleash your creativity with a mixed media anklet that combines various materials and techniques. By incorporating elements like beads, fabric, and metal, you can craft an extraordinary piece that stands out. This anklet is a reflection of your unique style and can be tailored for any occasion.
Outfit Pieces:
– Assorted beads, fabric, and metal components
– Strong thread or wire
– Scissors
Instructions:
1. Cut your thread or wire to your desired length.
2. Mix and match your chosen materials, securing them onto the thread.
3. Tie off the ends for a secure fit.
This anklet allows for endless creativity and can be customized to match any outfit or occasion.
Conclusion
Crafting your own anklets not only allows for personal expression but also connects you to a larger community of creators. These 16 DIY anklet jewelry ideas hold endless possibilities, whether you’re aiming for a minimalistic touch or a bohemian vibe. Embrace the art of DIY and let your creativity shine!
Frequently Asked Questions
What are easy DIY anklet ideas for beginners?
Starting with easy diy anklet jewelry ideas is the best way to get confident. Pick beginner-friendly designs that use basic knots and just a few beads.
Choose anklet making materials like waxed cotton or embroidery floss, tiny beads, and a secure clasp, so you can finish with a professional look. For a quick win, try a simple single-strand or basic macrame square knot that works with either minimal or boho styles.
Measure your ankle, cut a length 2–3 inches longer for knots, and finish with a lobster clasp or adjustable sliding knot. Look for minimalistic jewelry tutorials for clean, versatile results, then level up by adding a tiny charm or a few beads as you gain confidence.
How do you choose materials for boho vs minimalistic anklets?
For boho anklet designs, embrace texture and natural hues. Use anklet making materials like hemp, jute, or cotton cords paired with mixed beads, shells, or feathers to capture that carefree vibe. For a minimalistic vibe, stick to smooth cords, a single color, tiny seed beads or a metal bead accent, and a clean finish. Start with a few simple knots on a single strand, then experiment with subtle charms if desired. The key is balance: bold textures for boho, simple lines for minimalistic—both fit well within DIY jewelry projects.
What is the best beginner macrame technique for anklets?
If you want macrame-inspired looks, start with the square knot—the workhorse for anklet patterns. Cut four cords, fold one to make a center loop, anchor it, then practice square knots on either side. Tie several rows until you reach the desired width, then add a bead if you like. Finish with a secure knot and a clasp. This handmade anklet patterns approach gives you solid foundations before you try more complex weaves in your diy anklet jewelry ideas collection.
How can I personalize handmade anklet patterns?
Make every anklet unique by personalizing patterns. Play with handmade anklet patterns using color palettes that match outfits, vary bead sizes for texture, and alternate knots for rhythm. Try a gradient from light to dark, add a tiny charm, or swap in metallic beads for a modern touch. Keep track of your pattern with a simple chart so you can reproduce it in future DIY jewelry projects.
Where can I find step-by-step tutorials to follow?
Look for reliable step-by-step guides in the minimalistic jewelry tutorials and DIY jewelry projects sections. Great sources include blog posts with clear photos, YouTube tutorials, and printable patterns that show the exact knot counts and material lists. If you want a boho vibe, search for boho anklet designs that use mixed textures. With a few well documented tutorials, you’ll be making stunning anklets in no time.
Related Topics