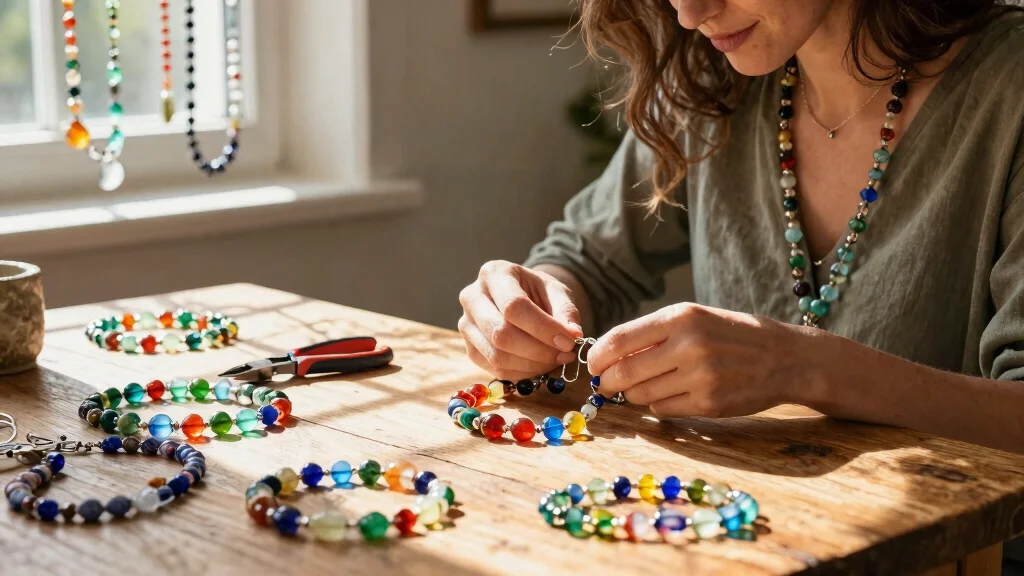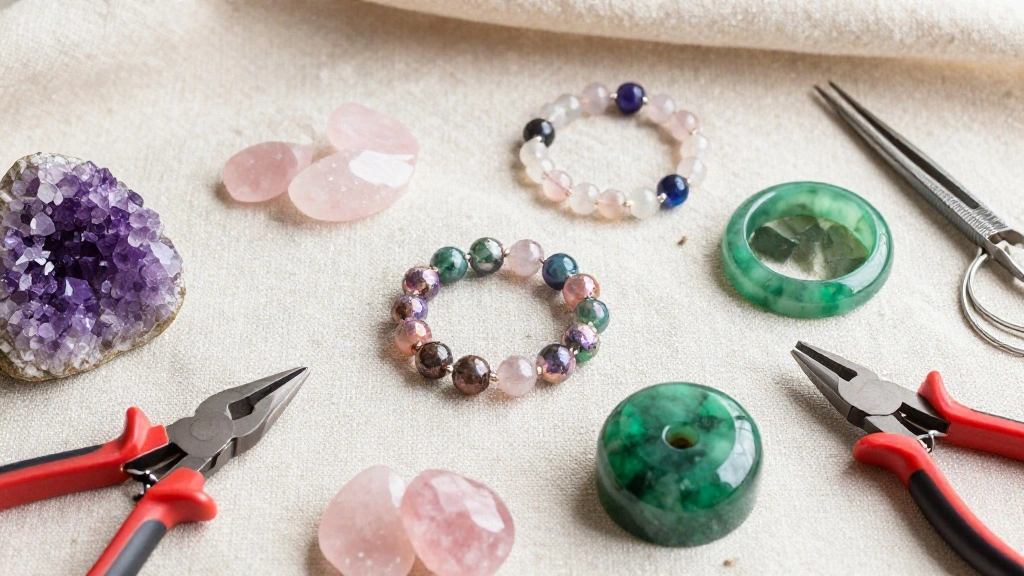

Creating your own jewelry can be a delightful way to express your style and creativity. If you’ve ever found yourself wanting to make unique pieces but felt overwhelmed by the thought of starting, you’re in the right place. This post is for anyone who’s curious about DIY clay jewelry—especially beginners looking for fun and eco-friendly projects that don’t require extensive tools or skills.
With the rise of handmade crafts, you might be craving something special to add to your collection. Whether you’re looking to create gifts for loved ones or simply want to treat yourself to something unique, this list of DIY clay jewelry ideas will spark your imagination. I’ve gathered 18 creative ideas that are eye-catching, easy to follow, and perfect for those just starting their clay crafting journey.
By diving into these projects, you’ll discover various techniques and styles. From simple earrings to personalized pieces, you’ll find that making your own jewelry is a rewarding and enjoyable experience. Let’s explore these fun DIY clay jewelry ideas that will elevate your accessory game and allow you to create one-of-a-kind pieces that reflect your personality!
Key Takeaways
– You can easily make your own jewelry using eco-friendly clay, especially if you’re a beginner looking for simple projects.
– The guide includes 18 different DIY clay jewelry ideas, ranging from earrings to necklaces and beyond, all designed to inspire creativity.
– Each project is crafted with easy-to-follow techniques, ensuring that you can create beautiful pieces without feeling overwhelmed.
– Making your own jewelry allows you to personalize gifts, express your style, and enjoy a fulfilling hobby.
– You’ll learn about various clay jewelry techniques, giving you the skills to expand your crafting abilities and explore new creative paths.
Recommended Products
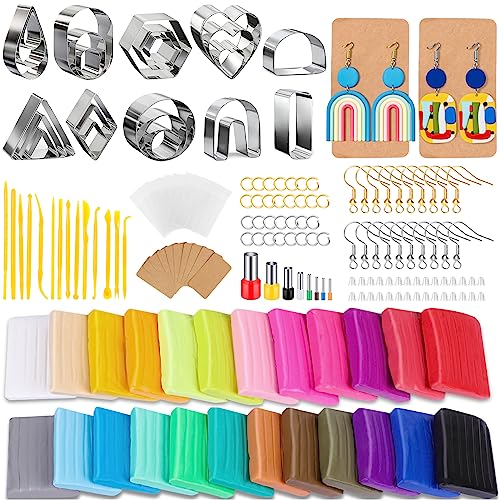
32-Piece Metal Clay Cutter Set: Our set includes 32 precision-engineered clay cutters in a variety of shapes like circles, ovals, squares, and more. Crafted from high-quality steel with smooth, thickened edges for added safety, it includes a dedicated earring hole cutter and carving tools, enabling easy creation of detailed designs

𝐄𝐯𝐞𝐫𝐲𝐭𝐡𝐢𝐧𝐠 𝐢𝐧 𝐏𝐚𝐜𝐤𝐚𝐠𝐞𝐝 𝐟𝐨𝐫 𝐁𝐞𝐠𝐢𝐧𝐧𝐞𝐫 This set comes with everything you need to make polymer clay earrings, including 24 bright colors of clay which are small but nice to get a wide array of colors and is enough to make a number of small pieces. It also comes with 30 stainless steel clay cutters, a roller, assorted carving tools, hole punches, glue, pliers, jewelry findings and even a step-by- step instruction included. A great kit to make some gifts with!

COMPLETE POLYMER CLAY TOOLS KIT: This all-in-one clay tool set includes 2 solid acrylic rollers, 4 thickness rings, 2 long clay blades, 2 short knives, 5 dotting tools, 1 wire texture tool, 1 needle detail tool, and 1 precision craft knife with 5 replacement blades for polymer clay crafts and jewelry making.
1. Simple Clay Stud Earrings
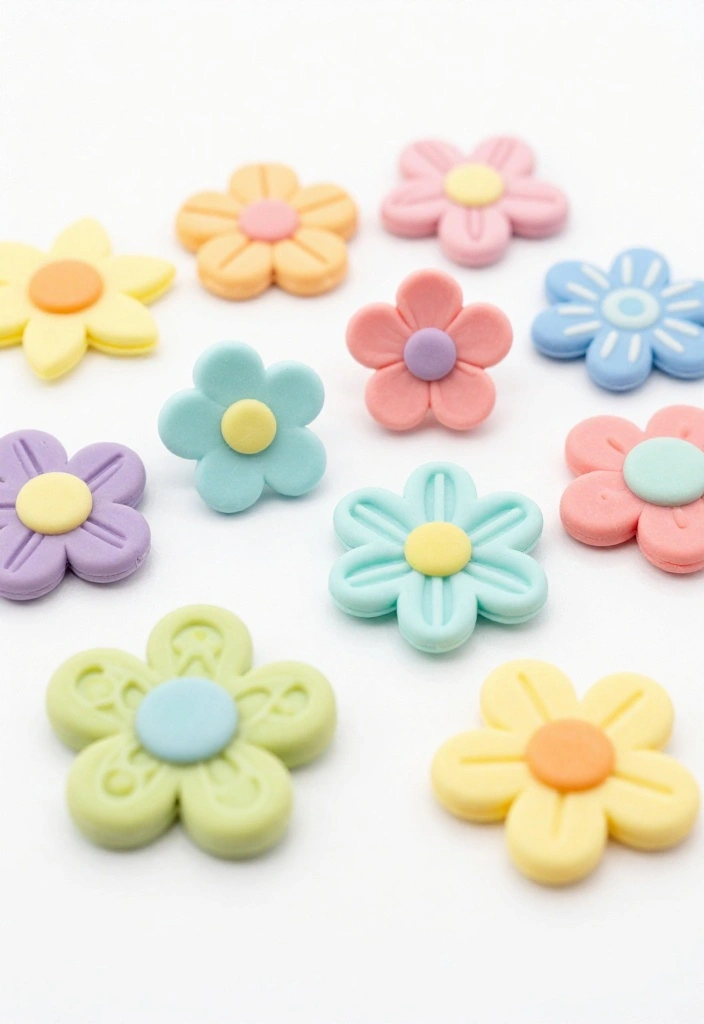
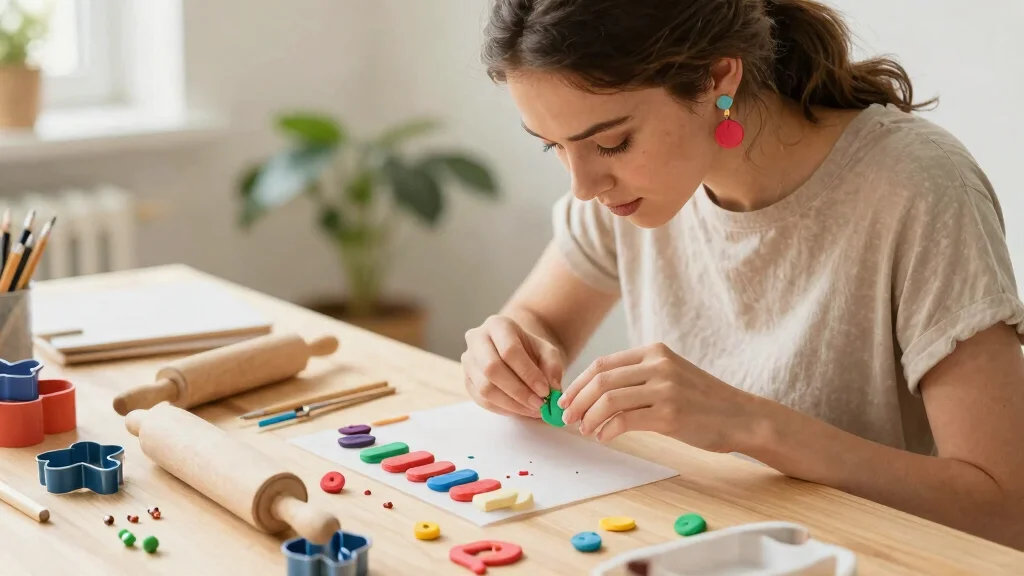
Start your clay jewelry adventure with charming simple clay stud earrings! These tiny treasures are not only trendy but also super easy to create. With just a little polymer clay, you can mold them into any shape you imagine. Pastel shades offer a gentle touch, while vibrant colors create a bold statement. From geometric forms to floral motifs, your creativity knows no bounds!
Supplies Needed:
– Polymer clay in assorted colors
– Earring posts and backings
– A craft knife or clay cutting tool
– Baking sheet
Instructions:
1. Select your clay colors and knead them until pliable.
2. Roll small balls of clay and flatten them into your chosen shape.
3. Use a knife to add details or patterns.
4. Bake according to the clay instructions.
5. Once cooled, attach earring posts to the back of each piece.
These delightful studs are perfect for daily wear or as a heartfelt gift! Plus, there’s a special joy in wearing something you crafted with your own hands.
Did you know 60% of DIY jewelry makers start with simple clay stud earrings? They’re quick to shape, budget-friendly, and a gateway to diy clay jewelry mastery. Pick pastel or bold colors, bake, and you’ve got wear-anywhere sparkle!
Recommended Products

Stud Post Embedding Tool: This polymer clay stud embedder comes with three sizes of small circle polymer clay stud cutters and column positioning tools, a clay thickness guide, making it versatile for various earring post sizes. The tool set is 3D printed and made of premium resin material. High-quality materials ensure it is sturdy and reliable.

Stud Post Embedding Tool: Includes three sizes of small circle polymer clay stud cutters, a clay thickness guide, a V-shaped positioning tool, and a board. Easily embed stud posts in your polymer clay earrings with this simple tool.

You will get: the package comes with 3 pairs of succulent earrings for women available in 2 different styles and 3 different colors, enough quantity and vivid styles to meet your diverse daily matching needs, so that you can easily attract the eyes and attention of others in the crowd and leave a deep impression
2. Textured Clay Necklaces
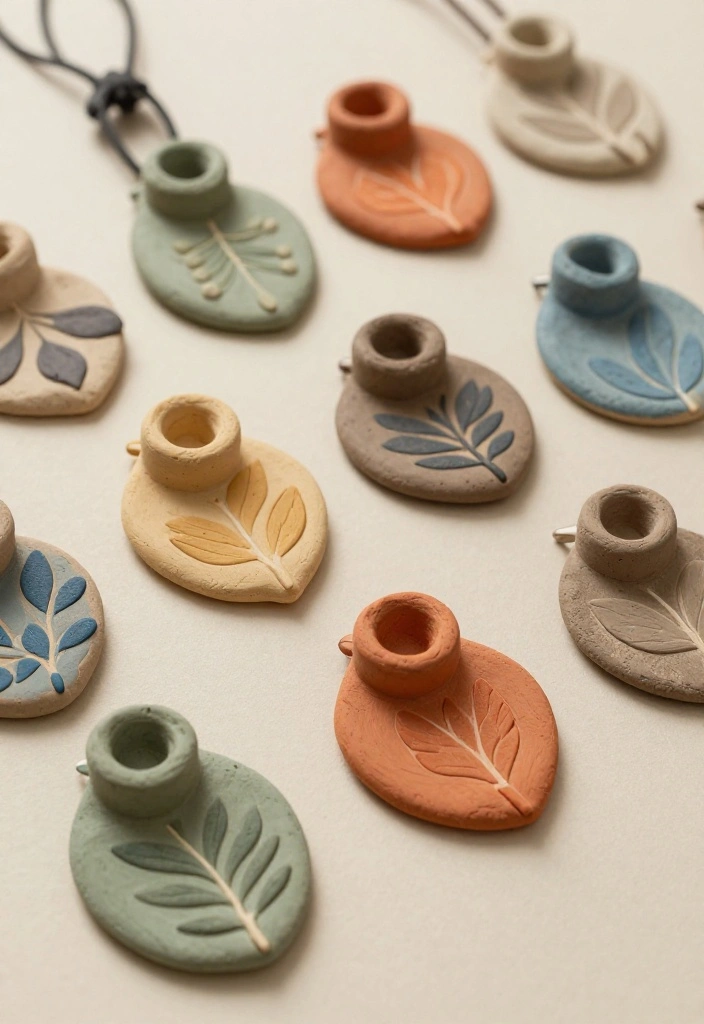
Elevate your style with textured clay necklaces that add a distinct character to any outfit. By imprinting everyday objects like leaves or fabric into the clay, you can create stunning textures that give depth to your designs. This technique not only enhances the visual appeal but also makes each piece uniquely yours. Wear earthy tones for a bohemian vibe or bright colors for a fun pop!
Supplies Needed:
– Polymer clay of your choice
– Texture tools (like leaves or stamps)
– String or chain for the necklace
– Jump rings
Instructions:
1. Roll out a piece of polymer clay and use your texture tool to create imprints.
2. Shape the clay into your desired pendant form, making holes for stringing.
3. Bake the clay as directed.
4. After cooling, attach the pendant to your string or chain using jump rings.
These necklaces are ideal for layering and can be tailored for any occasion, ensuring you always look chic and stylish.
Textured clay necklaces prove that tiny impressions make a big statement. Pro Tip: press leaves, fabric, or old lace into soft clay, bake, and you’ll have one-of-a-kind pieces that tell your story. With earthy tones or bright hues, your diy clay jewelry shines.
Recommended Products

Stress-Free Crafting - DAS airdry clay boasts a smooth, even texture that doesn't require oven-baking; the clay air-hardens for an easy and fuss-free creative experience when crafting

Alphabet Resin Molds Kit: 1x Letter Molds,20x gold / silver key rings, 100 x gold / silver screw eye pins, 100 x O ring.This full set letter number silicone molds are perfect for the resin lovers and beginners.You make a complete craft with these accessories easily

PERFECTLY EVEN CLAY SLABS: Create smooth, consistent clay sheets with adjustable thickness rings. This set includes 4 blue 3mm rings and 4 black 5mm rings to help keep both sides level, making it easier to craft earrings, pendants, miniatures, and detailed clay projects.
3. Colorful Clay Pendant Options
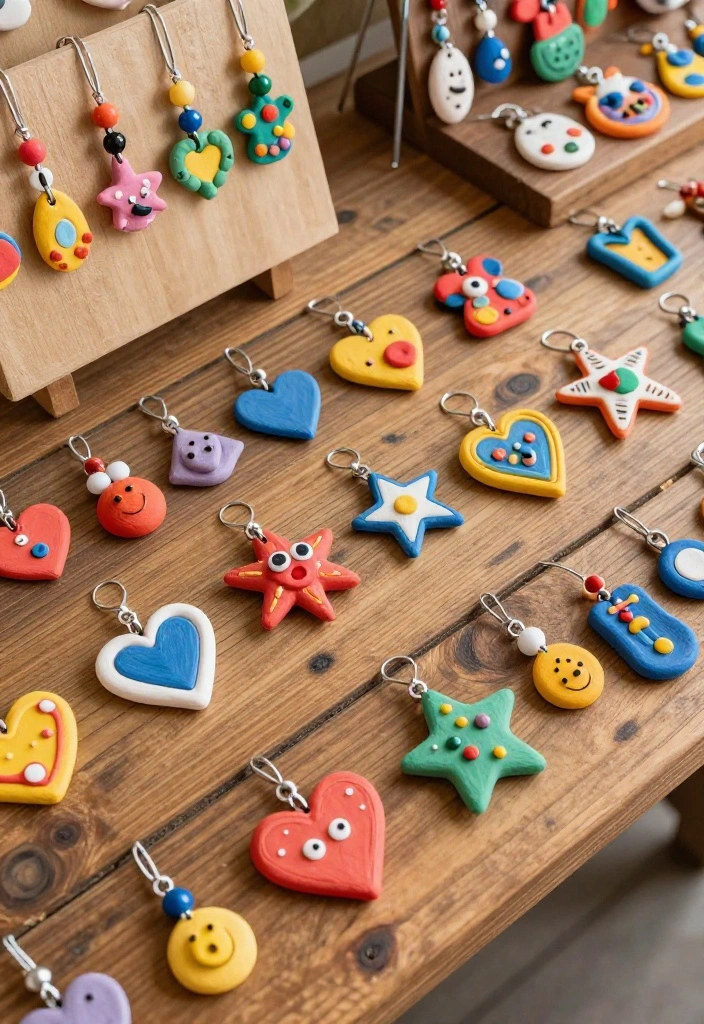
Step into the vibrant world of colorful clay pendants, where your imagination can truly run wild! These pendants can take on whimsical forms or meaningful symbols, making them wonderful gifts. Mix different colors to achieve marbled effects and infuse personality into your creations. The flexibility of clay allows you to incorporate beads or other embellishments for an extra flair.
Supplies Needed:
– Polymer clay (multiple colors)
– Beads or other embellishments (optional)
– String or chain
– Baking sheet
Instructions:
1. Condition your clay and blend two or more colors to create a marbled effect.
2. Shape your clay into a pendant, adding embellishments as you wish.
3. Bake according to package instructions and let cool completely.
4. String your pendant onto a chain or cord for wearing.
Colorful clay pendants are a fantastic way to showcase your style and are a perfect accessory for every season!
Recommended Products

Product Details: 4 pieces clear acrylic rectangle sheets, 2 pieces transparent acrylic clay slab rollers (one solid and one hollow), 4 pieces pottery clay cutters, including 2 long tissue blades and 2 short knives, 1 wire texture tool and 1 needle detail tool.

Material: Made of high quality stainless steel material,durable and sturdy,not easy to deform

SET INCLUDES THREE DIFFERENT TYPES OF BLADES: Long, rigid blade for straight cuts or edges. Flexible blade for curved cuts and edging. Wave blade for decorative cuts and edging.
4. Nature-Inspired Clay Jewelry

Infuse your jewelry collection with the beauty of nature by creating nature-inspired clay pieces! Imagine leaves, flowers, and even tiny animals crafted into wearable art. This trend captures the essence of the outdoors, letting you carry a piece of nature wherever you go. Create earrings shaped like leaves or pendants resembling flowers for a touch of whimsy.
Supplies Needed:
– Green and earthy-colored polymer clay
– Leaf and flower molds (if available)
– Thin wire (optional for added structure)
– Baking sheet
Instructions:
1. Condition your clay and roll it out to about 1/4 inch thick.
2. Use molds or freehand shape your leaves and flowers.
3. Bake according to the clay instructions.
4. Once cooled, you can add wire elements or turn them into earrings or necklaces.
Nature-inspired jewelry is not only beautiful but also allows you to express your love for the outdoors creatively.
Recommended Products

All You Need Included: You will get 480pcs polymer clay beads charms in 24 different styles, and all the clay beads are packed in a plastic gift box, the beaded set is also equipped with two rolls of 5m crystal elastic strings and a pair of exquisite scissors, which can meet all your needs for DIY jewelry production!

VALUE PACK: You will receive 200pcs mixed flower polymer clay beads, which can fully meet your different use needs, and you can also share them with your family and friends.

Bezels for Jewelry Making: You will 60 pieces of frame pendants for jewelry making. We made 10 different design frame pendants, every design got 4 pieces of gold bezels and 2 silver bezels.
🎨 Transform Your Space Creatively
Elevate your DIY skills and create stunning decor that complements your beautiful clay jewelry creations effortlessly.
5. Boho Clay Rings

Bohemian-style clay rings are a fantastic way to express your unique personality. These rings can be styled in various ways, mixing colors and textures that reflect who you are. Best of all, they’re comfortable and can be made in any size! Use rolling techniques to create distinctive shapes or incorporate beads for added flair.
Supplies Needed:
– Polymer clay in assorted colors
– Ring bases or adjustable ring bands
– Beads (optional)
Instructions:
1. Roll out the polymer clay and shape it into a ring, choosing either a classic band or a more intricate design.
2. Bake the rings according to the clay instructions.
3. After cooling, securely attach the ring bases or bands.
Boho clay rings are perfect for stacking and layering, allowing you to craft a new look every time you wear them.
Recommended Products

【Solid Acrylic Roller】- This clear polymer clay rolling pin is a great alternative to a clay rolling machine and won't block your view. Use our acrylic roller for polymer clay to achieve a smooth, uniform thickness every time you roll

𝟕𝟎𝟓 𝐏𝐂𝐒 𝐏𝐨𝐥𝐲𝐦𝐞𝐫 𝐂𝐥𝐚𝐲 𝐄𝐚𝐫𝐫𝐢𝐧𝐠𝐬 𝐊𝐢𝐭 Cruzix polymer clay kit is perfect for beginners to make clay earrings, with all the necessary accessories for clay project, 49 polymer clay jewelry cutters set, 16 Circle Shape Earring Cutters, 40 earring hooks, 200 pcs 5mm jump rings, 100 pcs 8mm jump rings, 200 silicone earring backs, 100 pcs 6mm earring studs. Use these polymer earrings craft set to make a gift for friends

What's Included: 14 Clay Blocks, 6 Metal Clay Cutters, 1 roller, 1 Texture tool, 2 Wooden Craft Sticks 1 Pair of Jewelry Pliers, 6P airs of Brass Charms, 50 Jump Rings, 50 Earring Hooks, 1 Medium Grit Sandpaper.
Difficulty Rating & Requirements
Overall Difficulty Rating: Easy
Creating DIY clay jewelry is a fun and manageable project for beginners. The techniques used are straightforward, making it accessible for anyone willing to try. If you enjoy using your hands and being creative, you’ll find this task both enjoyable and rewarding.
Time Estimate: ⏱ Estimated time: 2-4 hours
You can expect to spend around 2 hours on simpler projects like Simple Clay Stud Earrings or Funky Clay Keychains. More detailed pieces, such as Textured Clay Necklaces or Nature-Inspired Clay Jewelry, may take closer to 4 hours, especially if you’re new to shaping and decorating.
Skill Requirements:
– Required skills: Basic hand-eye coordination, creativity, and patience.
– Beginner-friendly: Yes! This project is perfect for those new to crafting. Most skills can be learned along the way, such as rolling, cutting, and molding clay. You don’t need prior experience, just a willingness to learn and experiment.
Tools & Materials Needed: 🧰 Essential items checklist
– Polymer clay (required) – The primary material for all jewelry pieces.
– Rolling pin (required) – Used to flatten the clay.
– Clay tools (required) – Basic tools like cutters, sculpting tools, and a craft knife.
– Baking sheet (required) – For curing your clay creations in the oven.
– Glaze or sealant (optional) – To give your pieces a shiny finish.
– Jewelry findings (optional) – Clasps, earring hooks, or chains to finish your designs.
– Paint or markers (optional) – For adding colors and designs after baking.
– Work surface (required) – A clean, flat area to work on.
Step-by-Step Overview:
1. Preparation (30 minutes)
Gather all your materials and tools. Set up your workspace to ensure you have enough room to work comfortably.
2. Designing and Shaping (1-2 hours)
Start forming your clay into your desired shapes. This could involve rolling, cutting, or molding the clay into earrings, necklaces, or bracelets. Let your creativity run wild!
3. Baking (30 minutes)
Preheat your oven as per the clay instructions. Place your pieces on a baking sheet and bake them. This step is crucial to harden the clay and make it durable.
4. Finishing Touches (30 minutes)
After cooling, you can paint or glaze your jewelry if desired. Attach any jewelry findings to complete your pieces.
Cost Comparison: Professional vs DIY:
Buying professionally made clay jewelry can cost anywhere from $20 to $100 depending on the designer and complexity. On the other hand, creating your own clay jewelry can be done for around $10 to $30, depending on materials. Plus, making your own jewelry allows for personal touches and customization that store-bought pieces often lack. If you find yourself enjoying the process and want high-end finishes, consider hiring a local artisan for advanced techniques or special materials down the line.
Recommended Products

What You Get: Our stud earrings making kit comes with 500 pieces of earring posts, 900 pieces of earring backs in 2 different styles and 400 pieces of jump rings. Great value earring stud kit for earring making, earring repair and other jewelry making

Stud Earrings Making Kit: Our earring stud making kit comes with 900 pieces of earring posts in 2 different colors and 1100 pieces of earring backs in 2 styles. Large amount of stud earring making supplies can meet your various requirements

Shiny and elegant: these earrings accessories are simple in design, and shiny in appearance, the charming metallic luster can make your daily outfit more elegant, showing your tasteful choice for jewelry decoration
6. Minimalist Clay Bracelets
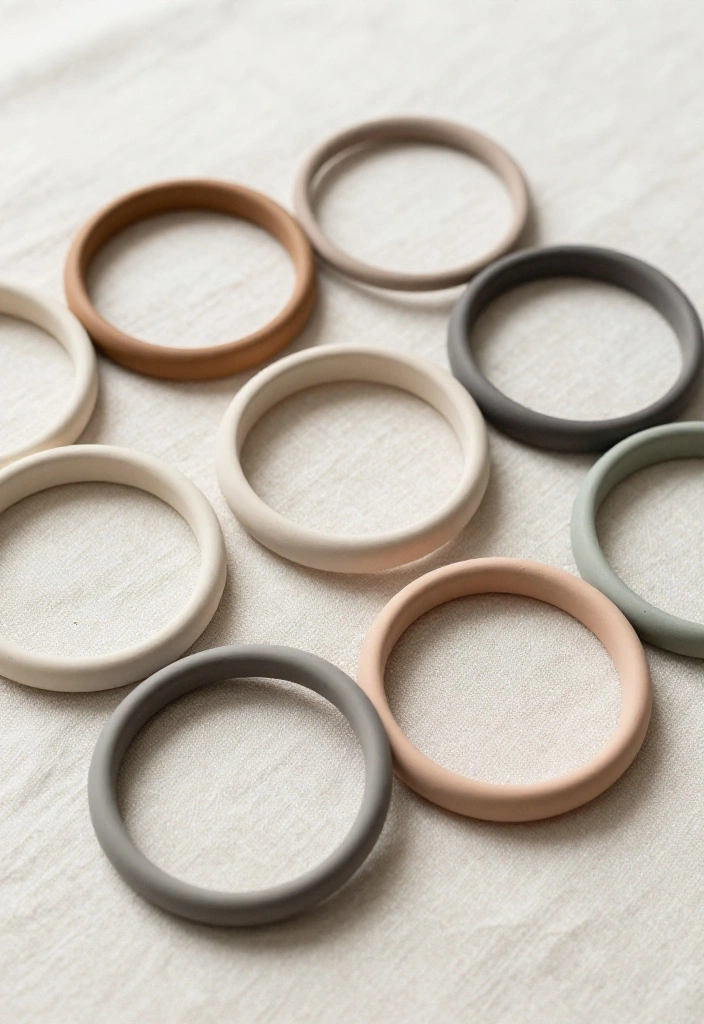
For a more subtle style, minimalist clay bracelets are the perfect choice. These pieces focus on clean lines and understated designs, ideal for everyday wear. Select a single shade or mix a few hues for a chic effect. You can create simple bangles or strands of smaller clay beads for a delicate touch that complements any outfit beautifully!
Supplies Needed:
– Polymer clay in preferred colors
– A baking sheet
– String or elastic for threading beads
Instructions:
1. Roll out the clay into small beads or shape it into a bangle.
2. Bake the clay according to the product instructions and let it cool.
3. If using beads, string them onto your elastic or string, securing with a knot.
These minimalist bracelets are not just stylish but also allow you to showcase your handmade craftsmanship in a subtle and elegant manner.
Recommended Products

BEGINNER'S POTTERY SET:This Air Dry Clay Kit includes all the materials you need for your projects, so there's no need to buy additional supplies.This set of carving tools ensures that you can create intricate designs from the moment you get it. You can freely mold, sculpt, and paint your creations. Let your imagination run wild as you craft all kinds of pottery pieces.

[UNLEASHES CREATIVITY]: The Creatibles Air Dry Clay Jewelry Kit - Blissful Blooms lets kids create beautiful DIY necklaces, bracelets, and charms with no baking required! Sculpt, string, and wear one-of-a-kind accessories designed by you

Clay Sculpting Tools: This earring making kit includes 67 clay earring cutters of different shapes and sizes, 8 Circle Shape Cutters 1 Clay Letter Stamp. A variety of molds can maximize to meet your daily handicrafts needs, bring you the fun of DIY
7. Funky Clay Keychains
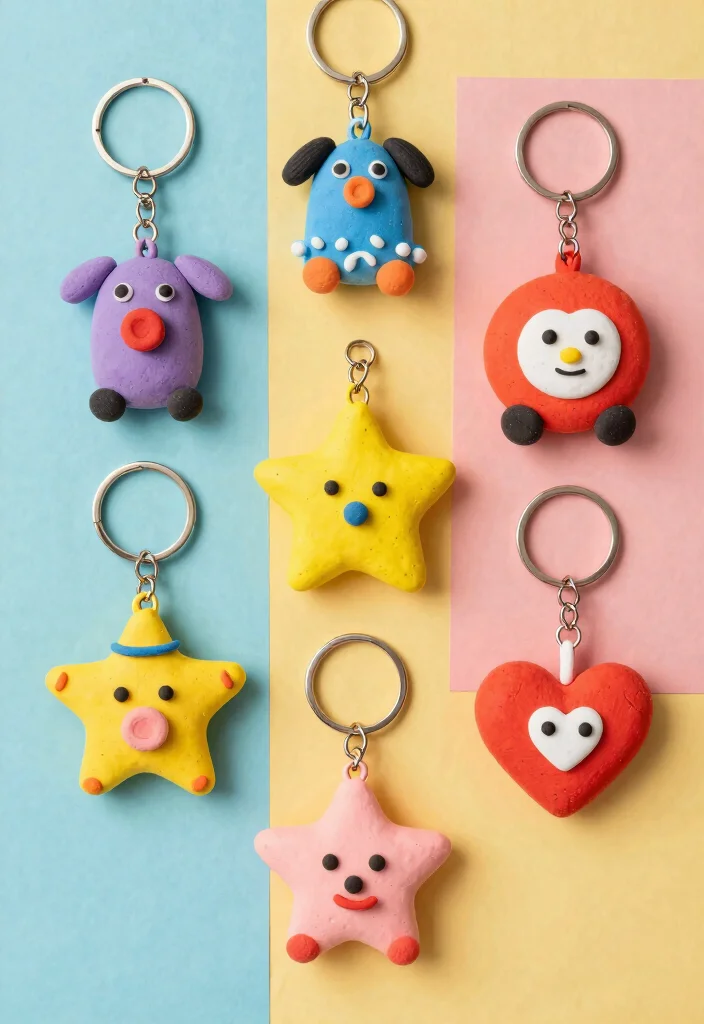
Brighten up your everyday essentials with funky clay keychains! These playful accessories can be crafted into any shape you desire, from adorable animals to quirky symbols. Not only are they practical, but they also let you express your individuality. Perfect for beginners, these keychains are a great way to refine your clay skills!
Supplies Needed:
– Polymer clay in various colors
– Keychain rings
– Baking sheet
Instructions:
1. Shape the clay into fun designs or characters that resonate with you.
2. Bake the clay as per the instructions and let them cool completely.
3. Once cooled, use jump rings to attach each piece to your keychain ring.
Funky clay keychains make wonderful gifts and can also serve as bag charms, adding a unique touch to your accessories.
Recommended Products

LIGHT PRACTICAL: These clay carving tools are made of good quality carbon steel and acrylic materials, simple and sturdy, not easy to be damaged. A set of tools of various types and sizes, easy to use, good for making pottery


8. Clay Jewelry Sets

Creating matching clay jewelry sets is a rewarding and fun experience! Design coordinated pieces, including earrings, necklaces, and bracelets, all crafted to complement each other. This not only hones your skills but also ensures you have a stunning set ready for any occasion. Play with various color combinations, textures, and shapes for a cohesive yet striking look.
Supplies Needed:
– Polymer clay in multiple colors
– Earring posts, chains, and other findings
– Baking sheet
Instructions:
1. Design and create each piece in your jewelry set, ensuring they coordinate.
2. Bake each piece according to instructions.
3. Assemble your jewelry using findings to connect pieces as needed.
Clay jewelry sets make perfect gifts, especially when personalized to match the recipient’s style. Plus, it’s a fantastic way to showcase your handcrafted artistry!
Recommended Products

[ Large Quantity ]: Total about 2480pcs, include polymer clay beads in 24 different styles.Colorful flat clay beads,Colorful letter beads, Transparent colored letter beads,1roll 5m elastic string.

Each lollipop comes with a loop for hanging

9. Personalized Name Jewelry
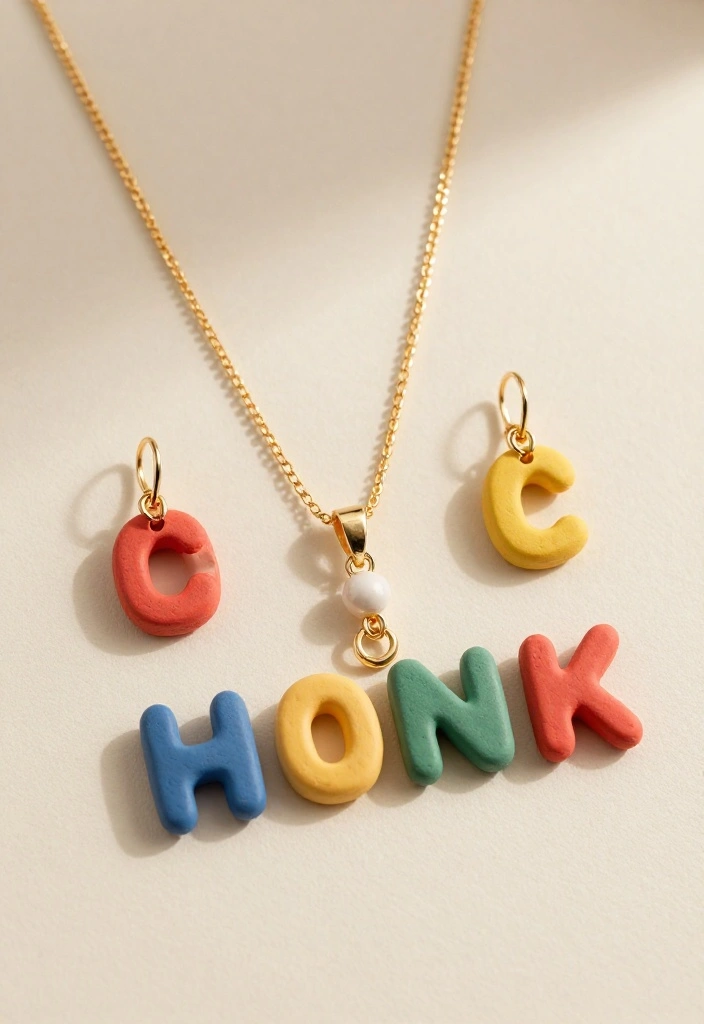
Crafting personalized name jewelry adds a heartfelt touch to your accessory collection! Shape your name or initials with polymer clay to create a one-of-a-kind statement piece. This can take the form of a necklace, bracelet, or even earrings. Name jewelry also makes thoughtful gifts for friends and family, celebrating their uniqueness with your creative touch.
Supplies Needed:
– Polymer clay in your choice of colors
– Jewelry findings (chains, earring posts)
– Craft knife or clay carving tools
Instructions:
1. Roll out the clay and shape it into letters that spell out your name or initials.
2. Bake the clay pieces as instructed and let them cool completely.
3. Use jump rings to attach letters to chains or earring posts.
Personalized jewelry carries sentimental value and can become cherished keepsakes, making it a delightful project for any jewelry maker.
10. Decorative Clay Brooches
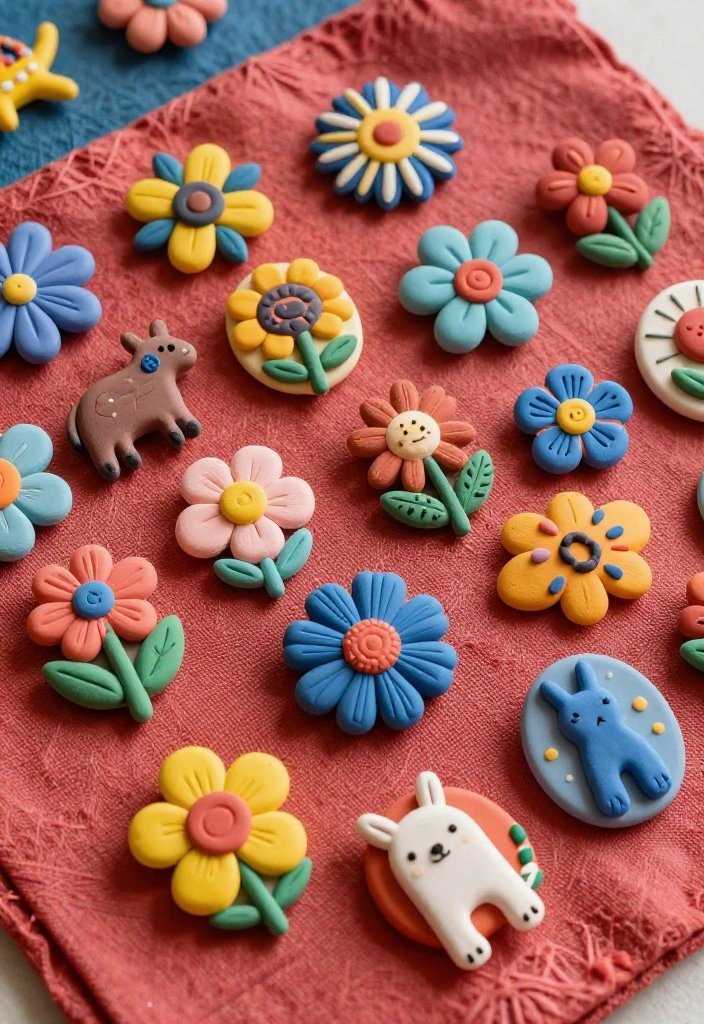
Enhance your outfits with decorative clay brooches! These accessories can be sculpted into various designs, from whimsical creatures to elegant flowers, adding character to your look. They’re perfect for pinning on jackets, bags, or hats, and are a delightful way to showcase your creativity.
Supplies Needed:
– Polymer clay in assorted colors
– Brooch backs
– Baking sheet
Instructions:
1. Shape your clay into fun or elegant designs that reflect your style.
2. Bake the creations according to instructions and allow to cool.
3. Attach brooch backs once cool.
Decorative brooches are a fantastic way to elevate your look while highlighting your artistic flair. They also make lovely gifts for friends who appreciate unique accessories!
DIY alert: decorative clay brooches turn simple outfits into art with zero sewing required. A few shapes, a bake, and you’ve created wearable diy clay jewelry that’s eco-friendly and totally unique. Pin, wear, and wow—your creativity shines on jackets, bags, and hats.
11. Unique Clay Hair Accessories
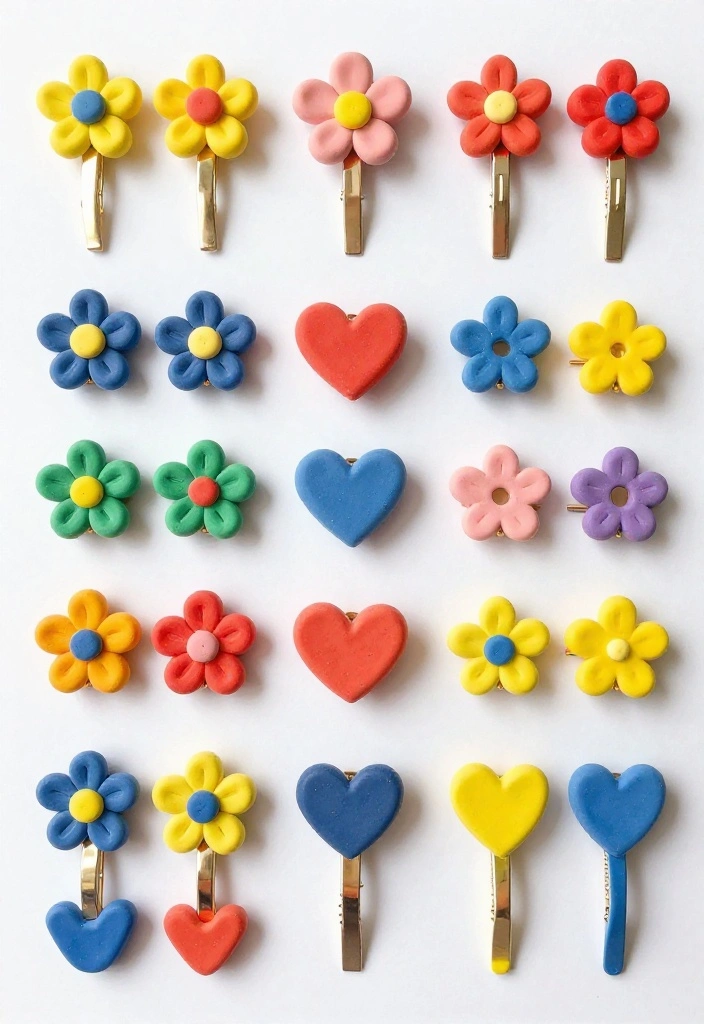
Take your hair game to the next level with unique clay hair accessories! From trendy clips to playful pins, these pieces can be designed to match your personal style and current trends. Using polymer clay, you can form shapes that complement your hair color and texture, adding a fun twist to your hairstyles. They can also double as jewelry for your hair, providing versatility!
Supplies Needed:
– Polymer clay in various colors
– Hairpin bases or clips
– Baking sheet
Instructions:
1. Shape the clay into designs that can be easily attached to hairpins or clips.
2. Bake according to instructions and allow to cool completely.
3. Attach the clay shapes to your hair accessories using glue.
Unique clay hair accessories are a playful way to express yourself, making everyday hairstyles feel extra special!
12. Statement Clay Cuffs
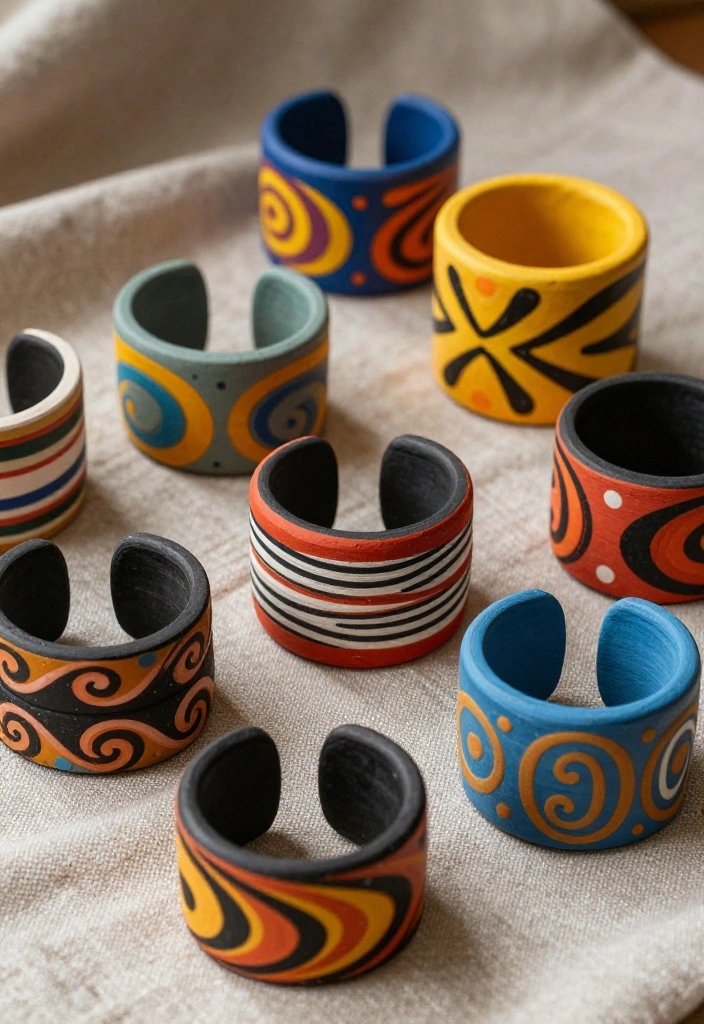
Make a bold impression with statement clay cuffs that serve as striking accessories! These wide bracelets can be crafted in vibrant colors or unique patterns, ideal for those who love to stand out. You can use various techniques to add texture and depth, ensuring each cuff is personalized and one-of-a-kind.
Supplies Needed:
– Polymer clay in multiple colors
– Baking sheet
Instructions:
1. Roll out your clay into a flat sheet and shape it into a cuff that fits your wrist.
2. Add patterns or textures as desired before baking.
3. Bake according to product instructions and let cool.
Statement clay cuffs are perfect for layering with other bangles or wearing solo, effortlessly showcasing your unique style!
13. Fun Clay Charms
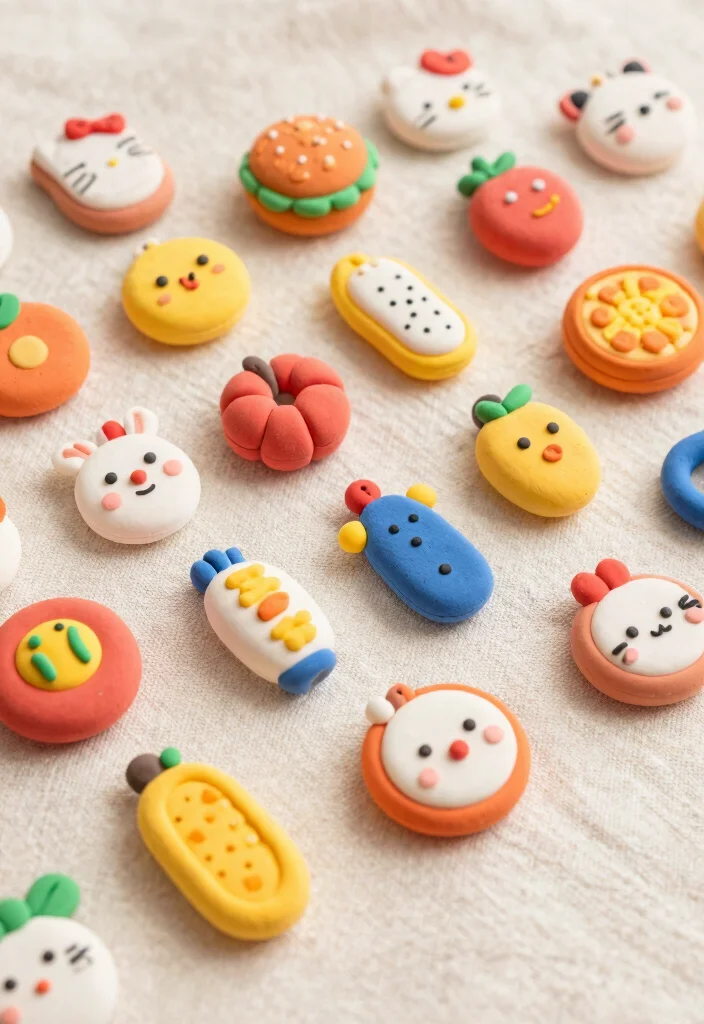
Creating fun clay charms is a delightful way to personalize your accessories, whether for jewelry or bag decorations. You can craft miniature versions of your favorite foods, animals, or objects, making them playful additions to your collection. These charms can be strung onto bracelets, necklaces, or simply attached to bags for an extra splash of fun!
Supplies Needed:
– Polymer clay in various colors
– Small jump rings
– Baking sheet
Instructions:
1. Shape small pieces of clay into your desired charm designs.
2. Bake according to the instructions until hardened.
3. Add jump rings for versatility in attaching to jewelry or bags.
Fun clay charms are a simple yet charming way to express your personality and creativity!
14. Clay Bead Necklaces
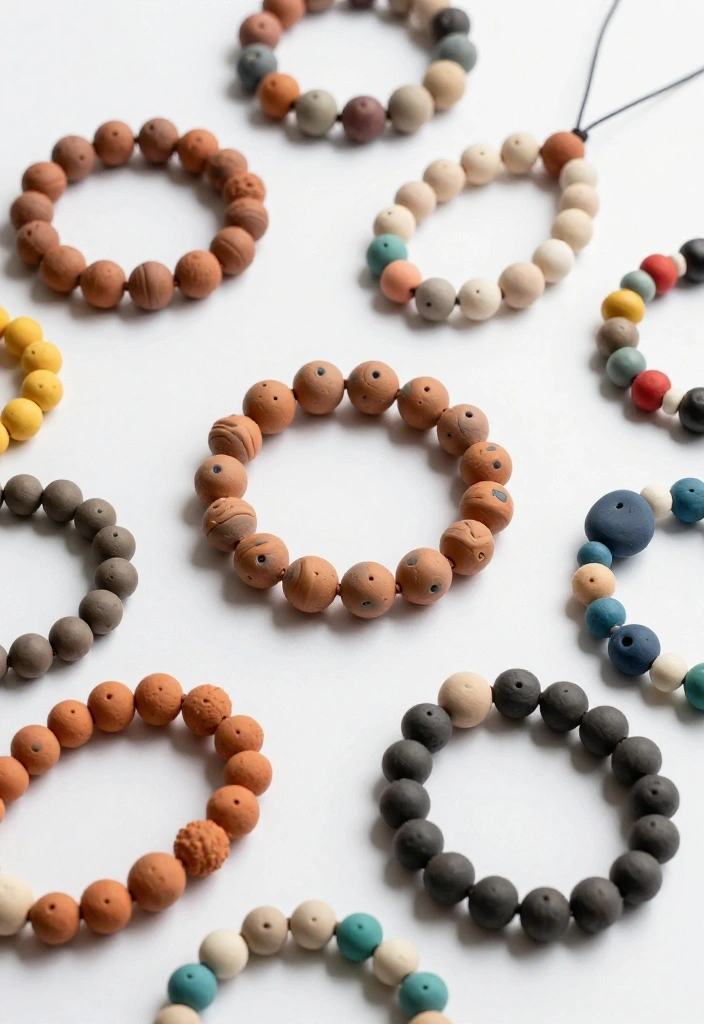
Making clay bead necklaces is an exciting project full of customization possibilities! You can craft beads in various sizes and colors, experimenting with different textures to create unique combinations. This project is not only enjoyable but also a fantastic way to refine your clay techniques!
Supplies Needed:
– Polymer clay in assorted colors
– String or wire for threading
– Baking sheet
Instructions:
1. Roll the clay into small balls or shapes for the beads.
2. Bake until hardened, following the instructions.
3. String the cooled beads onto your chosen necklace cord, securing with a knot.
Clay bead necklaces are perfect for layering or wearing solo, proudly showcasing your handcrafted style!
15. Elegant Clay Brooches
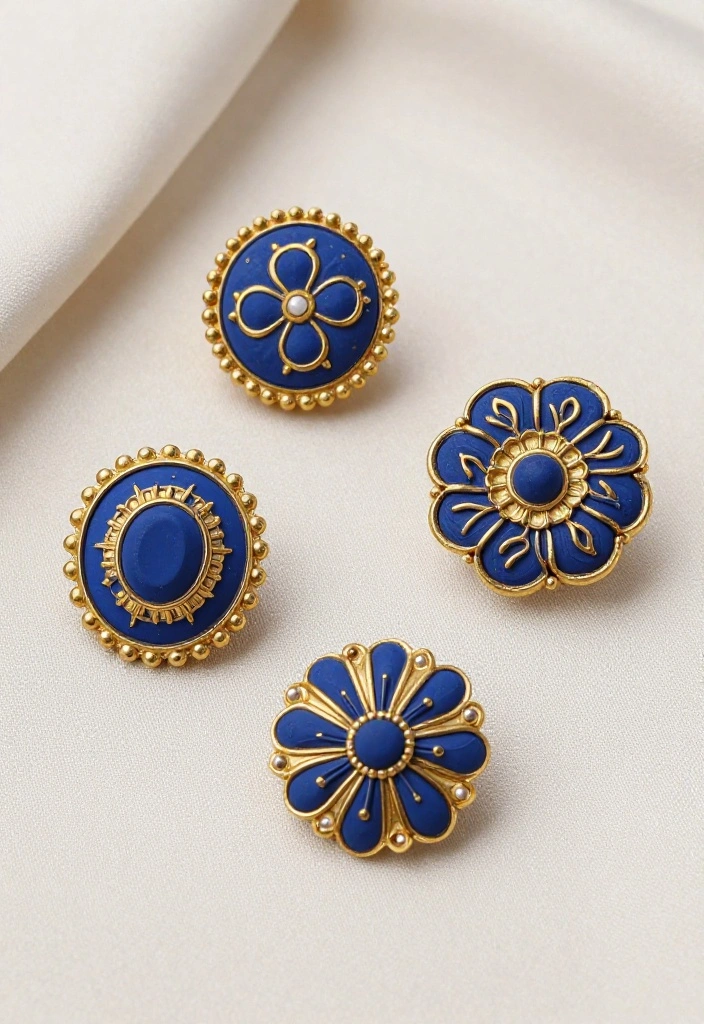
Enhance your wardrobe with beautifully crafted elegant clay brooches. These accessories can take on sophisticated forms, perfect for special occasions or adding a touch of class to everyday outfits. With polymer clay, you can create intricate designs and refined colors that reflect your style.
Supplies Needed:
– Polymer clay in elegant colors (like deep blue, gold, or silver)
– Brooch backings
– Baking sheet
Instructions:
1. Shape your clay into elegant forms, like flowers or abstract designs, to create unique brooches.
2. Bake according to instructions and allow to cool.
3. Attach brooch backings once cooled.
Elegant clay brooches are stylish and showcase your artistic flair, making them perfect gifts or cherished keepsakes!
16. Creative Clay Hair Clips
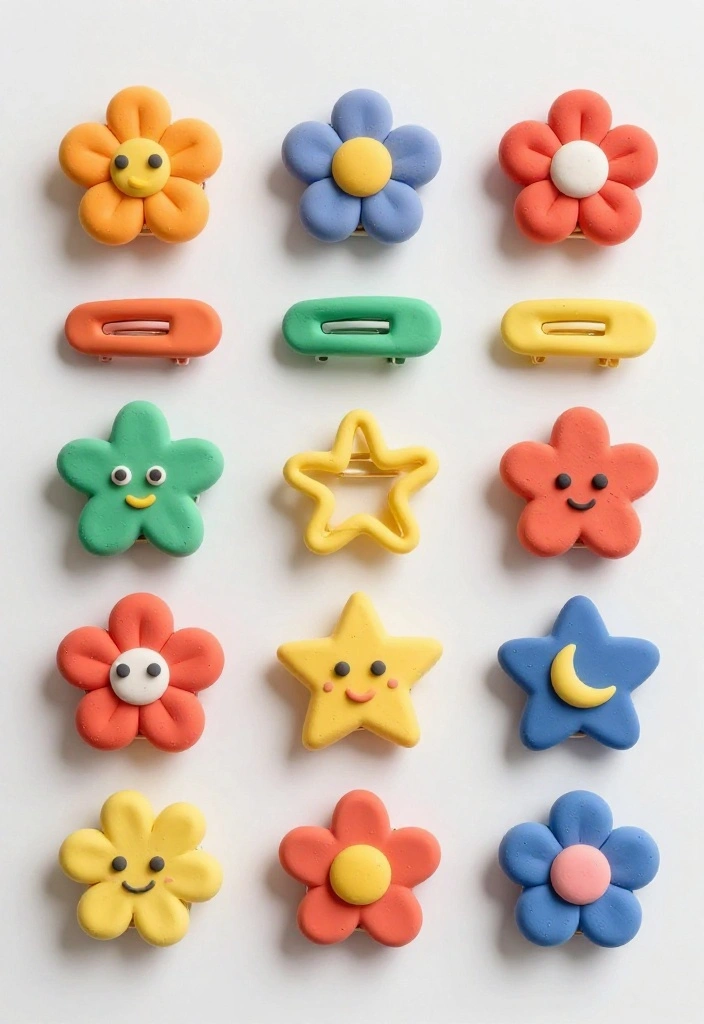
Revamp your hair with creative clay clips that are both functional and stylish! You can design hair clips in vibrant shapes and colors, perfect for adding a playful touch to your hairstyles. These clips can serve as statement pieces or subtle accessories, allowing you to express your style.
Supplies Needed:
– Polymer clay in various colors
– Hair clip bases
– Baking sheet
Instructions:
1. Shape the clay into fun designs that will attach to the clips.
2. Bake according to the instructions.
3. Attach the clay pieces to the clips using glue.
Creative clay hair clips are a delightful way to showcase your style and make your hairstyles pop!
17. Clay Flower Pins
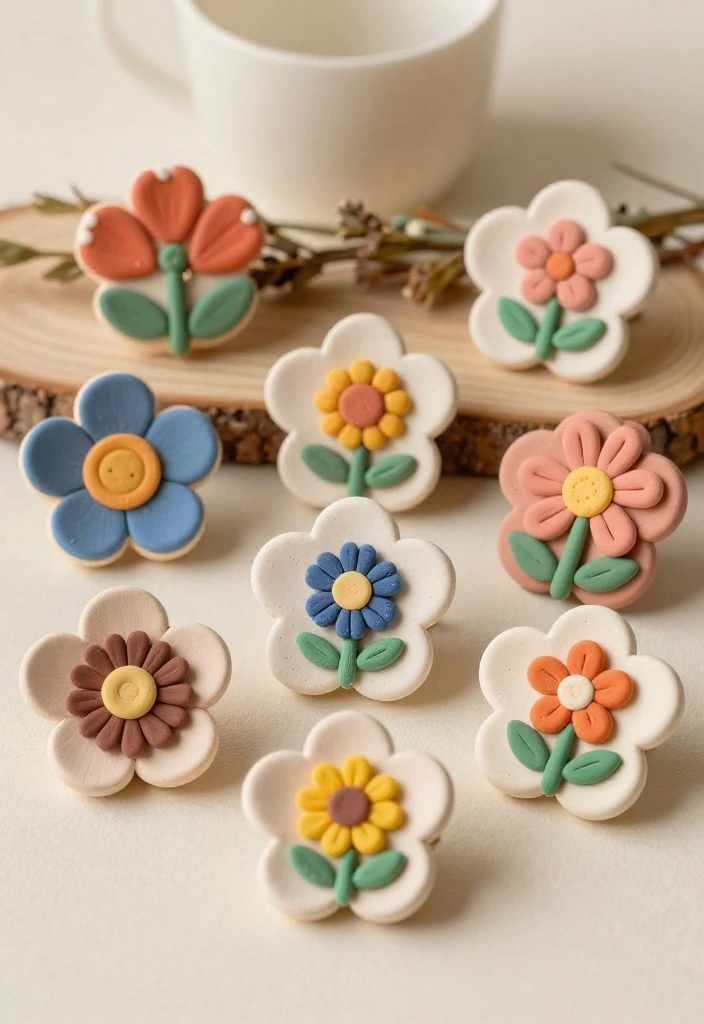
Celebrate nature’s beauty with stunning clay flower pins! These creations can be molded into different floral designs, allowing you to explore a variety of colors and styles. Flower pins are perfect for adding elegance to jackets, bags, or hats, making them versatile accessories for any outfit.
Supplies Needed:
– Polymer clay in floral colors (like pink, yellow, or green)
– Brooch backings
– Baking sheet
Instructions:
1. Shape the clay into flower designs or petals that can be layered.
2. Bake according to the clay instructions and let cool.
3. Attach brooch backings using glue once cooled.
Clay flower pins let you bring a touch of whimsy and nature-inspired beauty to your wardrobe, reflecting your unique style!
18. Custom Clay Button Jewelry
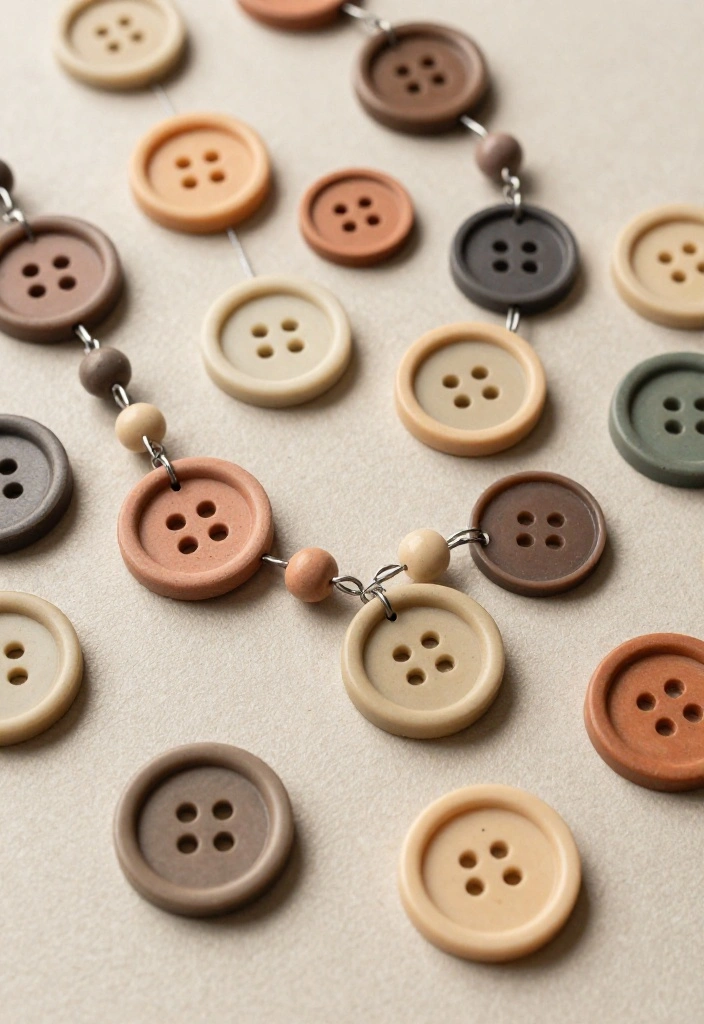
Unleash your creativity with custom clay button jewelry! This trend allows you to design unique buttons for various jewelry pieces or as standalone accessories. Craft buttons in different shapes, sizes, and colors, making them perfect for personalizing your creations.
Supplies Needed:
– Polymer clay in assorted colors
– Button molds or tools
– Baking sheet
Instructions:
1. Shape the clay into custom buttons using molds or freehand techniques.
2. Bake according to the instructions until hardened.
3. Use buttons in necklaces, bracelets, or even as hair accessories!
Custom clay button jewelry not only showcases your craftsmanship but also adds a unique touch to any accessory, making it a fun and versatile project.
Conclusion
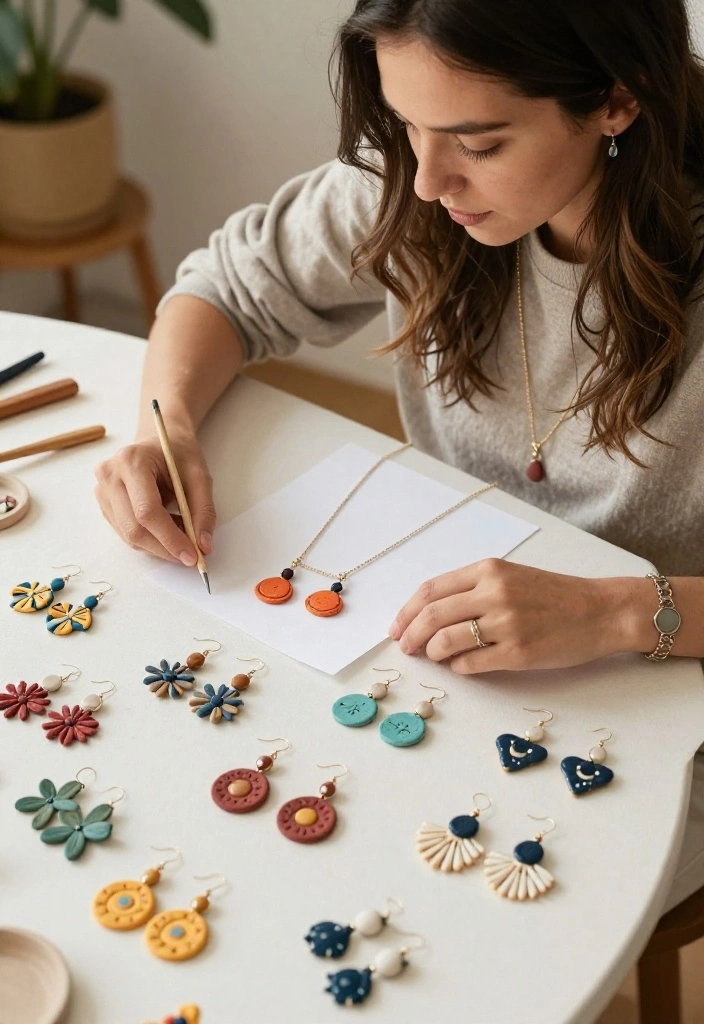
Embrace your creativity with these exciting DIY clay jewelry ideas! Each project invites you to explore your artistic side while creating unique pieces that express your personality. From earrings to brooches, the options are endless, providing endless opportunities for fun and self-expression. Don’t hesitate to experiment, combine techniques, and make these projects your own!
Whether you’re creating gifts for loved ones or simply indulging your artistic passions, these handmade items are sure to bring joy to both the maker and the wearer.
Frequently Asked Questions
What is DIY clay jewelry and is it beginner-friendly?
DIY clay jewelry means making wearable pieces with clay such as polymer clay or air-dry clay. It’s beginner-friendly because you can start with simple shapes and a small toolkit. In this article you’ll discover 18 creative ideas and easy beginner clay crafts to try. To start, grab a rolling pin, a craft knife, a few colors, and basic jewelry findings like jump rings and earring hooks. Bake or dry according to the clay, then seal for durability. A few practice pieces will boost your confidence and keep things fun. Tips: reuse scrap clay, practice with simple discs, and explore clay jewelry techniques like stamping and layering.
What materials do I need to start eco-friendly polymer clay jewelry?
For eco friendly diy clay jewelry you can use polymer clay or air-dry clay. Essential items include a few colors of clay, a rolling pin, a plastic blade, texture tools, a needle or hole punch for beads, jewelry findings, and a safe baking surface. Choose non-toxic clays from reputable brands and aim to minimize waste by mixing colors instead of opening new packs. Use a silicone mat or parchment and finish with a water-based sealer for durability. These basics set you up for simple polymer clay projects and DIY accessories ideas.
How should I bake polymer clay jewelry safely and successfully?
Always follow the clay package directions, but here are solid rules to start: preheat your oven to the recommended temp, usually around 265–275F, and bake pieces individually on a parchment-lined sheet. Keep pieces thin and uniform for even curing, and avoid overheating to protect your piece. Use a dedicated tray, work in a well-ventilated area, and let pieces cool completely before handling. After baking, lightly sand rough edges and seal with a water-based finish for a lasting shine. These steps keep your polymer clay projects looking great.
What are some beginner-friendly projects I can try right away from the article?
The 18 ideas cover easy beginner clay crafts you can batch and customize. Start with simple discs or beads, leaf or petal charms, geometric shapes, or tiny fruit accents. Roll to a uniform thickness, cut shapes, poke holes for jump rings, bake, and then assemble into earrings, bracelets, or a pendant. Each idea is a quick win and a perfect path to learn clay jewelry techniques while expanding your collection of DIY accessories ideas.
How can I care for my DIY clay jewelry to make it last longer?
Caring for clay jewelry is easy with a few habits: store pieces in a soft pouch away from direct sun, avoid soaking in water, and wipe gently with a damp cloth. After months of wear, you can refresh the finish with a light coat of a water-based sealer. Inspect findings for wear and replace loose parts as needed. Following these tips helps your handmade jewelry tutorials translate into durable pieces that keep their shine and color.
Related Topics