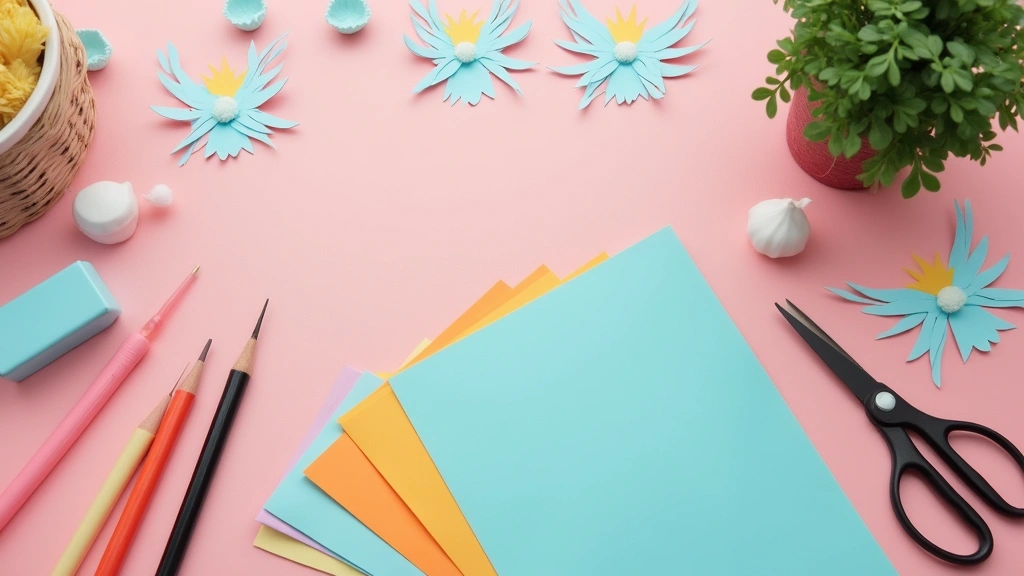
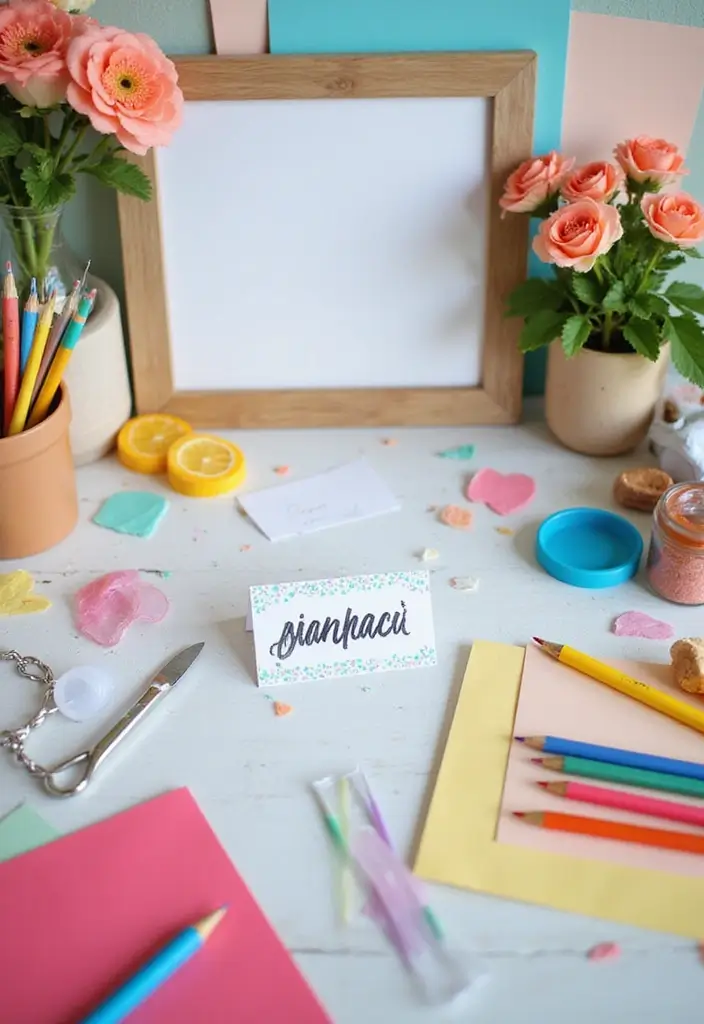
I made this post because I want simple, affordable name tags that add a touch of charm to any gathering. Paper crafts let you customize colors and fonts without breaking the bank. I tested several ideas and pulled out the ones that look cute and feel personal.
If you plan kids’ parties, classroom events, or casual family gatherings, this is for you. If you care about little details that make guests smile, you will love these ideas.
Here are 26 paper name tag DIY projects that look cute and custom. clear steps and a quick materials list so you can start right away. From crisp and modern to warm and whimsical, there is a style for every vibe.
These tags work on lanyards, badge holders, or a simple string with a punch hole. They are quick enough for a weekend project and cheap enough to try several different looks.
You can mix and match papers, colors, and fonts to fit your theme. I share practical tips on choosing cardstock, shaping corners, and adding tiny decorations that make a tag feel handmade.
Here is why this format helps you move fast. It gives you a stash of ready-to-use ideas that you can tailor to your event. Next steps are simple: pick a few favorites, gather a few supplies, and start crafting.
1. Floral Watercolor Name Tags

If you want name tags that feel personal and pretty, try floral watercolor name tags. They work well on gifts, at parties, and for classroom labels. The soft color and delicate petals give a handmade touch with little effort. Here is how to do it.
– Materials Gather watercolor paints, a soft brush, thick paper, scissors, a hole punch, a fine-tip pen, and twine.
– Design tips Sketch a few flower ideas for floral watercolor name tags on scrap paper, then paint them on your tags with light washes and gentle color blends.
– Drying and cutting Let the tags dry completely before cutting, so colors stay true and paper stays flat for neat handwriting.
– Lettering Cut the tags into your preferred shape, then write names with a fine-tip pen or a small brush for easy, legible letters.
– Finishing touches Add a tiny leaf or bloom accent with a quick stroke and a dab of white highlight for depth.
– Hanging Punch a hole at the top and thread twine, then tie the tag to a gift, place it at a table setting, or tuck it into a gift basket.
– Style variations Use a mix of flower designs for whimsy or stick to one color family for a cohesive look.
2. Rustic Kraft Paper Tags
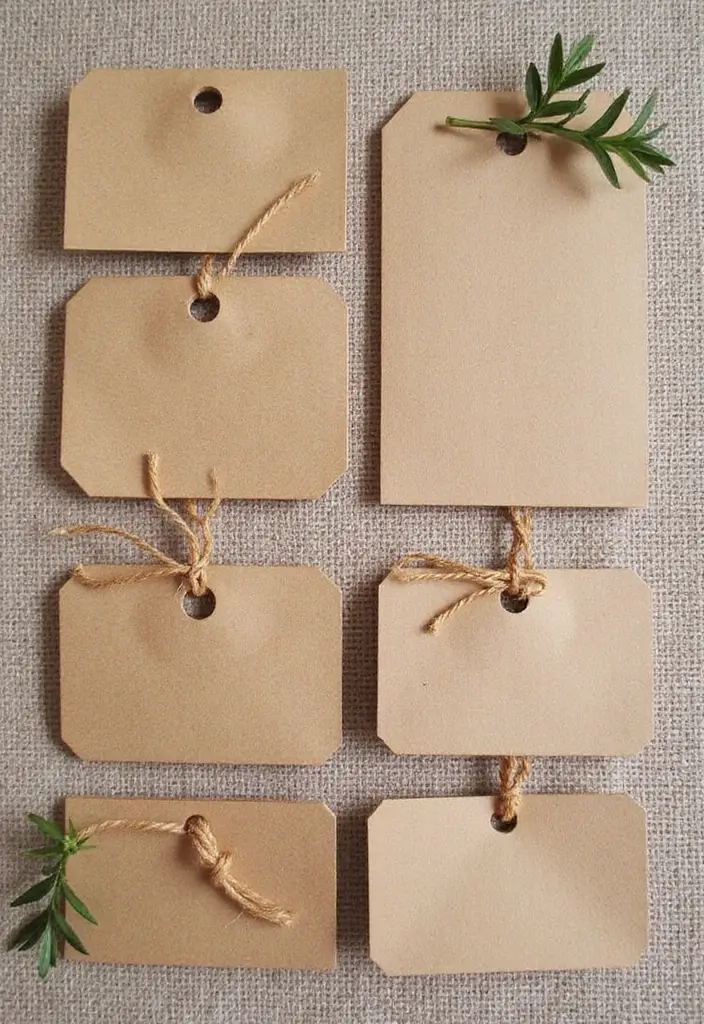
For a charming, simple look, rustic kraft paper name tags fit the bill. They feel warm and effortless, and you can make many at once. The brown shade gives a vibe that fits in any setting.
Here is how you can make a batch quickly:
– Pick kraft paper and cut it into shapes, like small rectangles or circles.
– Add a design with a stamp or a simple hand-drawn motif.
– Write names in a casual, easy-to-read script.
– Punch a hole and loop a piece of twine or jute for a rustic finish.
If you want more style without extra work, keep decorations minimal. A tiny leaf or sun adds charm without crowding the tag. Use a bold marker for names so they stand out, or a clean stamp for neat letters. Add a short second line for a note like Welcome or a table number.
Attach the tags with twine to chairs, place cards, or gift bags. They suit outdoor gatherings, garden parties, and farm-themed events, and you can reuse them later. Start with a small batch, test the look, then make more for the rest of your guests.
Next steps: lay out shapes, test a couple of stamps, then spool the twine.
3. Vintage Book Page Tags
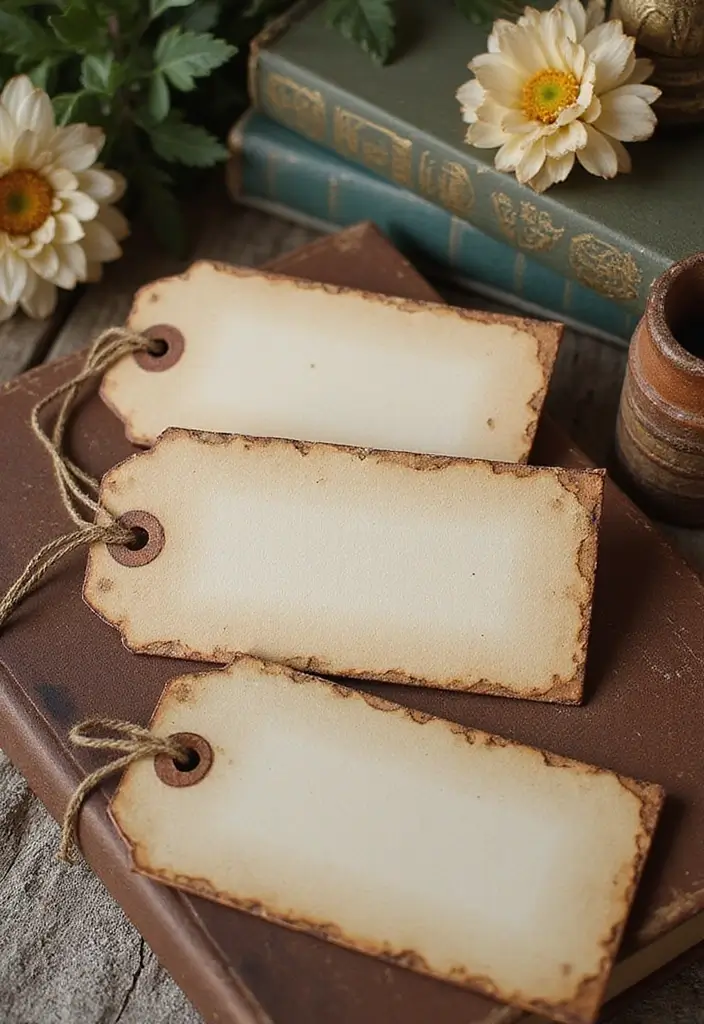
Are you trying to name guests at a book themed party without dull, store-bought tags? Vintage book page tags give you cute, personal touches that fit any literary vibe. They feel warm and nostalgic, and they’re easy on the budget.
Here is why this works. Pages from old books bring character, texture, and a little magic. The typography and aged look make each tag feel like a tiny treasure. You can pull off a big effect with just a few scraps of paper.
What you’ll need
– Old book pages with clear, pretty type
– Scissors or a craft knife
– An ink pad or tea stain for edge distress
– A pen or fine marker for the names
– A hole punch or a sharp needle
– Ribbon, string, or twine
– Optional backing card for extra sturdiness
How to make them
– Pick pages that have nice letters and stay readable when cut into shapes.
– Cut each page into a tag shape you like—rectangle, circle, or a playful banner.
– Distress the edges with ink or a quick tea stain for a warm, vintage feel.
– Write each guest’s name in a simple, readable font.
– Punch a small hole and thread in ribbon or string. Attach the tag to a place setting, a pendant, or a small holder.
Tips and ideas
– Seal with a light wipe of clear glue to help age well.
– Try a second color for the names to add contrast.
– Use book page tags for book clubs, author events, or library fundraisers.
Next steps
These tags work best at book-themed events and literary gatherings. They offer charm without a big price tag and invite guests to notice the small, thoughtful details.
@media(max-width:480px){
4. Chalkboard Style Tags

Need cute, easy name tags for your event? Chalkboard style tags hit the vibe you want. They feel warm and a bit rustic, like a cozy cafe, and they’re simple to make with just a few supplies.
What you need
– Black cardstock in tag shapes
– White gel pen or chalk marker
– Scissors or a craft knife
– Hole punch and twine or a small display stand
– Optional: stars, hearts, or simple borders for a personal touch
– Ruler and light pencil for neat lines
How to make them
– Cut your tags to the size you like.
– Punch a hole near the top for string or a place to set them.
– Write each name clearly with white ink.
– Add a tiny border or doodle to finish the look.
– Hang the tags on doors, chairs, or set them on stands where guests can see them.
Tips for a clean, lasting look
– Let the ink dry fully to avoid smudges.
– Use a steady, light hand for crisp letters.
– Keep a consistent style so all tags feel the same.
– If you worry about smudging, a light spray of fixative helps, but test first on scrap.
Where to use them
They work well for weddings, dinner parties, and casual gatherings. They also suit baby showers or classroom events. With a simple touch, your guests get a friendly, easy-to-find name tag at a glance.
5. Ombre Effect Tags
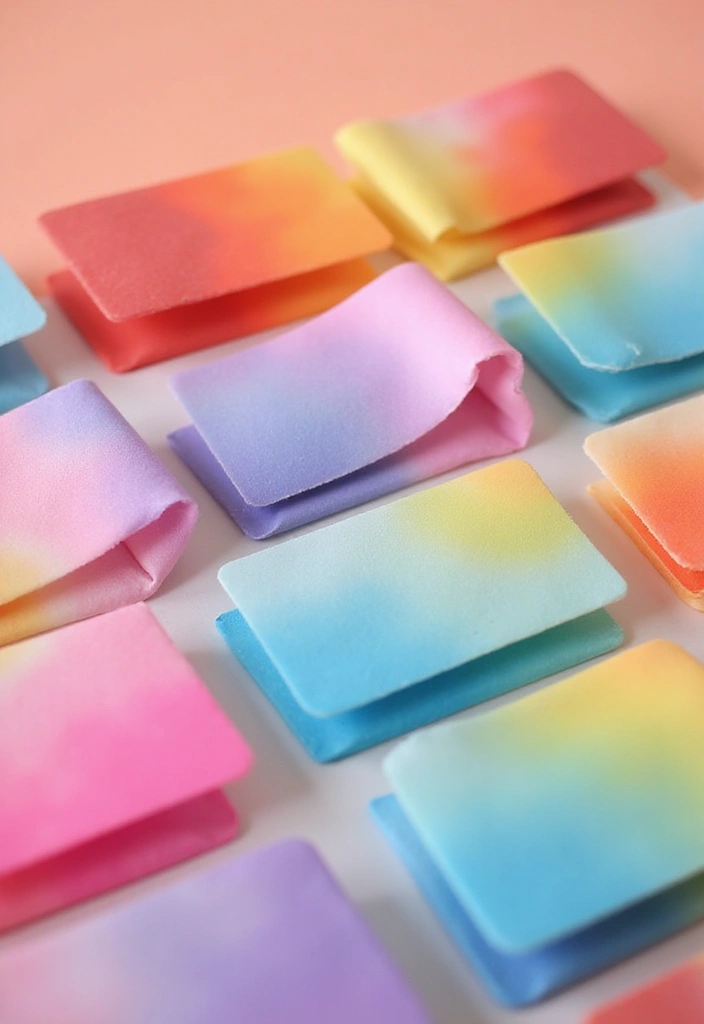
Need a simple way to label guests that also looks great. Ombre name tags do that with a soft color fade. They catch the eye on a table and are quick to make.
What you’ll need
– Colored paper or light cardstock in 3 shades (light to dark)
– Scissors and a tag shape or a punch
– Watercolors or markers for the fade
– A dark pen for names
– Ribbon or string to finish
Step by step
Here is the plan you can follow:
– Pick your trio. Choose colors that blend well.
– Cut the tags. Keep the same size and shape.
– Create the ombre. Start light at the top. Move to the mid shade. End with the dark shade. Blend edges so colors meet softly.
– Write the names. Use a high-contrast ink in the center.
– Add the finish. Thread a ribbon through the hole and tie.
Tips to try
– Test your gradient on scrap paper first.
– For reuse, seal the tags with a light spray or laminate before cutting.
– If you want a casual look, skip the seal.
– Try shapes beyond the standard tag, like rounded corners or a tabbed top.
Where they shine
These tags work well at bright summer parties, family dinners, birthday tables, and small weddings. They also fit school events or community gatherings.
Next steps
Keep it simple: pick colors, cut, and go. You’ll have cute, custom tags in no time.
@media(max-width:480px){
6. Leaf Print Tags
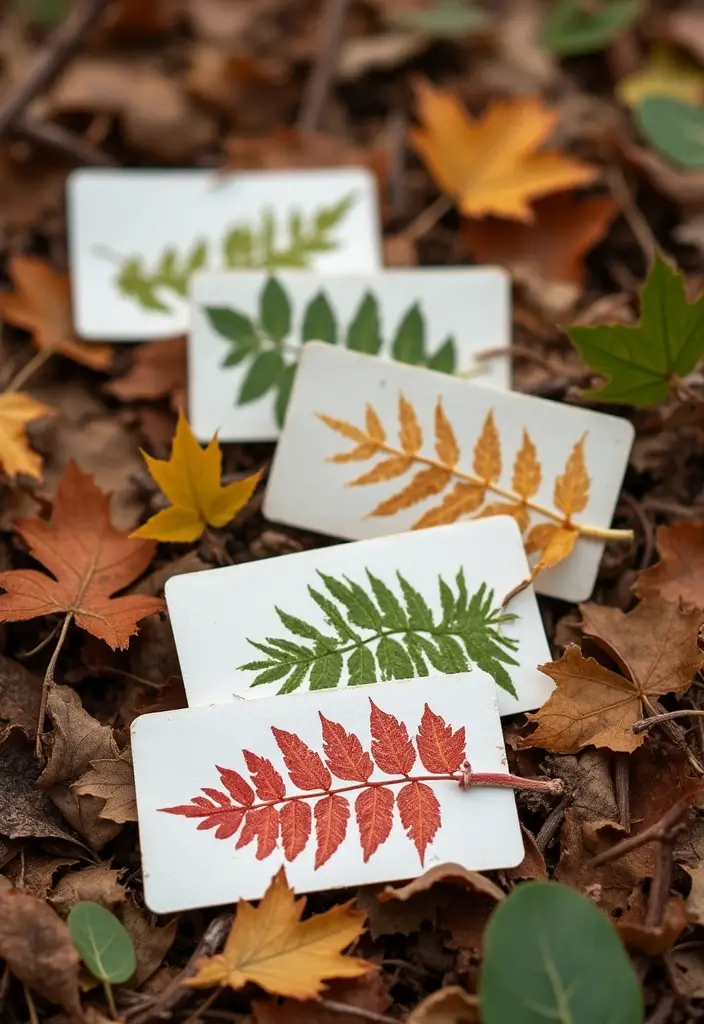
You want name tags that feel personal and kinder to the planet. Leaf print tags do that. They bring a natural touch to any event and cut down on extra waste.
Materials
– Real leaves with interesting shapes
– Tag stock or sturdy paper
– Acrylic or fabric paint
– Foam brush or sponge
– Scissors or a tag punch
– Fine-tip pen for names
– Hole punch and string or twine
– Optional sealant spray for durability
Steps
1. Gather leaves and press them flat for a day so prints stay crisp.
2. Squeeze a little paint on a palette. Lightly roll the leaf to coat one side.
3. Press the painted leaf onto a tag. Lift straight up to reveal the print.
4. Let it dry fully, then cut around the print into a tag shape.
5. Punch a hole and thread in string. Write names on the printed side with a fine pen.
Tips & Variations
– Use leaves with bold veins for high contrast.
– Layer two prints for a richer look.
– Try metallic or pastel paints for different vibes.
– For a tougher tag, seal with a light spray.
Why it works
These tags feel handmade yet clean. They look great at outdoor gatherings and weddings. Plus, this method uses natural materials and is easy to scale.
Next steps: gather leaves and try a few colors. It proves simple and chic.
@media(max-width:480px){
7. Colorful Washi Tape Tags

Colorful Washi Tape Tags
Need quick, cute name tags for a party or class? Washi tape helps you make bright, personalized tags in minutes. It adds color, texture, and a handmade feel without a lot of work.
Here is why it works: you can layer patterns, write names right on the tape, and skip tricky decorations that slow you down.
– Cut a tag shape from sturdy paper. Use a punch or scissors for clean edges.
– Lay strips of washi tape across the tag. Start with a base color, then add patterns in layers. Leave a clear space near the top for the name.
– Write names on top of the tape with a fine marker. Pick a dark ink for light tape, or a light ink for dark tape so the letters stand out.
– Add small touches like stickers, tiny sequins, or a simple doodle to give each tag its own style.
– Punch a hole and thread a piece of string or ribbon through. Let the ink dry a moment before you handle the tags.
Next steps: pick a color theme, gather 2–3 washi tapes, and cut 20–30 tags in a standard size like 2×3 inches. This keeps things fast and affordable.
These tags shine at craft parties, classroom events, and birthday celebrations. They’re easy to swap, re-use, and customize for any theme.
8. Stenciled Name Tags
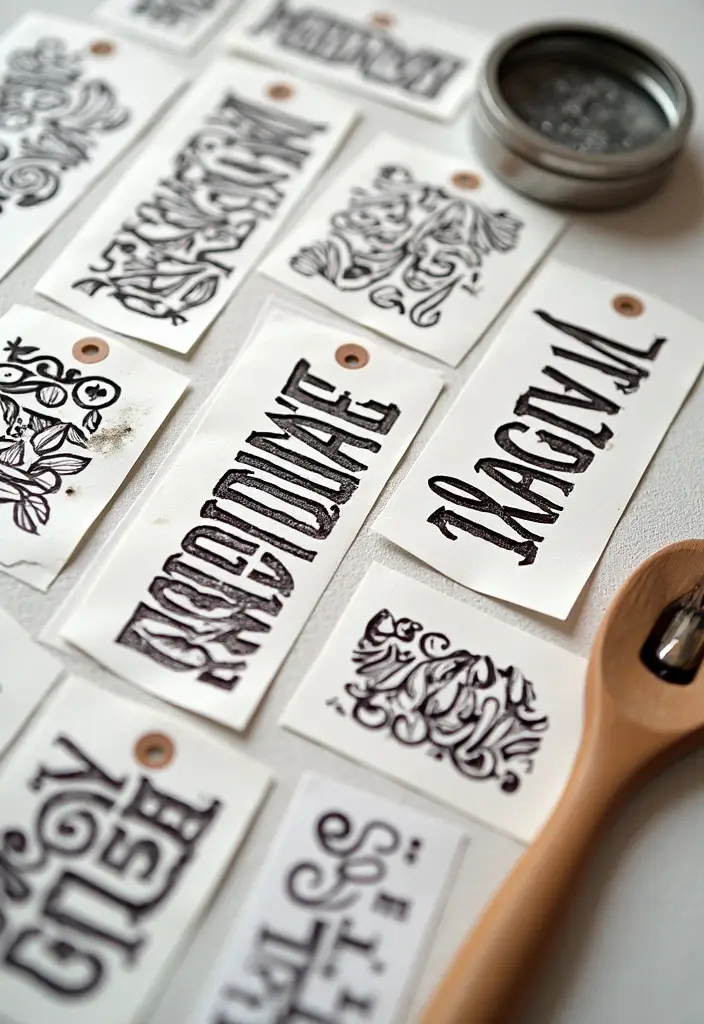
Stenciled name tags give you a clean, polished look for any event. You get sharp letters, even borders, and a style you can repeat with ease. Here is why this method fits your project: it is simple, fast, and easy to learn.
What you need
– sturdy paper or light card stock cut into tag shapes
– name or design stencils
– sponge brushes or foam daubers
– acrylic or craft paint in a few colors
– scissors and a hole punch
– string, ribbon, or twine
Steps you can follow
– tape the stencil to the tag to keep it from moving
– dip the sponge in paint and dab gently; avoid rubbing to keep edges clean
– lift the stencil while the paint is still damp to prevent smudges
– let dry completely, then trim edges if needed and punch a hole
– thread your string and tie
Tips for best results
– test on scrap first to dial in pressure and color
– use thick paper so the tag lies flat
– choose a single color for a quiet, formal feel or two colors for a bold look
– for many guests, stencil a few names at a time, then finish by hand
Practical ideas
– pair a simple border stencil with a classic font for formal dinners
– keep tags the same size and spacing so your table looks neat
– add a clear spray seal sparingly to resist smudges
Next steps: try a quick run with two color options, compare the look, and pick one that matches your event style.
Recommended Products
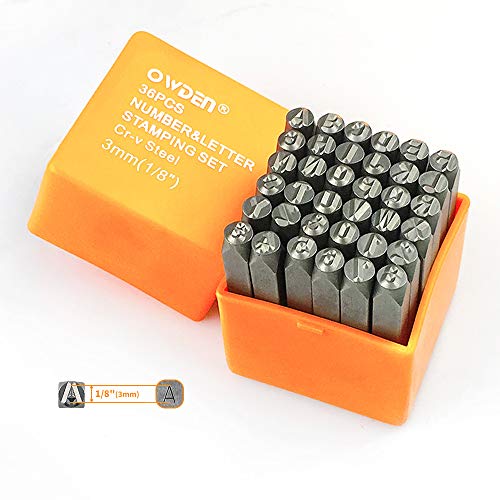
Owden Professional 36Pcs. Steel metal stamping set,number and letter punch set (1/8”) 3mm (Pls check if the dimensions meet your requirements),Uppercase, All Stamps are made of high quality alloy steel for strength and hardness , Hardness: Hrc 58-62.

Abundant quantity and considerate combination: here comes a rich package with 200 pieces writable iron on clothing labels and 2 pieces permanent fabric markers included, providing plenty of labels for nursing home residents, daycare, or workplace uniforms

QUALITY NUMBER & LETTER STAMP SET: Our classic number and letter punch set is created with hardened, heat-treated #45 carbon steel for increased durability, so you’ll be able to use these metal stencils for art, hobbies, and work for years to come.
9. Hand-Cut Shapes Tags
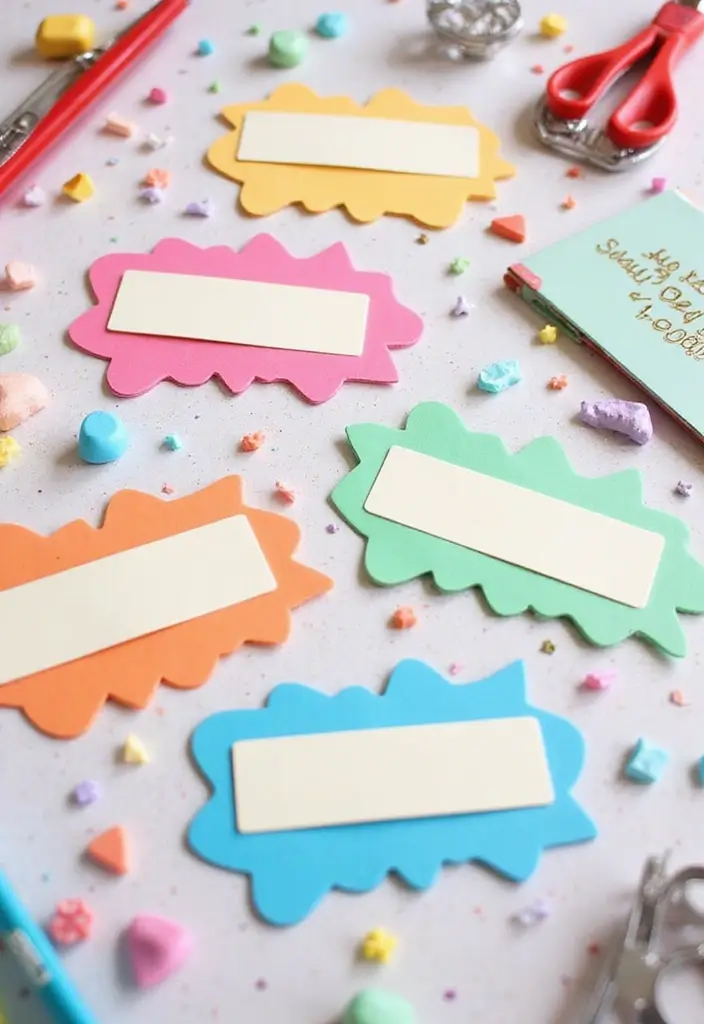
You want name tags that feel warm and personal. Hand-cut shape name tags deliver that. They stand out at a glance and add a playful touch to your gathering.
– Shape ideas
Pick shapes that fit your theme. Stars, hearts, animals, or silly icons work great. Bigger shapes make names easier to read from across the room.
– Materials you’ll need
Use sturdy cardstock or craft paper. Have sharp scissors or a shape cutter handy. Keep a pencil, markers, and stickers nearby. If you like glitter, add a clear sealant to keep it in place. You’ll also want a hole punch and some ribbon or string for hanging.
– How to design and assemble
Trace your chosen shape, then cut it out with clean edges. Decorate with bold colors and simple drawings. Write each guest’s name in a bright color for high contrast. If you add glitter, seal it lightly so it doesn’t shed.
– Quick tips
Make tags a bit larger than a standard rectangle so names stay readable. Punch a hole near the top and thread string through. Try one tag first to see if the font and colors pop.
– Best uses
These DIY name tags shine at kids’ parties, classroom events, and themed get-togethers. They also work well as party favors.
– Time and efficiency
Hand-cut tags take a little longer, but the charm is worth it. Batch-cut several shapes to speed up the process.
Next steps: gather supplies, choose shapes, and start cutting. Your shape name tags are ready to wow guests.
@media(max-width:480px){
@media (max-width: 600px) {
.normal-quiz-iframe { min-height: 570px !important; height: 570px !important; }
}
10. Geometric Pattern Tags

You want name tags that look fresh and classy without a lot of extra work. Geometric Pattern Tags give you that clean, modern vibe with simple steps you can follow.
Here is why they work: bold shapes catch the eye, but the writing stays easy to read. You can change colors to match any event, from a chic conference to a sunny art show.
– Choose a color palette that fits your theme.
– Use stencils or draw freehand geometric shapes like triangles, hexagons, or chevrons.
– Sketch your patterns on plain paper, then fill them in with your chosen colors.
– Cut the designs into tag shapes. Add holes for string and decide if you want rounded corners or a classic rectangle.
– Print or write names with a bold pen or marker. Keep the font size large enough to read at a glance.
– String the tags with ribbon, twine, or cord. Hang them for a decorative display or attach them at each place setting.
These tags work well for modern gatherings, gallery nights, or design talks. They look polished, yet you can make them in batches to save time.
Tips for success
– Keep one main color for the names so they pop against busy patterns.
– Use a single accent color to highlight borders or shapes.
– Test a small run first to refine spacing and line width.
Next steps: gather a few sheets of sturdy paper, a ruler, a stencil set, and a black marker. Then start your geometric name tag project and enjoy the clean, stylish results.
@media(max-width:480px){
11. Recycled Cardboard Tags

You want name tags that look cute and keep waste low. Recycled cardboard does the job well. It has a warm, rustic feel and is easy to find at home. You can turn old boxes into stylish tags that fit any event.
Here is why these tags work. They’re cheap, simple, and touchable. They take paint and markers nicely. They stay sturdy enough for a full day of use.
What you need
– Clean cardboard pieces from old boxes
– Scissors or a craft knife
– Paints, colored markers, stamps, or stickers
– A pen or printed names
– Hole punch and string, yarn, or twine
– Optional: a light clear spray for protection
Here is how to craft recycled cardboard name tags. Let’s break it down so you can start fast.
– Cut simple tag shapes. Circles, rectangles, or a tag with a small notch work well.
– Decorate. Keep colors readable against the name. A little pattern or border adds charm.
– Add names. Use bold, easy-to-read letters. You can write by hand or print and glue on.
– Punch holes and thread string. Use a sturdy hole punch and a short length of twine or ribbon.
– Finish as needed. Let any paint dry. A light spray keeps ink from rubbing.
Next steps: hang these eco-friendly name tags at parties, classroom events, or markets. They fit any style and show you care for the planet.
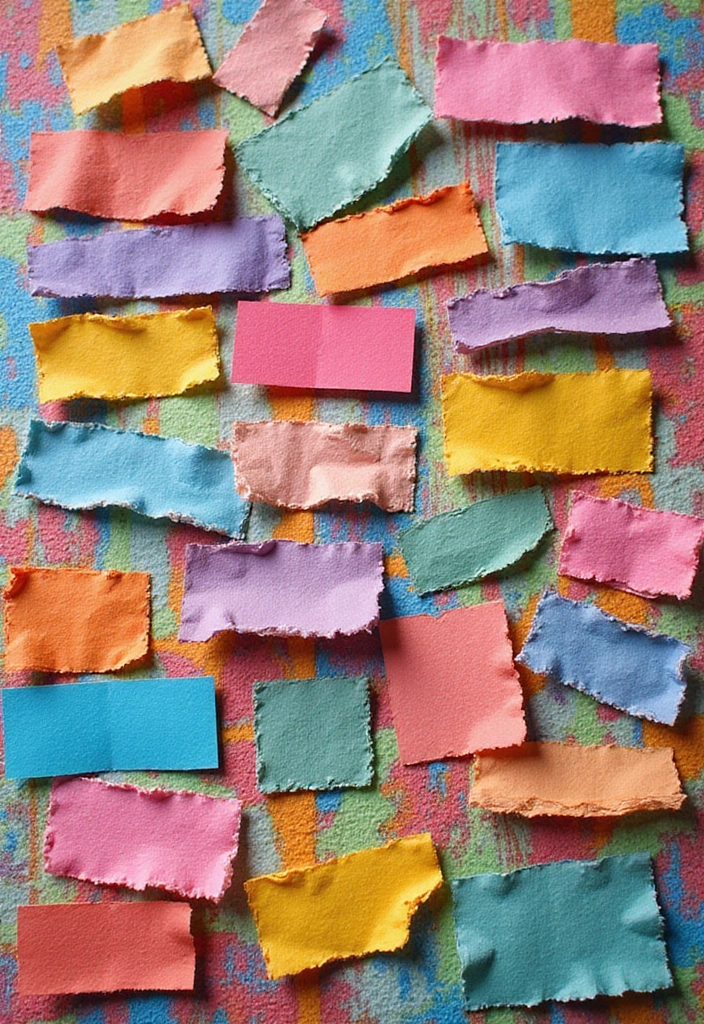
12. Fabric Swatch Tags
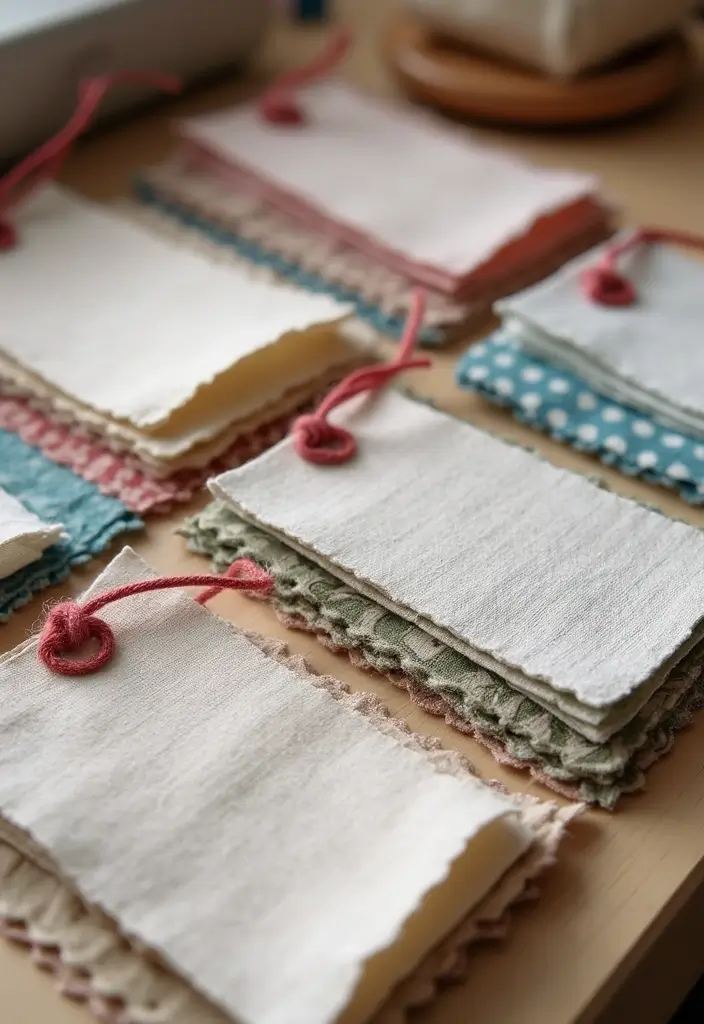
Why fabric swatch tags work
You want name tags that feel warm and handmade. Fabric adds texture and a cozy vibe. Fabric swatch tags give a fresh look for craft fairs, sewing classes, or workshop events. Here is why they work: they show your DIY spirit and catch the eye.
How to make them
– Cut fabric swatches into small tag shapes.
– Attach the fabric to sturdy paper or mount on a thicker fabric base for strength.
– Write names with fabric markers or regular ink pens that won’t bleed.
– Add a little flair with buttons, lace, or a tiny bow.
Style tips
– For a bold look, pair bright prints with simple letters.
– For a calm vibe, use soft neutrals and clean, easy-to-read fonts.
Practical notes
– If fabric frays, finish edges with a light zigzag stitch or a dab of fray glue.
– A thin ribbon or twine through a punched hole makes the tag easy to wear.
Where to use
– These tags work at craft fairs, sewing workshops, maker meetups, or any handmade event.
Final thought
– Fabric swatch tags show your hands-on approach while giving guests a tactile clue to your craft. They stay useful and unique to your brand. Include them in your next set of name tags.
13. Seasonal Theme Tags
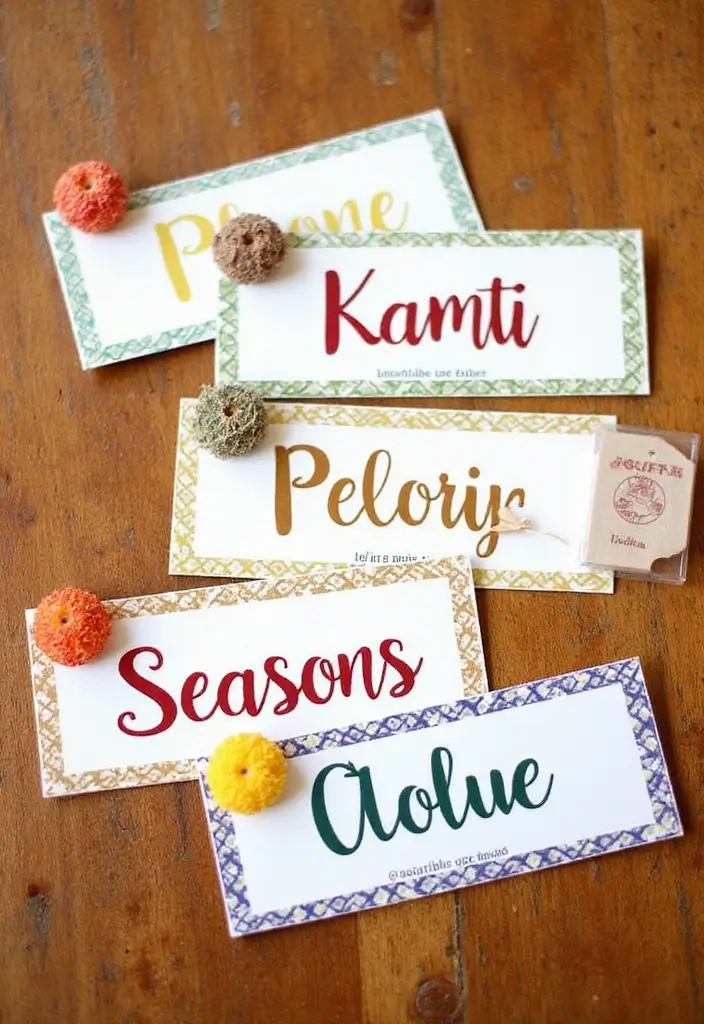
You want name tags that fit the season and spark a smile at your gathering. Seasonal name tags set the mood and help guests find their seats with a little extra charm.
Here is why seasonal tags work. They echo the time of year and make your space feel thoughtful. You can swap them out for holidays or outdoor parties, giving your event a cohesive look.
– Step 1: pick a season and gather materials. Think leaves or acorns for fall, snowflakes for winter, flowers for spring, sun shapes for summer. Grab paper, scissors, markers, glue, and a hole punch or edge scissors. You can use real elements or cut shapes from colored paper.
– Step 2: shape and assemble. Cut tags in a simple shape, then add a season element on each one. Keep sizes similar so the tag set looks neat on the table.
– Step 3: write names with a seasonal color palette. Use colors that fit the season and stay legible. A bold marker on light paper works best.
– Step 4: finish and attach. Punch a hole, loop a string or ribbon, and tie the tag to chairs, jars, or napkin rings.
– Step 5: display with care. Place them at place settings or along a dessert table to spread the festive vibe.
Next steps: mix and match motifs, and keep a small supply of extra tags for spontaneous seasonal gatherings.
@media(max-width:480px){
14. Glittery Glam Tags
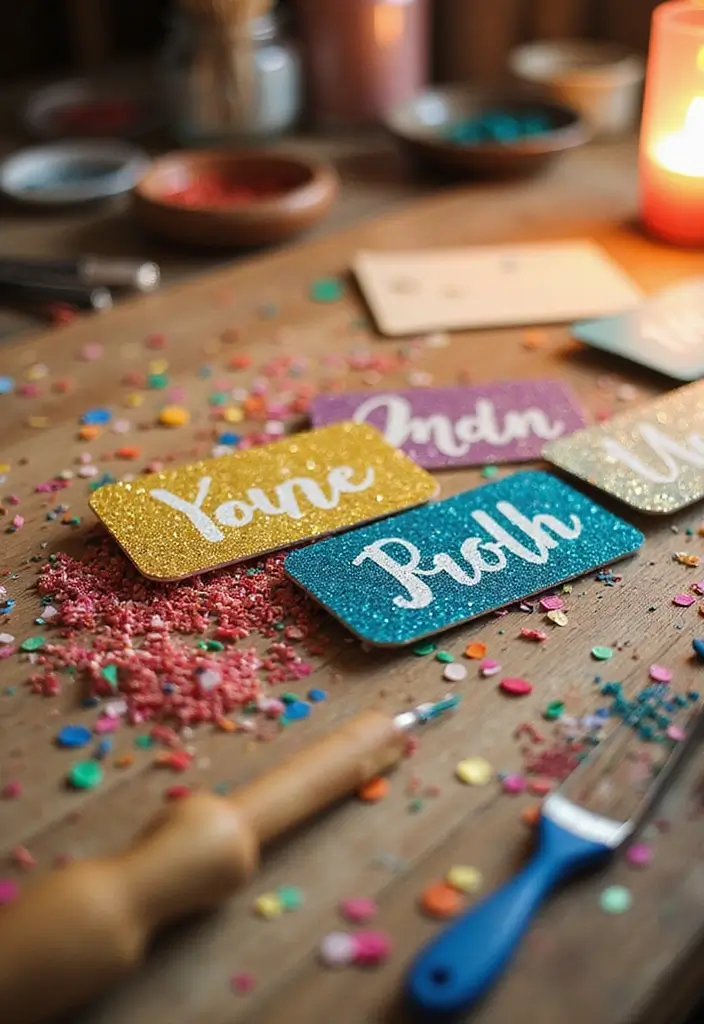
Looking for name tags that catch the eye without a lot of work? Glittery name tags add shine to any event. They grab attention and set a fun tone. Here’s how to make them.
What you’ll need
– sturdy tag bases
– craft glue
– glitter in your chosen colors
– a dark marker
– clear sealant
– ribbon or twine
Steps
– Choose sturdy tag bases. Card stock or blank name tags work well.
– Apply a thin line of glue along the edges or shapes you want to sparkle.
– Sprinkle glitter over the glue. Let it land where you want the shine.
– Tap and shake off the excess glitter. Let the tag dry completely.
– Write the names with a dark marker for clear text.
– Seal the glitter with a spray or clear glue to keep it from shedding.
– Attach the tag with ribbon or twine for a bold finish.
– Let the tags dry overnight if you used a lot of glitter.
These tags shine best in bright light. A little sparkle goes a long way, especially at parties and festive gatherings. Place them on name cards, party favors, or gift tags to add a personal touch.
Tips for a lasting sparkle
– Use gold or silver glitter for winter. Pick bright colors for summer.
– Try a border with washi tape.
– For a reusable tag, skip glue and use glitter stickers.
– For a softer look, mix fine glitter with larger flakes.
If you want extra glow, add tiny gems or foil accents. Now you have glam, easy name tags for any theme.
15. Photo Frame Name Tags
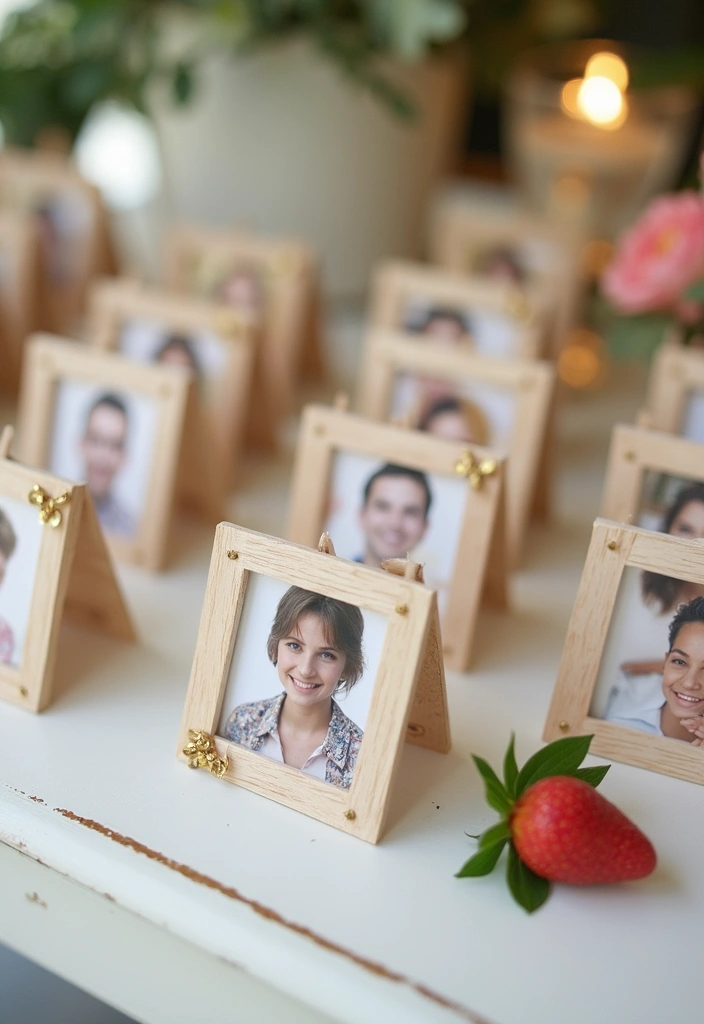
You want name tags that help people mingle and remember each other. Photo frame name tags do that by pairing a face with a name. They feel personal and easy to chat about.
Here is why this idea works for events big or small. People spot a familiar face fast. A quick hello kicks off conversations. Guests will know where to start when they grab a tag. It also adds a warm, friendly vibe to your gathering.
What you need
– Small photo frames or sturdy card backing for each tag
– Tiny photos of guests or simple, generic images
– Card stock to back every tag
– Scissors or a paper cutter
– Glue or double‑sided tape
– A marker or pen for names
– String, ribbon, or mini clips for display
Steps
1. Print mini photos of your guests, or use friendly generic pictures if needed.
2. Mount the photo on a strong backing and cut the shape of a tag.
3. Write the person’s name next to or below the photo.
4. Add a string or clip and set them up on a display wall or table.
Tips to make them pop
– Use clear tiny frames for a clean, modern look.
– Keep the font large enough to read quickly from across the room.
– Mix up colors for a festive vibe, but stay easy to read.
– Place tags near the entrance or on a photo board to guide mingling.
Next steps: try a small batch for a trial run at your event. Swap guest photos as needed, and you’ll have a warm, approachable setup that invites everyone to say hello. These photo frame name tags turn simple tags into friendly introductions.
Recommended Products

√ Best Style-Matching Sets--20Pcs rustic wood place card holders comes with 24pcs kraft place cards, great for using as table name cards, seating cards, table guest name cards, food signs for buffet, table menu cards for wedding party, table food markers, food label cards for thanksgiving dinner party, affirmations cards stands, appetizer stands, table signs for party buffet, tea party name tags. The wooden place card holders match the kraft place cards perfectly, so you can get them together and saving time to search for cards.
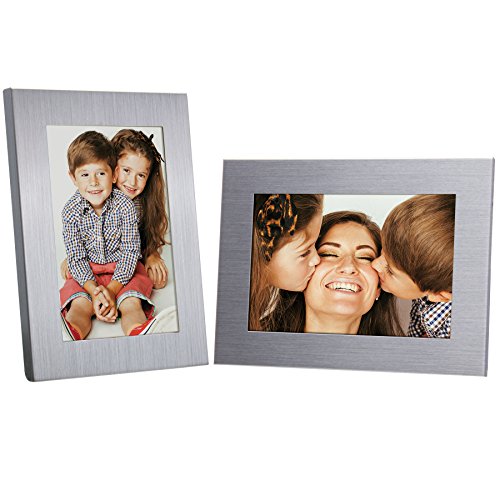
Silver picture frames have a brushed silver finish, and come wrapped in tissue paper packaged in a gift box

Package Includes: 36 pieces of self-adhesive kids photo nameplates in 6 designs
16. Origami Name Tags
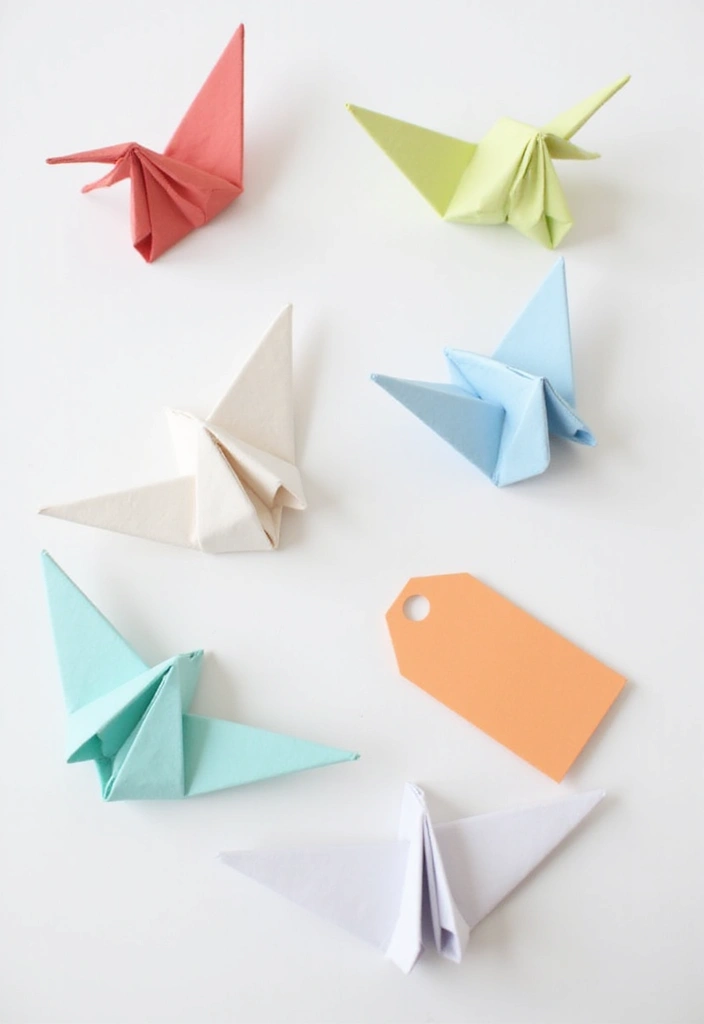
You want name tags that feel personal and playful. Origami name tags deliver that small art vibe. They peek cute, and they work as quick decor. With a few careful folds, you turn plain paper into a tag that holds a name and a tiny story.
Here is how to create
– Gather origami paper in colors you love, a fine marker, and a string or thread for hanging.
– Choose a simple shape first, like a flower, a heart, or a crane.
– Fold with clean lines so the edges stay crisp.
– Write the name on the outer face after you fold, or slip a tiny label inside if you prefer.
– Attach a string at the top so you can hang them as place markers or garlands.
These tags shine at art events, classroom gatherings, or any meet‑and‑greet.
Tips for best results
– Practice on a scrap sheet before you commit the final tags.
– Let the ink dry fully to avoid smears.
– Use double‑sided origami paper to show color on both sides.
– Keep folds light at first; you can press with a fingertip for neat edges.
– If you work with kids, start with one or two easy shapes.
Why this works
– It adds a personal touch without extra clutter.
– It doubles as decor you can reuse at future events.
– It’s simple to adapt to themes by color and shape.
Next steps
– Plan your color palette to match the event.
– Practice a couple of shapes so you can offer options.
– Have a few extra tags ready for last‑minute guests.
Origami name tags are a charming, hands‑on way to greet guests. They lift the mood and make guests feel seen, one fold at a time.
17. Color Splash Tags

Here is why color splash name tags work. These are quick, easy DIY name tags for any event.
Let’s break it down. You need a few simple items and a bit of time.
Materials
– Thick paper cut into tag shapes.
– Bright paint or ink in several colors.
– A brush, a cup of water, and paper towels.
– A permanent marker to write names.
– Optional: a clear spray sealant for durability.
Steps
– Cut sturdy paper into tag shapes.
– Splash color on each tag with a brush. Let colors spread.
– Swirl the paint for abstract patterns.
– Let the tags dry completely.
– Write names with a permanent marker.
– If you want longer life, spray lightly and dry.
Tips
– Use 3 colors for contrast, like blue, pink, and yellow.
– Do the work on a protected surface.
– Test one tag before doing many.
– Add string or ribbon so tags hang easily.
Next steps
These tags grab attention at casual gatherings. They pair well with simple decor and can match any color scheme. Try different color mixes to suit your event. They are quick to make and easy to reuse.
@media(max-width:480px){
18. Stitched Paper Tags

Want name tags that feel warm and handmade? Stitched paper tags add texture and lasting charm. They mix color with craft and stand up to a busy event.
Materials
– sturdy card stock or thick paper
– colorful embroidery thread
– a needle with a large enough eye
– scissors and a hole punch (optional)
– a permanent marker for names
– string, twine, or ribbon to attach tags
Steps
1) Cut tags from thick paper to your preferred shape and size. 2) Punch holes around the edge or along a simple border. 3) Thread the needle and sew around the edges. Use a running stitch or small decorative patterns to add texture. 4) Write names clearly with a permanent marker after sewing. 5) Attach the tag with string or ribbon to a place card, gift, or seating card.
Design ideas
– Try a simple running stitch in a bright color for a crisp border.
– Fill letters with short stitches for a stitched-in look.
– Create a concave border by stitching a curved edge.
– Mix two colors for a bold frame that matches your event colors.
Tips for best results
– Use thick card stock to prevent tearing when you sew.
– Practice a small sample to tame the stitch size.
– Finish the back with a light layer of clear tape to reduce fraying.
– Write names after you stitch to avoid ink smudges.
When to use
Add these tags to rustic weddings, classroom parties, craft fairs, and other handmade gatherings. They feel personal and invite a warm, welcoming mood.
@media(max-width:480px){
19. Interactive Name Tags
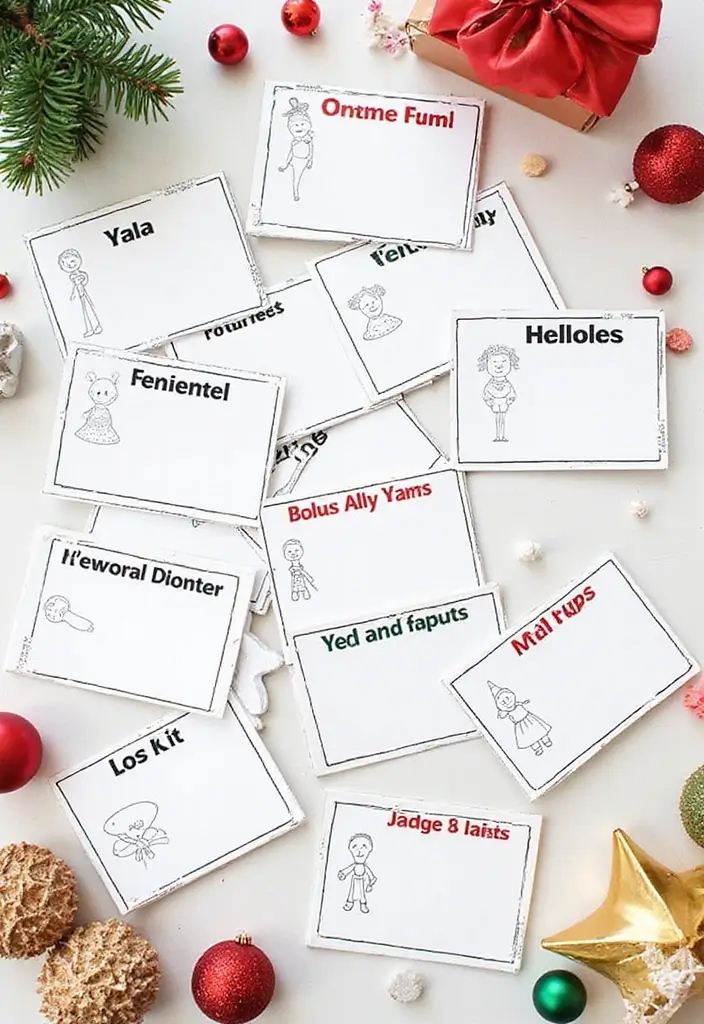
You’re planning a party or a work mixer. You want guests to talk. Interactive name tags can help. They mix a name with a prompt inside and a spot on the outside for the person’s name.
What you get
– A foldable tag with a quick question inside.
– A bold name on the front so guests can spot you fast.
Materials you need
– Sturdy card stock and scissors.
– Markers or pens, and a glue stick.
– Optional: a hole punch for a string.
– Optional: a bright color palette to make names pop.
Step-by-step craft
– Cut cards to tag size and fold into a mini booklet.
– Write the name on the front.
– Add one short question inside for ice. Leave a line outside for the guest to jot a fact later.
Prompt ideas inside
– What hobby makes you smile?
– What’s your go-to snack at events?
How to use at events
– Place tags on tables or give them as guests arrive.
– Invite guests to fill out a fact or two and share it.
Tips for better tags
– Keep prompts short and open.
– Use bright colors to read names easily.
– If you run a big event, print several sets in different colors.
20. Patchwork Tags
Here is why patchwork name tags work for you
You want name tags that feel warm and unique. Patchwork name tags turn scraps into art. It’s simple and affordable. Your tags tell a story.
What you’ll need
– Tag bases: blank name tags or sturdy cardstock
– Scraps: paper bits or fabric pieces in a coordinated palette
– Glue: strong craft glue or fabric glue
– Scissors and a pencil
– A fine marker for names
– Clear sealant or Mod Podge for protection
– Optional: tiny embellishments like ribbons or buttons
Steps to make patchwork tags
– Gather scraps in your chosen colors
– Cut them into small shapes
– Lay them on the tag to plan the look
– Glue pieces down one by one to form a tiny collage
– Write the names beside or on top of the patchwork
– Let dry completely, then seal lightly to keep edges flat
Tips for success
– Start with a light center and build outward
– Keep edges close to form neat seams
– Use a simple font so names stay easy to read
– Test glue on a scrap first to avoid wrinkles
Where to use patchwork tags
Craft fairs, classroom events, or family gatherings. These name tags feel personal and stand out without breaking the bank.
@media(max-width:480px){
21. Miniature Envelopes Tags
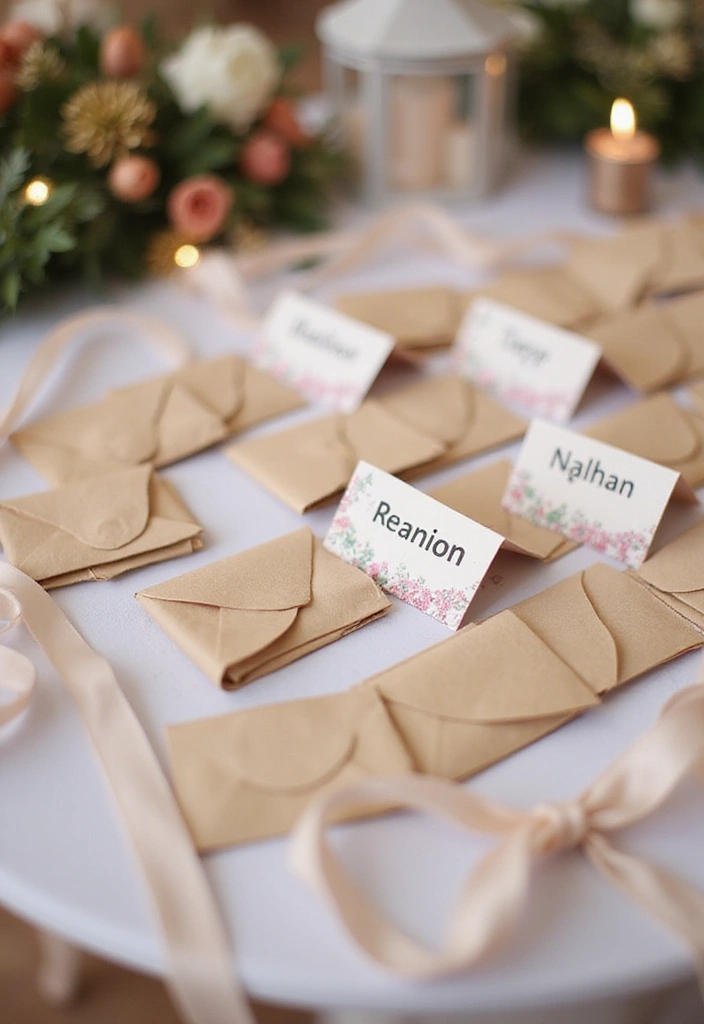
Looking for name tags that feel personal, not plain? Miniature envelope name tags add a small, memorable surprise.
These tiny envelopes hold a name and a quick note or greeting. They bring whimsy to any event and show guests you care.
Here is why this works: the envelope becomes a keepsake, and you can customize colors and ribbons to fit your theme.
What you’ll need
– Decorative paper or mini envelope templates
– Scissors and glue or glue dots
– A fine pen for names
– Thin ribbon or string
– A short note or message
How to make
1. Fold or cut a tiny envelope from your paper
2. Write the guest’s name on the front
3. Slip a brief note inside
4. Seal and tie with ribbon
Display ideas
– Clip the tag to a name badge, lanyard, or card holder
– Set it on the plate with the name card
– Group colors by table for a cohesive look
Tips
– Match colors to your event style
– Keep notes short so they fit inside
– Try two sizes for variety
– For a rustic vibe, use kraft paper and twine
Note: They take time to make, so they’re best for small gatherings or a staged batch. If your event is large, batch prep with a simple version to save time.
Next steps: pick a paper, prepare a batch, and run a quick test tag before the day.
@media (max-width: 600px) {
.visual-quiz-iframe { min-height: 995px !important; height: 1100px !important; }
}
22. Nature-Inspired Tags

Nature-Inspired Tags
You want name tags that feel fresh and personal. Here is why this works. Nature-inspired tags do that. They fit outdoor weddings, picnics, and nature-themed parties.
What you need
– sturdy paper tags or kraft cardstock
– clear-drying craft glue
– tiny natural pieces: pressed flowers, small leaves, thin twigs
– a fine-tip pen or pencil for names
Step by step
1) Collect with care. Gather small pieces and check rules before picking in parks or private areas.
2) Dry and press. Press flowers between heavy books for a few days or use a flower press so they stay flat.
3) Plan the design. Place pieces on each tag to see the look before gluing.
4) Add the names. Write in a simple, legible script that fits the natural vibe.
5) Seal lightly. A light spray sealant helps hold pieces and keeps fading slow.
Tips for best results
– Keep it simple. One flower or a single leaf works best.
– Match colors to your theme. Soft greens, browns, and creams blend outdoors.
– Use texture. Let the paper grain and natural edges shine.
Where to use
Outdoor weddings, garden parties, and family picnics benefit from these tags. They connect guests to the scene and setting.
23. Tie-Dye Name Tags

Want cute name tags that fit a casual party? Tie-dye makes it fun and easy. It brings a splash of color without heavy work. Here is why it works for DIY events: simple supplies, a quick setup, and a playful look.
What you need
– White paper or fabric tags
– Rubber bands or string
– Fabric dyes or bold markers
– Water cups and paper towels
– A fine-tip marker to write names
– Optional clear spray sealant
Next steps.
Here is how to do it:
– Choose white tags to let the colors pop.
– Wrap each tag with rubber bands to create sections.
– Apply dye or markers to form a tie-dye pattern.
– Let the tags dry completely.
– Write the names in bold colors for easy reading.
– Place the tags flat and wait for any last touch-ups to dry.
– If you want extra staying power, spray lightly after drying.
Tips for best results
– Test colors on a scrap piece first.
– Use a small brush for clean edges.
– Keep the dye off your hands with gloves.
– Let dry in a warm, airy spot.
Finish ideas: tie-dye name tags work great for summer picnics, kids’ parties, or casual dinners. They brighten a table and are quick to make, so you can finish a whole set in one sitting.
24. Beaded Name Tags
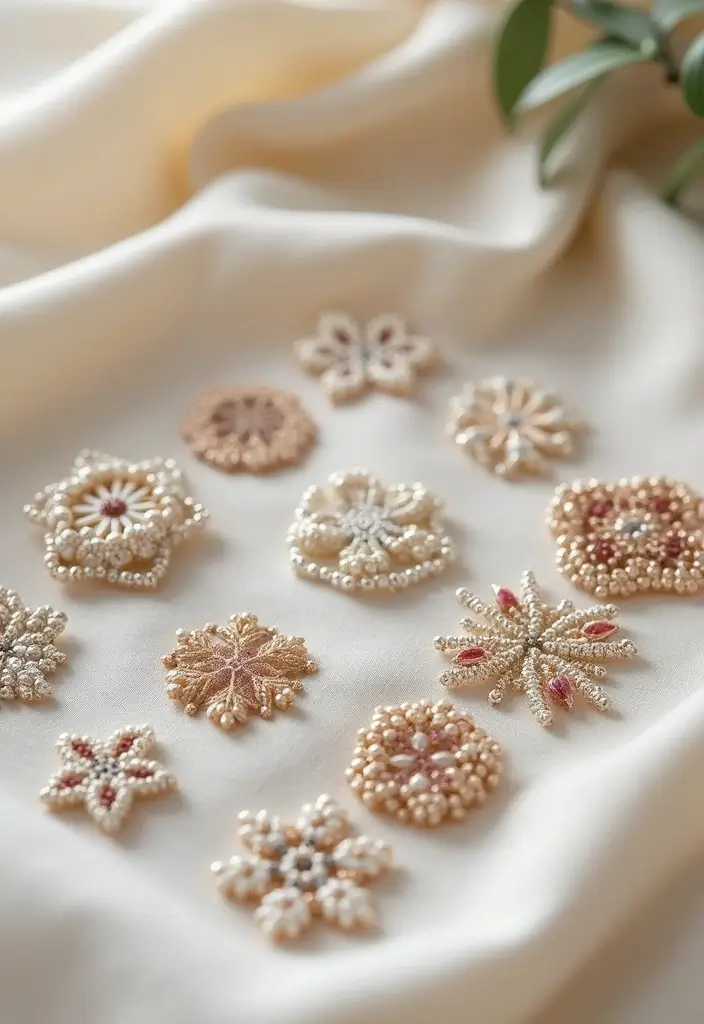
Beaded name tags add a touch of class without a lot of effort. A little sparkle goes a long way.
Materials you’ll need
– Thick paper tags or cardstock
– A hole punch
– Small seed beads or glass beads
– Fine beading thread or thin jewelry wire
– A needle that fits through the beads
– A permanent marker for the name
What to do
– Cut tags from sturdy paper and punch holes along the edge.
– Thread beads onto your thread to form a neat border.
– Knot the thread as you go so the beads stay put.
– Write the guest’s name in the center with the marker. Let the ink dry.
– For a simple look, border with one bead line. For a fancier touch, add a tiny bead pattern.
Why this works
Beaded borders catch light as people move. The result feels handmade but refined. This works for weddings, banquets, or birthdays.
Tips for a polished finish
– Choose bead colors that match your theme.
– Use larger beads if you’re new to beading.
– Practice on a spare tag first.
– Seal the back with clear tape so the thread won’t snag.
Next steps
Share your finished tags with guests and enjoy the sparkle on the table.
Recommended Products

ALL YOU NEED INCLUDED - This beads set includes everything you need to make jewelry, including 15500pcs 4mm glass seed beads 6/0, 400pcs letter beads, heart beads, evil eye beads, white shells and golden accessories in different styles. Jump rings, buckles, lobster buckles, scissors, tweezers, threading needles and crystal/nylon threads are also included

Quantity & Size: Glass seed beads are about 3mm, about 7200 in 28 colors. Each color is totally different and bright, rich colors can meet your needs for various jewelry.
25. Personalized Photo Stickers Tags
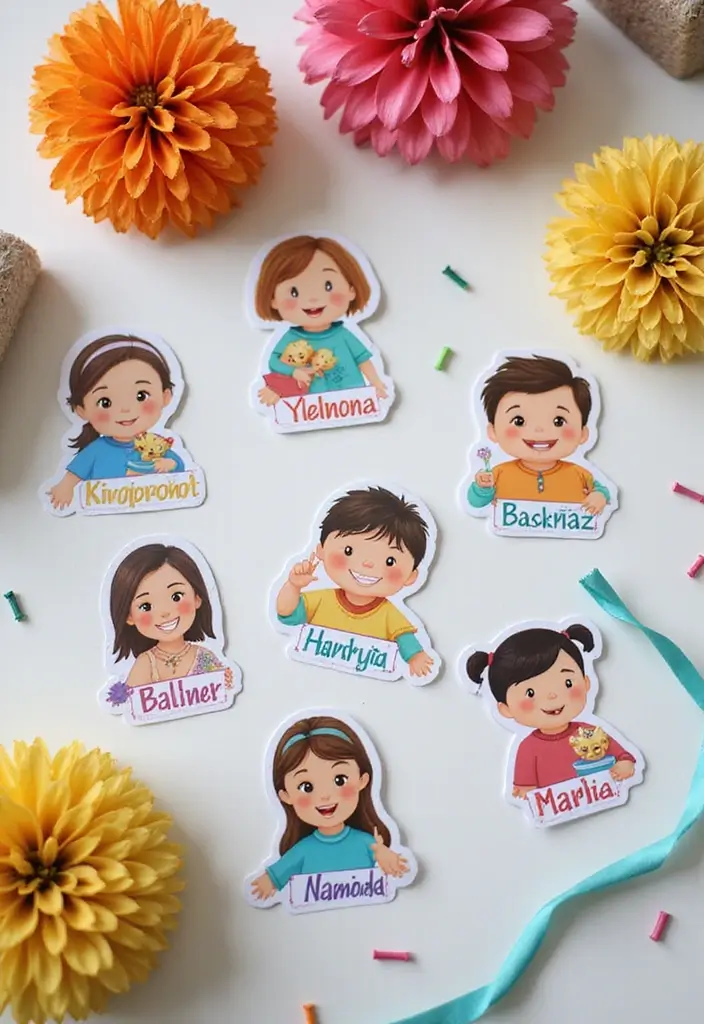
You want a simple way for guests to meet at your event. This idea uses personalized photo sticker name tags. They spark conversations as people spot a face and a name together. Here is why this works: photos ease introductions and help memories stick.
What you need
– Tag bases with a hole or small blank cards for hanging
– Small photos or fun graphics that fit your tag
– Sticker paper or label stock for the photo stickers
– A printer or access to a quick photo print service
– Scissors or a craft knife to trim
– A pen or marker to write names clearly
Step by step
1) Choose photos or graphics for the tags before the party.
2) Print tiny photos that fit the tag size you picked.
3) Create or buy sticker backs that fit your tag base.
4) Stick the photo on the tag and write the name underneath in a bold, easy-to-read style.
5) Punch a hole and add string, ribbon, or a clip to wear the tag.
Tips for best results
– Keep the text simple so it’s easy to read from a short distance
– Use matte sticker paper to cut glare in well-lit rooms
– Test one tag first to check size and readability
– Have a few extra tags ready for last-minute guests
Next steps
This idea works for casual gatherings, birthday parties, and family events. It adds a personal touch without a lot of fuss. Give it a try and tweak the colors to match your theme.
Recommended Products

BRIGHT AND COLORFUL: With 16 vibrant colors(3"x2"), our rainbow name tags are sure to make people happy. Use them to organize and identify items and stay on top of your game!

Personalize name badge labels by hand or print your custom stickers on the 4" x 6" sheets with your laser or inkjet printer

PERSONALIZED NAME STICKERS - Select the color, font and enter your custom text. A great way to add your name to water bottles, cups, laptops, daycare items, cars and tumblers
26. Customizable Digital Templates
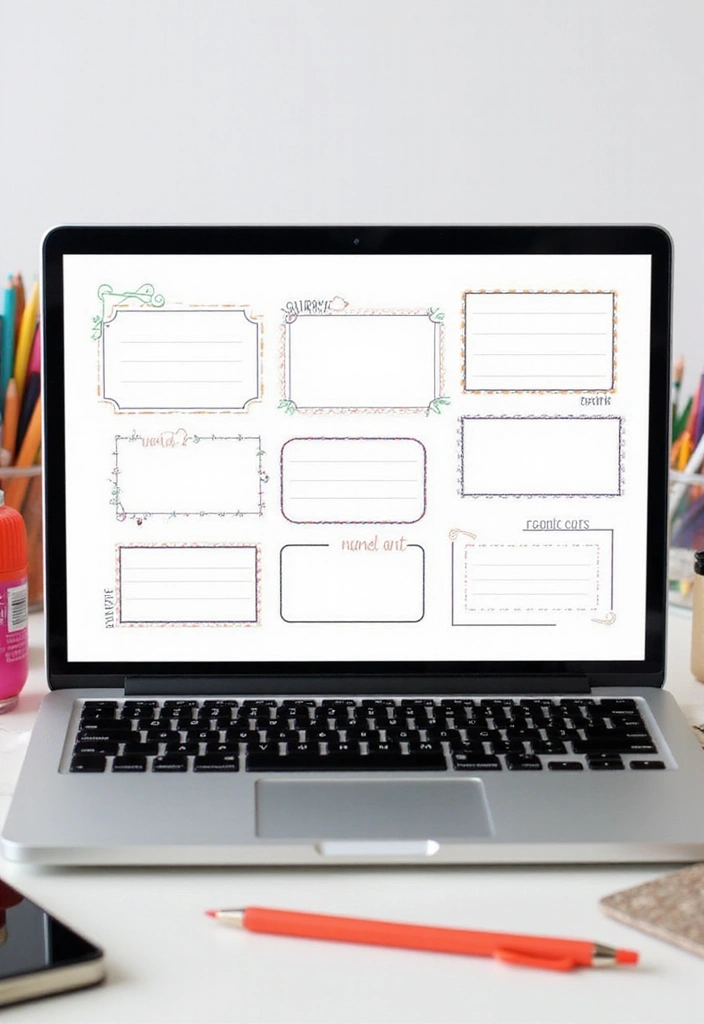
Need name tags fast but want them to look neat and personal? Digital templates are your best friend. They print quick and keep a warm touch. You can use free templates online or build your own from scratch.
With these templates you get speed plus style. You can swap colors, adjust sizes, and add a logo or border in minutes. Print on solid paper and you have clean tags that feel thoughtful, not rushed. This approach fits both big gatherings and small meetups.
Here is how to use them in four easy steps:
– Choose a template that fits your event. Pick a formal look for a conference or a playful design for a classroom party.
– Enter names and details. Type guest names, roles, or company names. Keep lines short so they print clearly.
– Print on good paper. Use cardstock or thick printer paper. A matte finish helps the text stay legible in different lights.
– Cut and finish. Use a paper trimmer for straight edges. If you want, punch a hole for a lanyard or clip them to badge holders.
Tips to get the best results:
– Keep fonts large and easy to read. High contrast helps the eye.
– Test print one tag first to spot any issues.
– Save your layout so you can print more for future events.
– Look for templates that allow logos or simple custom colors.
Where to find templates:
– Search for free printable name tag templates online.
– If you have a company or club color, pick templates that let you customize colors and borders.
With the right template, you get fast, polished name tags that still feel personal. It’s a practical, stylish solution for any event.
@media(max-width:480px){


Conclusion
With these 26 DIY paper name tag projects, you can unleash your creativity and personalize your events in eco-friendly ways.
Each idea offers a unique twist that can impress your guests and add charm to any occasion.
So gather your materials and start crafting some adorable name tags that reflect your style and the vibe of your gathering!
Note: We aim to provide accurate product links, but some may occasionally expire or become unavailable. If this happens, please search directly on Amazon for the product or a suitable alternative.
This post contains Amazon affiliate links, meaning I may earn a small commission if you purchase through my links, at no extra cost to you.
Related Topics
paper name tags
DIY crafts
custom name tags
eco-friendly projects
personalized labels
event decor
budget friendly
easy crafts
seasonal themes
creative labeling
handmade gifts
quick DIY